
How to Easily Spray Paint Bathroom Countertops
Spray painting the bathroom countertops is the next best thing to getting new countertops. In today's post, I'll show you how I did it and my tips for less mess.
Welcome to week 2 of the $100 Room Challenge! Last week, I showed you my mood board and before photos of the guest bathroom, but this week, I'm diving head first into the DIY project mayhem!
Check out all the week's updates with the links below…
(Mood Board)
(Spray Paint Counter)
(Spray Paint Faucets)
(Spray Paint Vanity)
(Final Reveal)
Navigate to…
- Video of the Process
- Before & After Photos
- Materials
- 1) Tape off and cover everything
- 2) Sand the countertop
- 3) Wipe counter down with microfiber cloth
- 4) Wear a mask & Don’t wear anything you care about
- 5) Turn on a fan and open a window
- 6) Spray back to front in short, sweeping bursts
- 7) Let dry for 20 minutes, then spray another coat
- 8) After a second coat, let dry for 3 hours
- 9) Take the tape off at 3 hours & Give it a day to set.
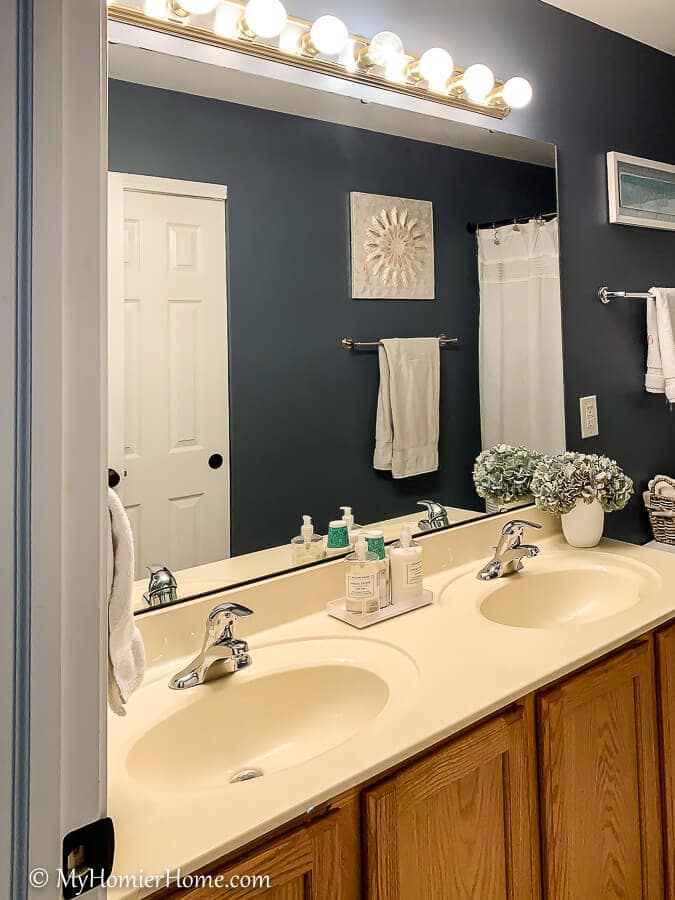
My first project in this $100 Room Challenge Bathroom Makeover was to change these dingy countertops to be a brighter white. I was skeptical about whether or not spray paint could really work in a bathroom, but after completing this project, it is one of the best and easiest DIYs I've done. Let me take you through it step-by-step, but first, let me show you the transformation.
Video of the Process
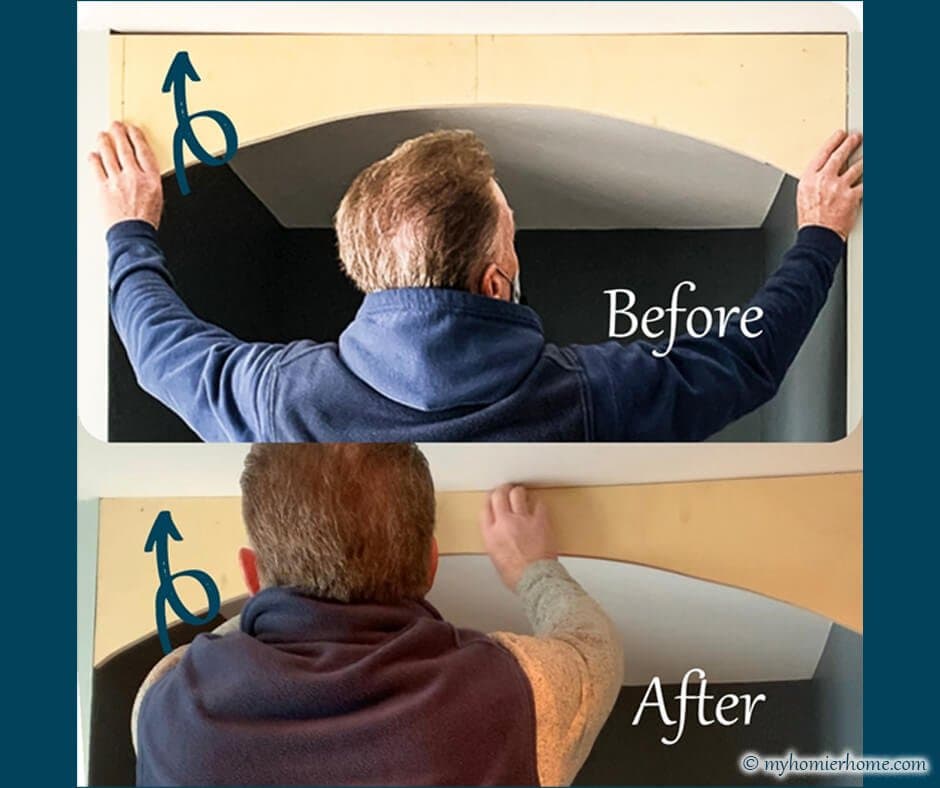
Before & After Photos
Before…
After…
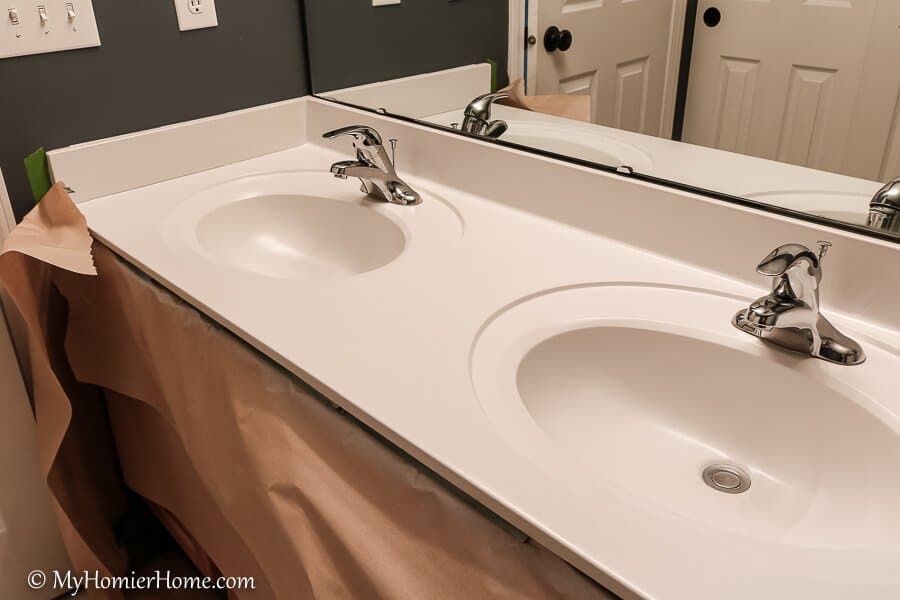
Don't mind this horrible lighting, but it is the same lighting in each picture! The spray gave the counter just enough gloss to make it seem legit like a normal countertop, but not too spray paint looking to make it feel DIY'd, if you know what I mean lol.
If you plan to try this in your bathroom, there are plenty of videos and posts to help guide you. However, all the research I did failed to mention, or skimmed over, a few very key pieces to making this a success.
I included my written account of my tips and I also created a video of my process in fast forward (about 2 minutes). If you head over to the video, be sure to like and follow my channel. *Shameless plug*
On to my tips…
Materials
Disclaimer: This post does include affiliate links for your convenience. This is at NO additional cost to you but earns me a small commission. To read more, check out our disclosure policy. As an

(click on any of the images to shop the products)
If you click any of the photos above, you will go directly to the link to purchase. Because I already had all of this in the garage, I am still at $0 spent on this countertop! If I hadn't been able to get the spray paint from my mom's house, this would have still only cost me $5 + tax… My kinda DIY.
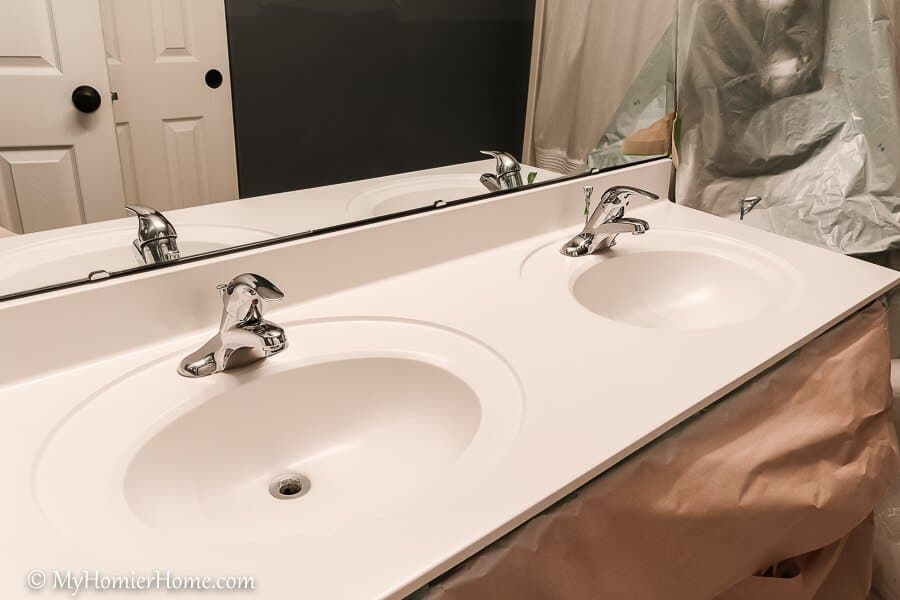
1) Tape off and cover everything
Like legitimately, cover everything… the overspray is real life. For instance, the door knob on the inside of my bathroom door has a slight white hue to it now. Good times.
Also, I failed to consider that overspray can go just about everywhere. So, covering only the area on the floor in front of the vanity did little good for protecting the rest of the floor. Cover the whole floor with something.
You can see in the video my attempt and the stickiness of my shoes with the paper… comical to say the least.
I didn't have as much overspray on the walls or mirror, but remember gravity… brings all that stuff down ditty-down down, so be extra cautious with things level or below the counter.
2) Sand the countertop
It was suggested to use rough sandpaper to scuff up the countertop. I only had a sanding block so I ended up using a multi-surface sanding block. It seemed to do the job just fine.
3) Wipe counter down with microfiber cloth
The sanding will leave particles everywhere, so make sure you wipe the counter down with a wet cloth and then with a dry cloth. Microfiber seems to get all the dust and grime out of there, but regardless, clean it and dry it off.
4) Wear a mask & Don’t wear anything you care about
Wearing the ventilation mask was a must. The fumes are for real. You can see the puffs of dust flying around in the video. I would even recommend covering your hair and for sure not wearing anything shoes, pants, or shirts you really like because I was slightly sticky afterwards.
I did wipe my arms down afterwords and let me shoes sit outside. I would recommend covering as much of your body as you can with stuff that you don't care about.
5) Turn on a fan and open a window
I had the door closed so it didn't fumigate my whole house. We don't have a window in there, but I had the fan running the whole time and for the whole day after I was done spraying. The smell did seep through under the door, so we ended up closing some room doors and opening up all the other windows.
Next time, I would probably put a towel by the crack under the door to keep it contained and able to exit out of the bathroom fan.
6) Spray back to front in short, sweeping bursts
I read this tip before starting and it did really work. Be careful not to allow yourself to spray too close to the counter. I watched a video on YouTube before starting and she had to wipe up a few puddles as she was going because it was pooling up on her.
I did not have this happen, but I also made sure to stay at 10-12 inches away from the counter at all times… I learned this from the fireplace spray paint project.
7) Let dry for 20 minutes, then spray another coat
Go catch a deep breath somewhere outdoors for 20 minutes and then come back and spray another coat.
Between the start of the first coat and the end of the second coat, it probably took me less than an hour.
8) After a second coat, let dry for 3 hours
Need I say more?
9) Take the tape off at 3 hours & Give it a day to set.
In one of the videos, the lady said to take the tape off at 3 hours. This was a good idea because, one, I was able to make sure I didn't miss anything from a bad tape job or something. But also, the epoxy didn't have time to fully set yet, so I avoided accidentally gluing the tape to the faucet area lol.
What’s Next?
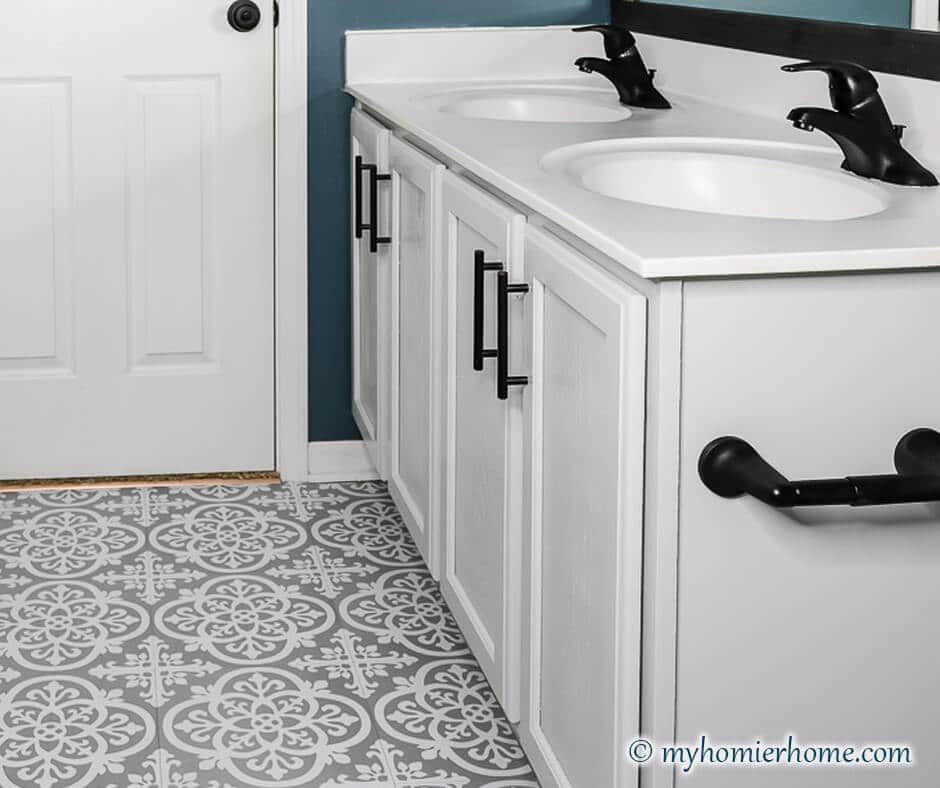
[Updated] I originally had the following to-do list, but I have since included links for what is done since having written this post… and side note, I LOVE THIS BATHROOM! The picture above is the final view, but read more with the links below on how I did it ALL for under $100!
To-Do List
- Paint the countertops white (this post)
- Paint the faucets oil-rubbed bronze.
- Paint the bathroom towel hangers oil-rubbed bronze
- Paint the vanity
- Build and hang the mirror frame
- Spray paint the vanity light with oil-rubbed bronze spray paint
- Add pulls to the cabinets
- Change the flooring to a fun pattern
- Decorate/Hang Shelves
- See the Full Reveal here
Want more $100 room makeovers? Go check out all the other participants in the $100 room challenge (links below).
Catch ya later!


That turned out awesome! I wouldn’t have thought to spray paint it!
It looks awesome! Great progress!
Thanks girl!
This sink turned out great! What spray paint did you use? I might think about trying this!
I used rustoleum appliance epoxy! I think I linked above 🙂
Spray painting in the house!? So brave! Looks amazing too- nice job
Thanks!! I know I feel like a spray painting mad woman! It’s working so far though lol
This came out beautifully, what a great tutorial! I love all of your advice…full of the real details to look out for that others might not explain!
I have honestly NEVER heard of spray painting countertops before, but I used that same epoxy spray paint to paint our old (almond color) dryer to match our new (white) washing machine. Such a great idea for those older outdated countertops. Thanks for sharing all your tips. The countertop looks amazing… and who can beat a free project?!
No kidding! I’m so glad I stumbled upon this idea!
Is the painted counter rough because of the sanding?
It is not! It’s actually very smooth! I did not sand like crazy, just enough to have the paint adhere better.
I’m not sure when you posted this, I came across it on oi it rest but I would love to know how the spray painted countertop has held up over the years. Has it scratched or chipped? Did you seal it with something to make it more durable?
Hi Elisabeth! It’s been about 6 months and they are holding up great! I did not use anything to seal them because the spray paint is specifically for appliances, so it has its own type of sealant built in. I’m in love!
Hi Christin! We are looking to do this to our countertop after seeing your DIY inspo! How is it holding up? Curious how long it will last 😊
It’s been holding up awesome! It shows water stains pretty obviously, but I have used bleach spray on it a few times and it hasn’t effected it at all. I would highly recommend it, but make sure you cover good for overspray… I hit the mirror at one point and had to use a scraper to get it off because I didn’t notice before it dried lol. Other than that and ventilating well, definitely worth it.
Hey what kind of cleaning products work best for you since you’ve spray painted your countertops and sink?
I just did something similar and I’m trying to find out what cleaning products would be best to use.
I have not had to use anything on the faucets because I didn’t put a top coat on, which I should have done a better job of, so I just wipe it down with a damp cloth. However, for the countertops, I’ve been using all-purpose spray with bleach and it has held up nicely.
Our bathroom had a big flood that really destoryed a good part of our house. We had a solid water damage restoration service over and they did great work, but we decided to take advantage of the chaos a bit to redo our bathroom. We are definitely going to try this out on our vanity. Thank you for sharing.
no problem!