
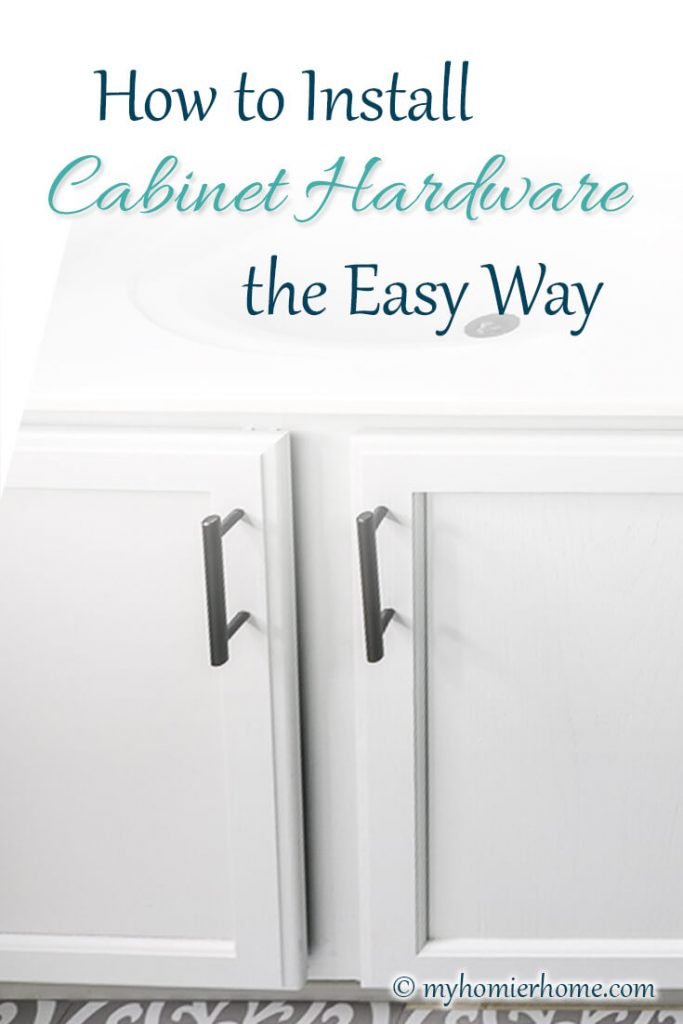
How to Install Cabinet Hardware the Easy Way
Learn how to install cabinet hardware the easy way with this helpful tool and tutorial for perfectly straight pulls.
After completing the $100 bathroom renovation months ago, the holidays came up quick and I never got around to sharing a bunch of my tutorials!
If you missed my other tutorial post this week, you can check out how to spray paint a light fixture, too!
But today, I'm showing you how I installed my own cabinet hardware for the bathroom the easy way.
Table of contents
- Gather your materials.
- Assemble the cabinet hardware jig.
- Determine the measurement for the cabinet hardware.
- Adjust the horizontal bar to desired position.
- Use the punch tool to mark your holes.
- Choose a drill bit slightly bigger than the screw and drill your holes.
- Screw the cabinet hardware screws in from the back of the cabinet.
- Adjust the cabinet hardware jig for the opposite cabinet
- Repeat the steps above for the other cabinet.
Disclaimer: This post does include affiliate links for your convenience. This is at NO additional cost to you but earns me a small commission. To read more, check out our disclosure policy. As an
Gather your materials.
You will not need very many tools for this project, but you will need one very important one.
The cabinet hardware jig is an absolute must…. and the punch tool.
I use that punch tool for so many things, but it works perfectly for this project.
Below are all the shoppable images of the tools I used.

(click on any of the images to shop the products)
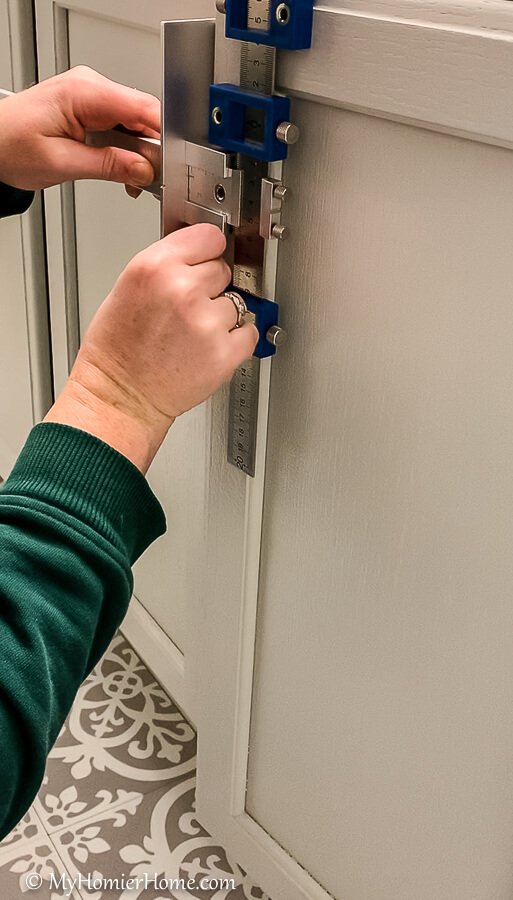
Assemble the cabinet hardware jig.
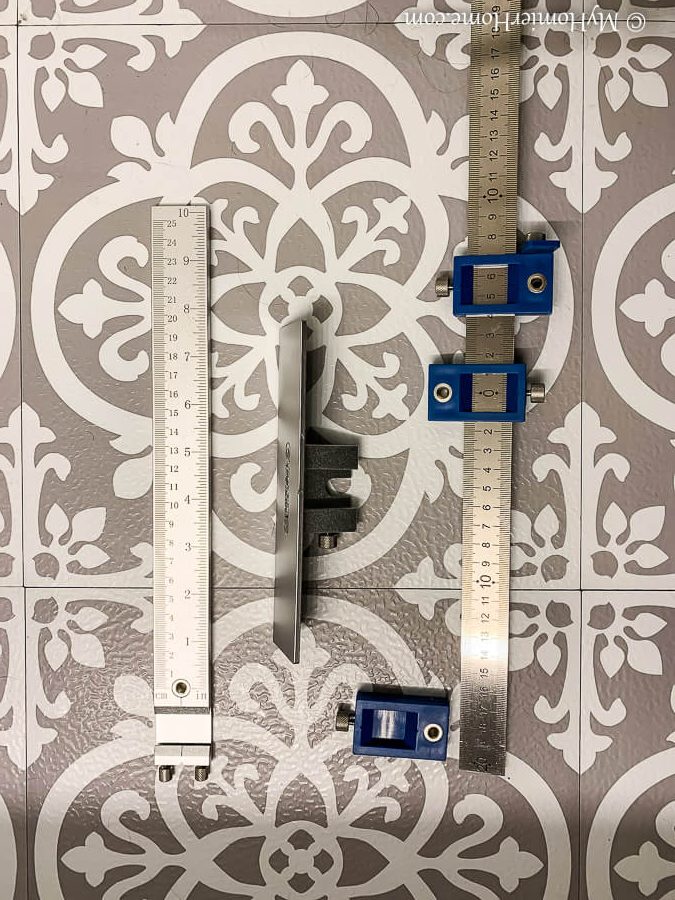
You want the piece that has the top screw to be on top as shown below.
This is the piece that you'll rest on top of the cabinet.
The picture above is for the cabinet door that opens to the right.
The vertical silver piece is loose right now because you'll need to adjust it appropriately for where you want the holes for the pull to go from the edge of the cabinet door.
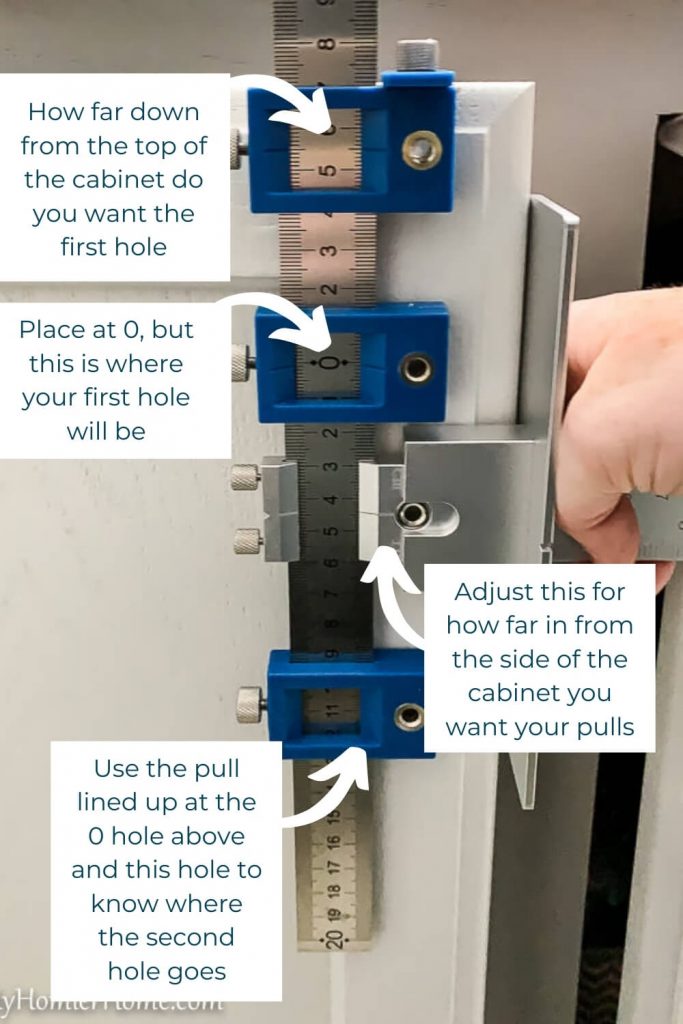
For now, you'll need to decide how far down you want the pull to be from the top of the cabinet.
I made mine about 5.5″ in.
The middle blue piece is always at zero and will be the top hole for the cabinet pull.
The next step will show you how to set that distance.

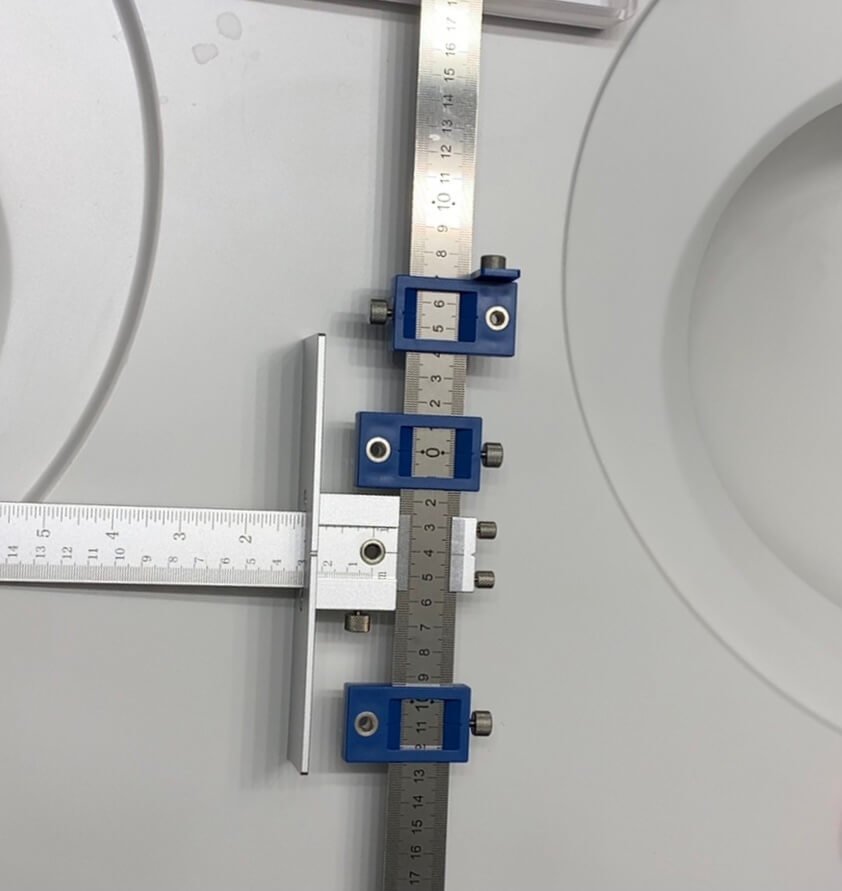
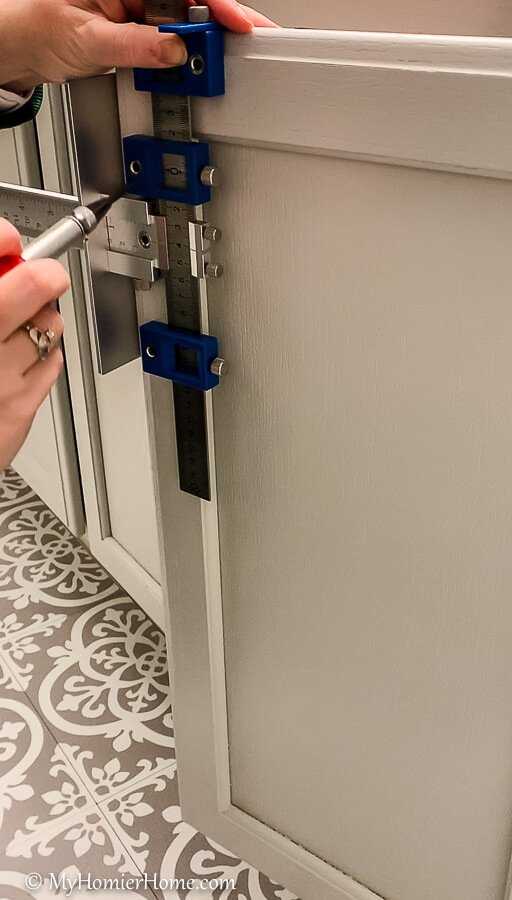
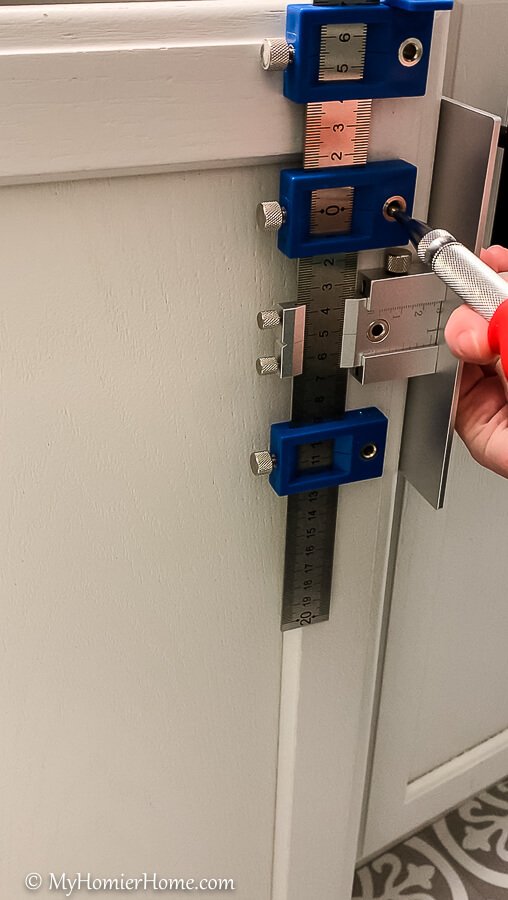
Determine the measurement for the cabinet hardware.
Tighten the blue piece at zero and line up the handles holes.
Once they line up, tighten the second blue piece.
In case you need a better idea of how this all fits together, I mapped it out in the picture above.
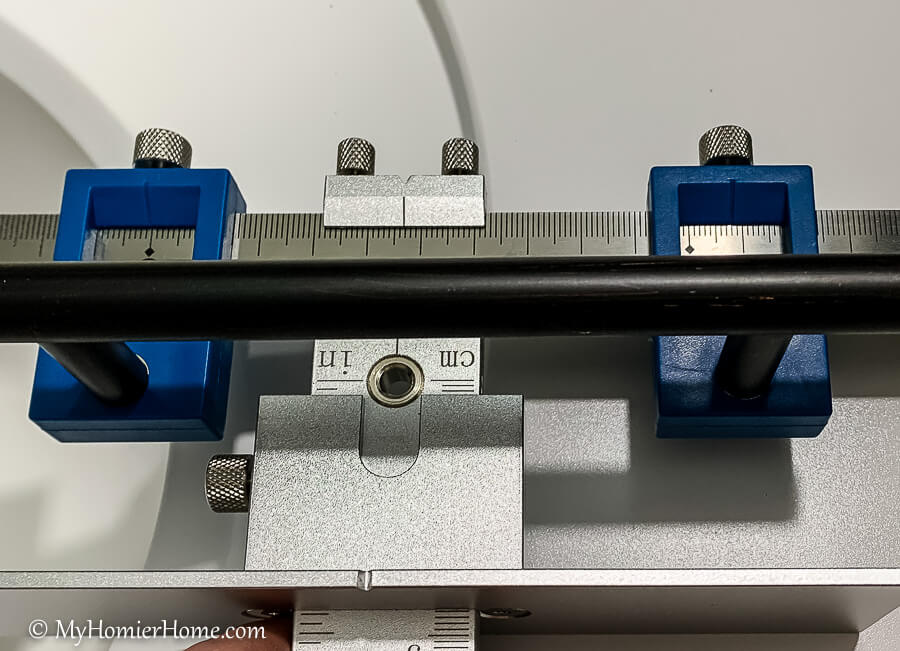
Adjust the horizontal bar to desired position.
Once all the blue pieces are measured and tightened, you want to set it on the cabinet to make the final adjustment.
The vertical silver piece that slides left and right will allow you to set the position you want the cabinet pull to be on the door.
Once you have it set, tighten the little bolt. Once you set this, you don't want to move it – even when you change the cabinet jig for the other cabinet. I'll explain more on that later.
Use the punch tool to mark your holes.
Hold the cabinet jig securely against the cabinet.
Make sure when putting the pulls on you make a deep enough punch so your drill doesn’t move on you when you drill your holes – I made this mistake on one of them and the drill slipped a little (I'm not tellin' which one lol).
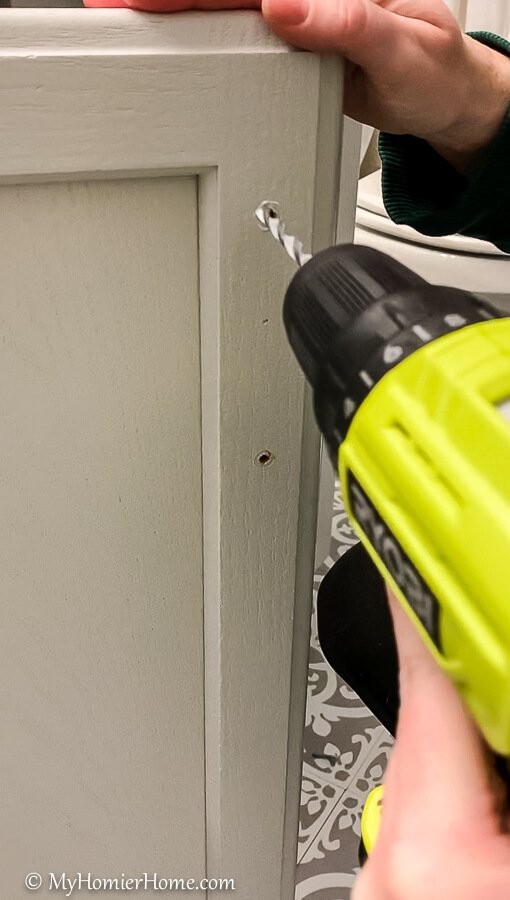
Choose a drill bit slightly bigger than the screw and drill your holes.
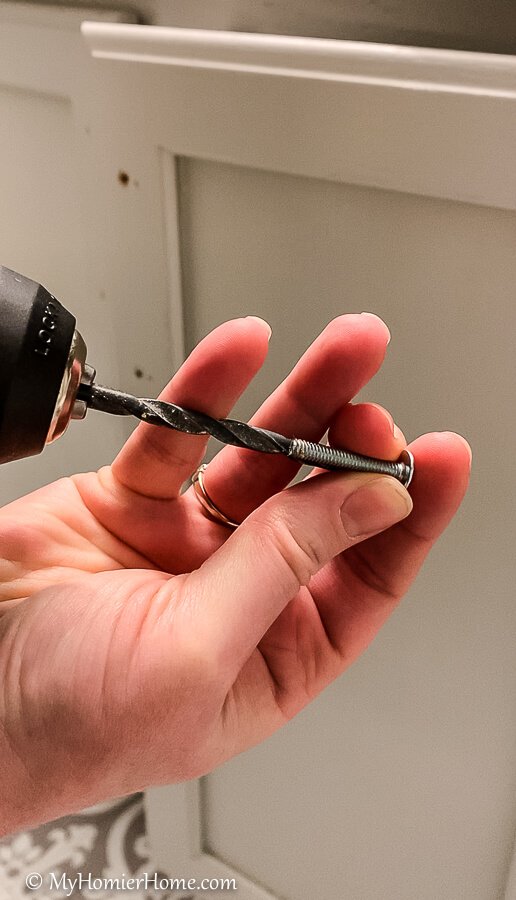
Make the drill bit slightly bigger than the screw.
We tried smaller but that made for difficulty screwing it in.
You don't want to go too big or else the cabinet pull will move once it's tightened, so just a little bit bigger than the screw.
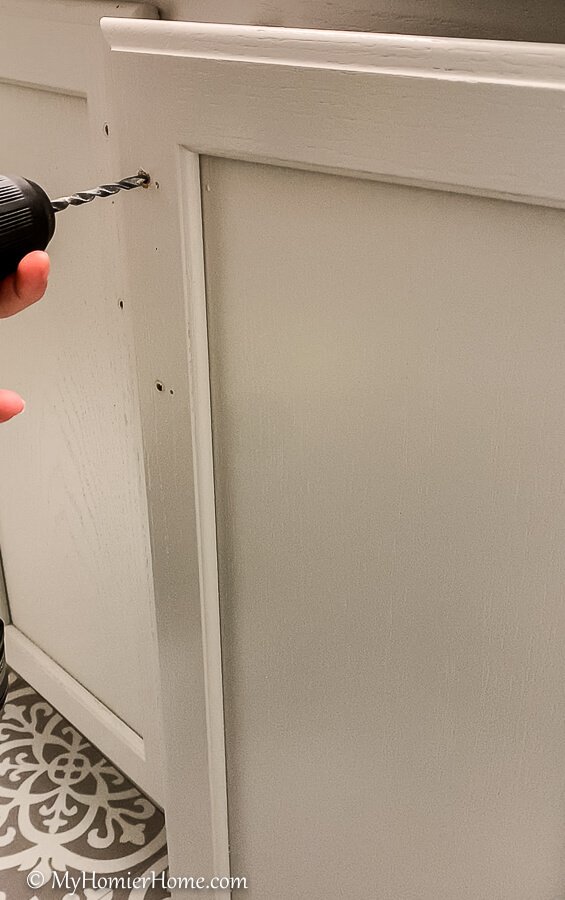
Use your drill and chosen bit to drill your holes all the way through the cabinet.
Screw the cabinet hardware screws in from the back of the cabinet.
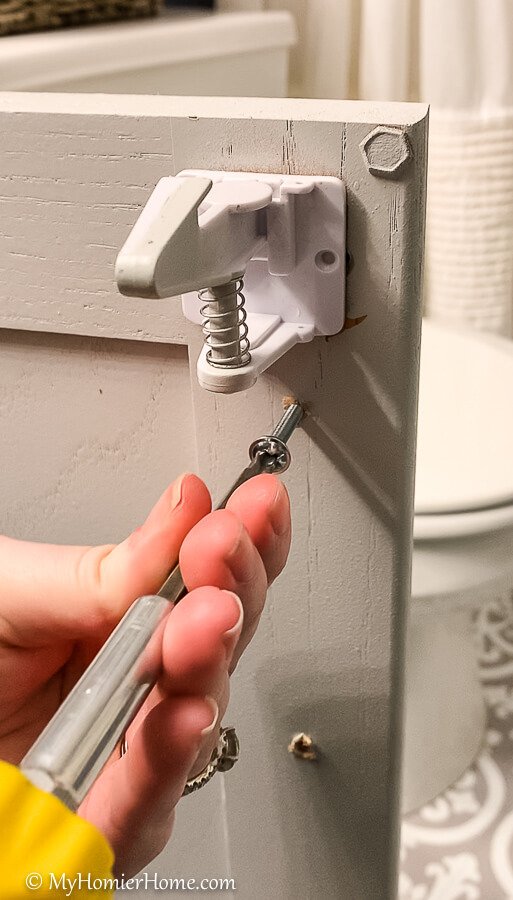
Use your screw driver from the back of the cabinet to screw in the screws all the way until they just show through on the other side.
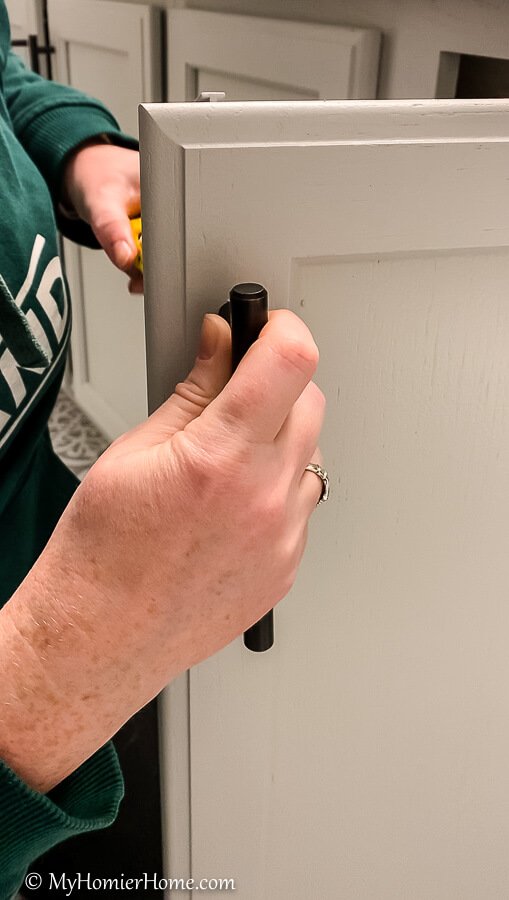
Then grab your cabinet pull and align it with the screw.
You don't want to screw the top one tight, but just enough until the cabinet pull is attached.
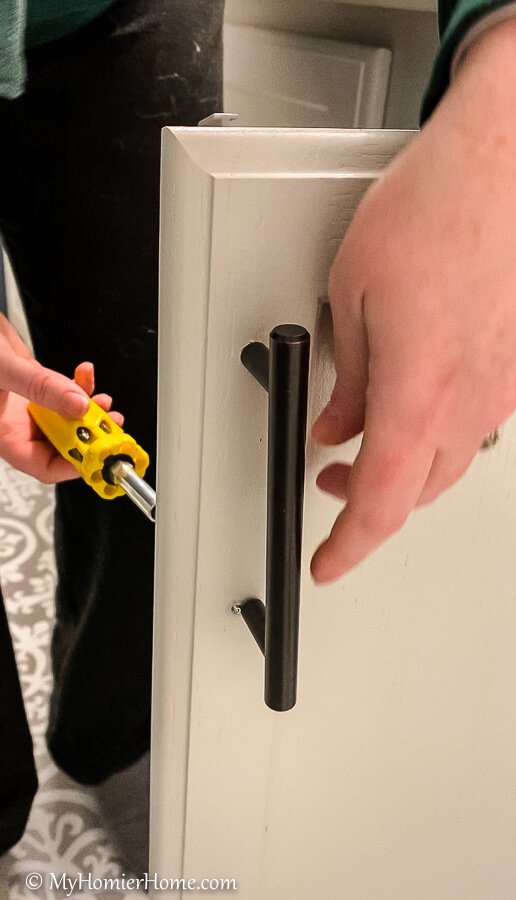
Repeat the same thing for the bottom screw.
For this one you can tighten it all the way and then go back and tighten the top one.
Adjust the cabinet hardware jig for the opposite cabinet

It takes a second to comprehend how to switch this jig for the other cabinet, so I included a video below of how I did it.
Remember to not undo the silver vertical piece. It is made so you can just remove the whole T-looking horizontal piece as one thing.
This will ensure you put the cabinet pull the same distance in from the edge for every cabinet.
Basically, the bottom two blue pieces and the silver piece in between them slide off and go on upside down.
The top blue piece does not change.
Realign the middle blue piece at zero again and use your cabinet pull to get the right distance from the middle blue piece to the bottom blue piece.
Did I say piece too much?
Watch the video lol.
Repeat the steps above for the other cabinet.
Punch the holes.
Drill the holes
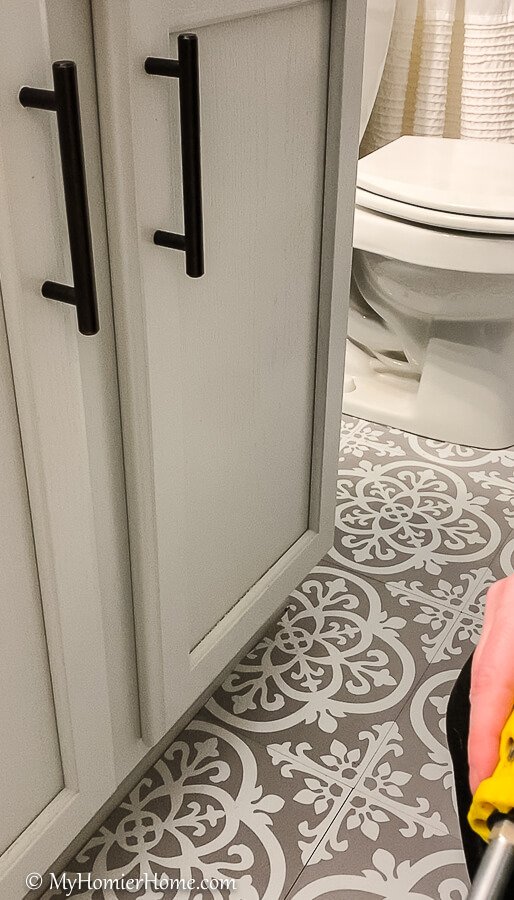
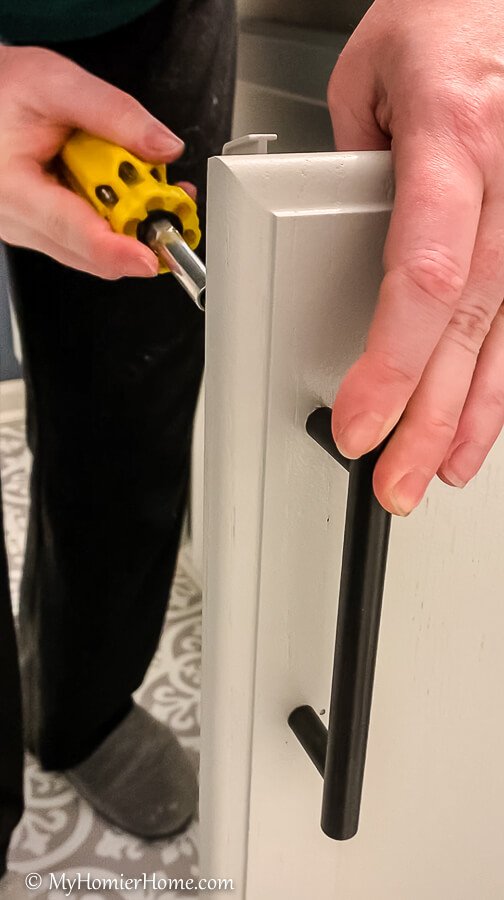
Screw both screws in to attach the cabinet pull and voila!
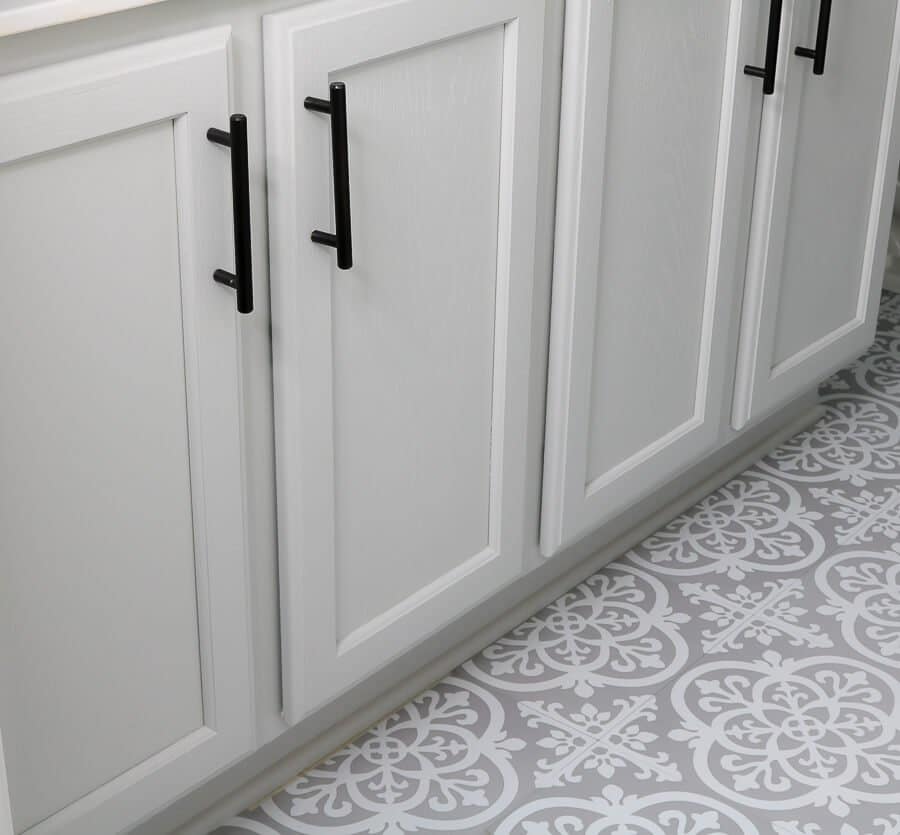
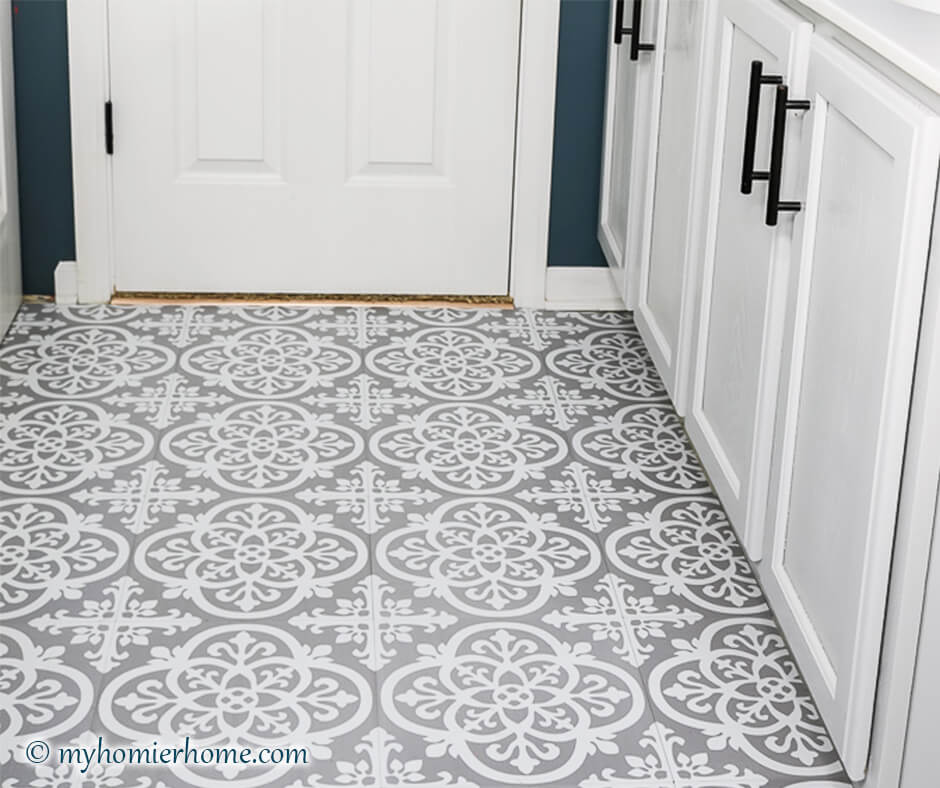
What do you think of the finished product?
Frequently Asked Questions
It is totally easy when you have the right tools. The cabinet jig and the punch are the two I would highly recommend.
To keep everything straight, you have to have the cabinet jig and again the punch helps make sure you mark your holes appropriately.
Obviously, always place the pulls on the opposite side of the hinge and then typically the bottom screw of the pull goes about 2.5″ to 3″ down from the top of the cabinet for bottom cabinets or 2.5″ to 3″ from the bottom of the cabinet for top cabinets. I actually went 5.5″ on mine because I just felt like it looked better, but my recommendation would be to just make sure you don't veer too far from the 2.5″ to 3″ rule of thumb.
Like I said above, always place the knobs on the opposite side of the hinge and then just like the pulls above, from what I read, they go about 2.5″ to 3″ down from the top of the cabinet for bottom cabinets or 2.5″ to 3″ from the bottom of the cabinet for top cabinets.
You'll mostly want to center your knobs or pulls for drawers, especially if they are under 24 inches. If you were looking to get fancy and break the mold, you could center the knob horizontally, but then when it comes to the vertical placement, center it in the upper third of the cabinet.
If you happen to have a drawer that is wider than 24 inches, you would want two knobs or pulls on the drawer. To line them up appropriately, you would still go center of the drawer horizontally, but then put one pull or knob in the outer thirds of the drawer. You could also opt for one oversized pull if you don't want to mess with all the math.


Really great information. I never thought of using a punch to mark the holes – I usually use a pencil. Thanks for sharing this.
The punch is my favorite tool in my tool belt!
Your directions make it look easy and the handles look great! Thanks for sharing your knowledge. 🙂
You outline processes so well. Love your helpful question format at the end too!
Okay, I’ve never heard of a cabinet hardware jig and now I’m thoroughly convinced I need one of these in my life! Getting ready to do a few cabinet makeovers and this sounds like it makes it so much easier!
It totally does! There is absolutely no way I’d use anything else… the measure and hope for the best method never works for me lol
What a neat gadget to own. I need one of these in my life. Your hardware looks great!
What a neat gadget to own. I need one of these in my life. Your hardware looks great!