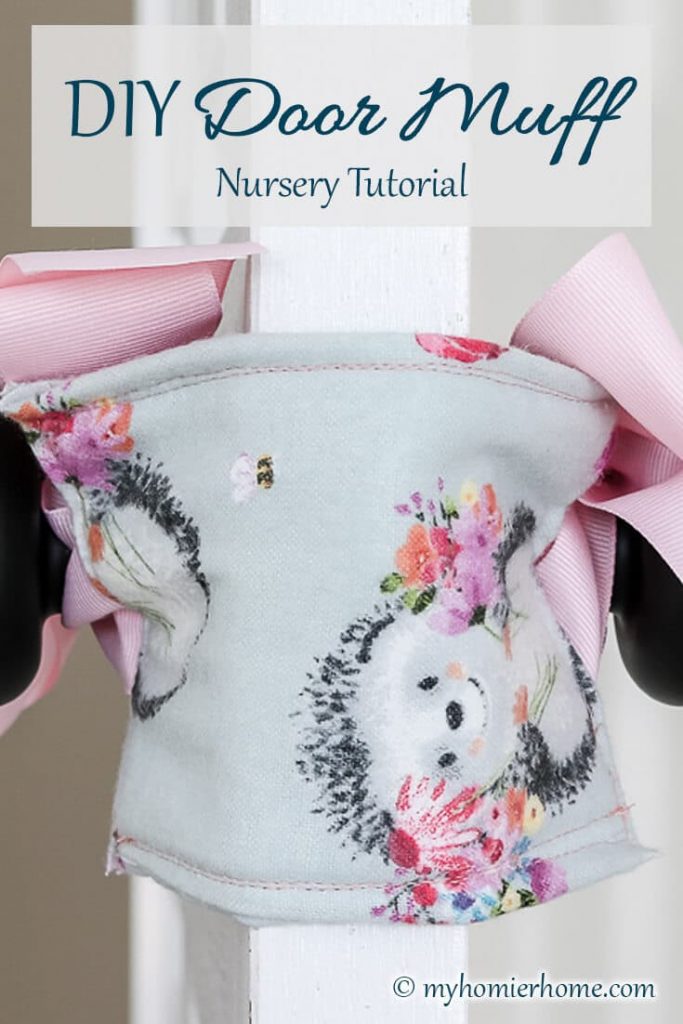
DIY Door Muff for Nursery | The Stay Sleeping Baby Secret
Learn how to easily create your DIY door muff to make sure the clicking of the door doesn't wake your sleeping baby.
With the new baby around, we are doing everything we can to make sure this little babe stays asleep once she falls to sleep.
My friend introduced me to these door muffs when she had her boys.
Since I made them for her kids, I figured baby girl could use one, too!
The door muff is a way to keep the door from slamming or clicking when you close it.
It also stops toddlers from being able to accidentally lock themselves in. Bonus!
Today, I'm sharing with you exactly how I created this DIY Door Muff.
Table of contents
Disclaimer: This post does include affiliate links for your convenience. This is at NO additional cost to you but earns me a small commission. To read more, check out our disclosure policy. As an
1. Gather your materials.
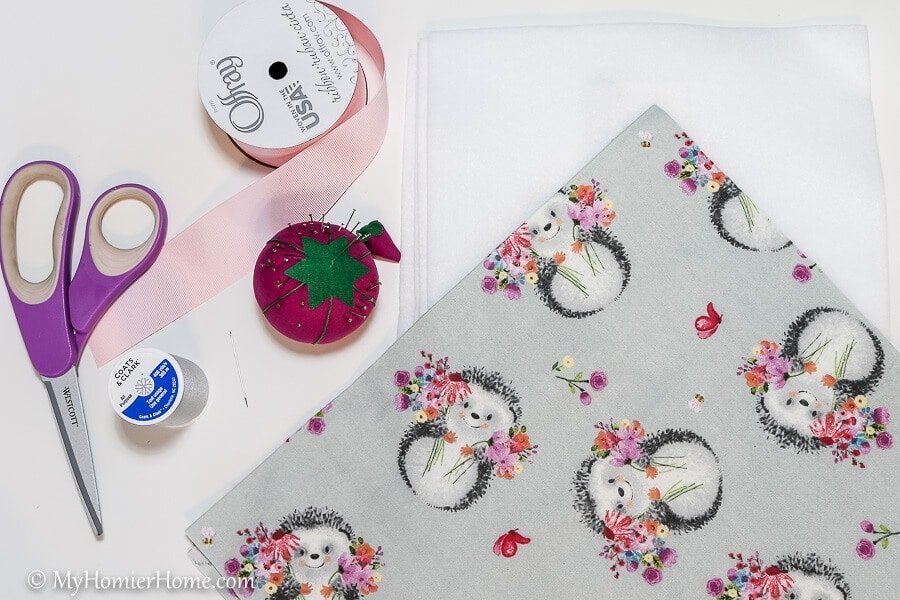

First, gather all your materials.
My material list is below with links in case you don't already have some of these items.
You want to pick out fabric that you like, but I did include links to exactly what I purchased in case you want to recreate this exact DIY door muff.
This tutorial is adapted from Keeping my Cents.
- 2 – 6″ x 5″ Pieces of Fabric of Your Choice
- Be sure to double check the length from the outside of the door knob around to the other side outside the door knob to make sure the 6 inches isn't too long.
- 4 – 17″ Pieces of Ribbon of Your Choice
- I ended up leaving them this long to make a prettier bow, but you may want to cut them down after you install it on your door
- 2 – 3.5″ x 5″ Pieces of Felt Fabric (light-colored preferably, so it doesn't show through)
- Matching thread to your fabric color
- Scissors
- Pins
- Rotary Cutter, Mat & Ruler
- Sewing Machine (you could also hand-stitch if you don't have a machine)
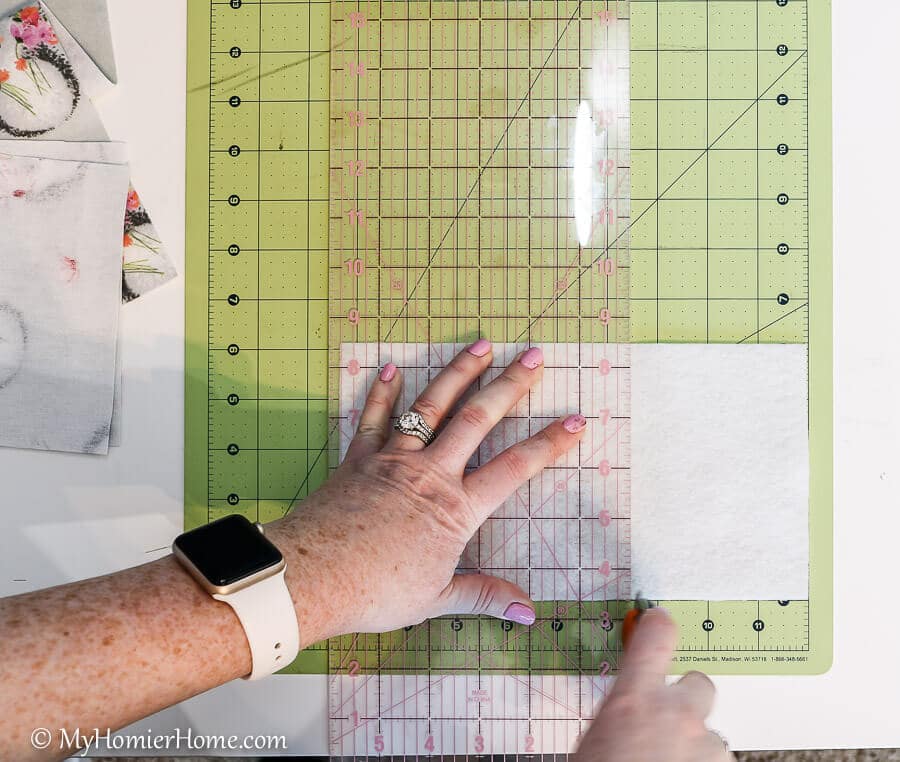
2. Cut fabric to size.
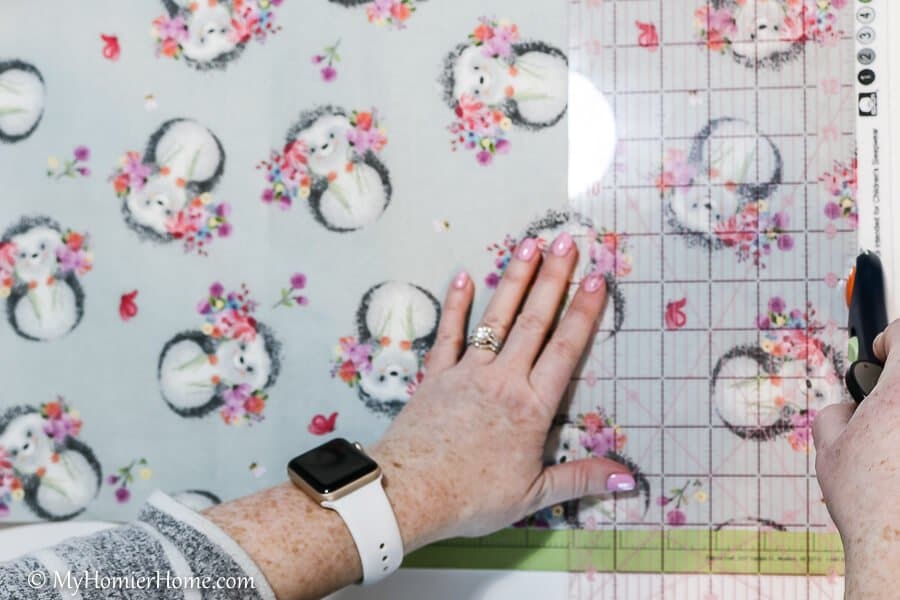
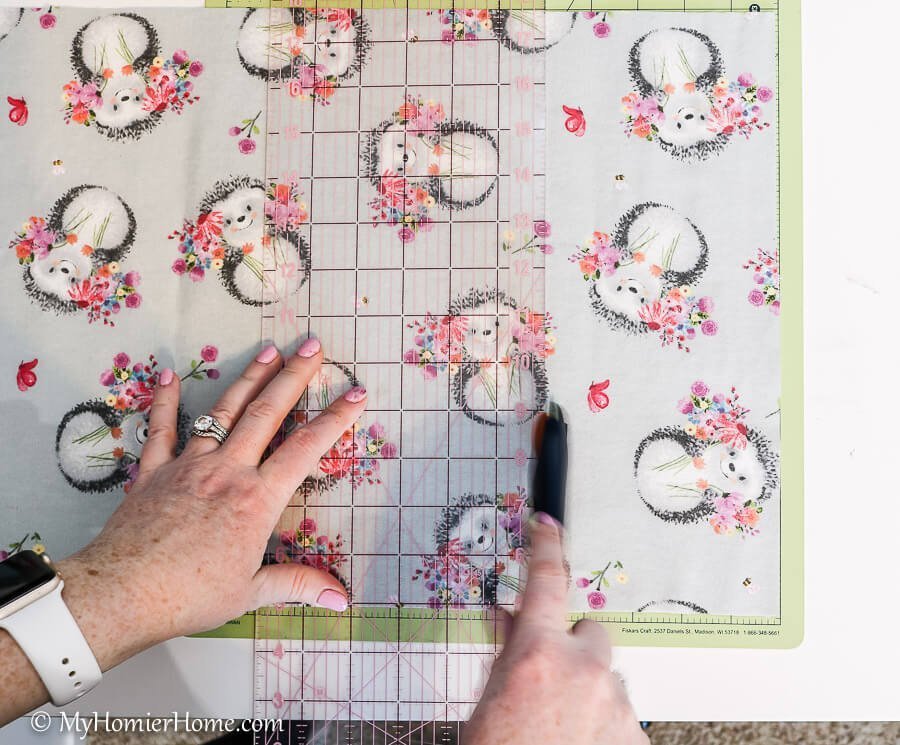
Once you have all your materials, layout your fabric on your cutting mat.
The cutting mat is super helpful for measuring, too.
Align your fabric evenly on the mat.
Use the ruler to guide your rotary cutter in a straight line.
Be sure to remove any tags from the fabric first.
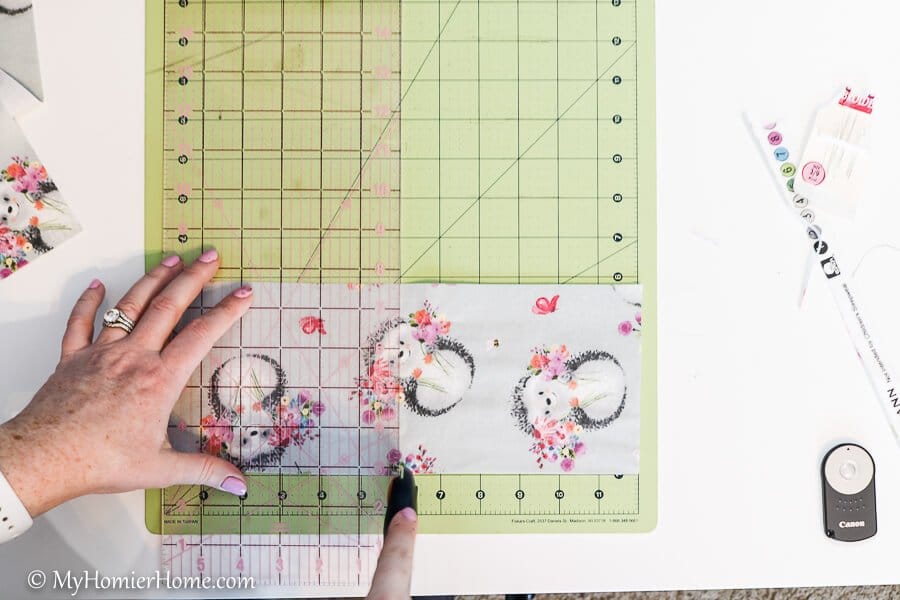
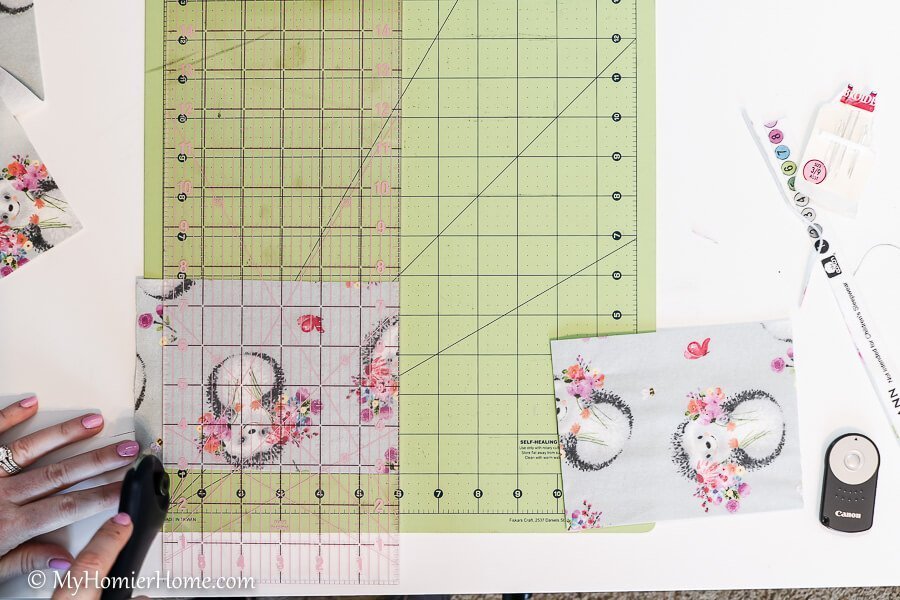
Then, cut your two pieces to length.
A standard door would use 6in x 5in squares, but you will want to double check these measurements work with your door.
Just remember you will be folding in about an inch total when it is sewn.
3. Cut the felt to size.
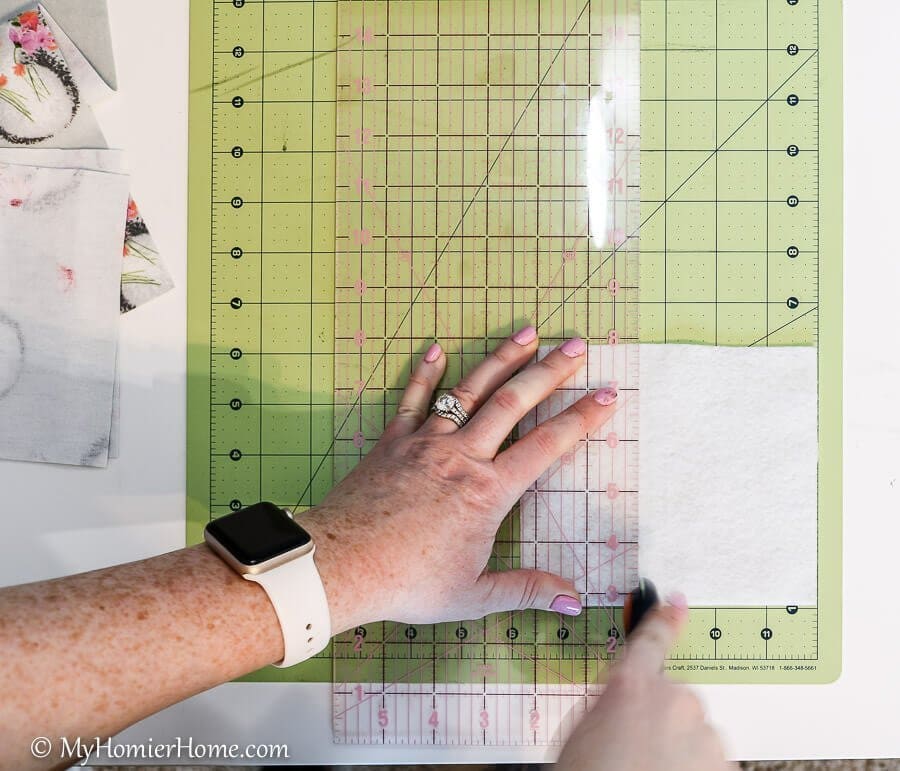
Following the same steps of lining up your felt and using your ruler to make a straight cut, measure and cut your felt to size.
You should have two pieces that are 3.5 inches by 5 inches when you are done.
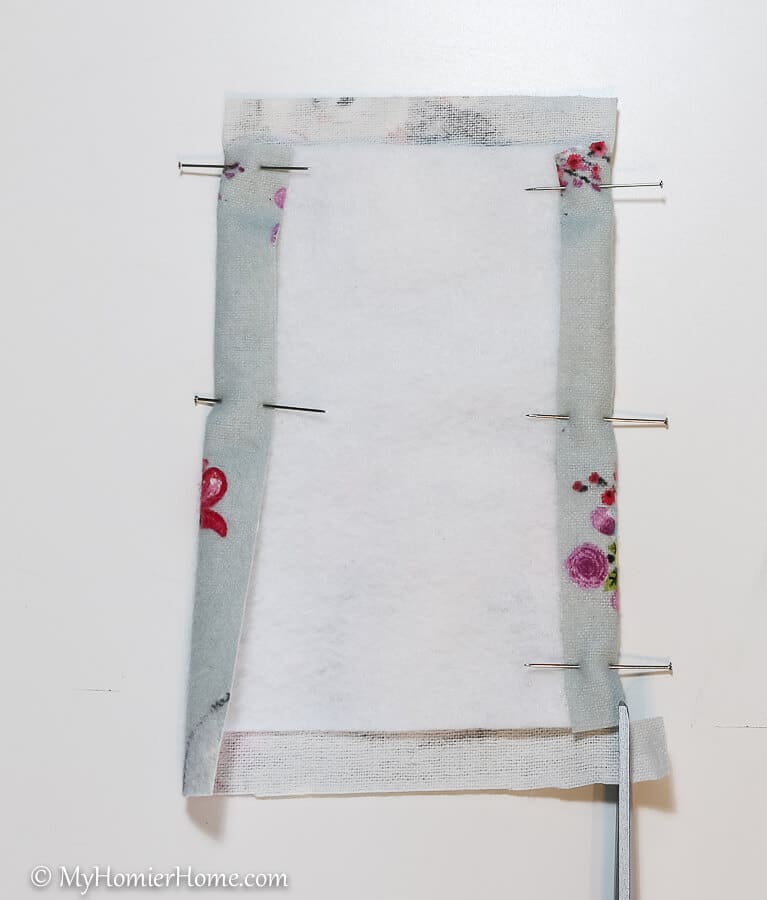
4. Fold fabric over the felt.

Next, you want to place your cut fabric design side down.
Lay one piece of felt in the center of the fabric.
Fold over the edges on the long side.
Pin them down.
Some people choose to iron, but I thought pinning worked just fine, which is great for me because I hate ironing.
5. Trim the corners.
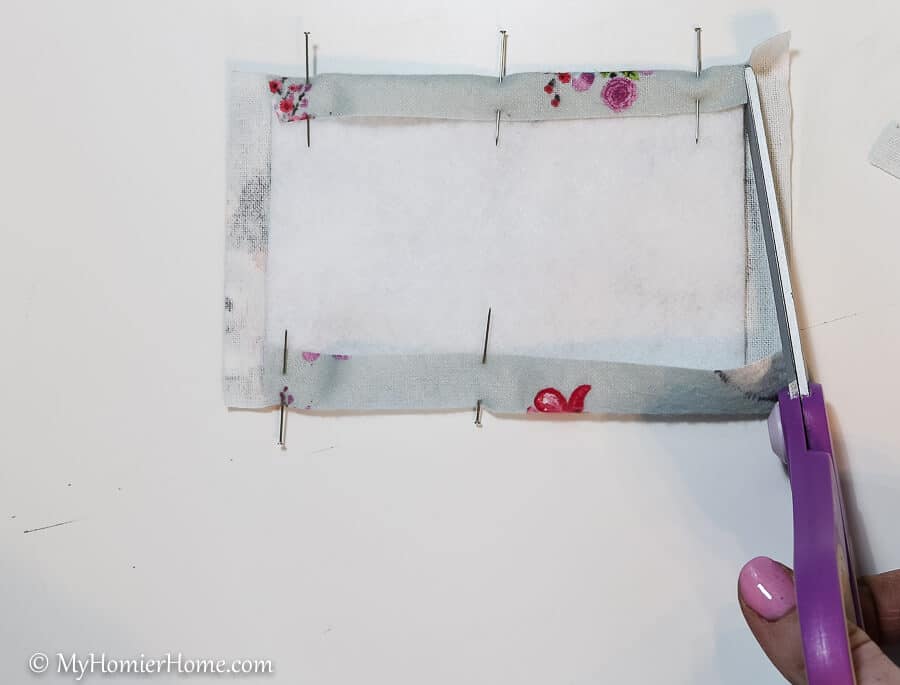
Before you pin the smaller sides down, clip the corners so you don't have the fabric bulk up at the corners.
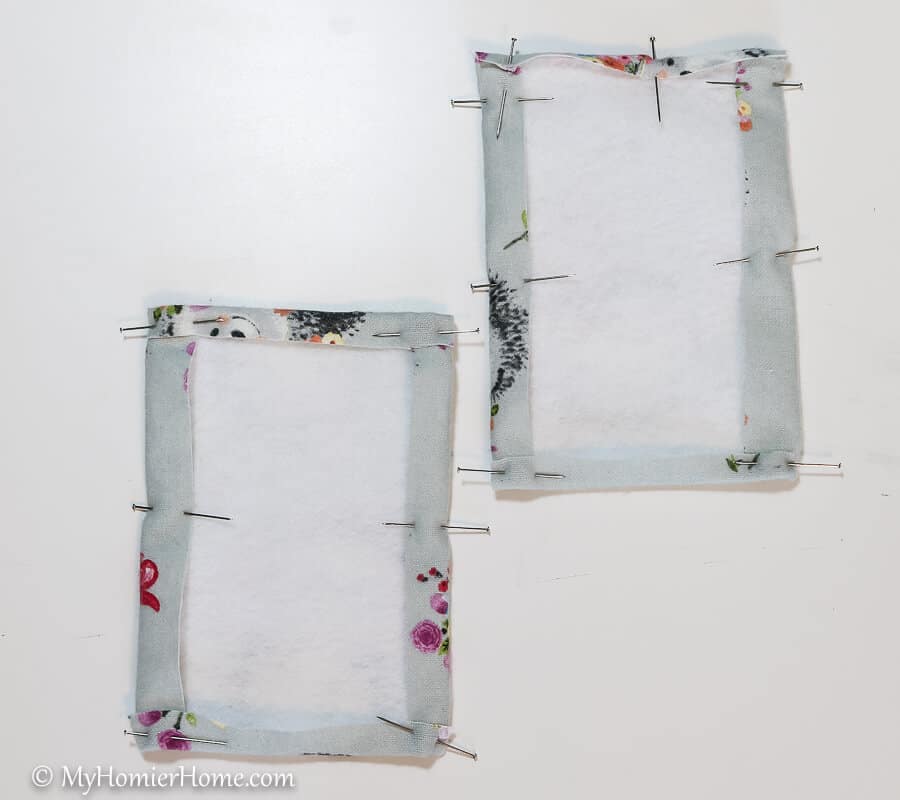
Once you've clipped the corners, pin the smaller sides down as well.
Complete steps 4 & 5 for both pieces of fabric and felt.
6. Sew each piece of fabric to its felt.
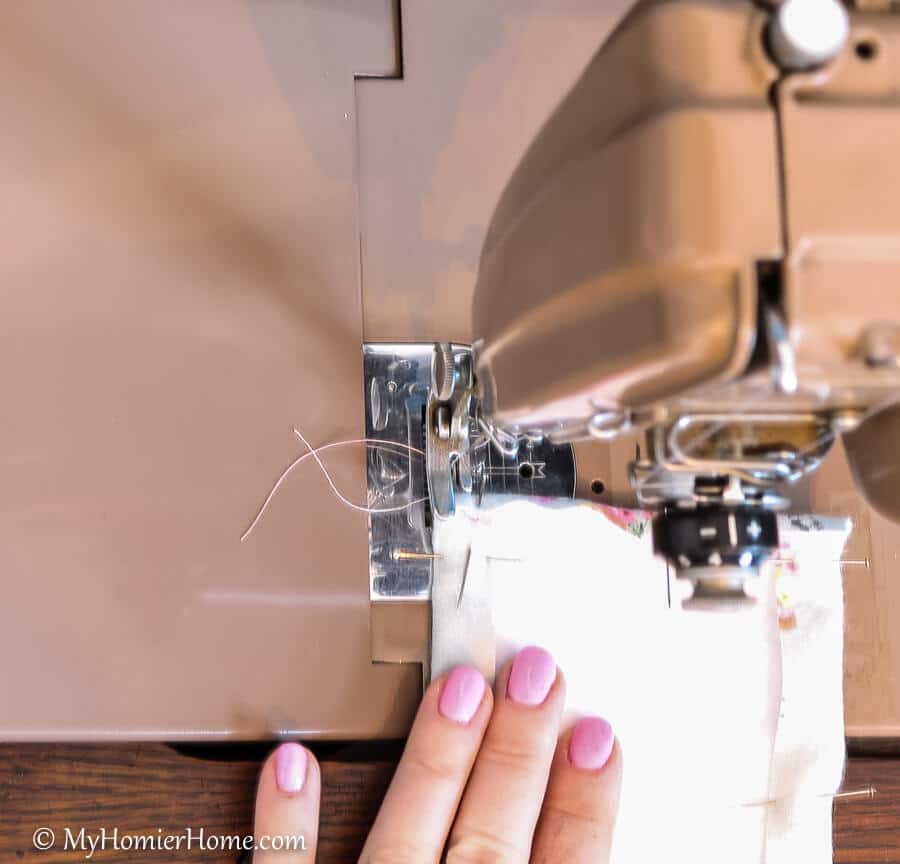
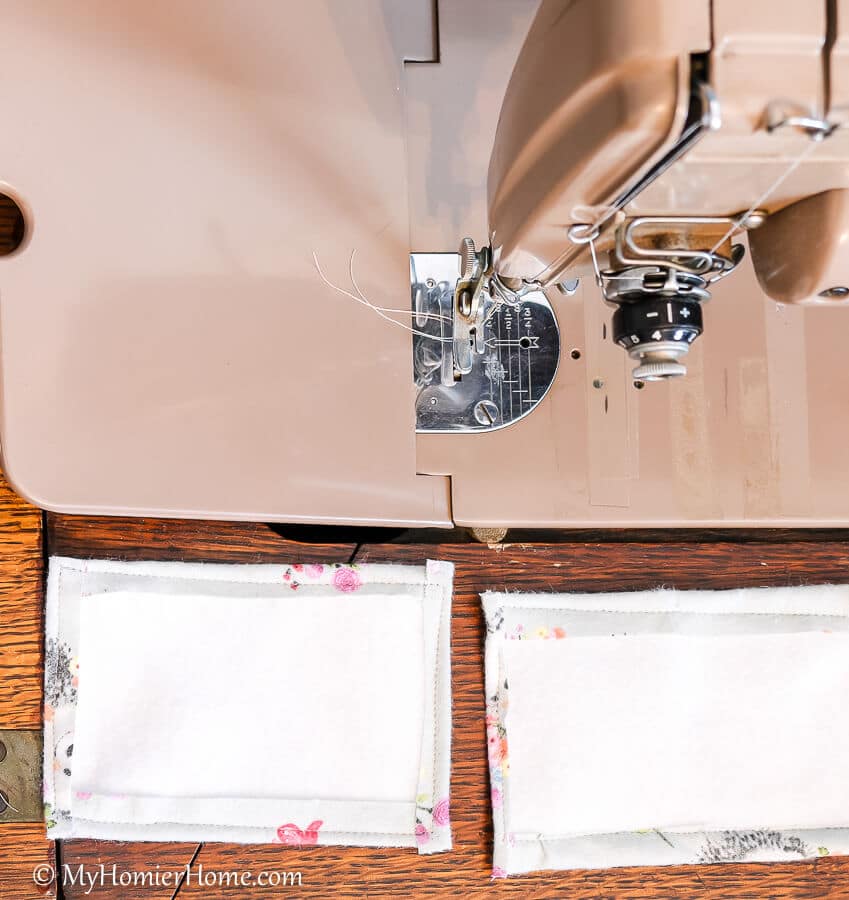
For each piece, sew around the edges, removing the pins as you go. Try your best to stay to the edges to make sure you get a straight line and get all the fabric secured to the felt.
7. Pin the ribbon in between the two pieces.
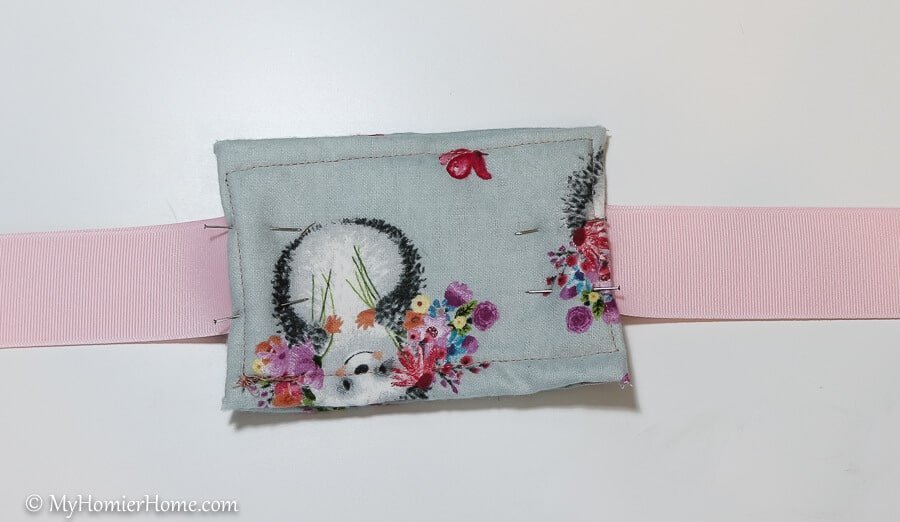
Once you have your two pieces sewn to their respective felt, you will want to place your ribbon in between the two pieces and pin the sandwich together – felt/fabric piece one, then two pieces of ribbon sticking out on each side, then felt/fabric piece number two.
I missed taking a picture of the inside of the sandwich, but I place the ribbon two pieces on top of each other and the 4 pieces meeting in the middle.
You are essentially making the ties that will go around your door knob.
8. Sew the ribbons and pieces together.
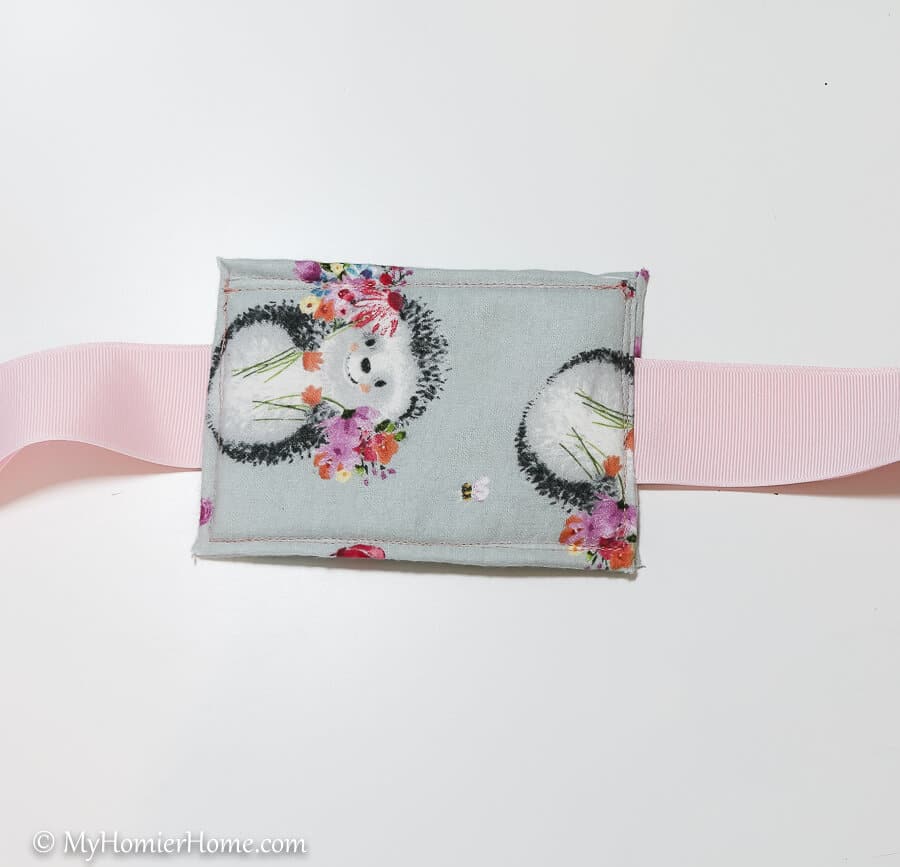
Sew around the edges of the sandwich to secure the two felt/fabric pieces and ribbon together.
Try to follow your sewing lines from the first stitch as best you can.
The side I have shown here was my not so perfect side, but you can see when it is attached on the door, I put this side face-in.
So, if it is not perfect, don't sweat it.
9. Tie your door muff to the door knobs.
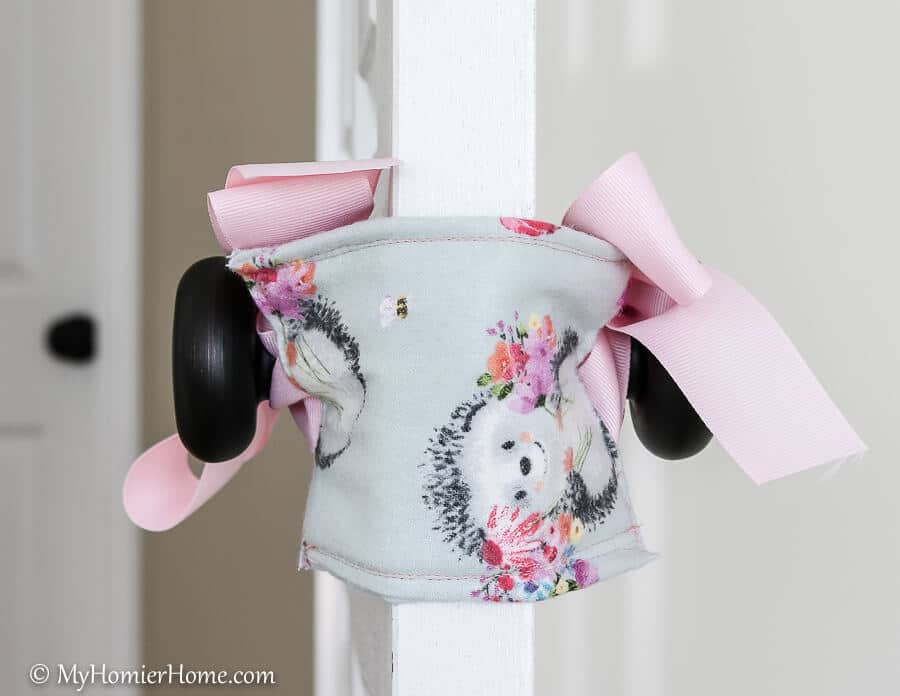
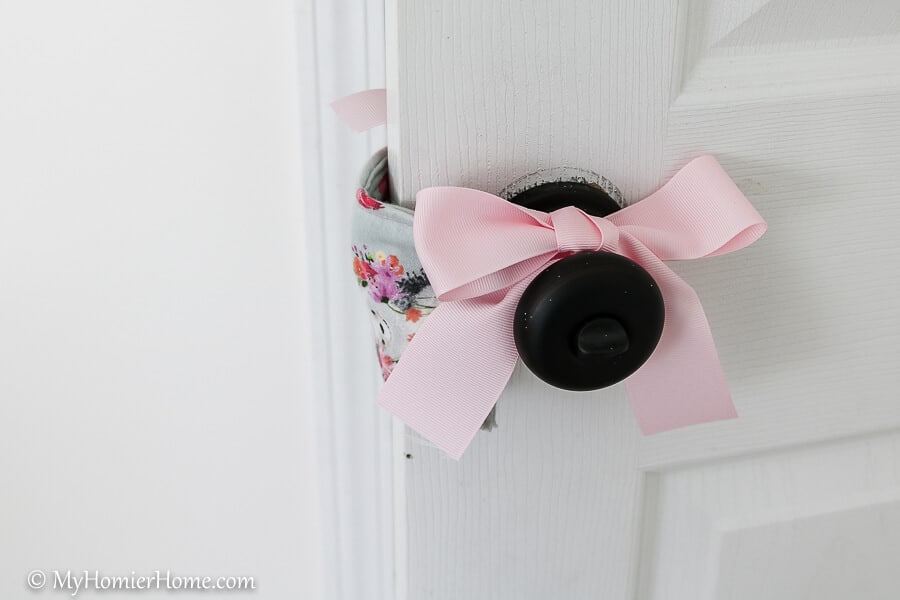
Once your DIY Door Muff is secured together, tie it around each door knob and test it out.
Not only is it functional, but it is pretty to look at, too!
Drop a comment below and let me know what you think!