How to Stencil an Accent Wall | DIY Faux Wallpaper
Learn how to stencil an entire accent wall to give your room a wallpaper effect. Supply list, steps, and tips all listed here.
Ever walk into a room and think… this room is sad, really sad?
Our guest room started with everything stark white and little to no character.
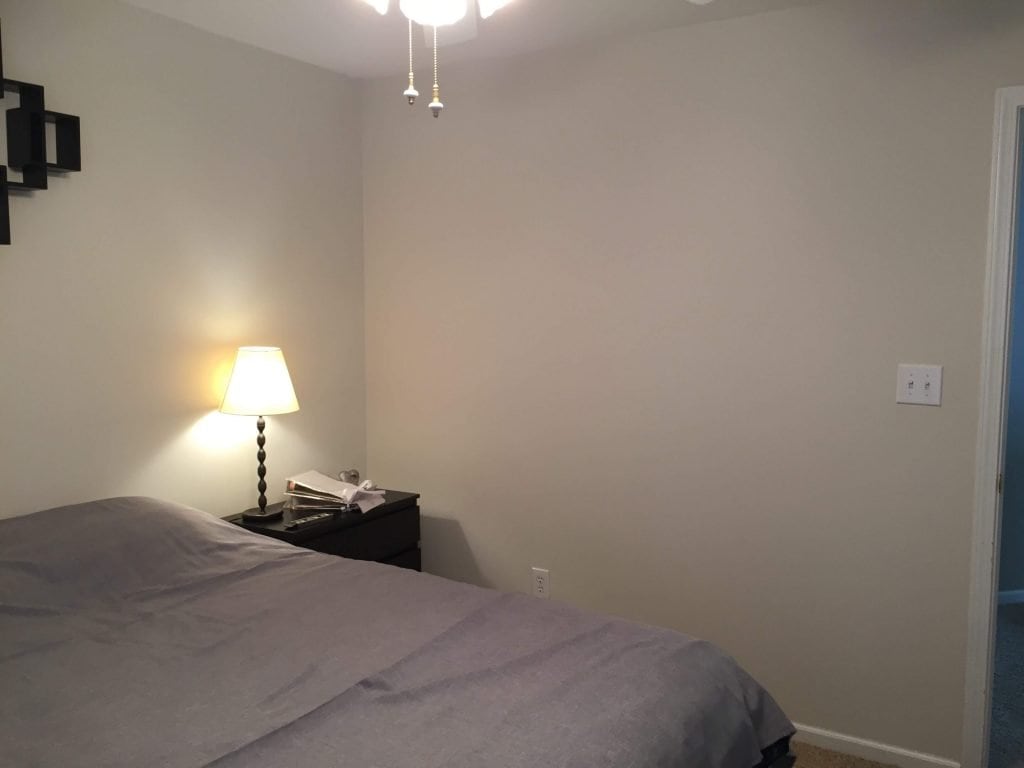
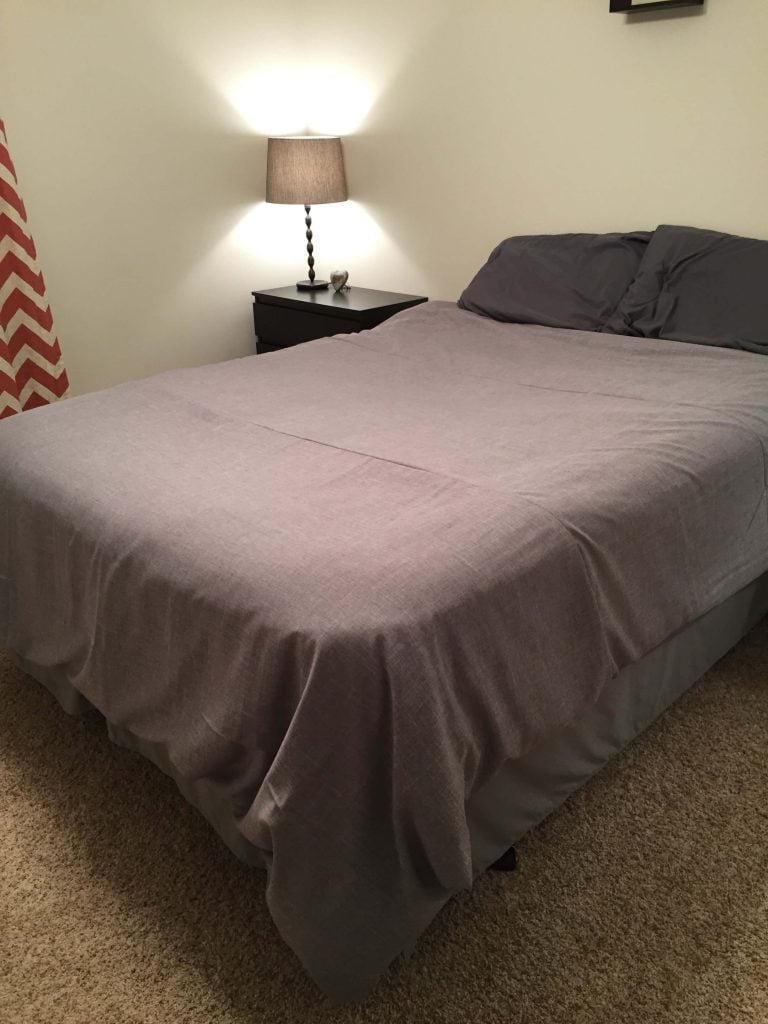
I made the duvet shown below as my starting point in hopes to liven it up, but it still needed something more.
Lucky for me, this was the one room in our house (the only room actually, so far) that my husband said, “Do whatever you want.”
JACKPOT!
He is so strange because he cares about things I think he shouldn't, but doesn't care about things I think he would.
Any who, taking this once in a lifetime opportunity to be a free spirit in the world of decor, I decided to stencil an accent wall.
Ya, baby!!
So here are my steps and tips on how to do what I did, but without the mistakes.
Table of contents
Step 1: Pick paint colors & your stencil.
Michaels has a pretty good selection. You can find the one I used here.
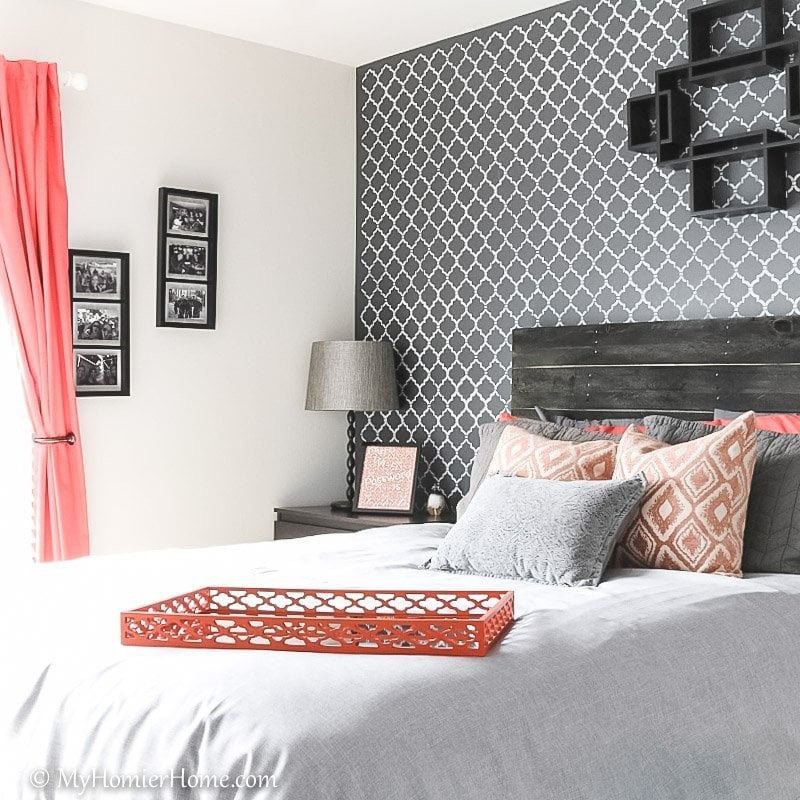
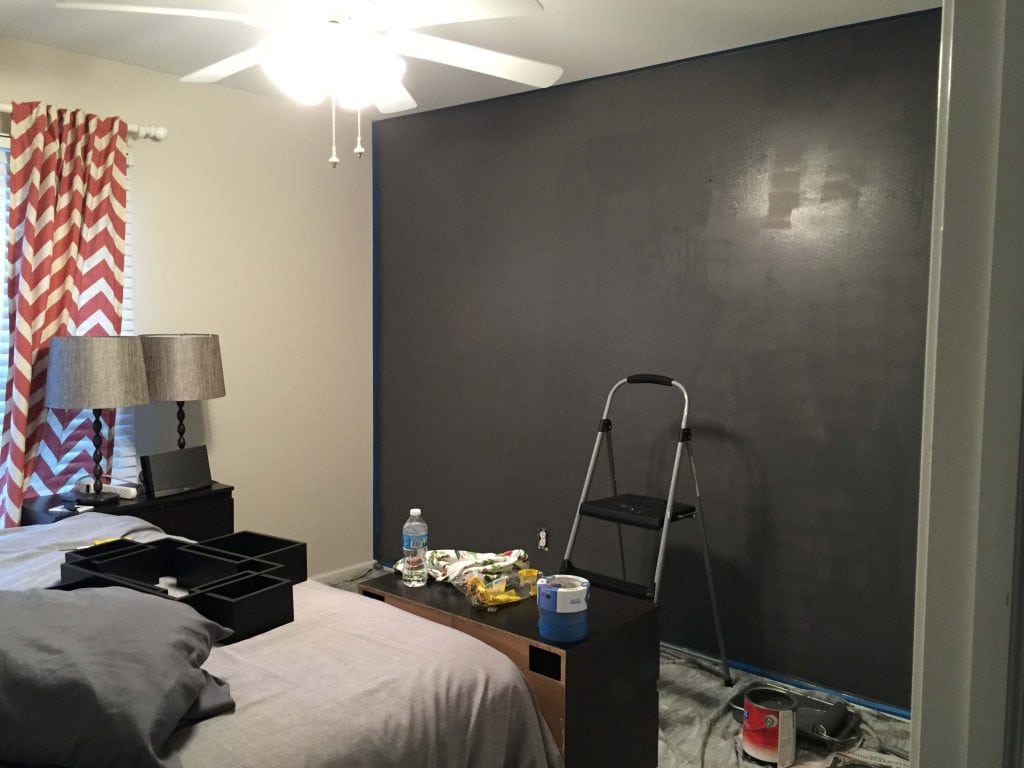
I ended up going with Sherwin-Williams Peppercorn and an orange top coat for my paint colors.
When I went in to Sherwin-Williams, she told me because I was picking a dark background color, I would need a primer, so I purchased the recommended primer along with my two paint colors.
Tip: If you need primer, tint it the color you want the stencil to be.
In hindsight, if I would have known better, I would have tinted the primer in orange.
Because I didn't, as you can see in my decided finished product later, I ended up scrapping the orange for fear I would have white sticking out if the stencil didn't line up the right way.
Step 2: Gather your tools.
Here's what I used:
- Old sheets as drop clothes
- Paint and Primer
- Paint roller
- Extension for roller or a ladder
- Paint pan for roller
- Regular paint brush
- Stencil brush
- Stencil
- Dry paper towel
- Laser level (Chalk optional if your laser level is not the best)
- Painter's tape (used for holding stencil in place)
Optional
- Damp rag (in case of mistakes)
- Your favorite tunes
- Painting apron
Tip: Remove your jewelry when you are painting.
I always end up having stuff all over myself, so I always try to remember to take off my wedding ring at the least.
Once I taped the wall, painted it, let it dry, and gave it one more coat, I was ready for the scary part… the stenciling.
Step 3: Mount Laser Level
Trickiest part about this whole thing is making sure the stencil gets moved straight across your wall.
If your top row is straight, you may think you may not need to use the level for the next rows, but I found it difficult to line it up underneath, so I used the level each time I began a new row.
Tip: Use chalk to draw the line from the laser onto the wall.
I used this method to minimize mistakes and to make up for a cheap laser.
I would recommend investing in a laser that has a longer range depending on how big of a wall you are stenciling to save you some aggravation.
Tip: Make sure you are keeping the stencil the same way throughout the project.
I stopped in the middle because I had started at night and got tired and when I started back up again the next day, I forgot which way the stencil had gone, so I think I lined it up upside down for one of the rows – not the end of the world, but I noticed.
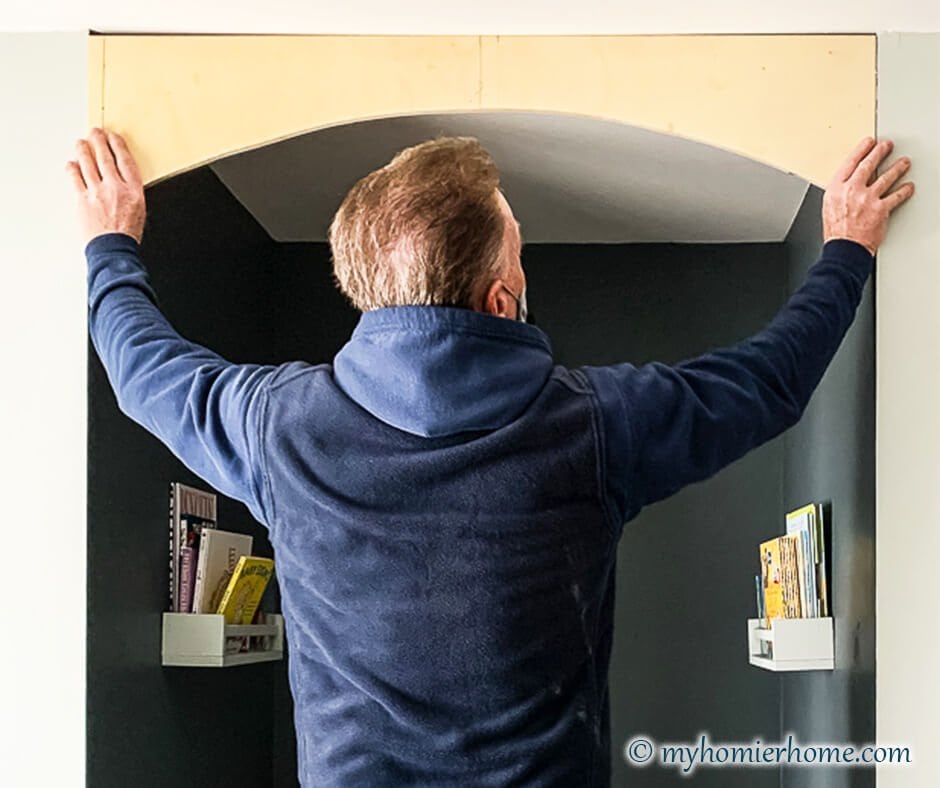
Step 4: Hang the stencil with painter's tape.
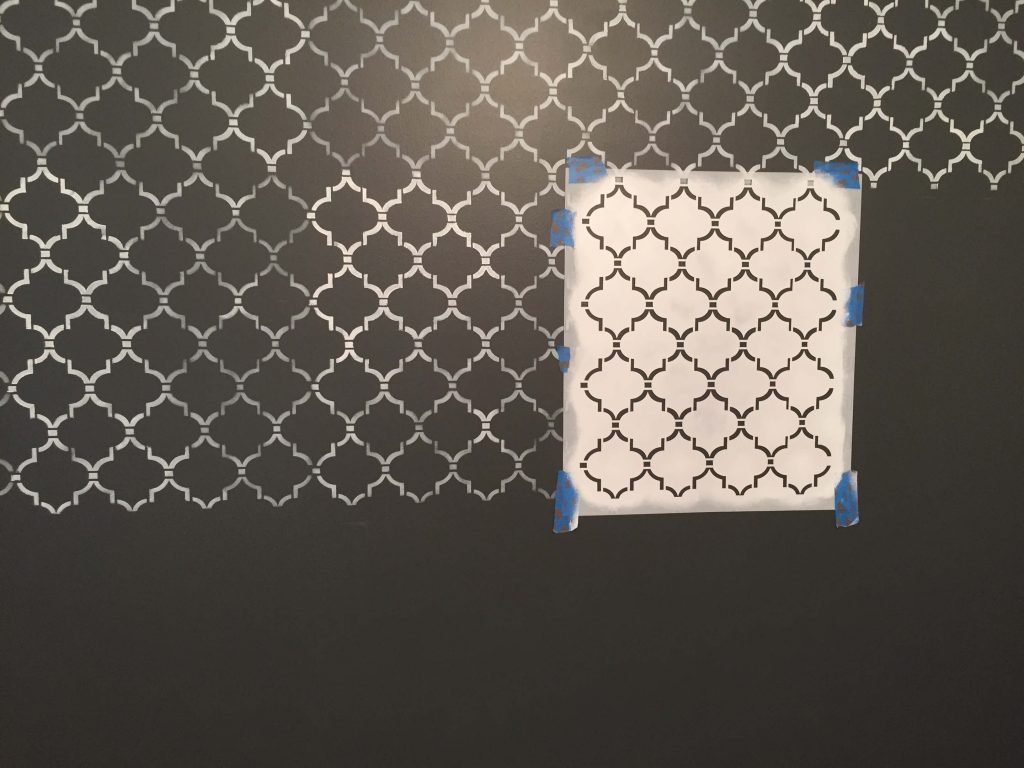
As you can see from the above picture, I used about 8 small pieces in the various corners and sides to keep it from moving while I was painting over it.
When I needed to move the stencil, I peeled the top corners first and then gently released the other pieces.
I did use the same pieces of tape the whole way through the project.
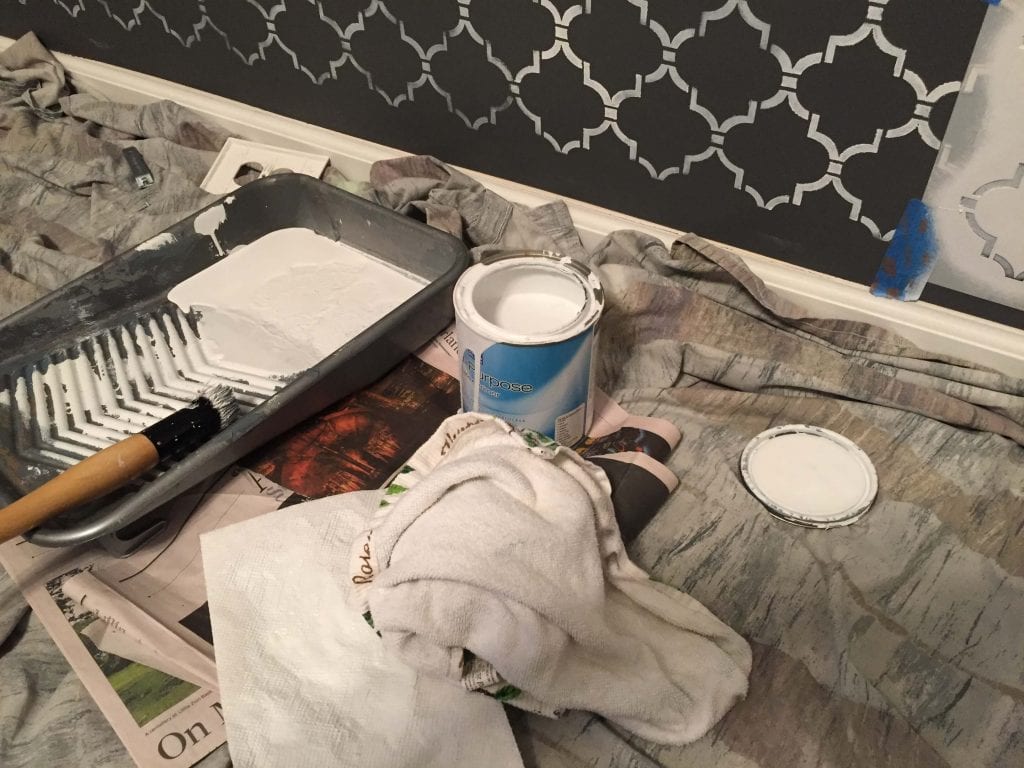
Step 5: Use a circular motion with your stencil brush.
It is important to note that when you first start, you think you need a ton of paint on your brush to get the full color, but if you start with too much paint, it can bleed through the side of the stencil causing mass-chaos.
Ok, not really mass-chaos, but you'll feel better if it doesn't come out all weird.
Tip: Dip your stencil brush into the paint about 1/4″ and then brush the excess paint onto a paper towel in a circular motion.
The further along you go through your project, the better you'll be able to gauge how much paint works for you.
Tip: Before moving the stencil to paint the next set, make sure the stencil color is even. You will not want to go back and have to line up the stencil again to make it darker.
Everyone kept saying, “You're really going to go back over twice with white than orange?”
I kept thinking, how hard could it be??
I am happy to have been your guinea pig, so you can not make the same mistakes I did.
You do not want to go over the stencil again once you are done.
Coat evenly the first time.
Here's what it looks like if you don't coat evenly.

At first it looked kind of cool, until I had to take a picture of it.
In my head, I was thinking, paint the gray wall, lightly paint the stencil with primer and then go back over it with the orange.
Because I did make the mistake of doing it light first, I ended up just going back over it with the white and scrapping the orange over that.
Two times was enough, but again, if you want color, tint the primer (if your background color is dark) and do it evenly the first time.
All I'm saying is when you start a project, remember flexibility is key if you want to keep your sanity.
What do you guys think of the finished product?
Also check out my experience building the headboard for this bed featured in this picture, here. Happy DIYing!