
How to Hang Artwork Like an Interior Design Pro
Don't make this common decorating mistake and learn how to hang artwork in your home like a pro.
One of the most common decorating mistakes is not hanging your artwork correctly.
I'll admit.
I'm one of those people… or at least, I used to be one of those people.
I still have a few pictures to fix, but that's why today's post is so important.
These are the quick and easy to follow rules so you never have to stare at mis-hung artwork or take the time to re-hang anything.
Be sure to pin this one for later on Pinterest to be able to reference it over and over again.
Let's get to it!
Jump to…
Disclaimer: This post does include affiliate links for your convenience. This is at NO additional cost to you but earns me a small commission. To read more, check out our disclosure policy. As an
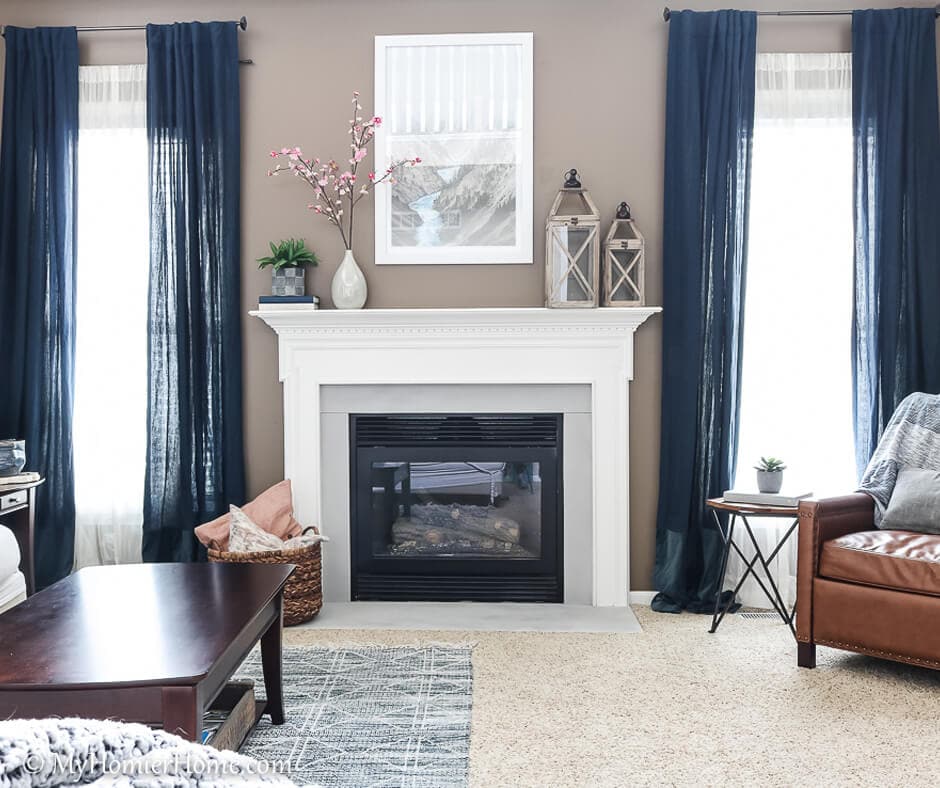
How to Hang Stand Alone Artwork
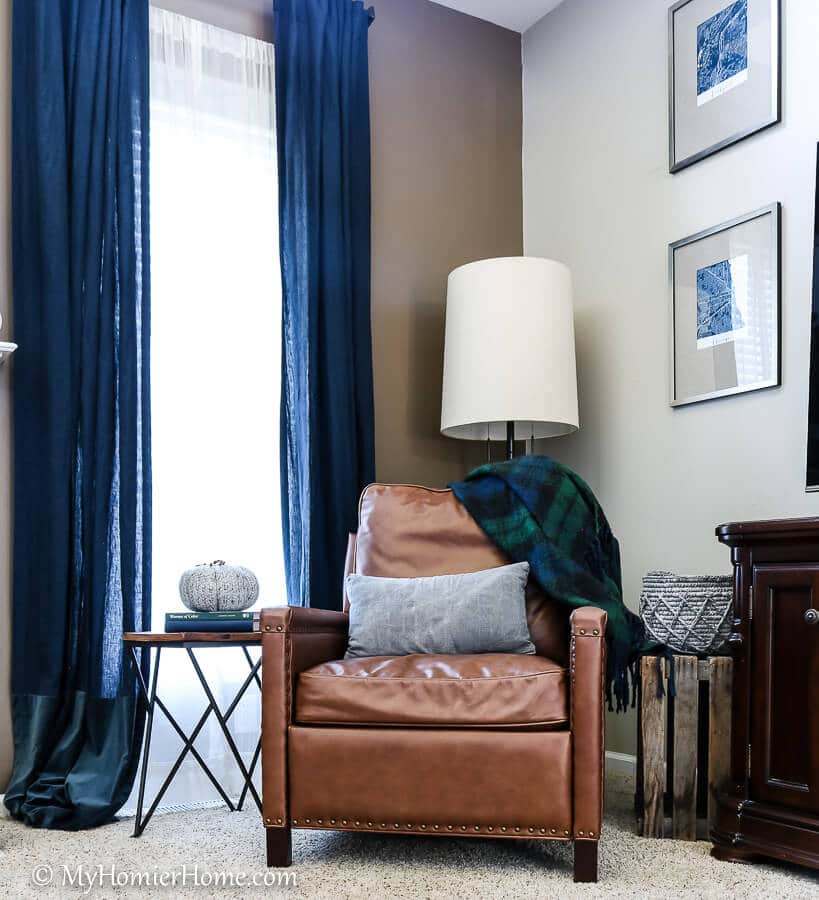
Stand alone artwork, like what you see in my living room above can be a bit tricky if you don't know what measurements to follow.
Now, for this tutorial, I'm going to reference the lowest piece of artwork to the right of this chair to give you an example.
Even though this is technically a gallery wall, I'll talk more about how to adjust for gallery walls in a later section.
First things first, the general rule of thumb you want to adhere to is to hang your stand alone artwork between 57-60 inches from the center of the artwork to the floor.
If you have low ceilings (below 8 feet), the rule gets altered slightly.
If this is the case for you, divide the wall into fourths and hang your artwork in the third section up from the floor.
Now what does it mean to hang a piece of artwork 57 inches on center?
Let me show you in the next section.
How to Measure the 57″ on Center Rule
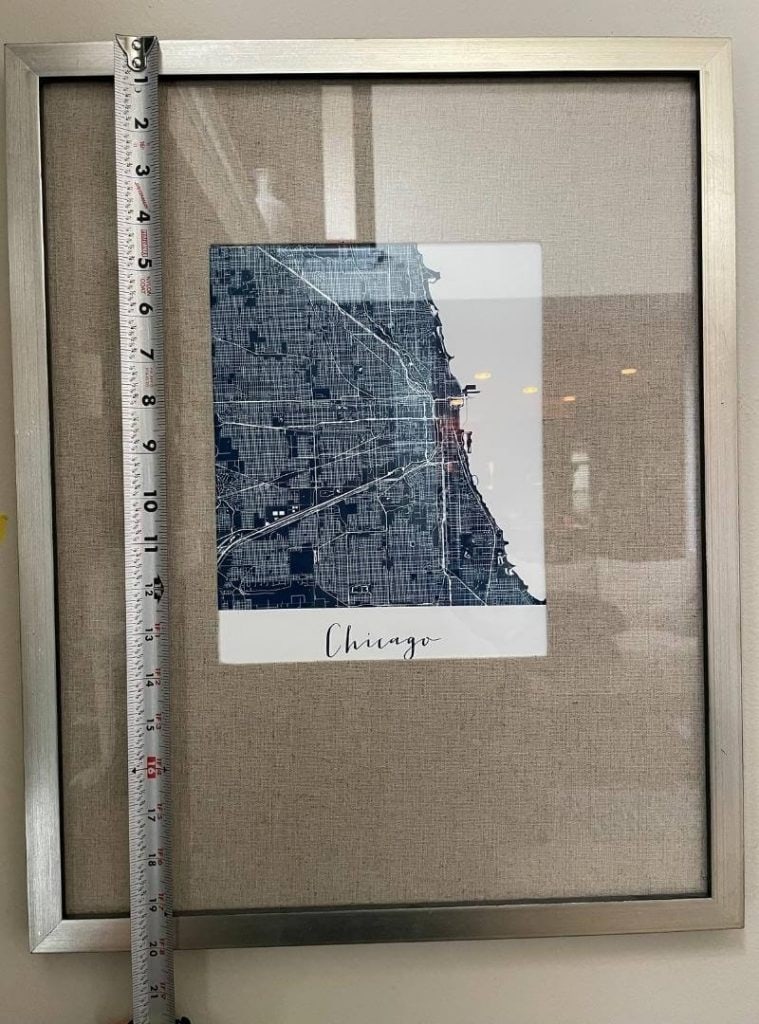
To get the right measurements and hang your artwork appropriately, first measure the length of your artwork. Then divide that length by two.
So in my example above, we would say the artwork is 20 inches long, so half of that is 10 inches.
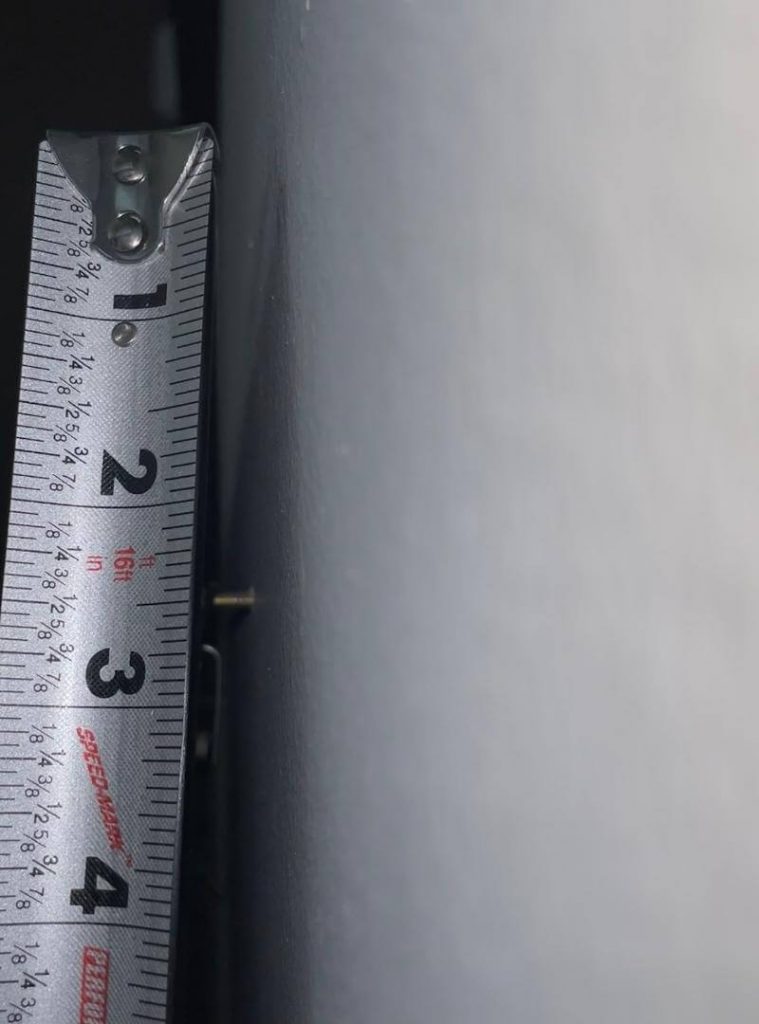
Next you want to measure the distance between the top of your artwork and the hanging mechanism on the of the artwork.
In my example here, we would say that the hanging hooks are 2.5 inches down from the top of the artwork.
Once you have these two measurements, subtract the second measurement from the first.
So in my case, 10 inches minus 2.5 inches is 7.5 inches.
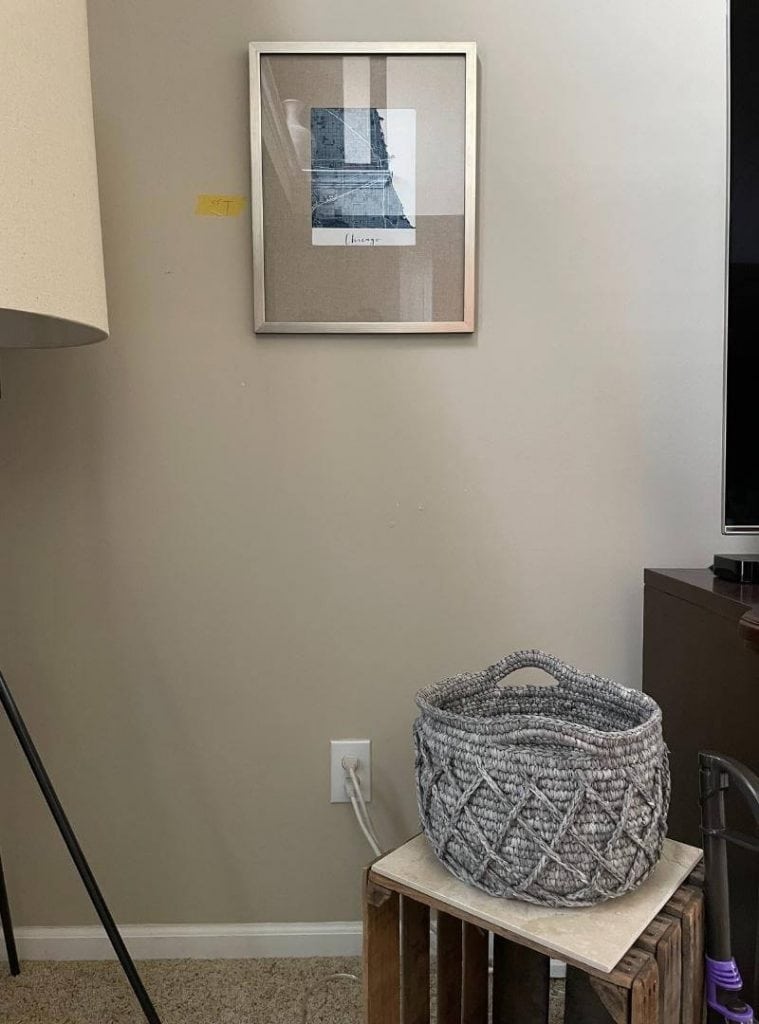
Lastly, add 57 inches to the number you found in the last step (or any number between 57 and 60).
For me, 7.5 + 57 would give us 64.5 inches from the ground to where I should drill my screws for hanging.
How to Hang Artwork Above Furniture
Now let's talk about hanging artwork above furniture.
One of the big reasons I don't share a lot of our front room is because I have yet to go back and fix the main piece of artwork to fit this guideline.
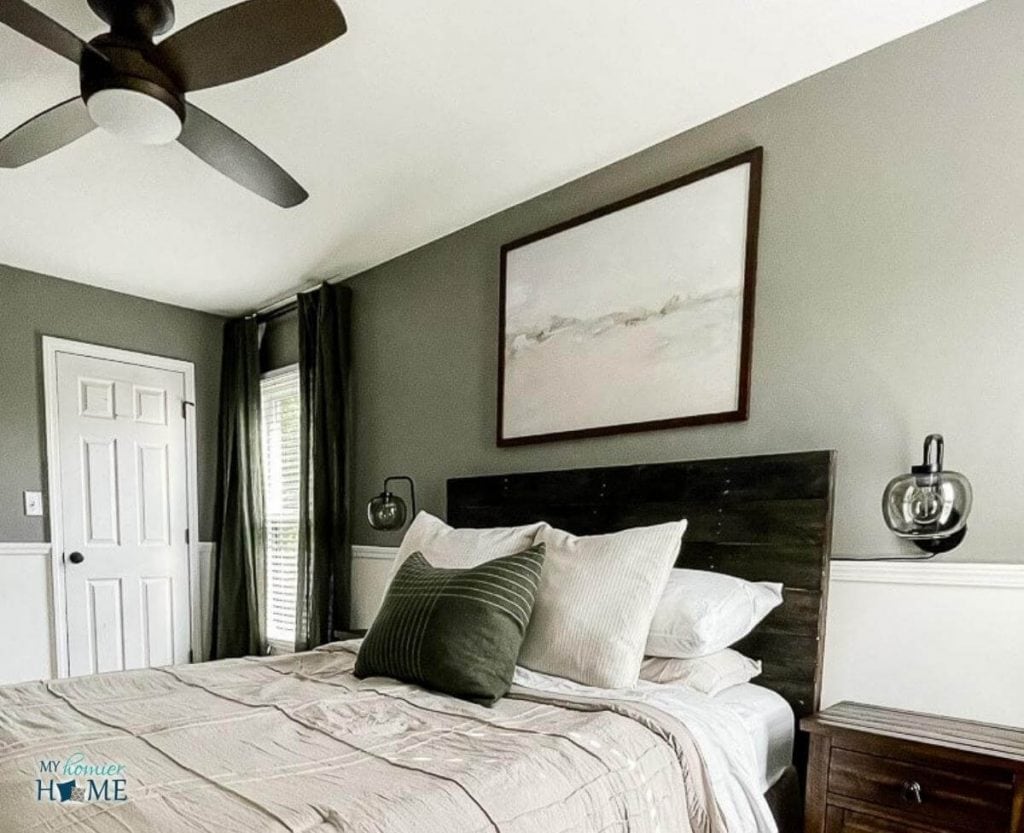
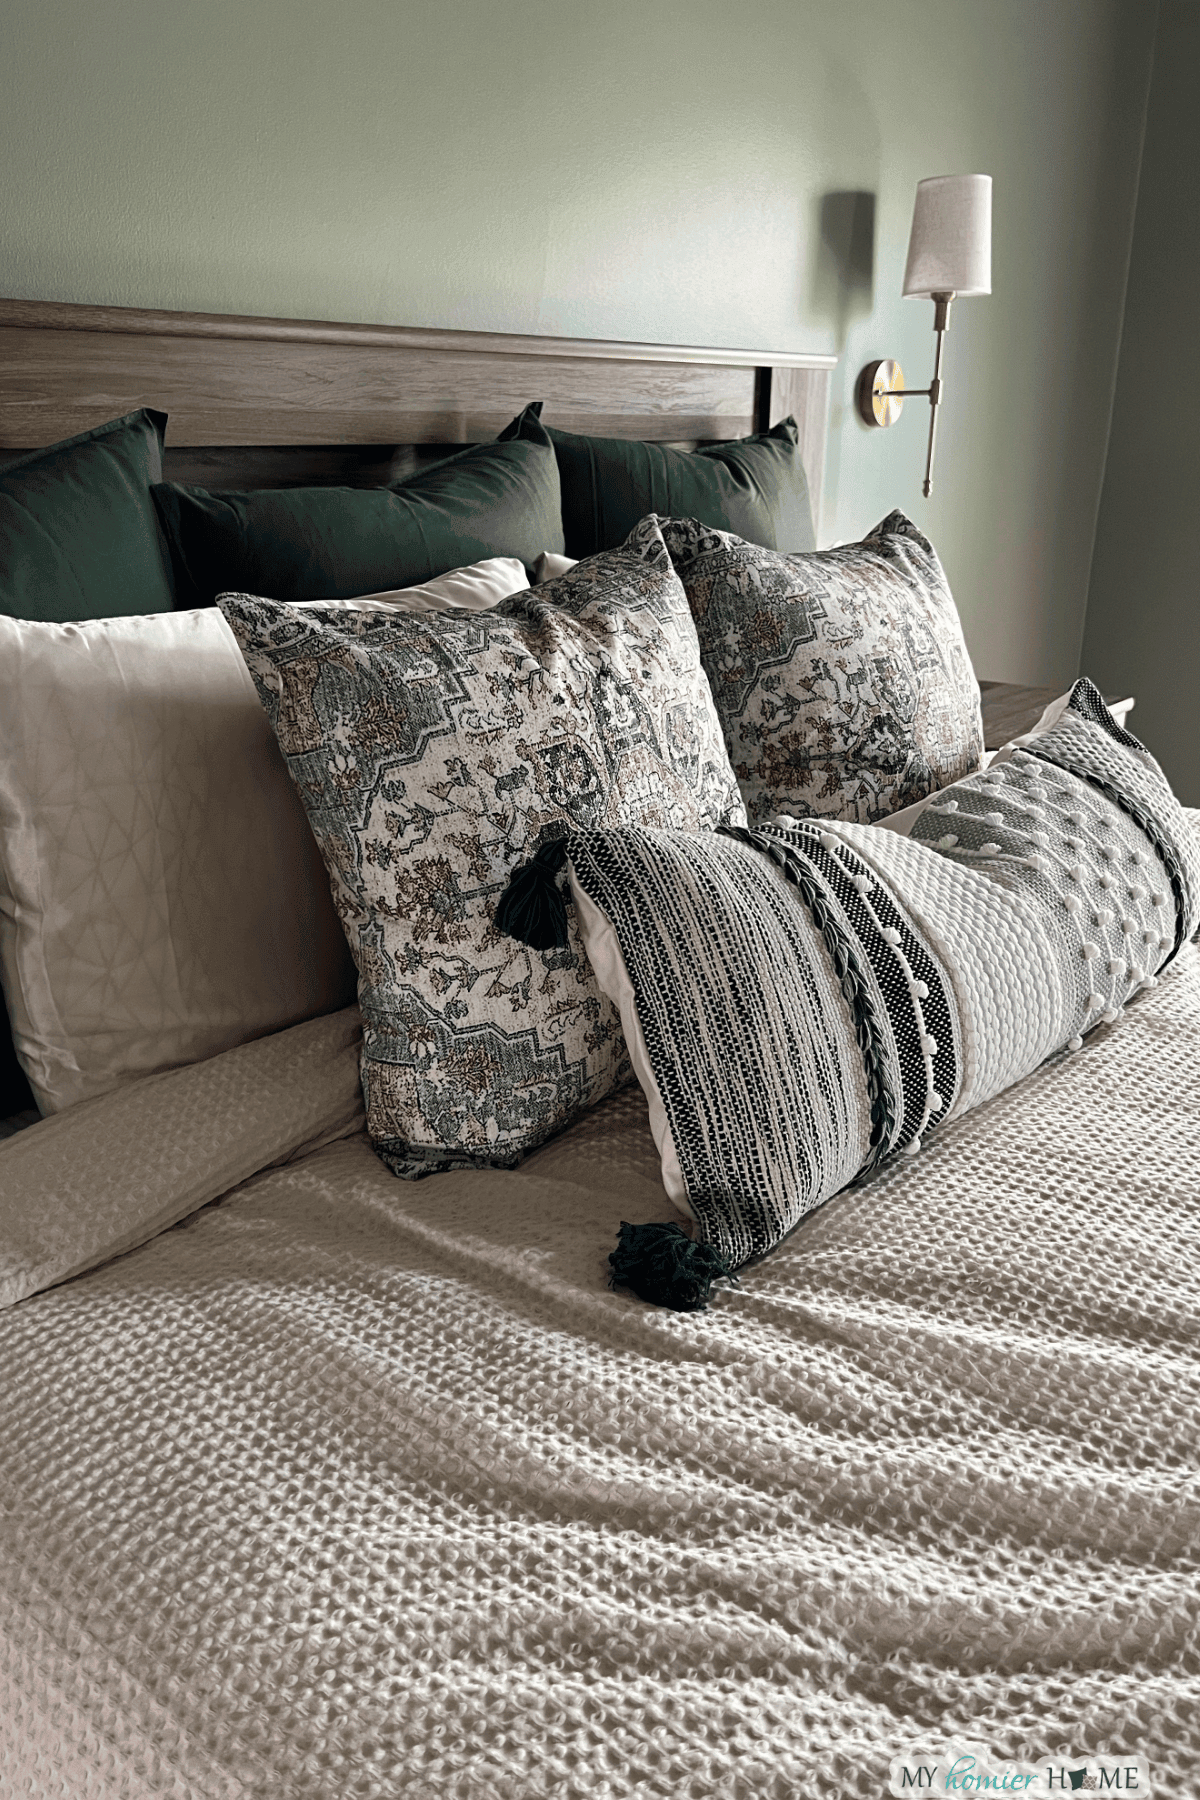
But the good news is that the modern vintage guest bedroom above is right on the money!
Here are your quick reference rules to follow when hanging artwork above furniture…
- If hanging artwork above a sofa, measure 8 to 10 inches above the back of the sofa. This is where the bottom of your artwork should lie, even if that breaks the 57 inch rule.
- If you are hanging artwork above a mantel and/or headboard like you see above, measure 4 to 6 inches from the top of the mantel or headboard to the bottom of the artwork.
- For the width of the artwork, you should always measure the width of your furniture piece and multiply by two-thirds to get the width your artwork should be.
- If you're hanging multiple pieces above a piece of furniture, still follow the two-thirds rule above for total width of the pieces combined, but remember to allow 2 to 5 inches between each piece in your measurements (I prefer 2 inches, but you can choose).
How to Hang Gallery Walls
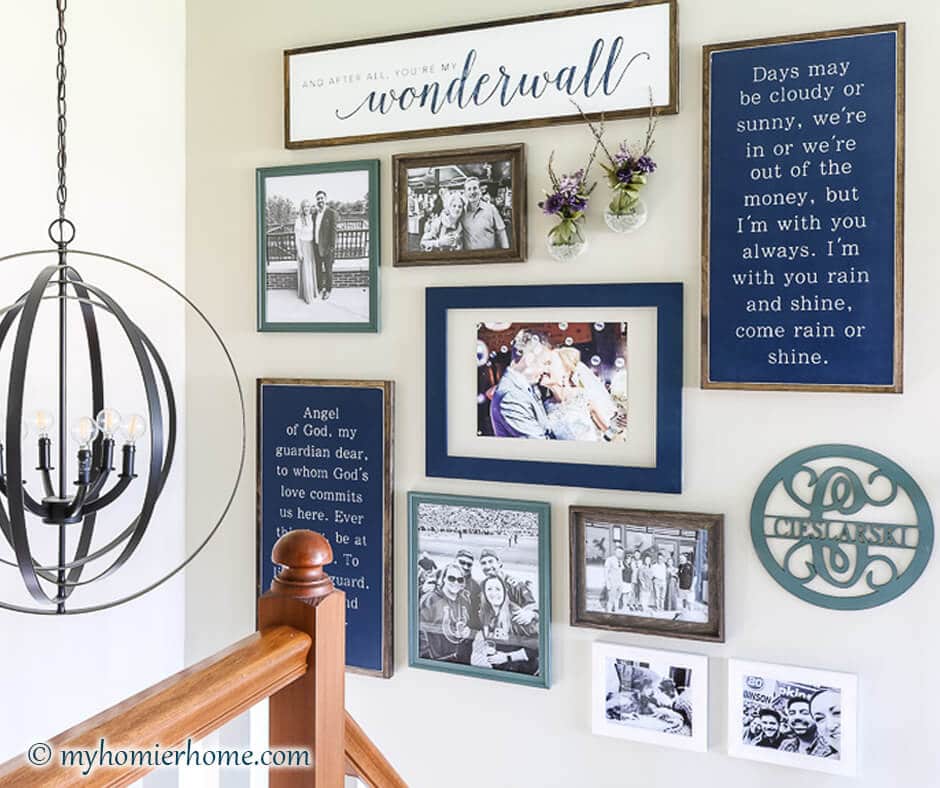
I wrote an entire post on how I mapped out this gallery wall on my stairs, but there are some quick reference rules to follow here too in addition to what we discussed in the other sections.
- Leave at least one foot from the ceiling to the top of any piece of artwork.
- Don't forget to factor in 2 to 5 inches between pieces of the gallery wall.
- Use the two-thirds width rule.
- Keep the most visually heavy pieces in the bottom left and work your way to visually lighter pieces as you move up and to the right.
For more tips on creating gallery walls and/or hanging gallery walls, definitely visit those respective posts.
Artwork Hanging Tips
Before I go, here are a couple of tips that I think you'll find helpful as you go about hanging and/or assessing your artwork.
- The larger your wall space, the larger you can make your artwork.
- If you are working with a really tall ceiling, keep your artwork in the bottom two-thirds of the wall.
- Hanging pictures in hallways follow the same rules above, but keep your artwork to one side of the hallway.
- 3M picture hanging strips are amazing to keep pictures level that are hung by one screw.
- Don't forget, leaving blank wall space is a good thing for the eye to rest. Hence, the two-thirds rule.


These are all great tips to share.