Planning My Home Office with IKEA Furniture + My Color Choice
Planning the right IKEA furniture for your Home Office Craft Room can be daunting. For my Spring One Room Challenge week 2, I’m sharing the steps I took to plan with IKEA furniture and the paint color I chose!
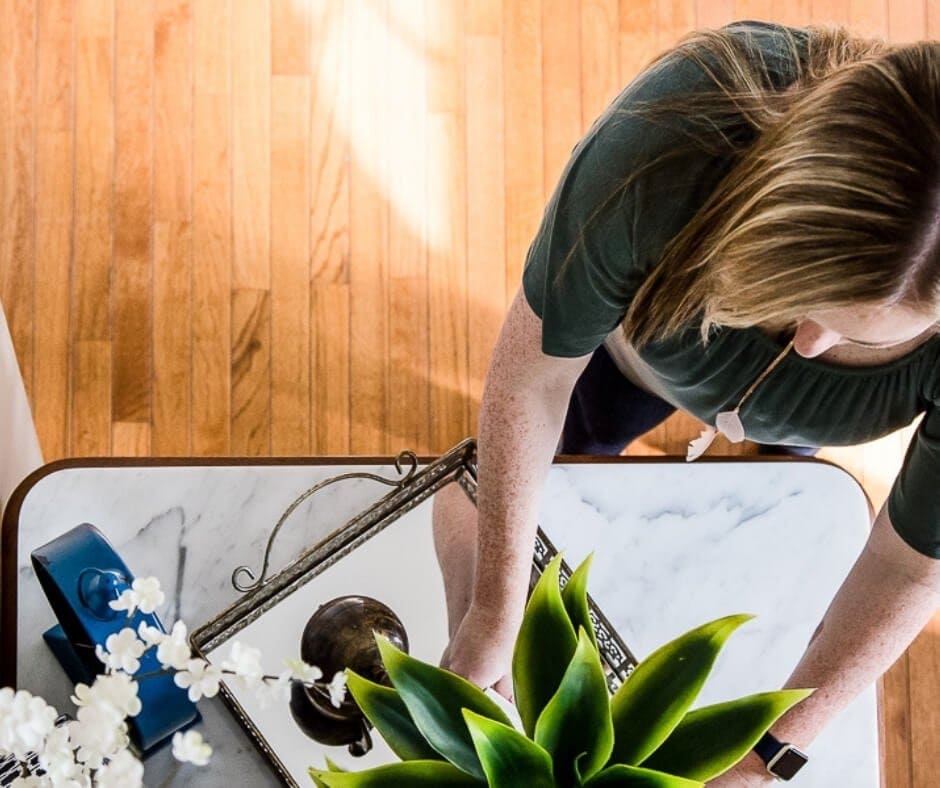
Oh, IKEA, how we love you!
Any time I’m on a budget and need some functionality in my life, IKEA is my go to.
I am lucky enough to have one of their stores right down the street. It was just built a couple years ago and I have utilized it to the fullest.

This week for the One Room Challenge, I’m finally ready to get some furniture back in this room because I picked my paint color!!! Oh ya, oh ya!
It took me a long time of scouring the internet for the perfect color, but after seeing so many beautiful rooms with Behr’s Blueprint paint, I had to do it!
This color totally fits the vibe I’m going for! It’s just bright enough, but subtle enough to not be overwhelming.
I wanted something that would allow me to feel slightly energized to be as productive and creative as possible, but also something that was a bit muted as to not distract.
This weekend begins the transformation!
- Week 1: The Plan & Before Photos
- Week 2: Planning My Home Office with IKEA Furniture + My Room Color Choice
- Week 3: DIY Office Countertops + My Elfa Gift Wrapping Organizer
- Week 4: DIY Pinboard, Craft Tool Organization + Accessory Choices
- Week 5: 5 Tips for Choosing Office Lighting
- Week 6: The Reveal | Before & After
The big reveal is going to be so much fun, however, I need to get myself in gear for real.
Now that I have the paint color chosen, it’s time to get serious about the furniture.
Here are the steps I took to plan my home office using IKEA furniture.
Table of contents
Step 1: Research online before going into the store.
I don’t know about you, but I have walked out of IKEA before thinking, “What just happened?”
You find yourself spinning like a Disney character through the model rooms and before you know it you’re kicked out into the warehouse of overwhelm.
Don’t get me wrong, I love IKEA, but without a plan, I often leave with nothing and a strong need to lie down.
The only thing I have found to combat this cycle is to do my research online first before trekking into the store.
I add all the things I love to my cart and then weed them out with the next few steps of the measuring process.
I’m getting so good now, I can almost name all of the bookshelf options! #ikeagoals
If you receive their catalog, that my also be good place to start for inspiration and to familiarize yourself with the names of their products.
I always tear out pages when I find something I like and put in a folder with that room’s name on it to save for later.
Whatever helps you feel organized and knowledgeable, I would recommend it before jumping head first into the wonderful world of the IKEA store.
Step 2: Measure all the things & draw a picture.
For my home office/craft room makeover, I measured each wall as well as the distance for doors and windows.
I like to use graph paper, the kind with all the boxes on it, in order to draw measurements to scale.
I try to make each box one foot to help give me a true visual.
It doesn’t have to be perfect, but at least I can get a real idea of what I’m working with from an aerial view.

After getting the general layout of the room, I wrote down measurements of all the pieces I found online.
With these measurements in mind, I tried a few variations until I found the one I liked.
It is important to consider the length and width of the furniture, but also the depth.
If you are working with any existing furniture, like my desk, be sure to measure and place that piece first.
Whatever you do, just be sure to do your math.
Double checking yourself will help ensure you don’t pick something that won’t fit.
Be sure to also leave room to breathe on the walls.
Packing things in too tightly can create a cluttered feel unless they fit seamlessly.
Also, by leaving some breathing room, you may allow yourself to have room to shift things when they are actually built.
With my room needing to house so much, I tried to be intentional about leaving some space.
You can see in some of the drawing below I was trying on different wall views as well.
I'm very much a visual person, so drawing some sketches usually helps me get an idea of how I want to space things.
It's not perfect, but it works!

Step 3: Finish your research at the store.
When you think you have the right layout and the right combination of furniture, it’s time to head to the store.
I printed off the items I decided on from the cart before leaving in order to help me find them easier with the associates in the warehouse.
I took one last look at each of the pieces built in the store before buying as well. This was just so I could have a clear picture of the size of each piece.
If you don’t feel like you’re ready to tackle the actual buying of the items at this step, then that’s okay.
IKEA allows you to order online and pick up at the store to save you time and energy as well as save you from having to pull all the pieces yourself.
If you’re prepared enough, this is the way to go. I found it to be so much easier than walking the warehouse as I’ve done in the past.
Now I cannot wait to start building these items!!
I want to make sure to get the painting done this weekend and let it dry, so I can build the items and put them in their rightful spots immediately.
Also, don’t forget to check in on all the other ORC guests’ progress this week. I’m headed over there right now to take a peak at a few of the project I’ve been eye-balling since last week.
Each week, I’m going to share my to-do list to help me keep track, but also to reference if one of your next projects is the home office too! Until next week…
My To-Do List
- Choose Paint
- Buy Paint
- Clear the room
- Paint the room
- Research & Purchase IKEA items
- Bookshelf with cabinet doors to fit the depth of a binder
- Filing cabinet
- Photography equipment storage
- Legs for craft table
- Sewing storage
- Countertop to go over my IKEA Kallax shelves – *still looking for something*
- White cabinet doors for IKEA Kallax shelves
- Build the IKEA furniture
- Buy new canvas drawer cubes for IKEA Kallax shelves
- Buy new drapes
- Take down blinds
- Hang drapes and sheers
- Clean up antique sewing table
- Buy a bigger garbage can
- Research office lighting
- Hang new office lighting
- Research statement ceilings
- Change the ceiling
- Cover existing pin board with fabric
- Find wall organization
- Hang new white board
- Organize desk drawers
- Buy new desk chair
- Buy new lamp
- Find organizer for gift wrapping
- Purchase accessories for desk and shelf