8 Decorating Tips for a Six-Week Room Makeover
Ready for your next room makeover? The tips in this post will help ensure your makeover runs smoothly.
Hi guys!! It’s been a minute! I took some much needed R&R after the One Room Challenge to enjoy my creation.
Now that both my living room and I are feeling refreshed, I wanted to share with you a reflective piece on what it was like to actually complete a room in only six weeks.
In short, it was amazingly difficult and rewarding.
Because of the quick turnaround time, procrastination was not an option, which was perfect for me. Make the plan, work the plan.
Of course, like any project there were ups and downs as well as a few tears shed over the ample decisions, but I’m very excited for the next round of the one room challenge coming in October.
Along with creating your vision and being true to yourself, there were so many other little things that came up through trial and error during this process.
These are the eight tips I will share with you today.
Table of contents
Disclaimer: This post does include affiliate links for your convenience. This is at NO additional cost to you but earns me a small commission. To read more, check out our disclosure policy.
1. Less is More.
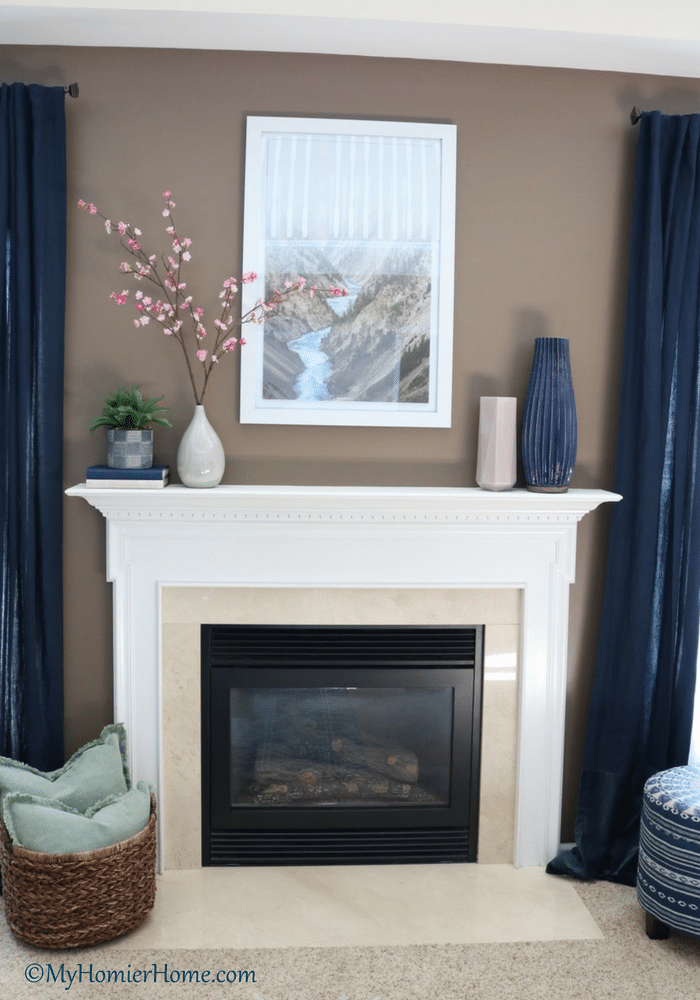
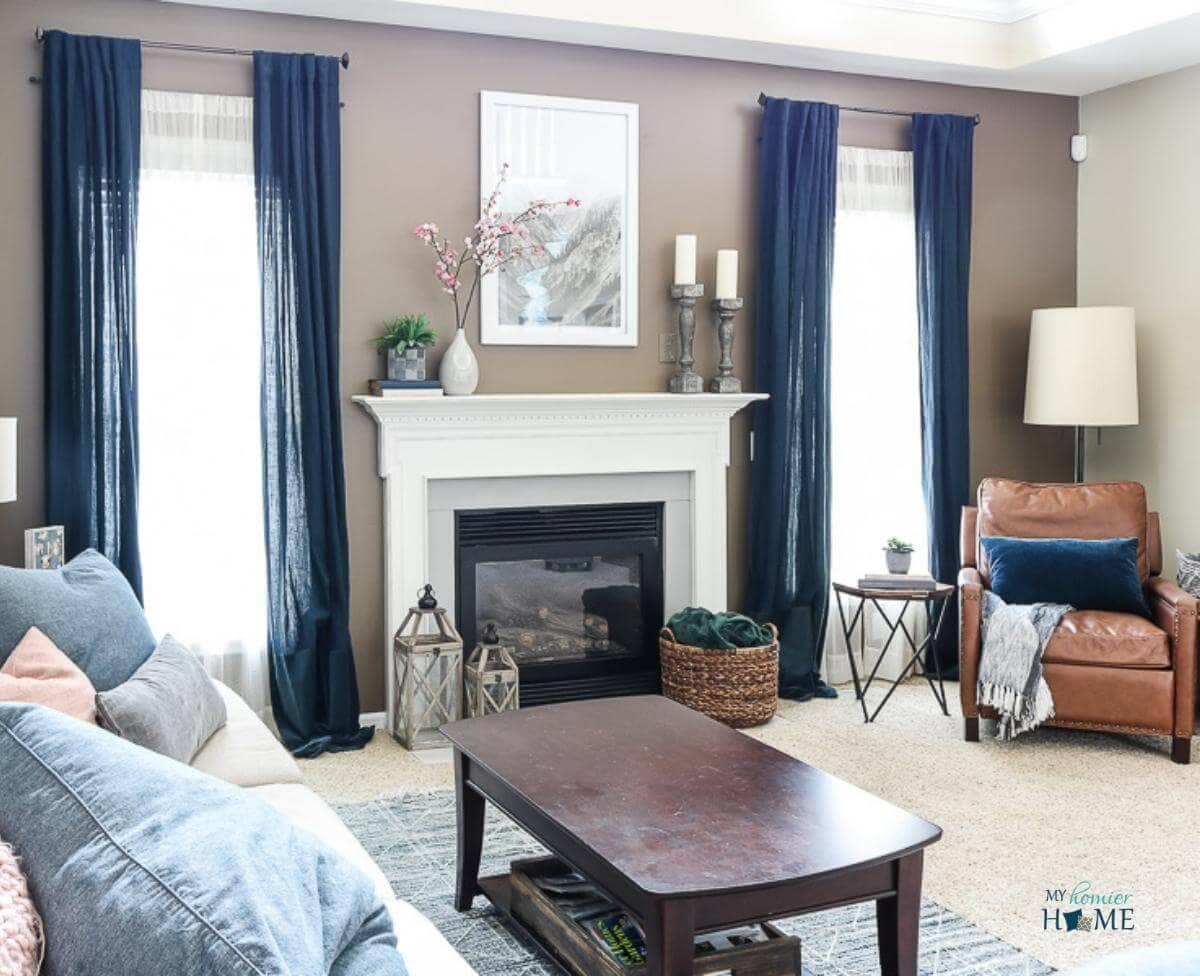
The catalyst for this project was two-fold, fix the mantel that was driving me crazy and rid my life of blank, boring wall space.
Simply enough, right? Not so much.
For such a small ledge, the fireplace mantel was my archenemy for awhile.
I started the way most everyone does – inspiration. I pinned beautiful mantels, kept a folder of what I loved from magazines, and even scoured my favorite bloggers for styling tips. From most room project guides, I was on track to the perfect mantel.
Only one problem… now I actually had to make the mantel my own kind of beautiful.
Once I had a vision, I “shopped my house” for decor I could repurpose and also spent countless hours at Home Goods, Target, and West Elm among others.
In my haste, I bought everything that would be remotely close to what I was after knowing I would I have to do some returns.
When I brought it home, I spent time “playing” – setting up, taking down, rearranging, etc. I would step away, take pictures, come back, reassess; wash, rinse, repeat.
Each time, however, there was just something off. Finally, it dawn on me… too much stuff is too much stuff!
From all the styling tips I read, they suggest certain types of items, but what I failed to realize was my style is much more simplistic than I was trying to mimic.
As soon as I took the top group of items I found and rearranged them leaving some space to breathe, it all came together. So, my lesson here is don’t forget sometimes less is way more.
2. Don't fear the patterns.
Anyone all of sudden humming this to the tune of “Don’t Fear the Reaper” by Blue Oyster Cult? No, just me?
Any who… Raise your hand if most of your home is made up of solid fabrics and/or subdued patterns?
Before the One Room Challenge, my hand was up for sure. However, during week 2, I had the privilege of discussing my project with one of the on-staff interior designers at West Elm.
She totally opened my eyes to the possibilities that patterns could provide a space.
I have read countless articles on the best ways to mix and match patterns, but it finally came together when I hunkered down and stepped out of my comfort zone.
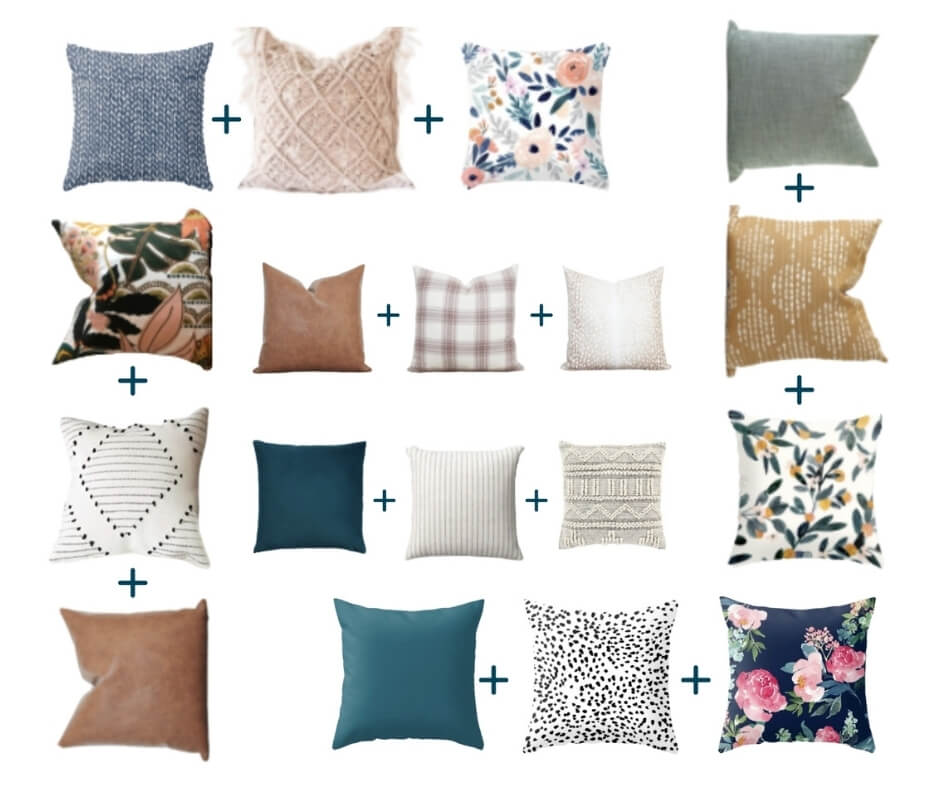
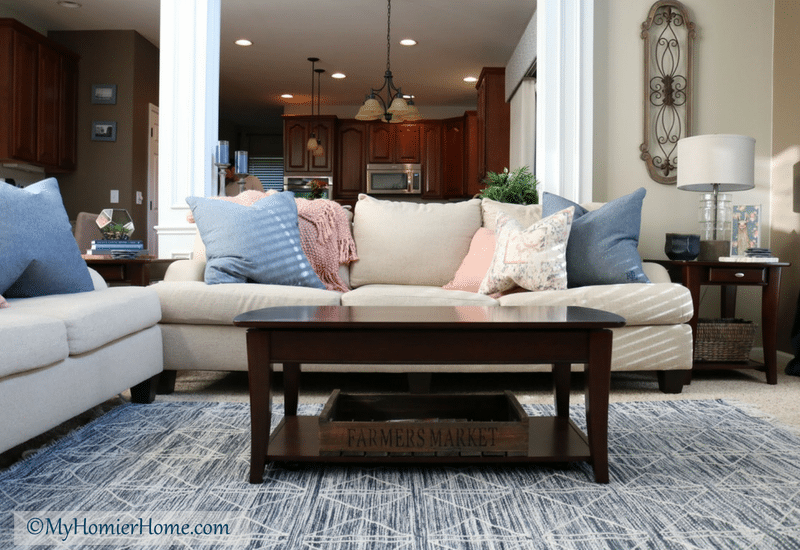
Now, I’m not saying to go pattern crazy, but I will say be open to the idea of adding patterns to the varying heights in your room in the way of rugs, pillows, book covers, frames, etc.
Find your favs, pick a small, medium, and large type pattern, and stay within your color palette.
Believe me, I didn’t realize what an impact visual interest from patterns would have on my space, but it worked wonders.
It could be what’s holding you back from feeling like your space is magazine-worthy, if you’re in to that sort of thing 😉.
3. Ask for help.
I think many of us have sense of pride in things we accomplish on our own.
I get all geeked out when I can do the “handyman” thing by myself, but it’s not always the best option.
Case in point, when I was moving the lamps from the living room up to the second story shelf – I didn’t want to wait/ask for help.
Lucky for me, my jimmy-rigged plan to “walk” the 6-foot lamps up each wrung only had one minor issue… I may or may not have squished the outer edge of my hand between the ladder wrung and the lamp about half way up leaving myself with a gruesome-looking bruise.
Truly, that was a better outcome than, oh say, the lamp tipping over on me and me falling into the furniture.
Not sure what I was thinking, but having stepped back to reflect, I need to be more careful and just ask for help.
The other side of this tip is asking for help when it comes to actually decorating.
It never hurts to get a second pair of eyes or bounce ideas around with a local on-staff designer at your favorite store or even a decor-loving friend (psst… if you don’t have a decor-loving friend, check out my consulting page).
After taking my ideas to Kirsten, the West Elm designer at my local store, I felt much more confident in what I was trying to accomplish.
Just the simple act of sharing my vision and walking through the store with her helped me work through some of the mental blocks I was having with the problem areas of the room.
Sometimes, all you need is another voice to help you stay true to your vision and brainstorm.
4. Neutrals are a great base.
If you are starting with a fresh room in which you need to buy furniture, I have found that the big furniture in neutral tones opens up a world of possibilities in accessorizing my space.
Because our couches were cream and our other furniture a deep espresso, I had the color wheel as my playground.
It was very freeing to know that the big stuff would work through any phase of my decor over time.
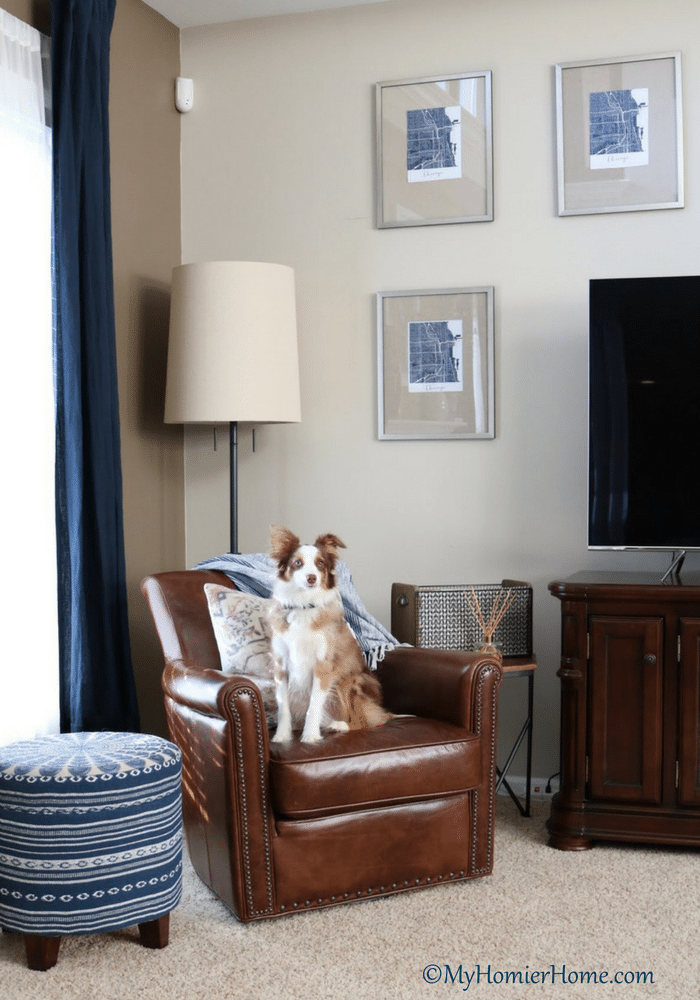
Now, with that being said, don’t forget accent furniture can break up the monotony, too.
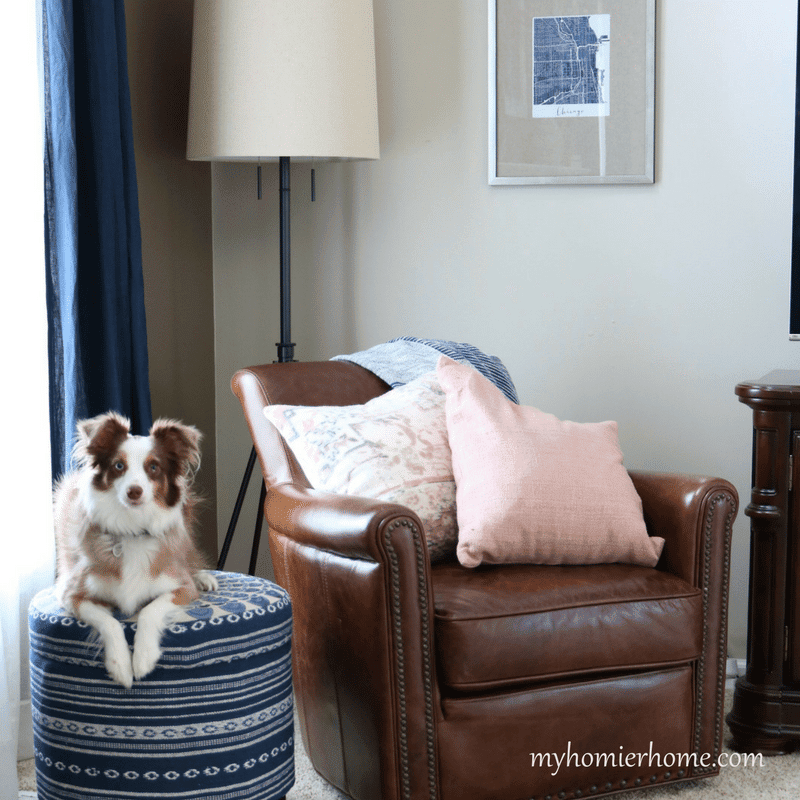
I love a good patterned chair and/or patterned ottoman like the one below.
5. Find what speaks to you
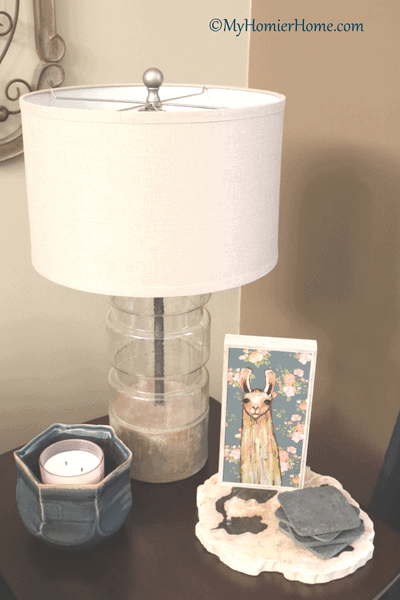
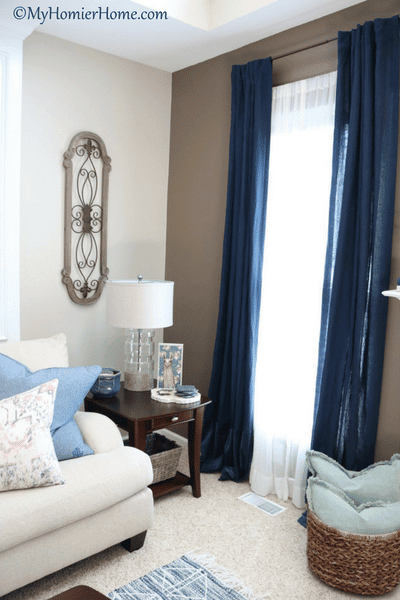
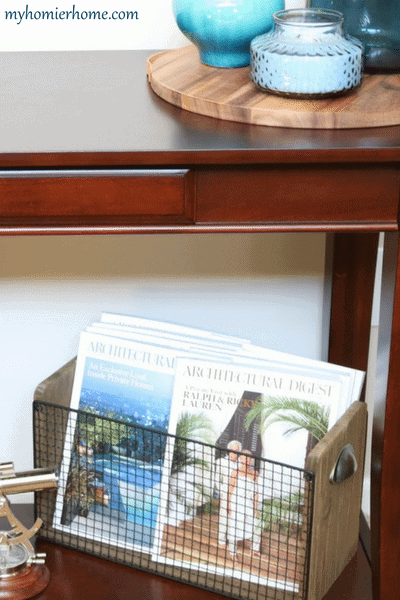
One of the best tips I received during the process of shopping for accessories in the living room was to only buy things that had meaning or spoke to me in some way.
For instance, the little llama on the end table reminded me of my sweet little fur-baby.
Also, the muted patterned pillows on the couch made me feel cozy, but gave me the rustic vibe too.
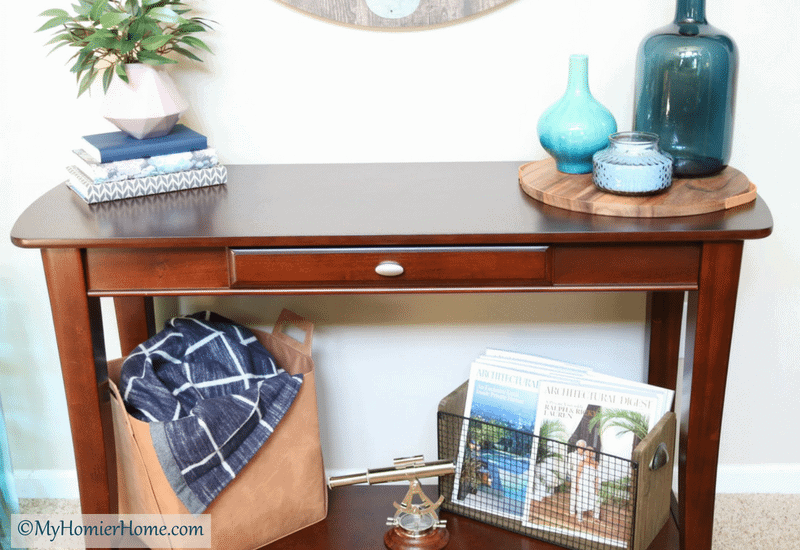
The architectural digest magazines that sit in the bottom of the console table were in a stack of my stuff from high school.
Growing up I wanted to build houses for a living. I even went to school to be an architectural engineer before switching to math after my first calculus course, so incorporating these into the room was very meaningful for me.
The maps that sit in the gallery wall above our television are made up of all the places the hubs and I have lived in our lives – just so happens we both lived in each of those places at the same time, too.
All of these items and more tell a story and evoke a feeling when you step in to the space.
They each allow for a conversation to occur when people are enjoying the room as well.
There is so much that goes in to a beautiful room, but if you stay true to what speaks to you and incorporate pieces that have meaning, you can’t go wrong.
6. Bring it home to try.
Depending on where you are shopping, bringing things home to test out is a good way to “try it on” before you commit, in a sense.
If it doesn't work after sleeping on it and playing around, you can return it. I usually utilize this when I’m in the store for way too long pining over whether or not I think it’s going to be the “it” thing.
I also like to do this with riskier items, such as my patterned ottoman. If it’s out of my comfort zone and I feel like it could really make the space wow, then I always opt to bring it home to “try on.”
However, if you have some of the super fun decor stores near you like I do, they may have a “final sale” policy.
If that’s the case, I would suggest taking a well-lit picture, writing down the dimensions, and use your picture to visualize if it is going to work in your space when you go home.
Also, ask yourself before purchasing, “Does this fit my vibe? Does this speak to me? Does this add to the story I’m trying to tell in this space?”
If you stay true to only buying things that fit you, your family, or your vibe, your decisions should lead you in the right path anyway.
Disclaimer: This post does include affiliate links for your convenience. This is at NO additional cost to you but earns me a small commission. To read more, check out our disclosure policy.
7. Do your research.
Before and throughout the process of taking on a room makeover, I would highly recommend pausing for a few minutes and making sure you’ve done your research.
When I say research, I mean styling tips and such, but also DIY type things.
For instance, when I ordered the shelves for my “wedding wall,” I chose an Etsy company to make them custom.
They came out fantastic except the stain I chose was all wrong. In haste, I completely forgot to go check out the stain options at Home Depot or even ask the Etsy company what they would recommend for the look I was trying to achieve.
This would have been such a simply task to save me all kinds of issues in the long run. Because I chose the wrong stain, I ended up having to go backwards.
I went to Home Depot to actually chose the right stain and then had to do exactly what I was trying to avoid – staining the shelves myself.
Another example of where research could have saved me was when we were hanging the gallery wall around the television.
I knew full-well that the laser level I had was subpar. In the back of my mind, I knew there was better, but for whatever reason I decided to dive right in.
After putting all kinds of holes in the walls and realizing that my stud finder was also subpar, I stopped, stepped back, and did my research.
Once I did this, I went right back to Home Depot and bought the right tools. I got myself a better laser level for hanging pictures and a better stud finder to avoid the “oops, I hit a stud” moments.
Learn from me… wrong stain = more work; bad laser level = more work.
Make your life easy…do your research on the correct tools before you start your project.
8. Done is better than perfect.
And last but not least, done is better than perfect.
Don't get hung up on all the details to the point that you stall your project. The reason the 6-week timeline is great is because it keeps you moving.
Now we get to enjoy this space, even if it isn't absolutely perfect in every way. It is a HUGE improvement and I couldn't be happier!
Alright! Your turn… Which tip resonated with you? Have you had a similar experience as me with a home project? I’d love to hear about it!
Don't want to forget all of these applicable tips…


