How to Hang Curtains the Right Way the First Time
Make your house look like a professional decorated it by learning how to hang curtains the right way the first time.
Welcome to my love affair with curtains!
I have put curtains in almost every single room makeover I have done and I still can't get enough.
The character, beauty, and overall function and aesthetic keep bringing me back to making curtains a standard staple in each room rescue.
The best part?
I've chosen and hung every single one of these curtains and rods myself (12 and counting).
Some articles talk about how you should hire a professional to hang your curtains, but after today's post, you'll never need to worry about hanging your curtains wrong again.
Let's get to it!
Table of contents
Disclaimer: This post does include affiliate links for your convenience. This is at NO additional cost to you but earns me a small commission. To read more, check out our disclosure policy. As an
Pro Tips for Choosing Curtains
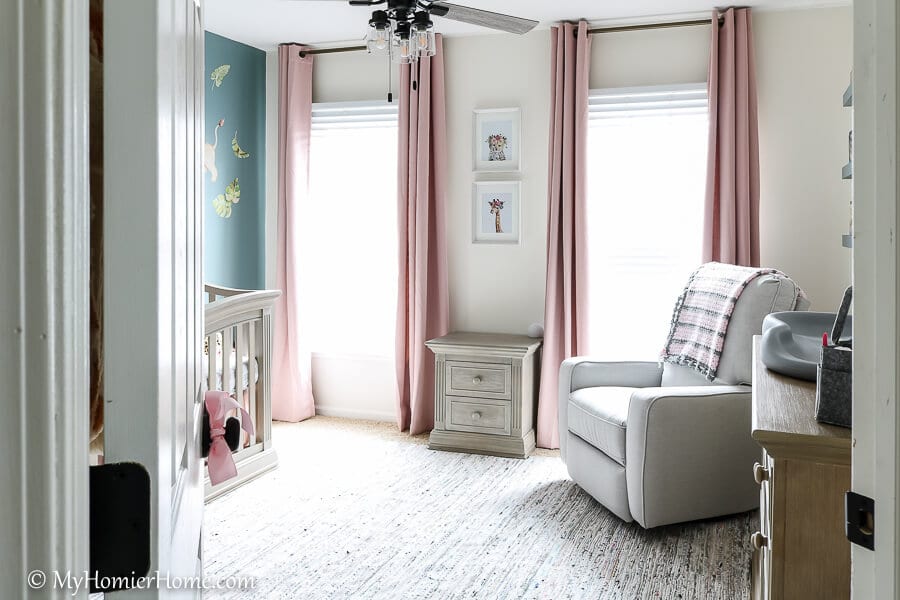
Let's kick off this curtain post with some of my pro tips to get you started.
Part of why the pro's want you to hire someone to tackle the whole curtain portion of your room is because so many people get it wrong.
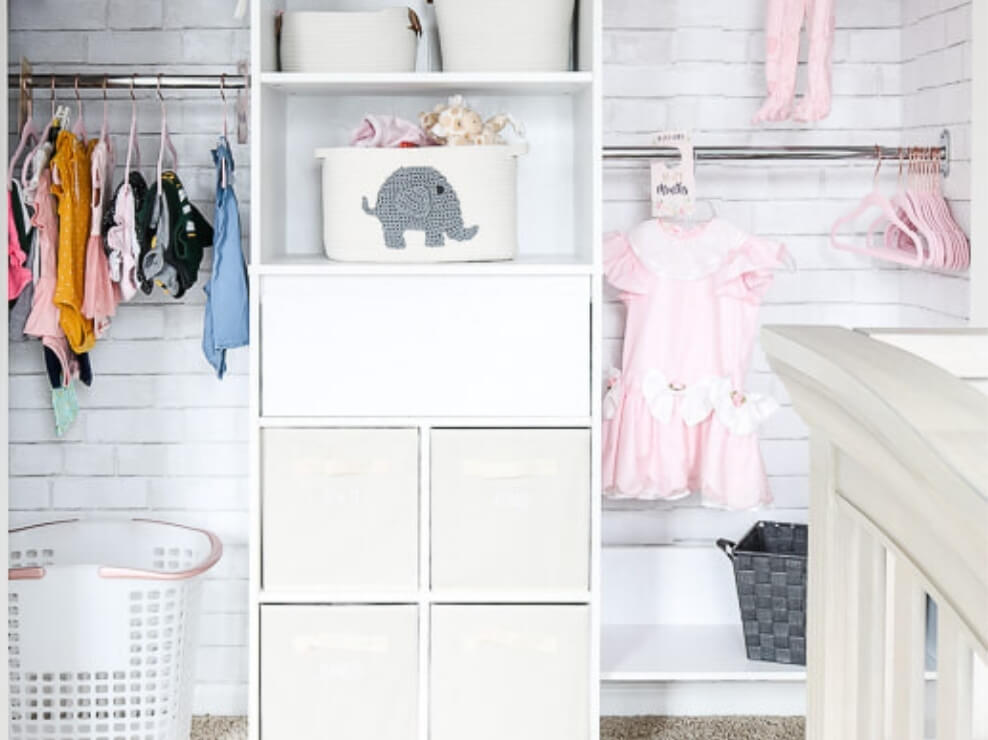
The curtains you see in the my daughter's nursery above?
$20 at Target.
Yep.
Take a closer look… they barely kiss the floor, add depth and dimension to this room, and are hung precisely… with a $35 curtain rod.
So, do you need a pro to hang your curtains?
No way!
You need these pro tips…
- Always use at least two panels per window (believe me… I've tried one – no good)
- Check the width of the window before purchasing (choose a width of curtain that is at least 1.5 times the length of the window – you don't want the curtains to be super flat when closed)
- In my opinion, you only have two choices for where to hang the curtain rod – at the ceiling or 1/3rd of the distance down from the ceiling. More on this later.
- For the length of the curtain, decide if you want the curtains to “kiss” the floor or pool at the floor. Rarely will you like the way a curtain looks stopping at the window ledge. Typical lengths for store-bought curtains are 84″, 96″, or 108″. For my daughter's room above, these are 96″ curtains on an 8′ tall wall, so they are floor to ceiling and barely kiss the floor.
- Add 8″-12″ to the width of the curtain rod past the window's width to allow as much light as possible in when the curtains are open.
- If you're using two curtain rods (i.e. for sheers and then the actual curtains), hang the main one 1/3rd of the distance [between the window top and the ceiling] down from the ceiling and the one for the sheers 1/3rd of the distance up from the window top.
Things to Consider When Buying Curtains
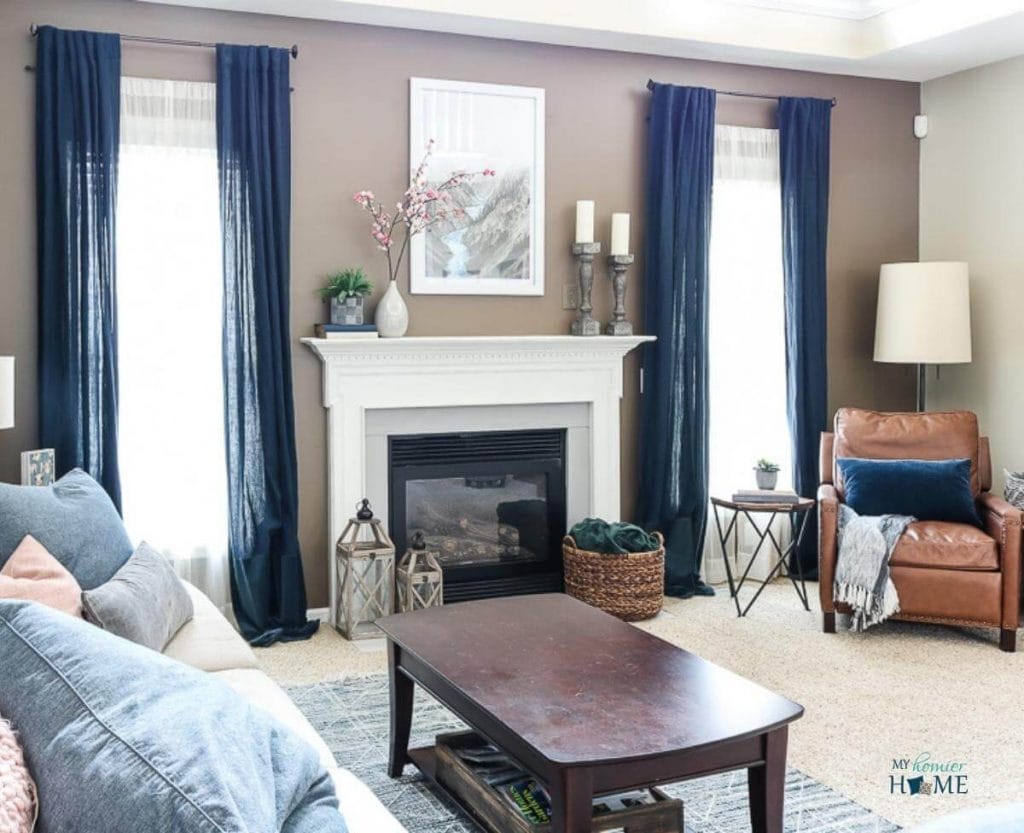
When buying curtains, you'll want to think about a few factors to make sure you get it right for the purpose you need them to serve.
These considerations will help you determine where the curtain rods should be hung, what type of curtain to purchase, what aesthetic you're going for, and what length/width of curtain to purchase.
Here's my short list of considerations…
- Do you need blackout curtains? (i.e. for a bedroom or TV room)
- Will you include sheers?
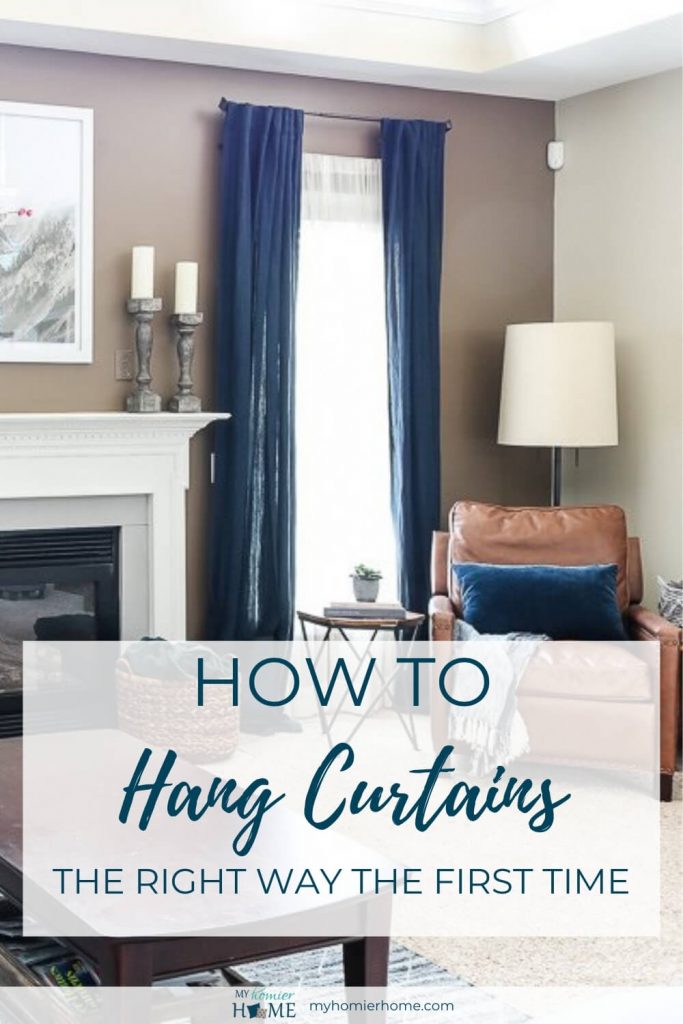
- For instance, in our living room above, I have sheers because the navy curtains almost always stay open and I wanted something softer than the blinds under those curtains.
- Are these curtains decorative or functional?
- Again, in my living room above, these main navy curtains or mostly decorative since we rarely close them.
- Will you need two tiers of curtain rods? (i.e. for sheers and the decorative curtain)
- Will you be hanging these curtains with clips, through a rod pocket in the curtain, or with grommets?
- This matters when you are taking into account the length of curtain you choose.
- The reason the nursery curtains are perfectly floor to ceiling is because the curtains had grommets that allowed the curtain rod to be close to the ceiling, but not effect the height of the curtain. If you used curtains with a rod pocket or with curtain clips, the curtains will hang lower on the curtain rod making the bottom of the curtains hit the floor more.
- Will you need a drapery wand?
- Drapery wands are used to easily open and shut drapes.
- For instance, in my office, the sun shines in pretty heavy during certain hours, but the curtains are behind the desk. Reaching over to pull them can be annoying – enter the drapery wand. You can add one of these bad boys to any set of curtains as needed.
- Do you want pleated curtains or nah?
- Depending on your style, some people are really into the perfect pleated curtain. I attached some tools at the end of this post that will help you make any curtain have the perfect pleat if you so choose.
- Again, you want to make this decision ahead of time so you choose the right curtain width.
Disclaimer: This post does include affiliate links for your convenience. This is at NO additional cost to you but earns me a small commission. To read more, check out our disclosure policy. As an
Where to Buy Curtains
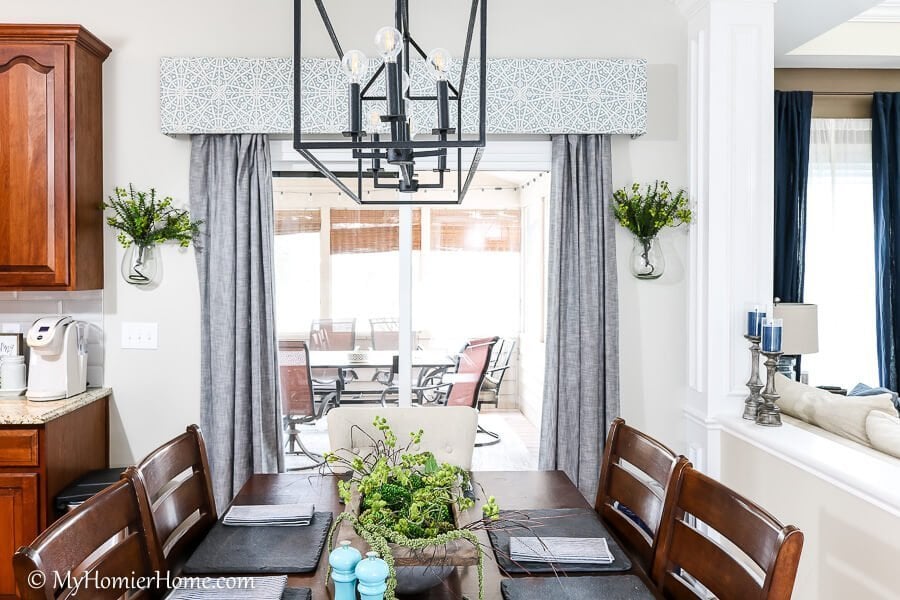
Every decorator has their go-to spots for curtains and I included some of my choice picks below, but here is my short list of places I typically shop for curtains.
- Amazon
- Best budget-friendly place that I use a lot for clients
- Pottery Barn
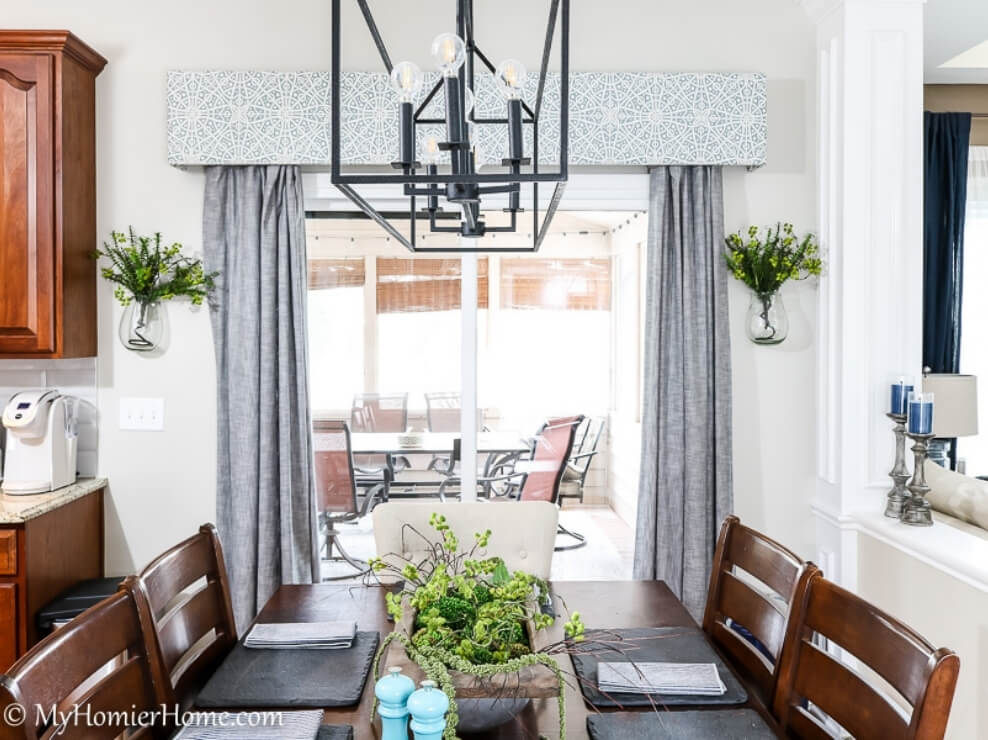
- Curtains found in the kitchen photo above are from PB.
- Target
- Curtains from my daughter's nursery are from here.
- Crate and Barrel
- Our dining room and back entry are from C&B
- West Elm
- The guest bedroom curtains and living room curtains are from WE.
- Wayfair
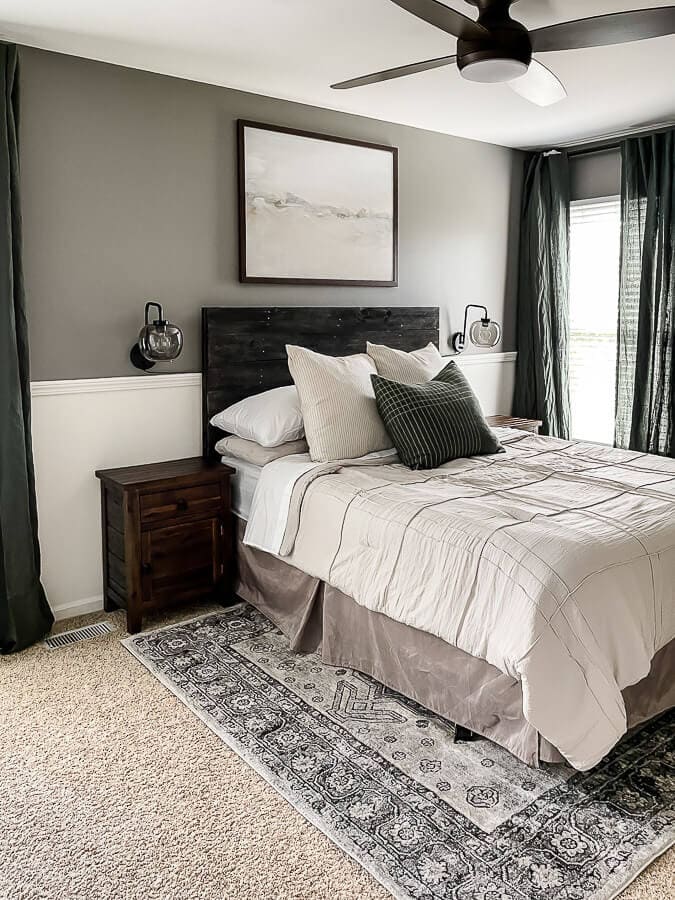
- Not my first choice, but they do have budget-friendly options. The gender neutral nursery's dark green curtains are from here because I couldn't find exactly what I wanted any where else.
- IKEA
- I have not personally used curtains from IKEA, but people in the DIY biz swear by these, so I wanted to put them on your radar.
And in case you're looking for outdoor curtains, I wrote a whole post that includes my favorite outdoor curtains. And you can check out the full room reveal of our screen porch with the curtains I chose, too!
(click on any of the images to shop the products)
How to Hang Curtains
Now let's get to the actual part on how to hang curtains like a pro.
This is where all your hard work and decisions come full circle and turn you into a curtain hanging all-star.
Materials List
Disclaimer: This post does include affiliate links for your convenience. This is at NO additional cost to you but earns me a small commission. To read more, check out our disclosure policy. As an
First things first, gather your materials.
To hang curtains you'll need,
- Your choice of curtains
- Your curtain rod with brackets and screws
- Hanging hardware (i.e. hooks, rings, drapery rod, etc.), if needed
- Laser level
- Tape measure
- Drill and drill bit
- Screw driver
- Pencil
- Stud finder
- Wall anchors (optional and usually come with your curtain rod brackets)
- Ladder or step stool
- Punch tool
(click on any of the images to shop the products)
1. Take all your measurements.
The measurements you want to have on hand when hanging your curtain rods are the following…
- Width of window plus 4″-6″ on either side (i.e. for a 36″ window width, you want the rod to be between 44″ – 48″ wide)
- Length of your wall, floor to ceiling
- Length of the area between the ceiling and the top of the window trim
- You also want 1/3rd of this length if you are not hanging your curtains at the ceiling and/or you have two curtain rods to hang on the same window.
- Length from where you want the curtain rod to the floor.
2. Determine your curtain panels and Rod's length and width.
Once you have your preliminary measurements, if you haven't already, you'll want to choose the sizes of your curtains and their curtain rod(s).
Again, answering the questions from the section above on what to consider before buying will help you determine the sizes you want.
Depending on if you want your curtains to kiss the floor or pool at the floor and whether or not you want to hang your curtain rod at the ceiling or a 1/3rd of the way down will help you determine the length of the curtain panels you'll need.
If you've already purchased these items and are ready to hang them, some people like to grab a buddy and hold the rod with the curtain panels on them up against the wall/window and determine the placement of the curtain rod brackets from there.
I'm more of a “do the math ahead of time” type of curtain hanger, but know this is an option too.
Just remember to stay within the guidelines of 1/2 to 1/3 of the distance down from the ceiling between the window and the ceiling as talked about above.
3. Order/Buy your curtains, rod, and hardware.
Since I'm giving the full steps in order, I didn't want to forget to tell you to make sure to buy all the things you need.
If you know you'll need a drapery rod or you want pleats, or whatever the case, get all of that when you order your curtains and curtain rod(s).
Again, I listed all of my suggestions for what to buy for these cases at the end of the post.
4. Hang your brackets.
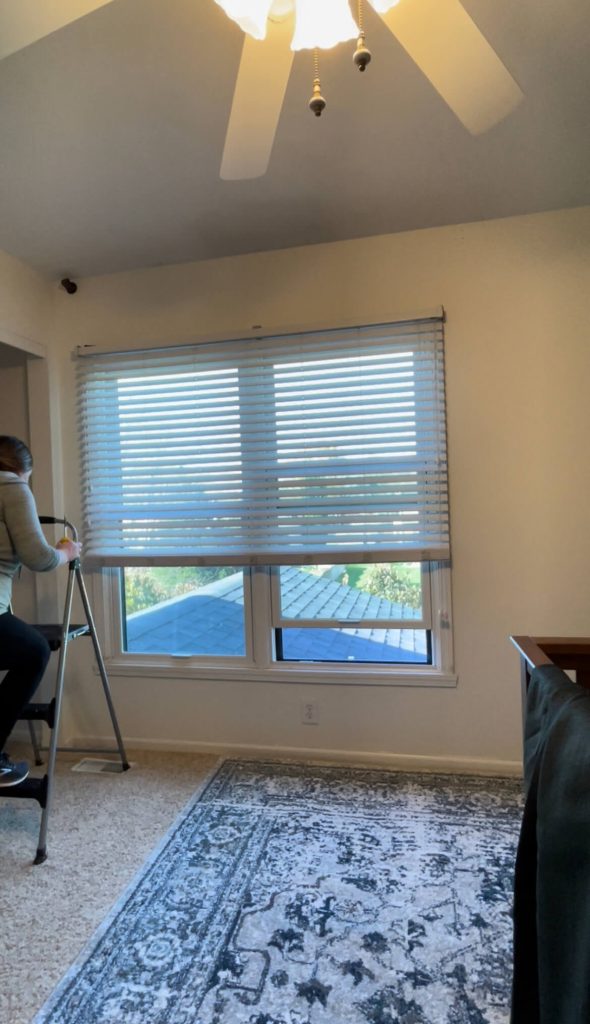
Some curtain rods will come with templates to help you make the right alignment, so definitely use those to start if they do.
If not, use one of the brackets held up to get you started.
First things first, you'll want to setup your laser level.
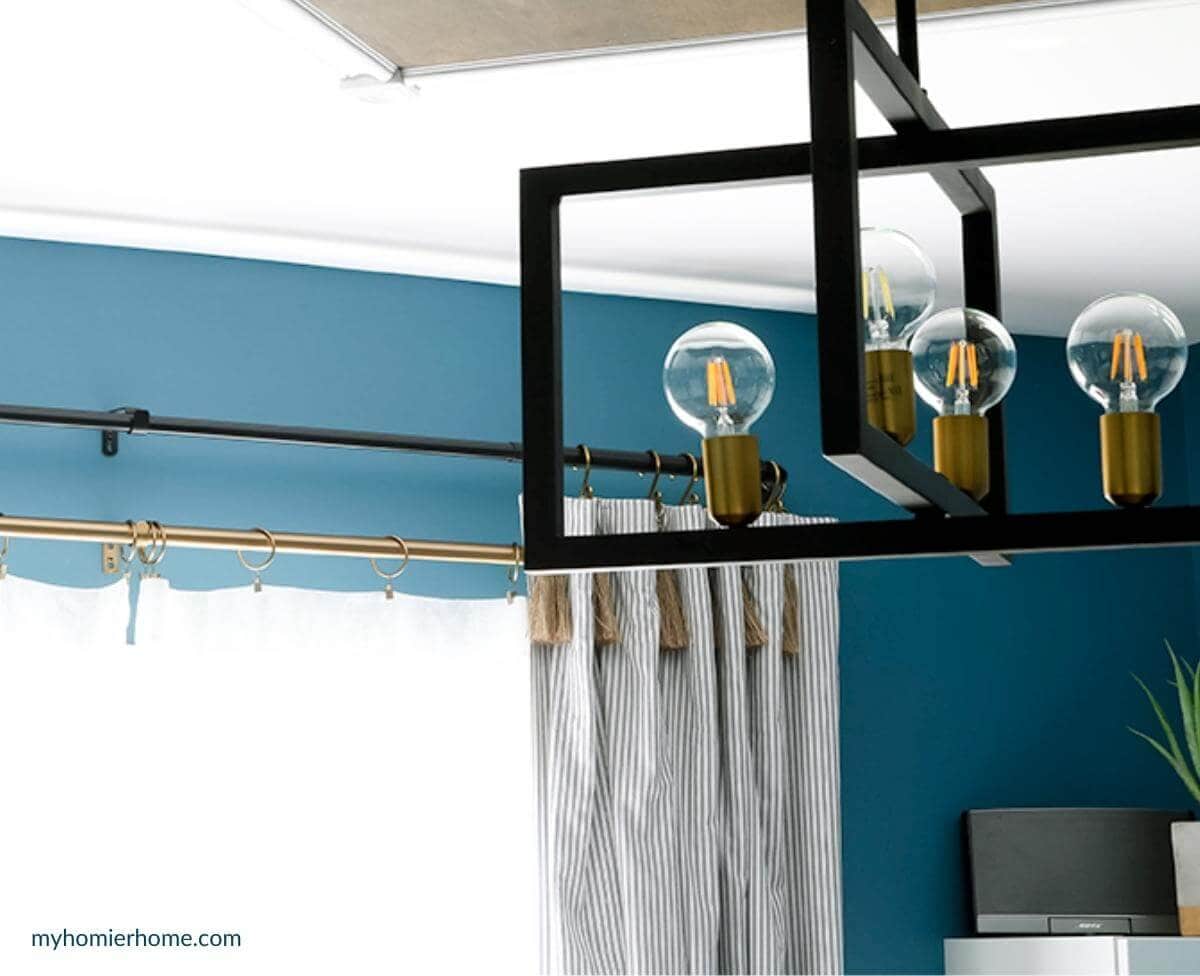
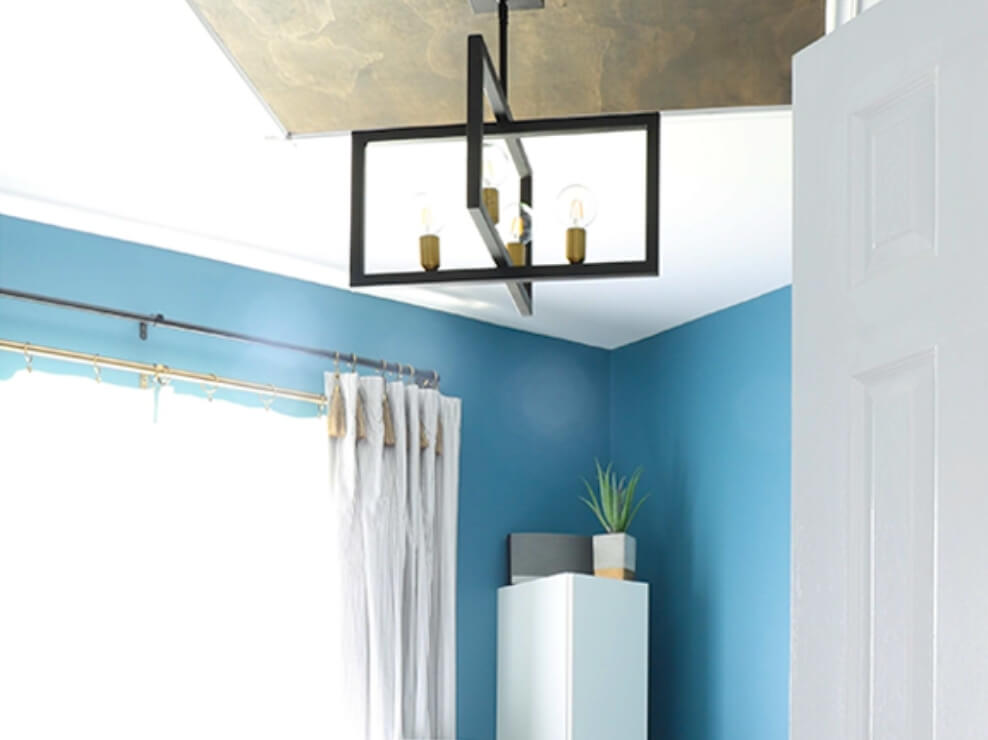
The best way to do this is with either a tall tripod or hook to the ceiling fan or light fixture like I did for this room.
I decided to hang these curtains at the ceiling, so I had my laser level lined up with the screw holes on the rod brackets as close as the bracket would get to the ceiling.
Once you've lined up your laser level, use the punch tool to mark your holes through the bracket.
You could also use a pencil to mark the holes, but I am obsessed with the punch tool because it gives me a little indentation to line up my drill for the next part.
If your curtain rod is longer than 4 feet, you'll most likely want to install the middle bracket as well.
The window in this example is longer than 4 feet, but the curtains are very light, so I didn't worry about it in this case.
However, the curtains in our dining room had a heavier rod and heavier drapes, so I definitely needed a middle bracket there.
Use your stud finder to determine if you'll need drywall anchors or not for screwing in the brackets.
If your bracket holes line up with a stud, no anchors needed.
However if they don't, you will need the anchors.
Choose the drill bit that is slightly smaller than your screw or wall anchor (depending on if you're at a stud or not).
This is sometimes the tricky part with hanging things because you don't want the hole to be too big.
If it's too big, your screw or anchor won't have anything to grab on to.
So, my advice is to always start smaller because you can always make the whole a little bigger, but you can't make it smaller.
Drill your holes, secure anchors (if needed), and attach your brackets with your drill and screws.
Once you have everything lined up and marked, it's time to attach your brackets.
If you're having trouble fitting your drill up by the ceiling like I was, use a standard screw driver.
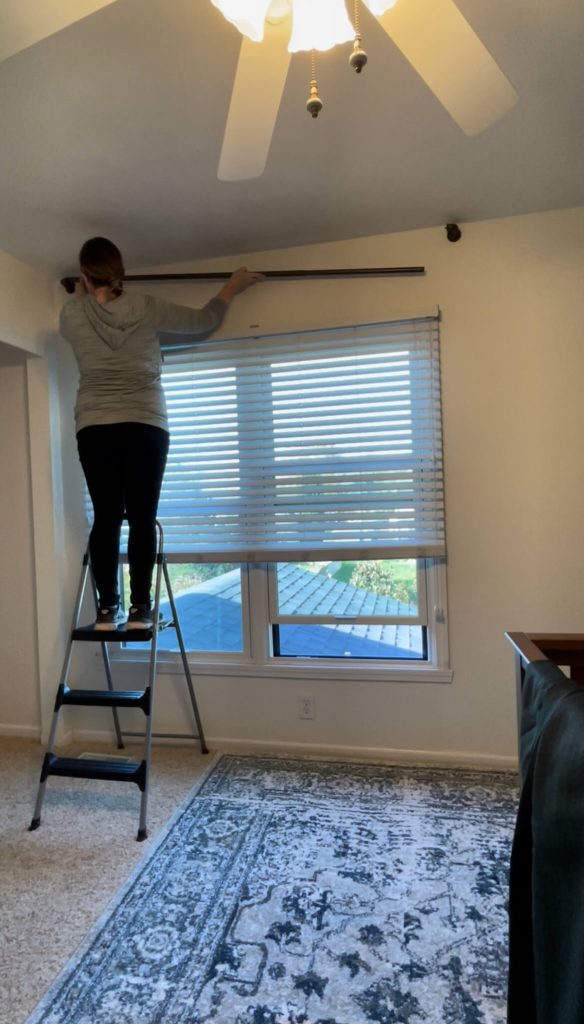
Before you hang your curtain panels, attach the rod to make sure everything is lined up perfectly.
And, if you're hanging these alone, like I was, you'll want one side to be secured in place before adding the panels.
On more tip if you are going with pleated curtains or are making your own pleated curtains, complete that process before putting the panels up on the rod.
I included the hardware to make pleated curtains in the section at the end of this post, too.
5. Hang your curtain panels.
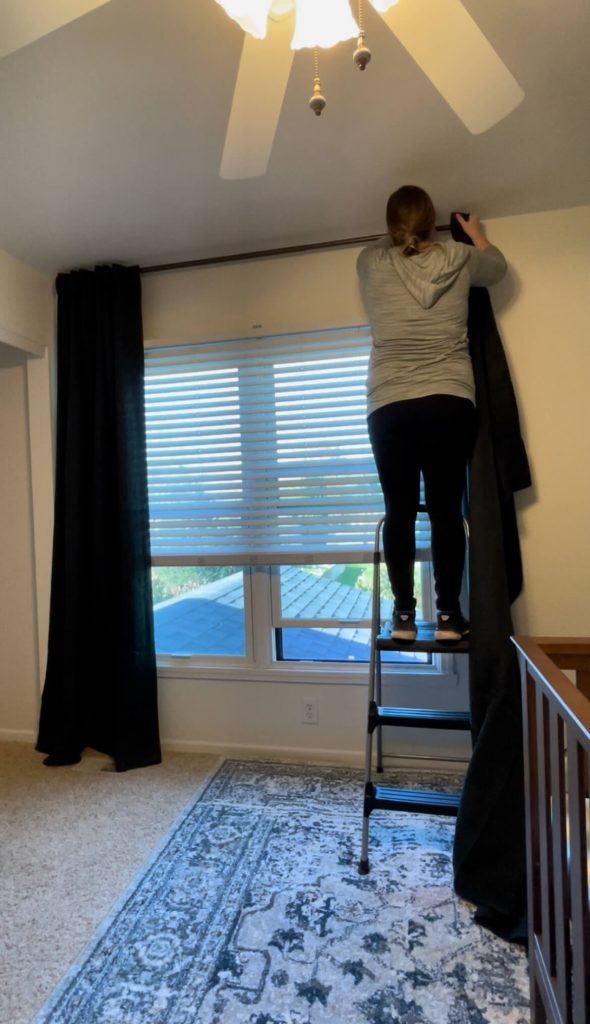
Last step for hanging is to add the curtain panels to the rod!
You can see I have these curtains just kissing the floor and the ceiling.
These are also blackout curtains because this room is for baby #2.
My advice for curtains in a nursery is to try and get them floor to ceiling, blackout, and a wrap around curtain rod to make sure you can totally darken the room.
6. Hem, if needed.
I have yet to need to do this step, but I wanted to put it here just in case you go with IKEA curtains or you find that store bought curtains aren't the right size.
I would definitely hang the curtain panels and then worry about hemming them so that you can get the right measurements with them actually hanging.
In the suggested items at the end of this post, I included weights you could use to help your curtains hang nicer, too, if you decide to hem.
Here is a good no-sew tutorial on how to hem curtains if you do end up needing to do this step.
7. Bask in the glory of saving tons hanging curtains yourself!
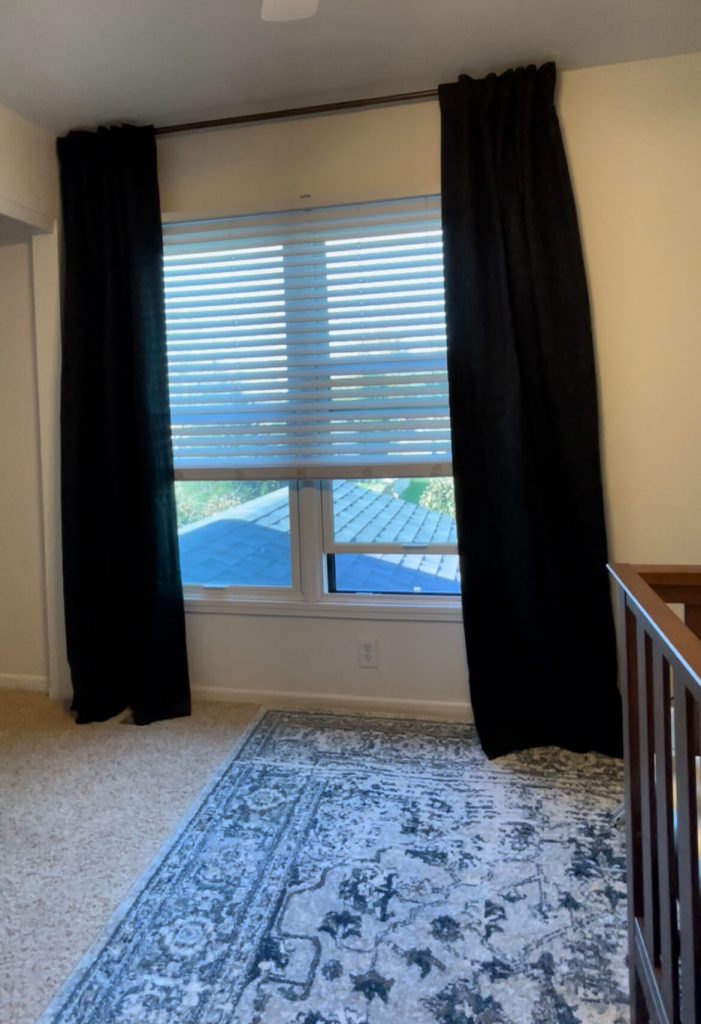
Ta-da!
My apologies for the sub-par pictures for this section.
I screenshot them from the video I took while I was hanging lol.
This picture angle isn't dead on straight, so the slant makes this look a little funny, but checkout the top and bottom of the curtain panels.
Perfectly kissing the floor and ceiling.
Ya, baby!
Now you can sit back and revel in the fact that you saved yourself a boat load of money hanging your curtains yourself AND having them look like a pro did it.
Be sure to tag me on socials @myhomierhome to show me your curtain hanging prowess!
Want to watch the video for this post?
You're in luck!
I put together a video tutorial to add to this post, so you can see the full scope in real time!
Check it out below and while you're there, be sure to hit the subscribe button and turn on the bell notifications to make sure you never miss a new My Homier Home video!
Frequently Asked Questions
When hanging your curtain rod, measure 8 – 12 inches outside of the window frame on both sides, if you have the room, to allow the curtain panels to sit outside of the window and let more light in when they are open.
In my opinion, you have two choices… one, your curtains just “kiss” the ground or, two, your curtains puddle a few inches at the ground. Any other length will make your curtains look like an amateur hung them.
My favorite go-to heights for hanging curtains are either, one, as close to the ceiling as you can get or, two, one-third of the distance [between the ceiling and the top of your window trim] down from the ceiling.
Curtain length depends on where you plan to hang your curtain rod and what hanging method your curtains will hang from (i.e. grommets, rod pocket, or hooks). Once you've measured the distance from the rod and factored in the method of hanging, you need to decide if you want the curtains to kiss the ground or puddle. If you want the curtains to puddle at the ground, add 4-6 inches to the total distance of your curtain panel. If you want the curtains to kiss the floor, measure the exact distance to the floor.
Curtain panels should be at least 1.5 to 2 times as wide as the window plus any additional width you're adding to the curtain rod (i.e. the 8-12 inches on either side of the window). This is so the curtains cover the window when they are open, but also aren't stretched flat.
Click any image below to shop it directly!
You can find all my favorite curtains, rods, and extras below!




These are great tips! Your curtains all look so good! IKEA definitely has amazing curtains, high quality and you can’t beat the price!
Yay! Thank you so much for linking up with Fabulous Friday Link Party! We sure appreciate you, Hugs and blessings to you. Has baby arrived yet? I need to cancel out appointment for next week, as I’m heading to see my grandbabies.
Baby has arrived!! We have a new baby boy gracing our household!! I’ll reach out to reschedule our appointment… very excited for your new link party!