3 Simple Steps to Transform a Small Entryway
Dealing with a small entryway? Learn how I transformed my tiny entryway window seat into a beautiful and functional space.
Are you one of the lucky ones who has a backdoor entry lined with cubbies and beautiful lockers?
Maybe you have a full on mudroom to allow function to prevail. I am not so lucky.
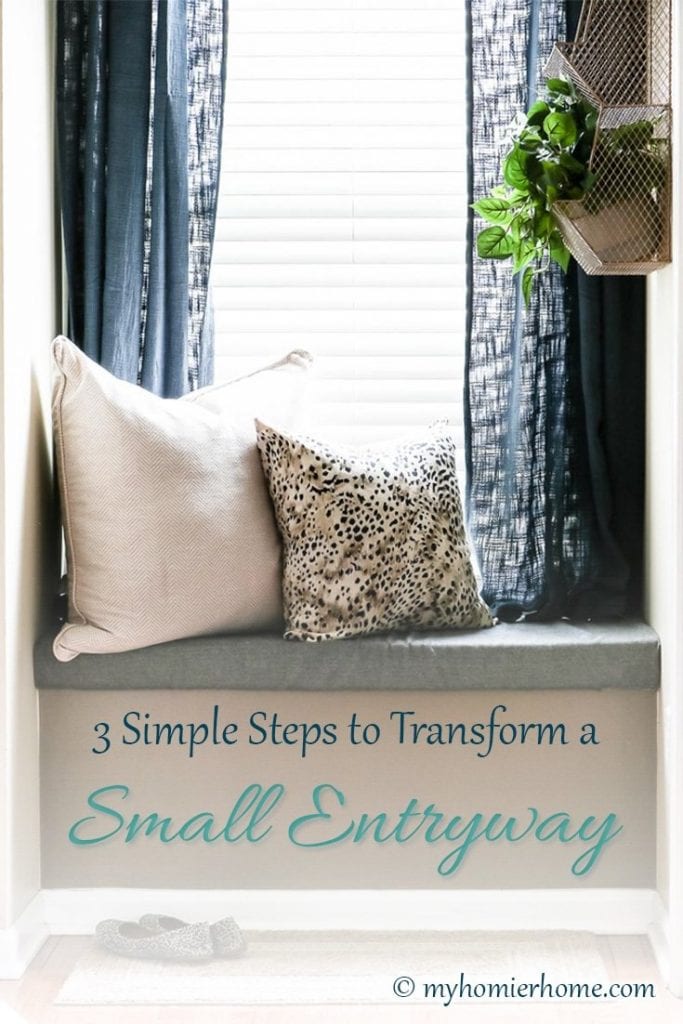
The extent of our cubby game is the window seat you can see below in the before photo and our “mudroom” is a coat closet and laundry room.
Don't get me wrong, I love our home, especially the way it is laid out, but its not ideal for a catch-all area.
Nevertheless, I at least wanted to create a beautiful space we could use to put on and remove our shoes as we came in the garage door. Here are my simple steps to giving this entry some pizzazz!
Table of contents
Disclaimer: This post does include affiliate links for your convenience. This is at NO additional cost to you but earns me a small commission. To read more, check out our disclosure policy. As an
Before Photo
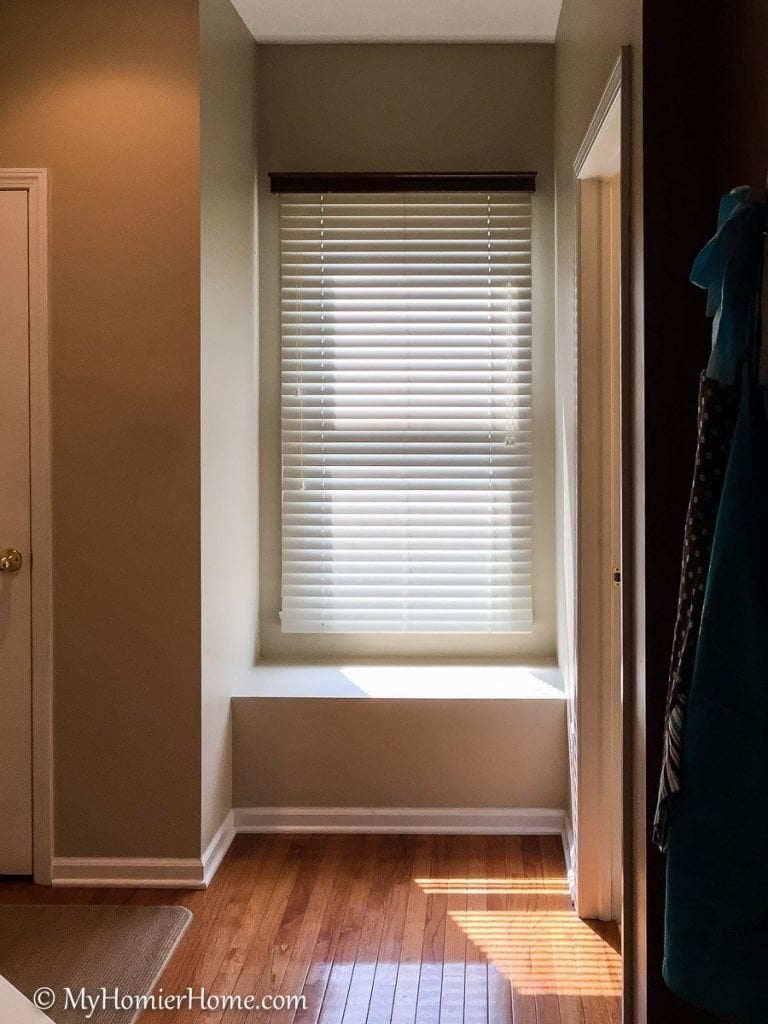
This is not the best photo because I pulled it from the archives, but this is how it looked when I had enough of the maroon paint color that used to run rampant in this kitchen/entry area.
If you want to check out the full kitchen before and after photos, you can see that beautiful maroon version.
Step 1: Mix it up with paint
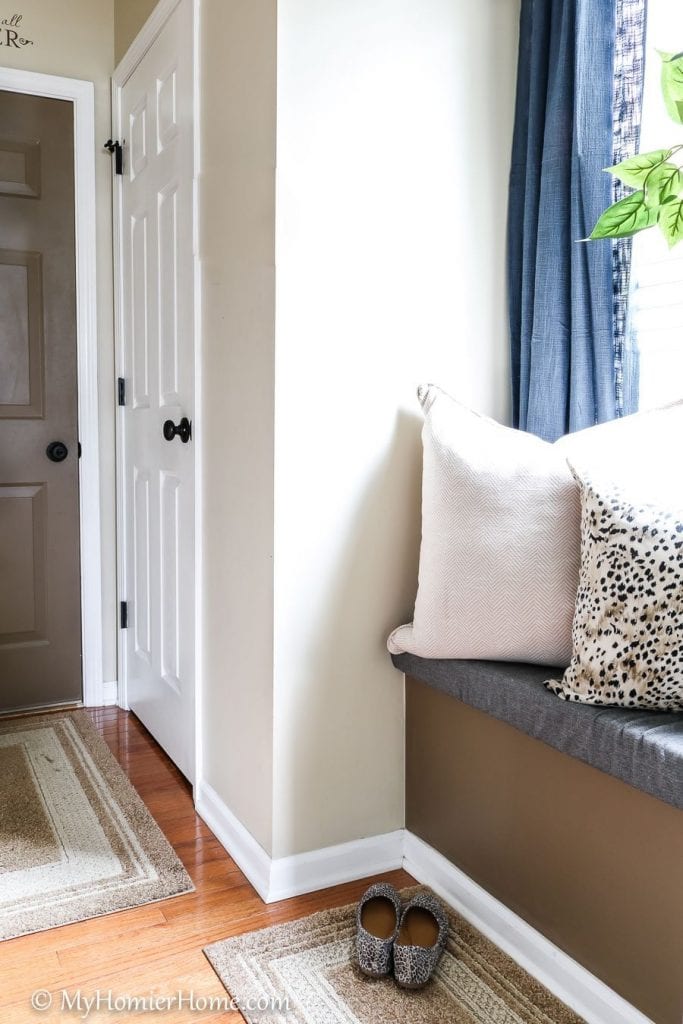
Paint is one of the best, and cheapest, ways to overhaul any space.
Initially when I painted over the maroon color with my whole home neutral, Benjamin Moore Grant Beige, it was definitely a transition in the right direction, but it still felt so stark.
It could be because I went from a dark color to a light color, but I felt like I need to offset the window seat to make it pop.
Benjamin Moore Rustic Taupe is the color I have on the interior of my front and back door as well as the accent wall in my living room, kitchen, and the ceiling of my dining room.
It is the perfect taupe color with a gray undertone.
This was a compromise color between my husband and I. He is full in on the cabin feel and I wanted to bring more gray into the picture.
This color brought our two ideas together. I ended up painting just the seat in this color and leaving the walls around the window and either side of the seat the grant beige color.
Step 2: Add colorful drapes
If you're new to my blog, let me tell you… I'm a huge fan of navy.
You will find it all over my house, especially in my drapes.
I have navy drapes in my living room, my dining room, and now my small entryway!
I measured the width above the window and here and hung a tension rod one-third of the total width down from the ceiling.
This not only broke up the stark neutral excess above the window, but tied the seat and the window together smoothly.
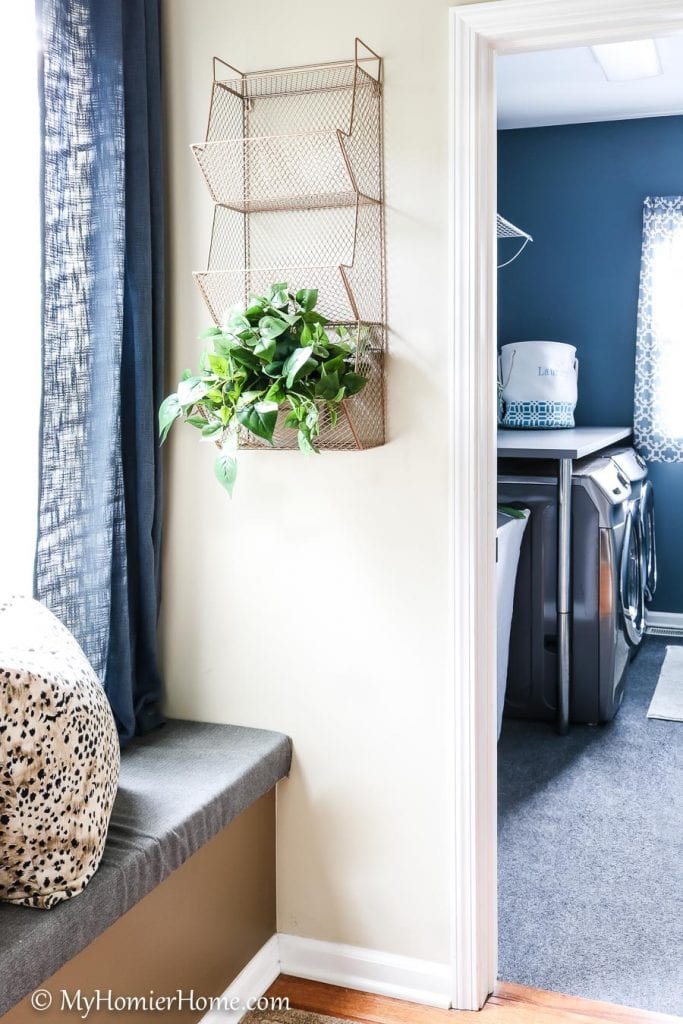
You can see a little peak into my laundry room from this angle, too.
My laundry room was one of the first rooms I transformed when we moved in and it is still going strong.
All the grays and blues tie in perfectly with the window seat when the laundry room door is open… which is often.
My husband and I are the only ones that live here currently (hoping for some babies soon) and I hate doing laundry.
So, when I do, it comes downstairs, gets cleaned, and then goes right back upstairs allowing my laundry room o stay spick and span… I digress…
Step 3: Add pillows
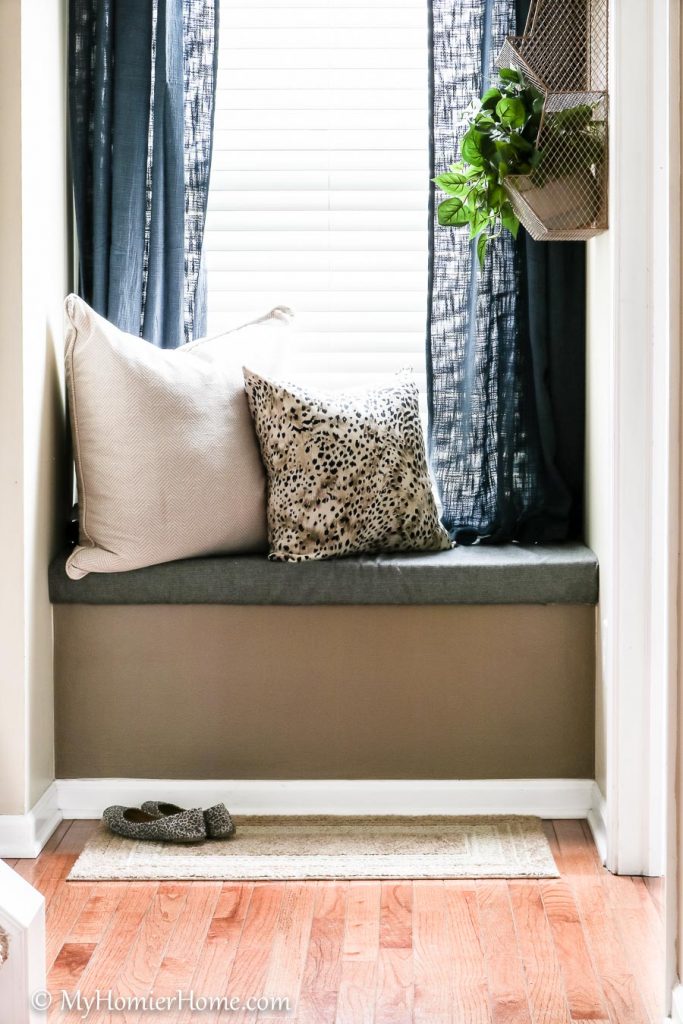
Gorgeous pillows make all the difference!
Because this is a seat we only sit on to put on or remove shoes, comfy, oversized pillows are just the thing to cozy up this space and give it personality while still allowing it to function.
The bigger pillow has a herringbone pattern and is 26″x26″ found at Home Goods.
The cheetah print pillow is a velvet fabric and is 20″x20″ found on Etsy.
I love these pillows and they give just enough pizzazz to complete the whole look.
After Photo
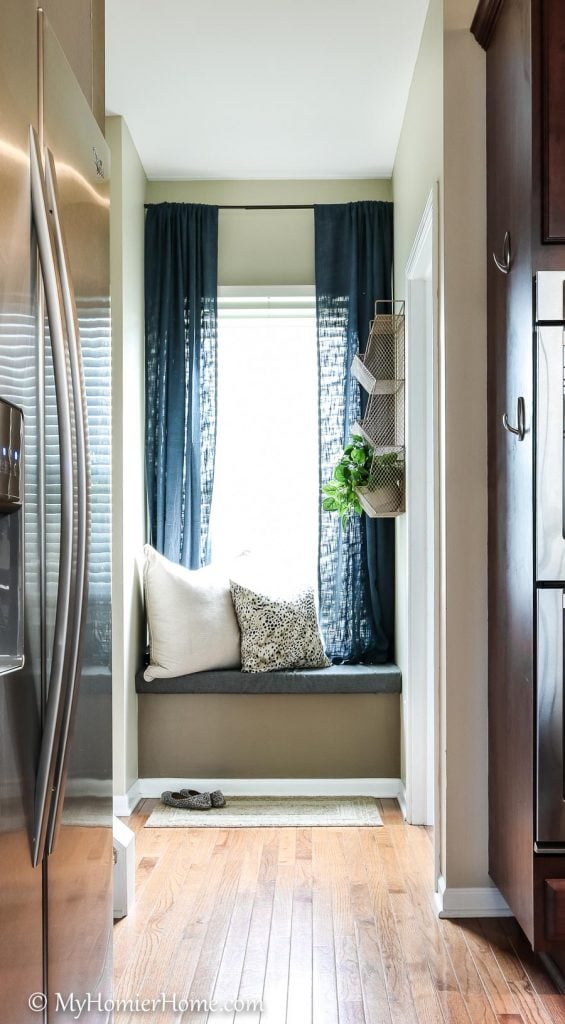
What do you think?

