How to Spray Paint the Fireplace Surround
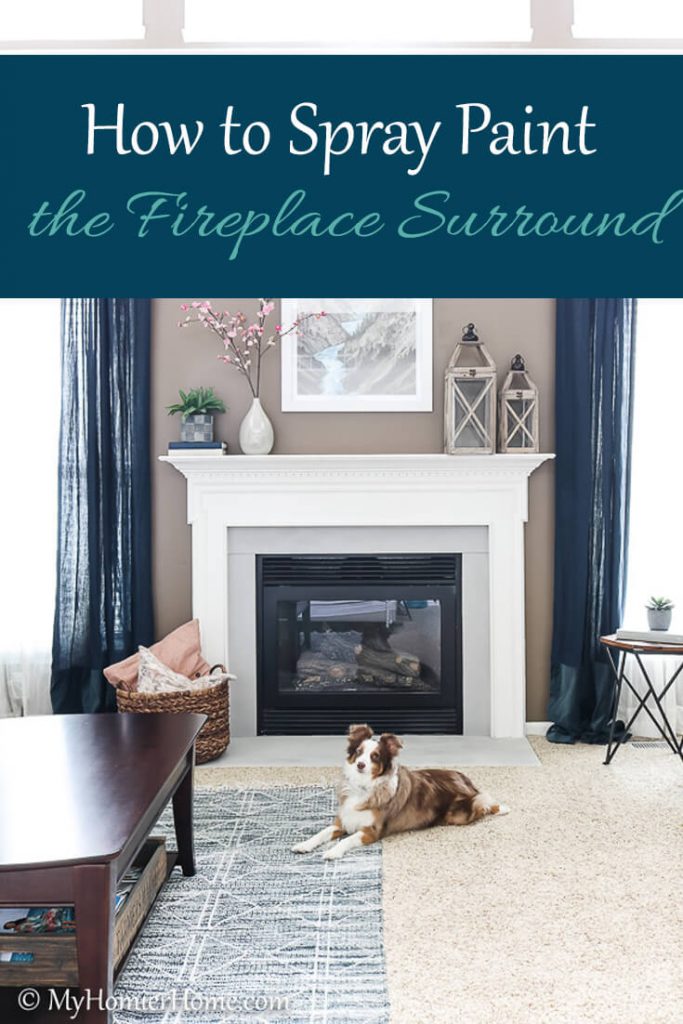
Tired of looking at that ugly fireplace surround? Spray paint it! Spray painting the fireplace surround was the best decision ever. This tutorial is just what you need.
Since we spend so much time in our living room, it was time to do something about the fireplace. I still want to update the actual mantel, but spray painting the fireplace surround was the quick fix I needed to bring this fireplace into the 21st century.
Here is the before photo…
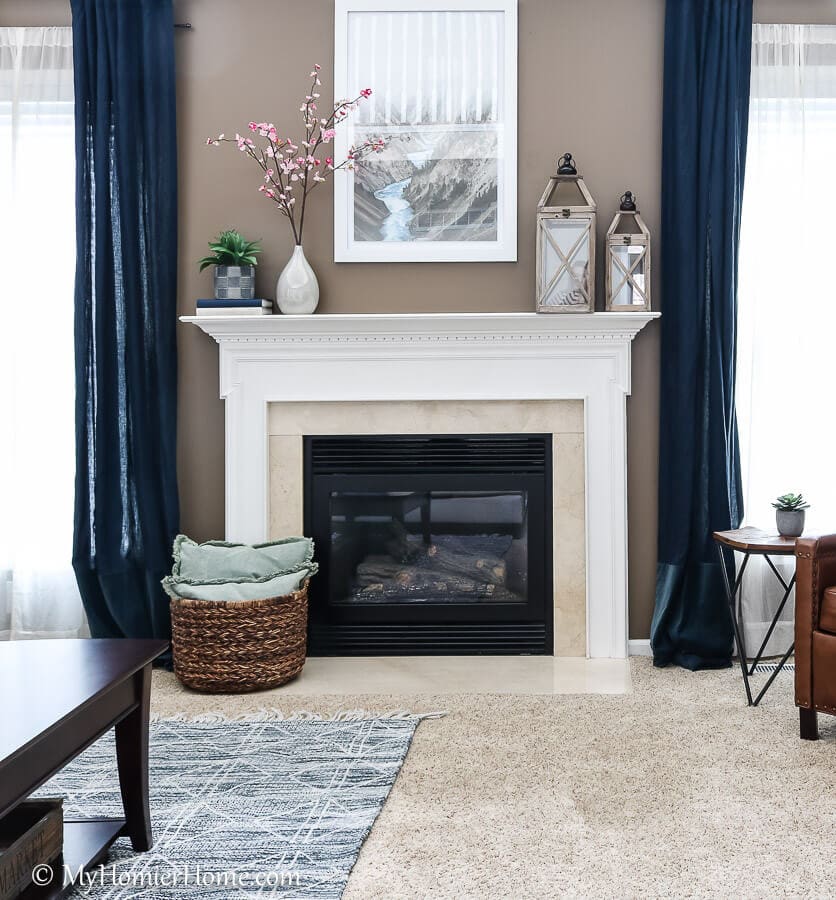
Now for my tutorial on how I changed this dated fireplace surround into a totally new looking fireplace.
Table of contents
Disclaimer: This post does include affiliate links for your convenience. This is at NO additional cost to you but earns me a small commission. To read more, check out our disclosure policy. As an
Gather your materials.
[sharedvision_embed list_hash=”2838ede87a3a010fc81f124dd684c8a8″]
Clean the fireplace surround.
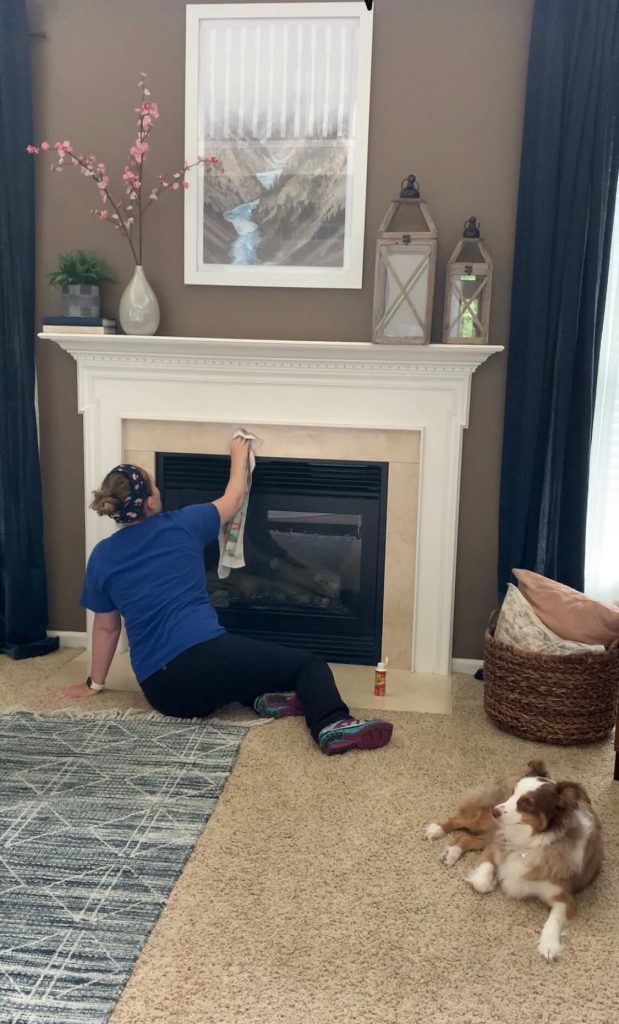
First things first, you want to clean any dirt and grime from any where you'll be spray painting.
I used krud kutter to really cut the grease, but you could use any cleaner and a clean rag.
After I cleaned it off, I wiped it down with a damp cloth and then a dry one.
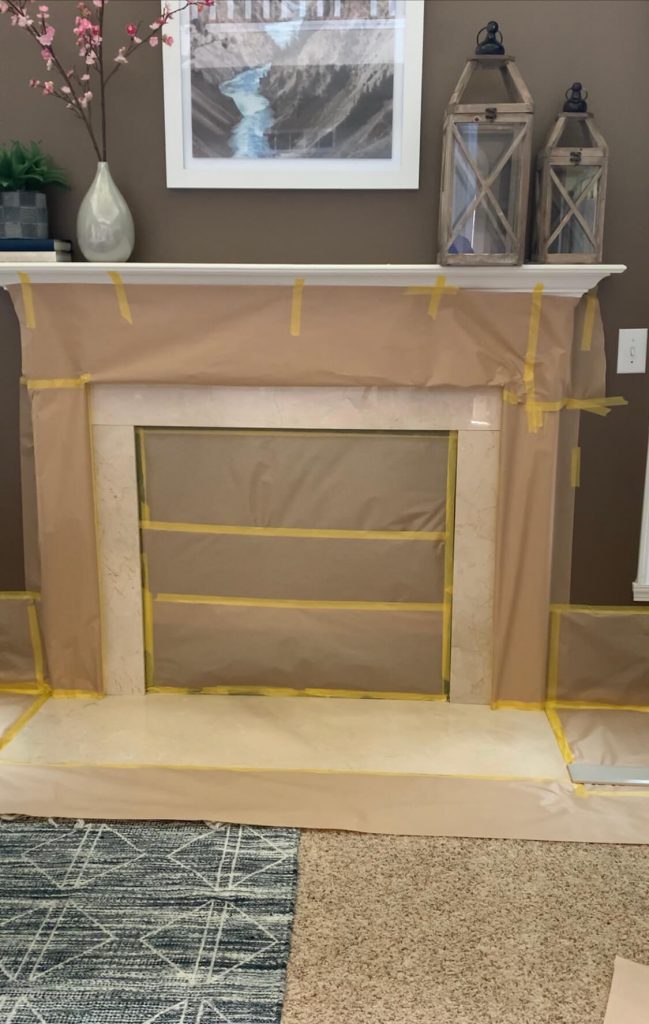
Tape off any area you don't want to spray.
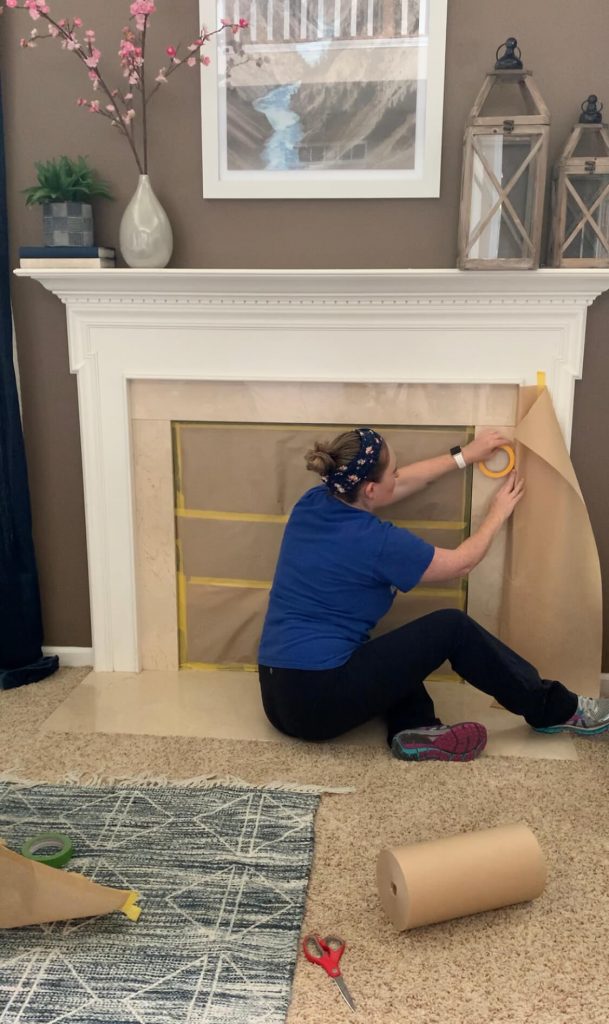
Use brown paper or plastic sheeting along with some tape to cover any area you don't want to spray paint.
I used Frogtape as to not damage any of the areas I was taping to.
I also turned the gas off on the fireplace before covering up all these areas.
When you get to the carpeted area, depending on the type of carpet you have, you'll want to make sure you either place something heavy on top of the carpet and then cover it.
Or, do what I did and just pull the carpeting away with your hand from the area you're going to spray and then tape it.
The goal is to make sure you don't accidentally spray the carpeting.
Sand the fireplace surround.
Use a sanding sponge to rough up the tile to help it adhere.
I used chalk paint, but this was mostly to help the primer adhere to something.
Truly, I don't know if I even needed the primer since I was using chalk paint, but I did it anyway just in case.
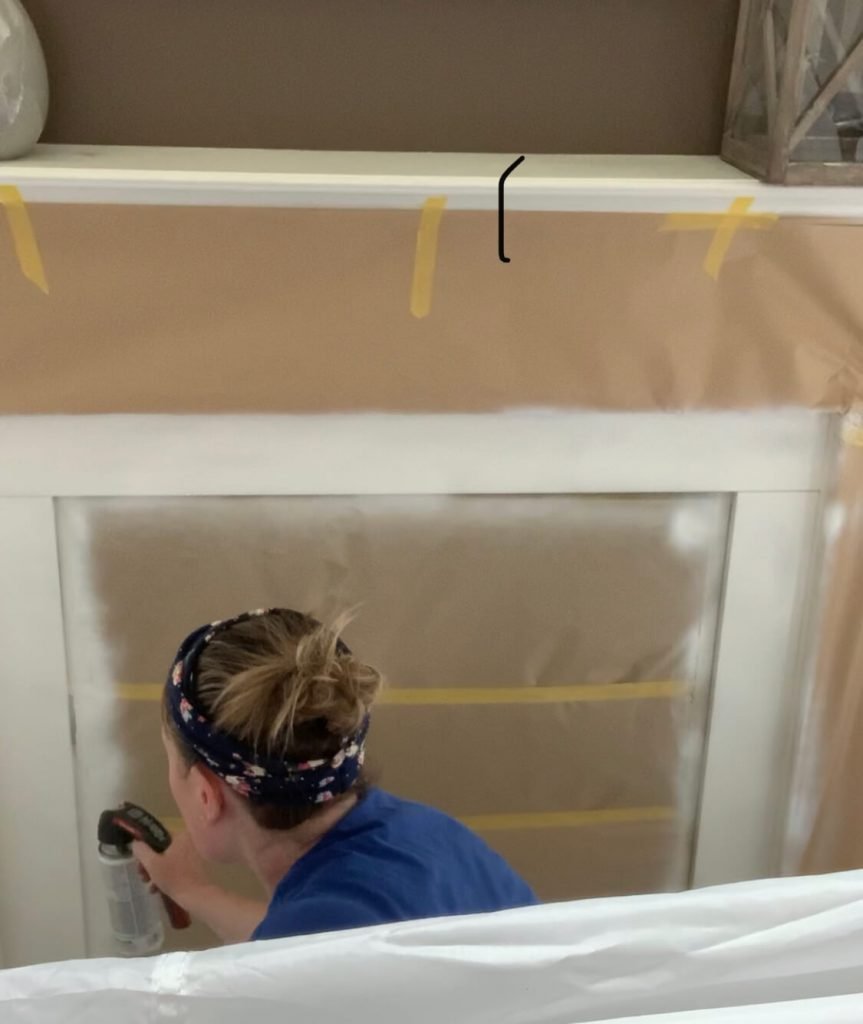
Prime the fireplace surround.
Disclaimer: This post does include affiliate links for your convenience. This is at NO additional cost to you but earns me a small commission. To read more, check out our disclosure policy.
I used Bulls Eye 123 primer spray with my Rustoleum spray gun attachment, but I would probably recommend using the paint version where you roll it on because of the fumes.
I will say the spray paint primer was super fast and easy clean up, but you definitely have to have all the windows open and fan the fumes out the windows.
I also used a spray tent to keep the overspray from flying around with the windows open.
If you do decide to go the spray primer route, definitely where a mask.
Spray the fireplace surround with chalk spray paint.
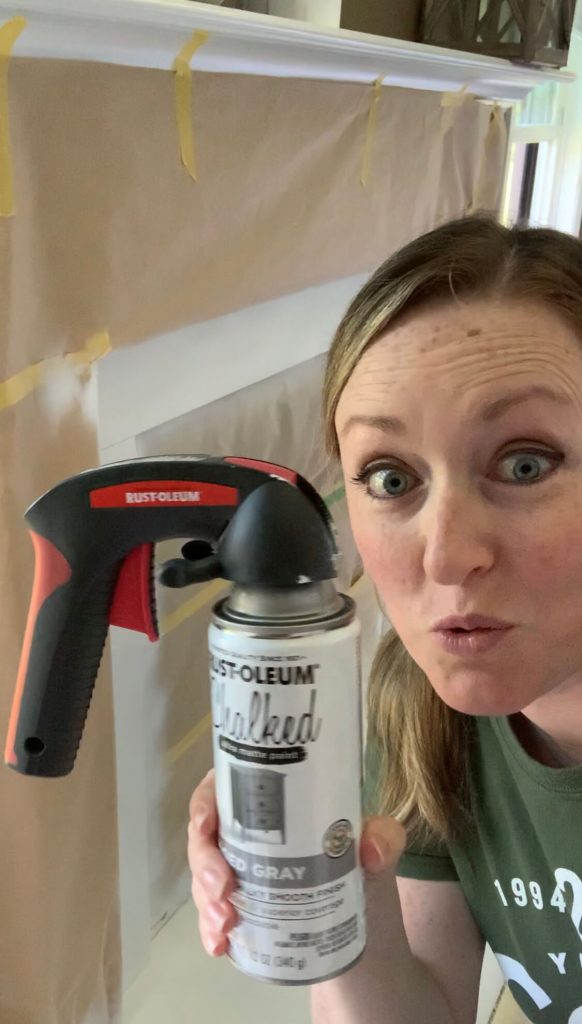
I waited one day for the primer to fully dry and then spray painted the color I wanted.
I absolutely love this Aged Gray Chalk Paint from Rustoleum.
I have used it on so many projects already… this fireplace, this Christmas sign, and this Fall porch sign.
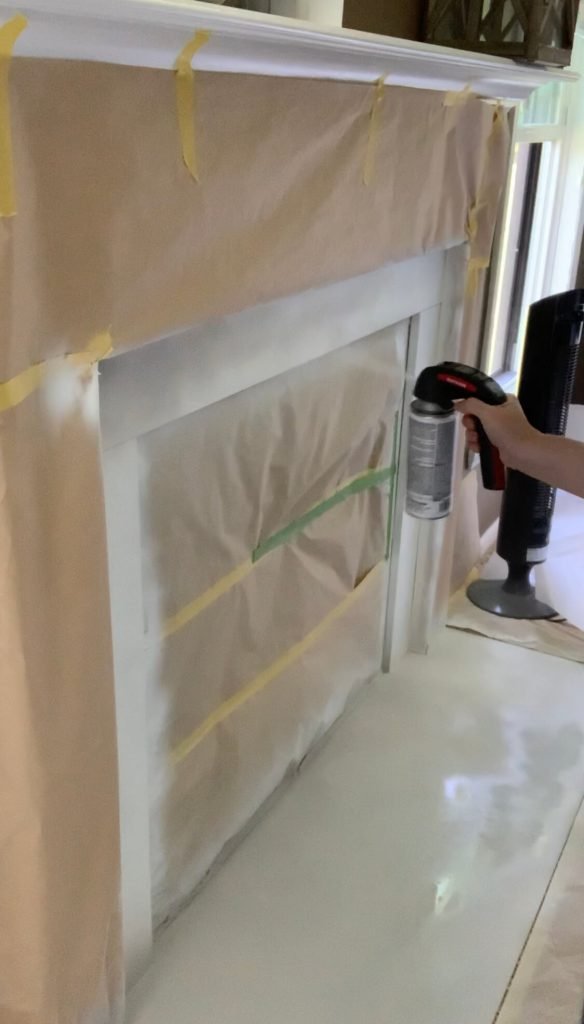
This part I would definitely use the spray paint version because it is not as smelly as the primer and it goes on so quick.
Follow the directions on the can.
I used two cans and followed the directions exactly.
Make sure you don't have fans blowing any hair or dust while you are spraying. The spray tent helped with this.
Enjoy the after!
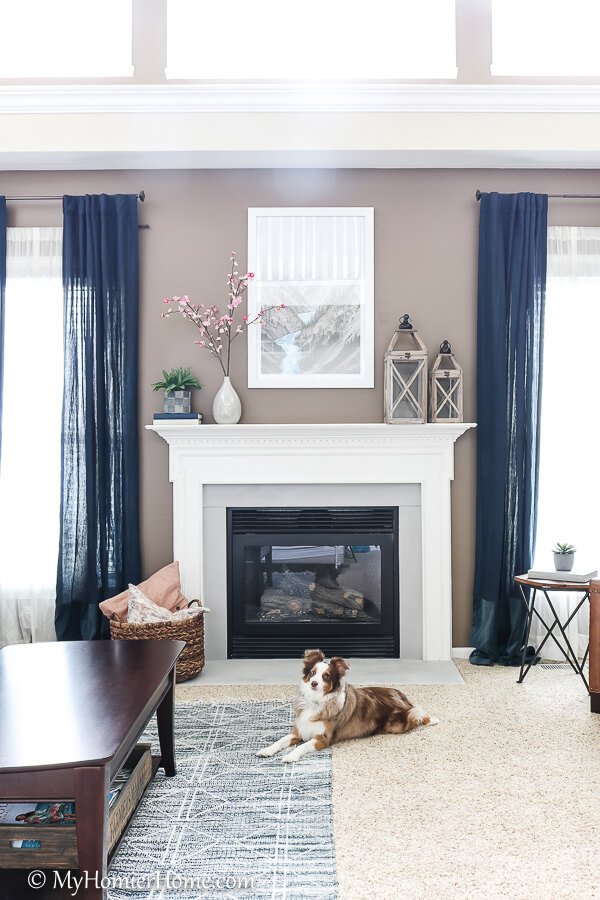
How much better does this look??
I'm obsessed!
What do you think?
Full Video Tutorial
Check out the full video tutorial below.




This is exactly what I needed to know right now. Thanks for sharing.
Amazing what spray paint can do. . . but I never would have thought to use it on something like a fireplace surround! What a great idea.
Thanks so much for joining the Grace at Home party at Imparting Grace. I’m featuring you this week!
Important safety notes:
Make sure your pilot light is turned off before painting.
Use high heat resistant paint.
Thank you so much for the tips!!