
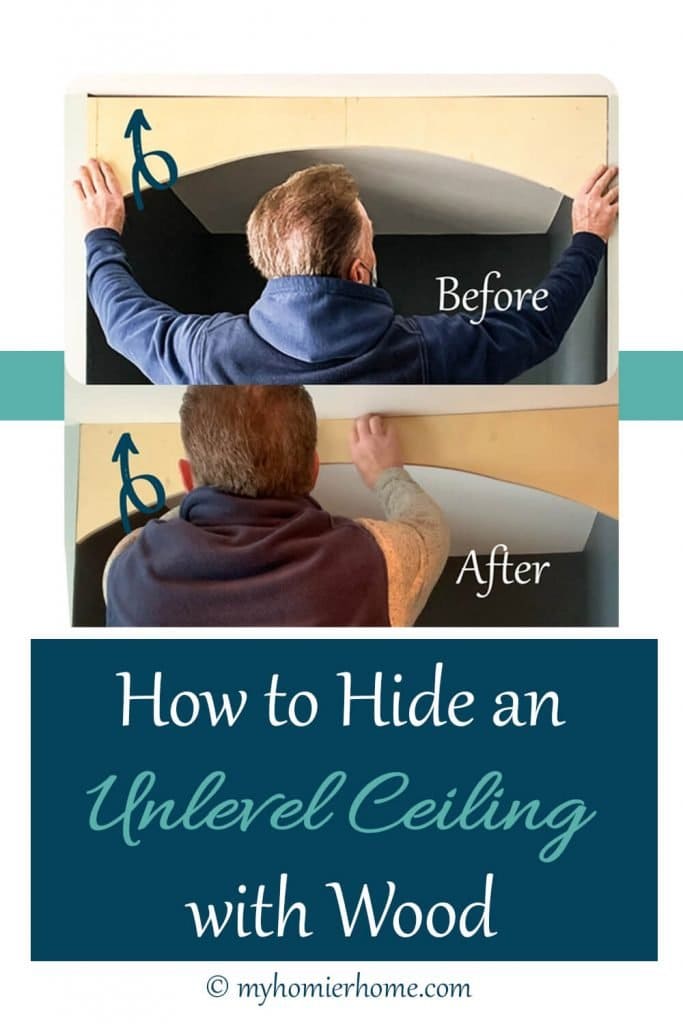
How to Hide an Unlevel Ceiling with Wood
Want to add visual interest to your room, but your ceiling isn't cooperating? This tutorial will teach you the quick method to hide an unlevel ceiling when working with wood.
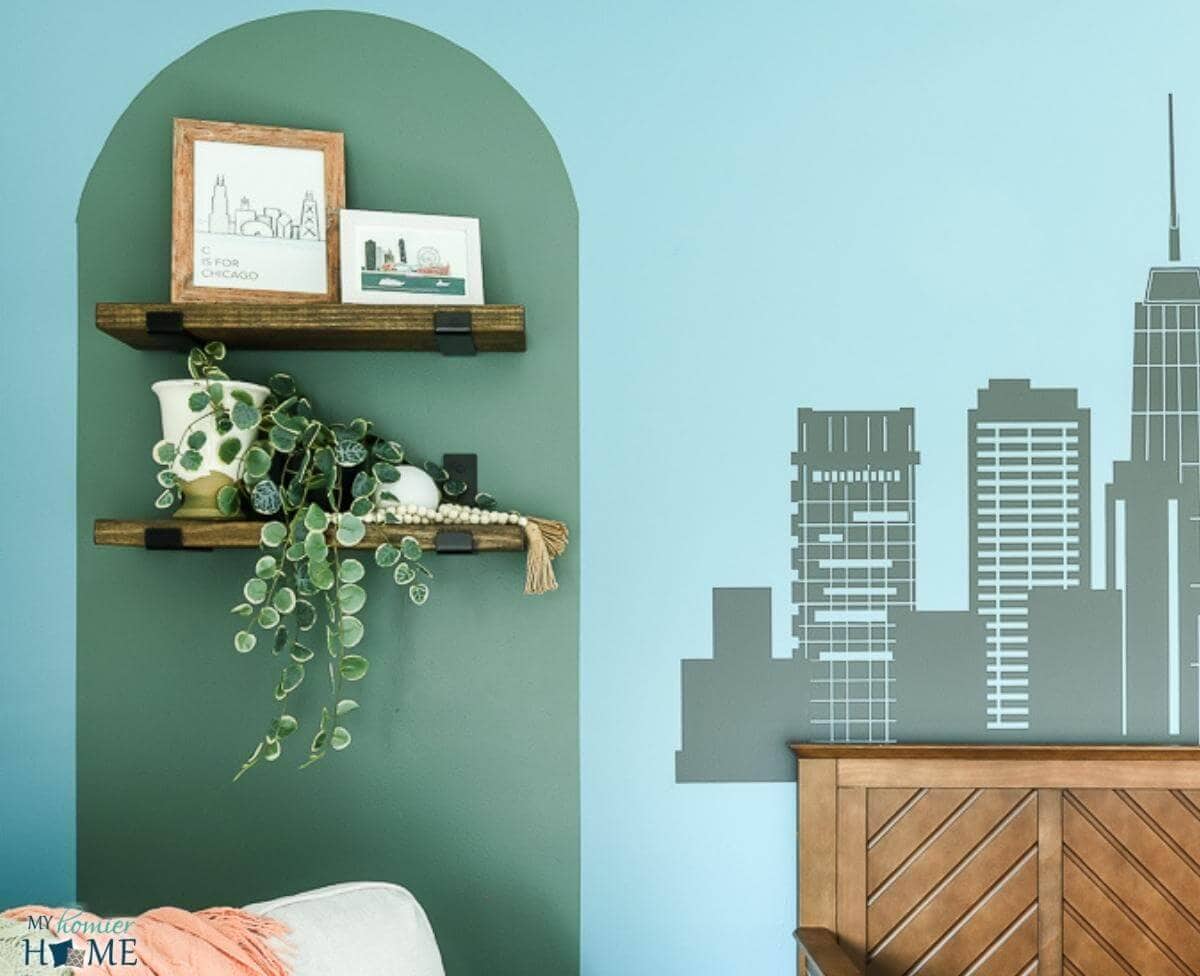
Did you catch my DIY archway project from last week?
This project has been so fun and has really made a huge difference in the DIY reading nook. But, I had one more piece to the puzzle I wanted to share with you.
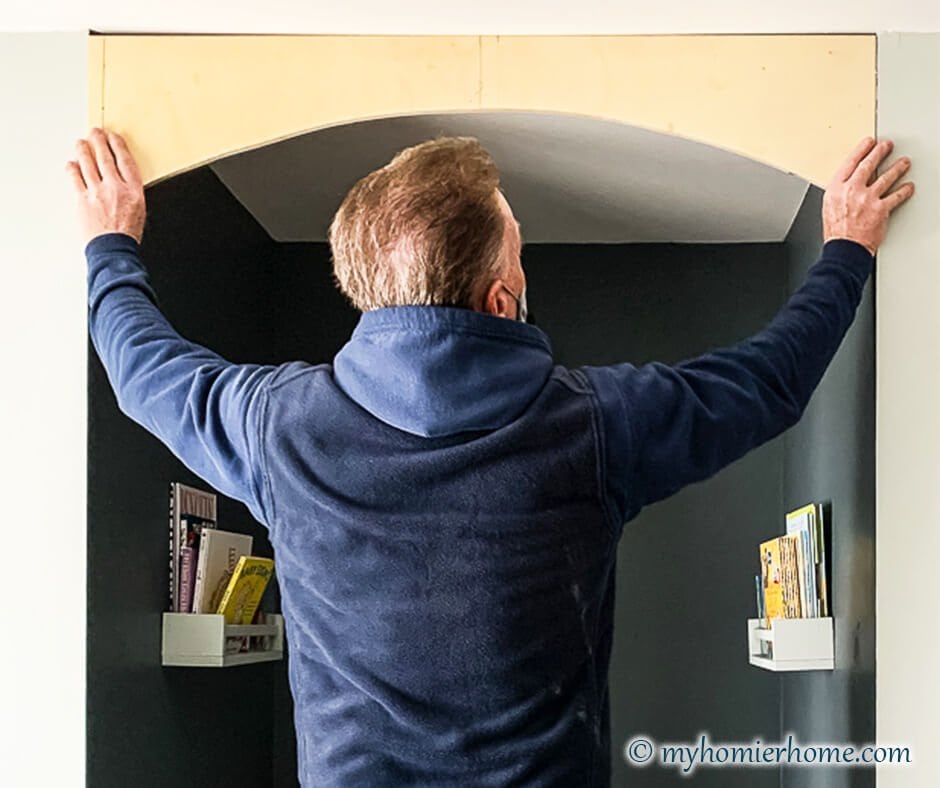
We created this arch and we're so excited about how it came out, but when we went to hang it, there was a huge gap from an unlevel ceiling as you can see below.
Ugh!
Disclaimer: This post does include affiliate links for your convenience. This is at NO additional cost to you but earns me a small commission. To read more, check out our disclosure policy. As an
So, I did what any good DIYer does and I headed to Home Depot and asked my resident expert, Monte.
This guy is my favorite over there because he is a wealth of knowledge. I talked about him in my stories when I was there, so this is the tip he gave me in action.
Let's get started!
Steps to Hide an Unlevel Ceiling
- Choose a flat item the size of the largest gap of the unlevel ceiling
- Lay flat item and pencil on the unlevel ceiling
- Slide the piece and pencil across the unlevel ceiling.
- Use your jigsaw to cut the line you drew from the unlevel ceiling
- Check your work to hide the unlevel ceiling
- Want to watch the video for this post?
Choose a flat item the size of the largest gap of the unlevel ceiling

The largest gap we were dealing with was on the left side.
It just so happened that a block of wood from the DIY archway was the perfect size of the gap.
If that's not the case for you, no worries. You just need to find something flat, like a pad of paper, the size of your gap.
This is how you are going to transfer the slope of the unlevel ceiling unto your wood, the arch in my case.
Lay flat item and pencil on the unlevel ceiling

Next step is to place your pencil flat against the item you chose with the tip resting on the wood (arch) board.
The best way to do this is to use a carpenter's pencil because it is already flat.
Slide the piece and pencil across the unlevel ceiling.
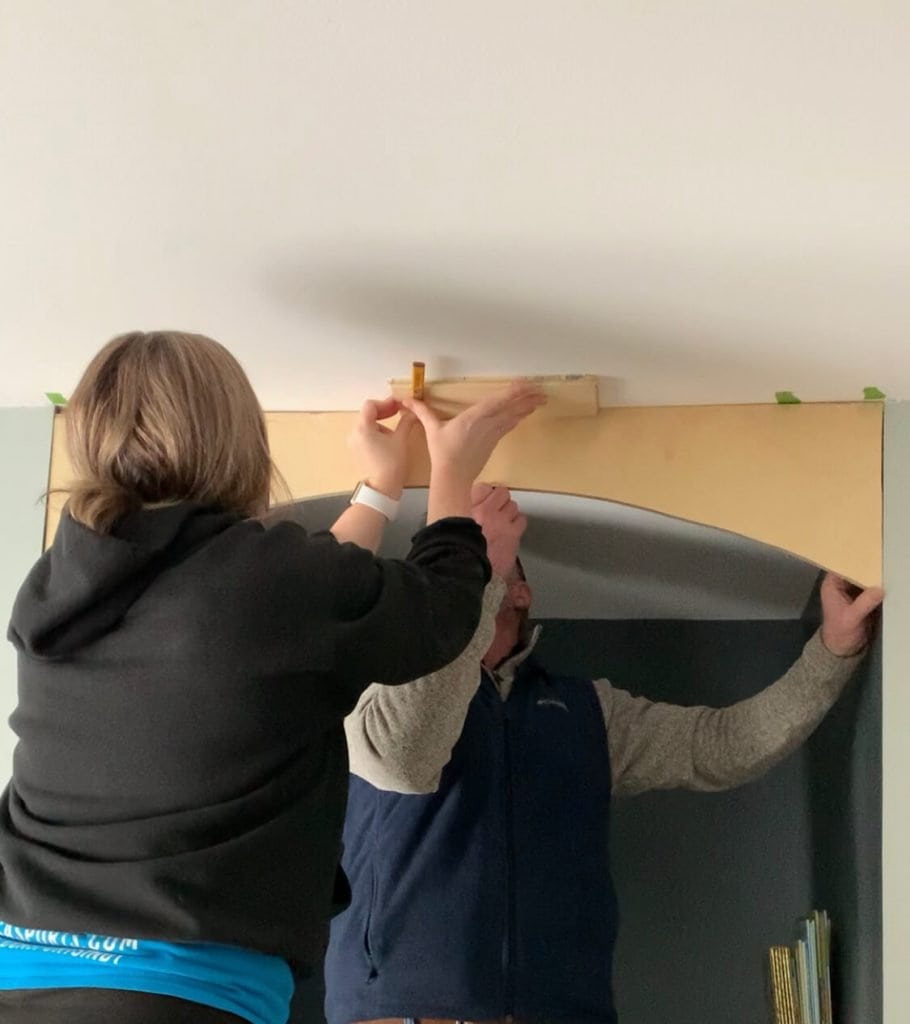
Holding everything flat to the ceiling and flat to the wood piece, slide this mechanism across the unlevel ceiling.
Your goal is to transfer the slope of the ceiling on to the wood so you can cut it in the next step.
Use your jigsaw to cut the line you drew from the unlevel ceiling
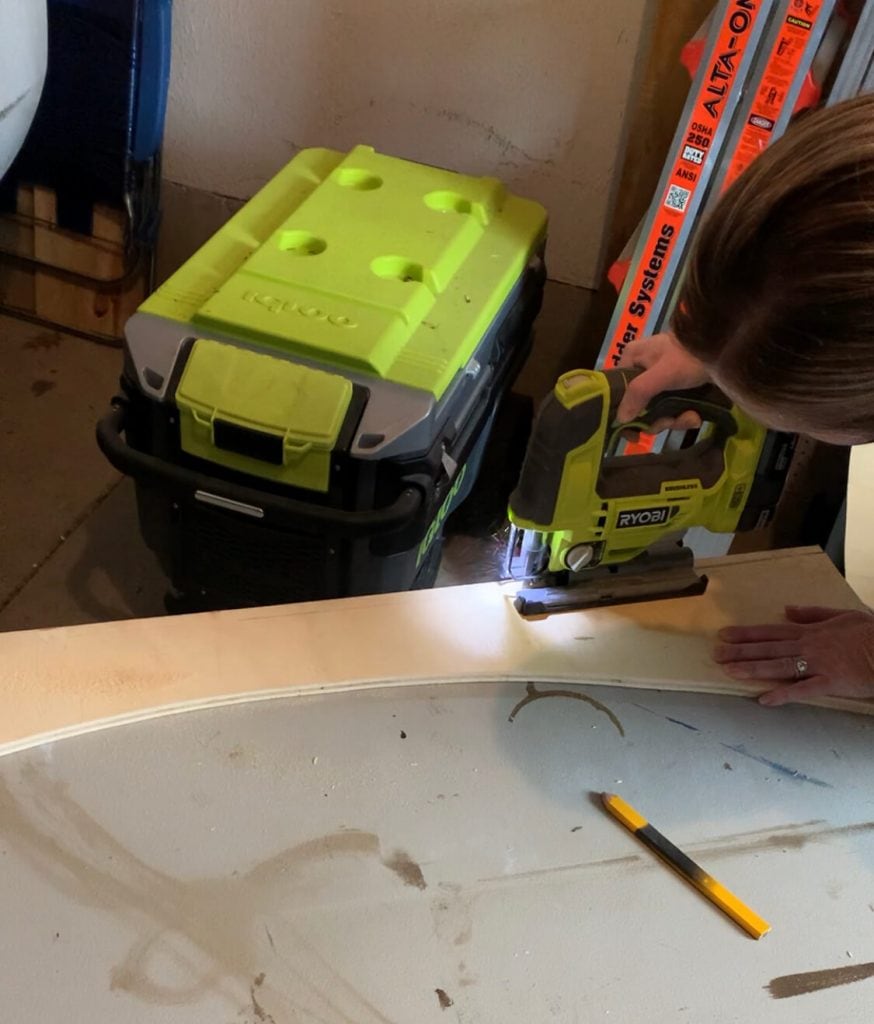
Last, but not least, you want to use your Ryobi Jigsaw to cut on the line you drew from the unlevel ceiling.
I love this tool because it allows you the ability to cut any kind of line, including this curved line.
Check your work to hide the unlevel ceiling
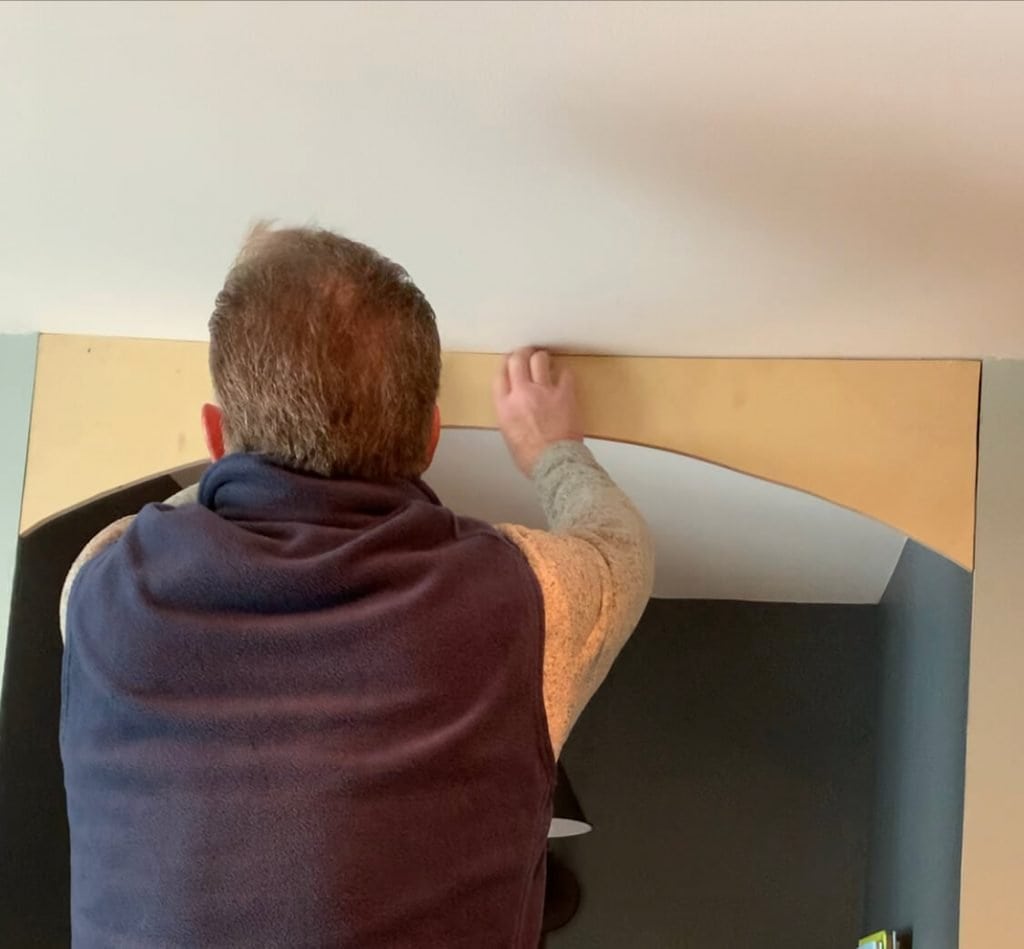
Just to make sure, you want to check your work.
If you find there are still gaps, repeat the steps above.
For ours, it only took one shot. Winners!!
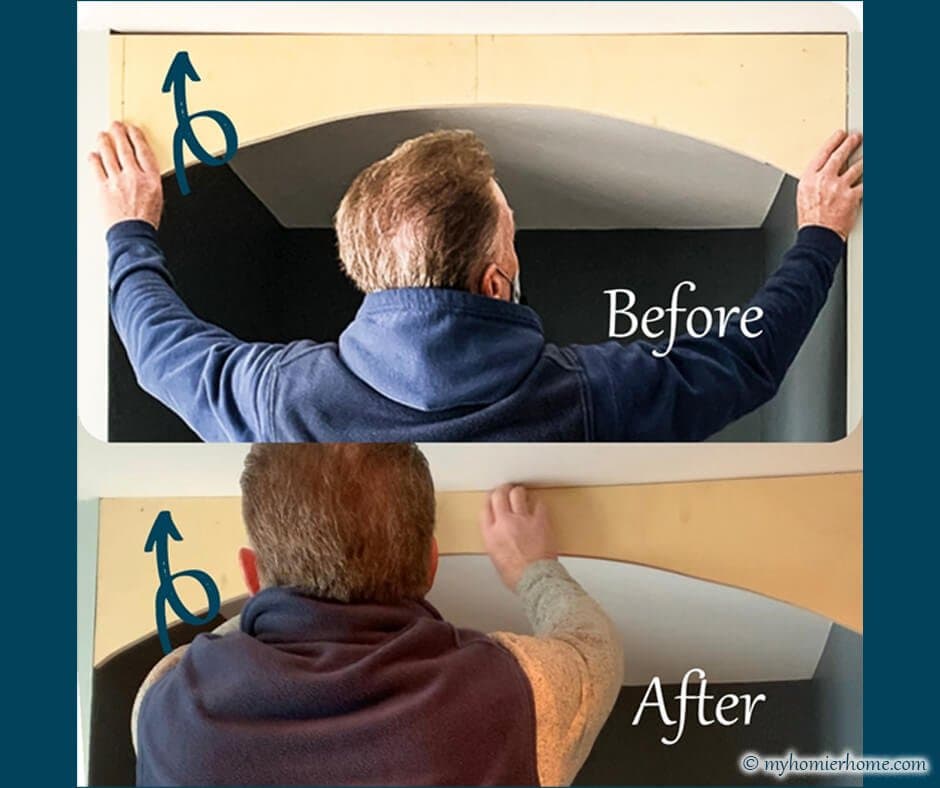
See the difference?
Moral of the story: Never let an unlevel ceiling get you down – just hide it with these handy dandy tips above.
Happy DIYing!
Want to watch the video for this post?
You're in luck!
I put together a video tutorial to add to this post, so you can see the full scope in real time!
Check it out below and while you're there, be sure to hit the subscribe button and turn on the bell notifications to make sure you never miss a new My Homier Home video!


Great tips!!! Thank you for sharing!
Excellent tips. Nothing in our house is level so we’ve had to employ these types of techniques a lot. Thanks for sharing this.
1. I love that you have a Home Depot guy! 2. This turned out so pretty! I love an arched opening. Thank you for sharing the tips!
Good ole’ Monte!! lol
This is a great tip! Nothing is level in our house!
I know, right?! lol
Very good tips! Arches are my favorite!
Mine too!!
So clever. I can’t wait to see how it looks when you are done.
Thanks! The reveal is on Saturday morning!
Love these tips! No walls or ceilings are perfectly level so I feel like I’m always dealing with this with DIY project 🙂 Thanks for sharing these tips!
Such a great idea, plus it created more architectural interest. The finish of this is beautiful x
Rachellittleinteriors.co.uk
Such a great idea, plus it created more architectural interest. The finish of this is beautiful x
Rachellittleinteriors.co.uk