How to Create a DIY Archway Anywhere in your Home
Want to add an archway to up your home improvement game? This DIY archway tutorial will help you make the perfect arch out of wood.
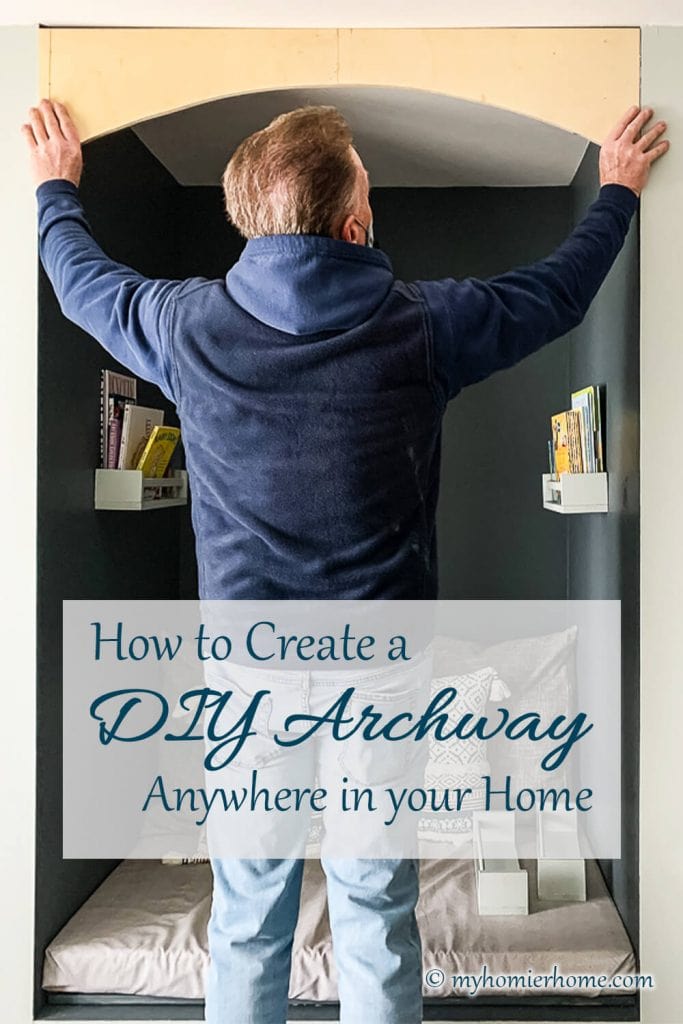
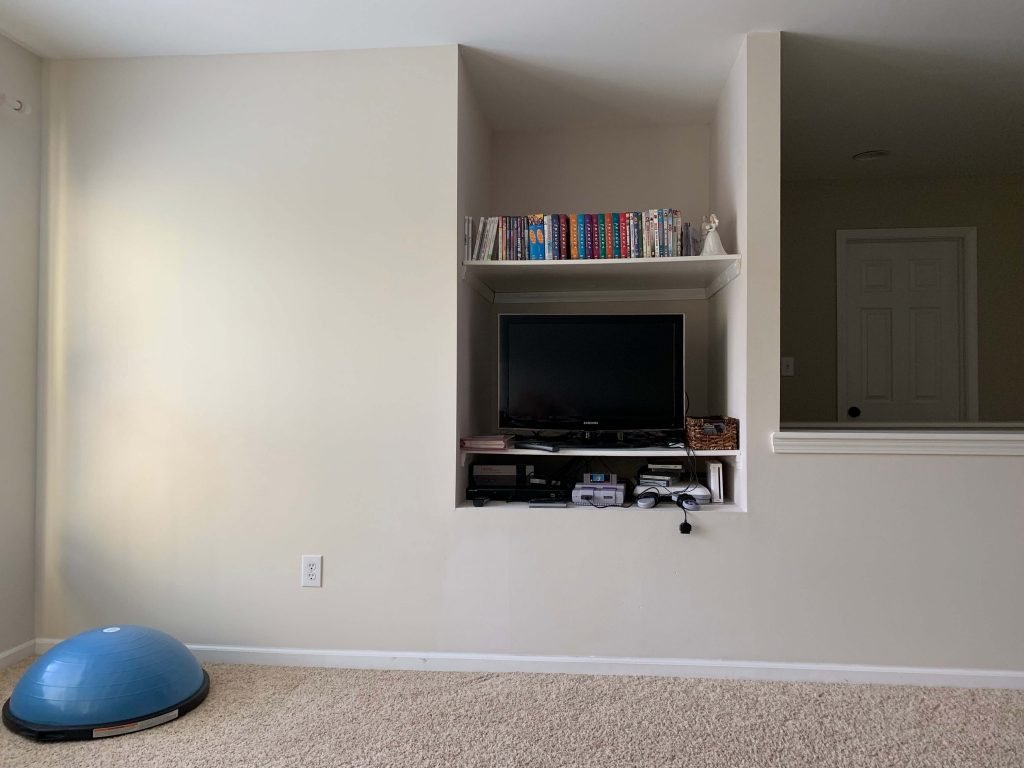
This project started with one of those old TV niche/nook areas from the 90s. You know, the kind where you could fit a big tube TV in fully equipped with a plug and everything. You can see the before below…
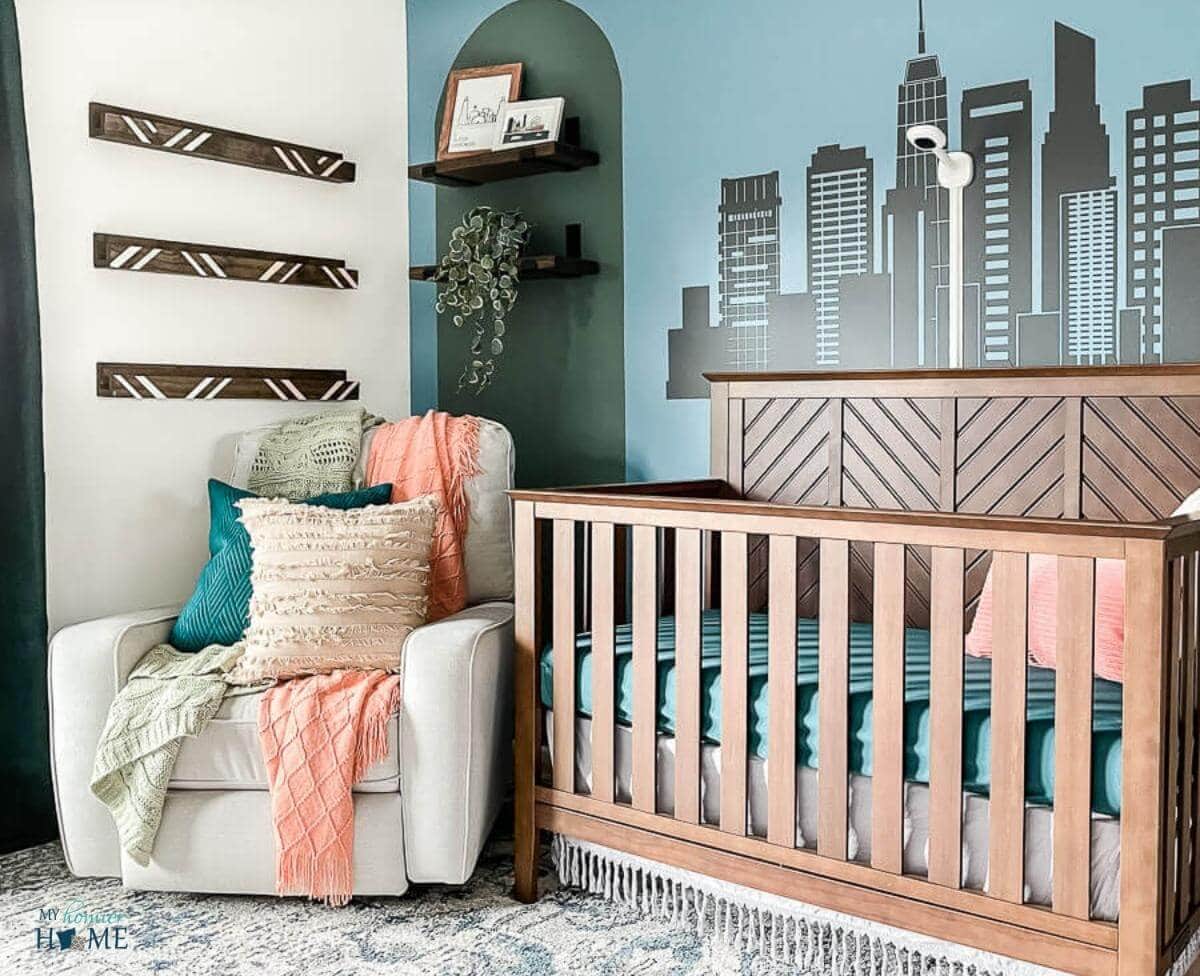
We made due for awhile, but right before baby girl was born, we decided this room need an overhaul and do a full room rescue. You can see the transformation of the whole bonus room makeover here.
We are so glad we finished this room, but there was one thing missing – this little nook did not look “finished.”
Enter the DIY archway project!
DIY Archway Steps
Disclaimer: This post does include affiliate links for your convenience. This is at NO additional cost to you but earns me a small commission. To read more, check out our disclosure policy. As an
Gather your materials.
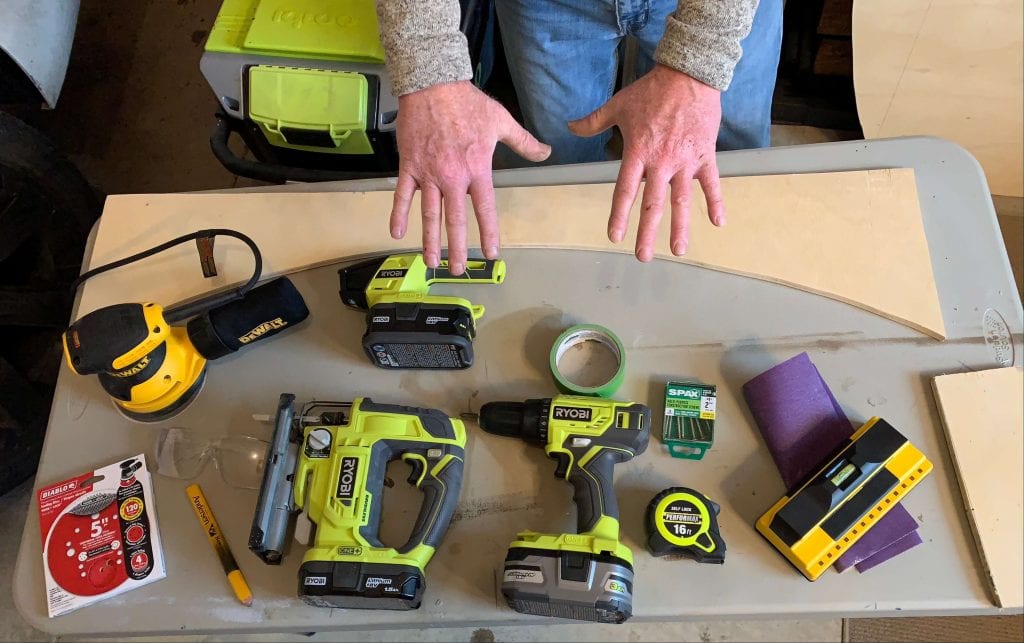
All the materials you see above are from the entire project start to finish with the exception of the two small boards (and my square tool I forgot to add) that helped us make the perfect arch… I'll talk more about that later.
You Can Find My Tools List Available On Amazon Right Here.
The steps we took to create this arch started with actually making the arch (this post), hanging it while trying to hide an unlevel ceiling, and then the reveal of this DIY reading nook.
But since this is only part 1 of the series, you'll only need the materials shown below plus a straight edge and a measuring tape.
Mark all your measurements.
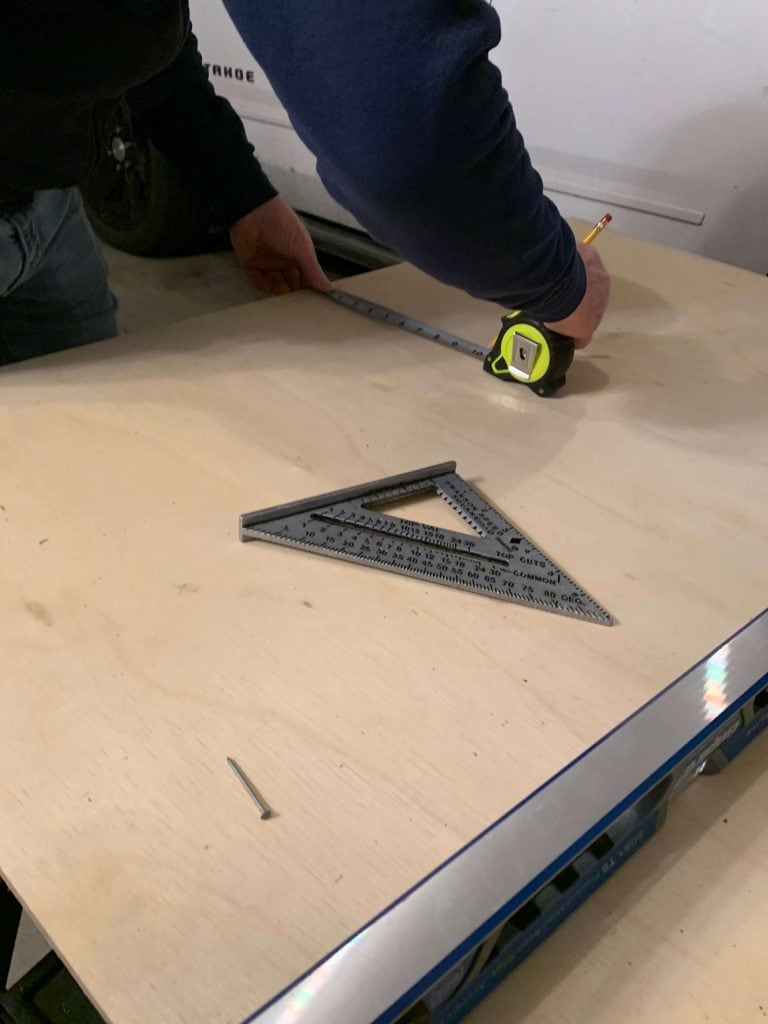
We used a measuring tape, the square tool, and a level as our straight edge.
You want to start by measuring the width of your opening where you plan to put the arch. Our opening was 43.25 inches.
When you transfer this measurement to your piece of wood, make sure to not use the edge of the wood. You'll want to come in about an inch because of a later step.
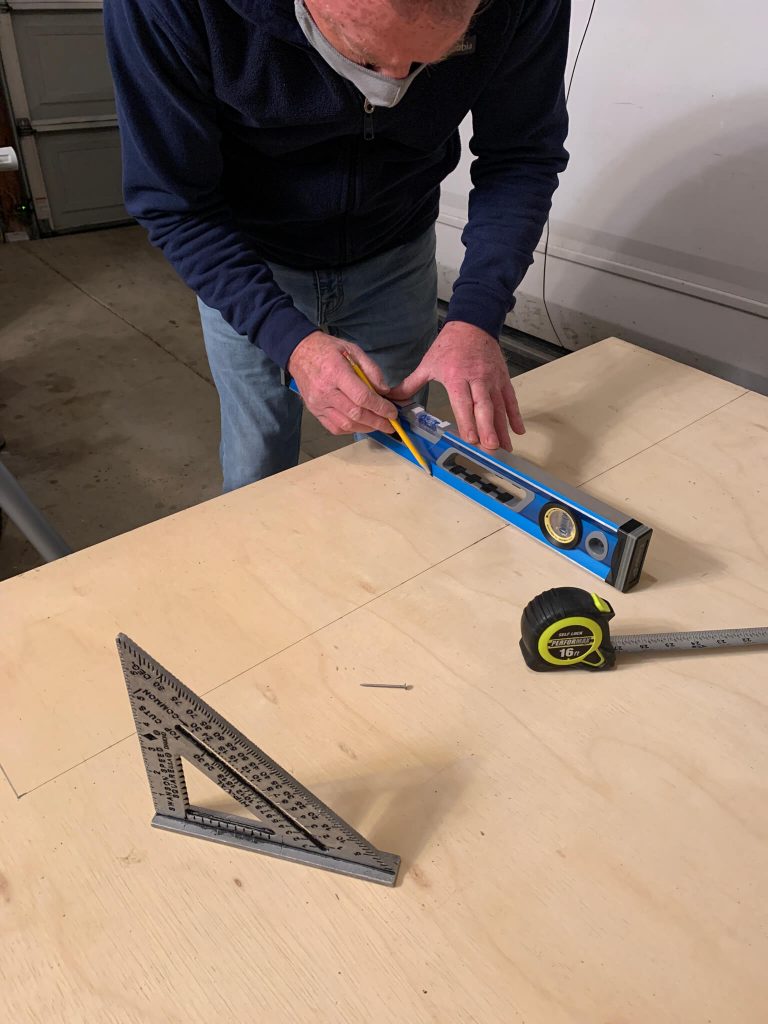
Then you want to decide how far down you want the bottom of the arch to go.
We decided to go 10 inches. There's no right or wrong, just whatever you think will look best. Mark this on your piece of wood.
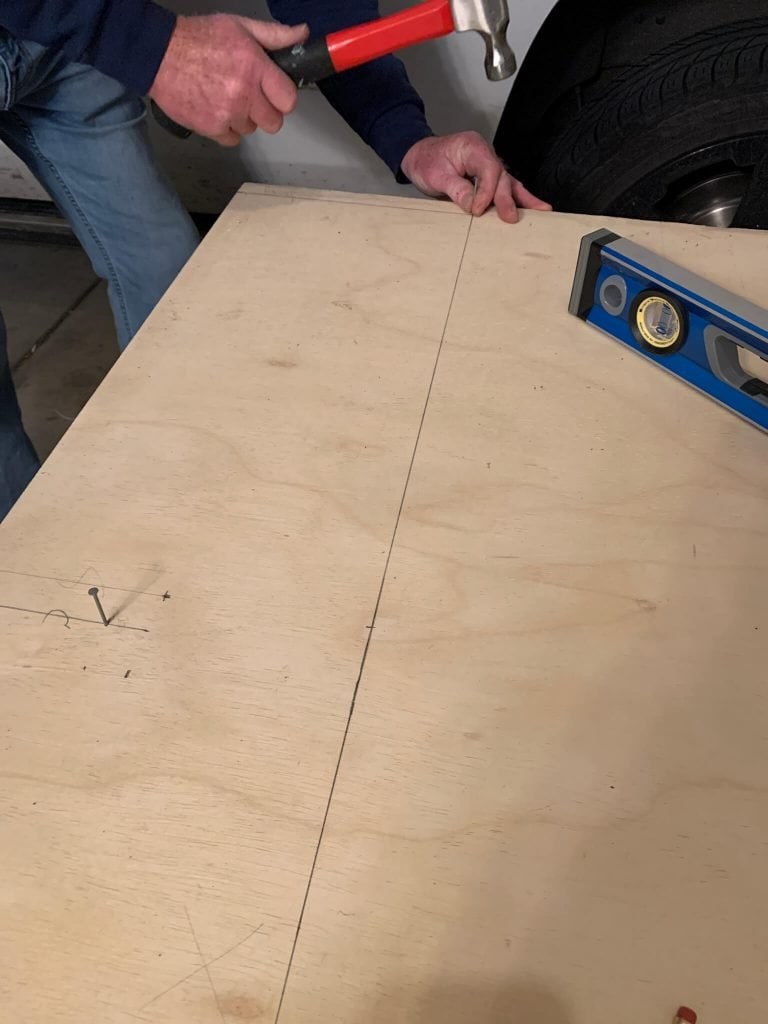
You should now have a rectangle with three lines marked in pencil.
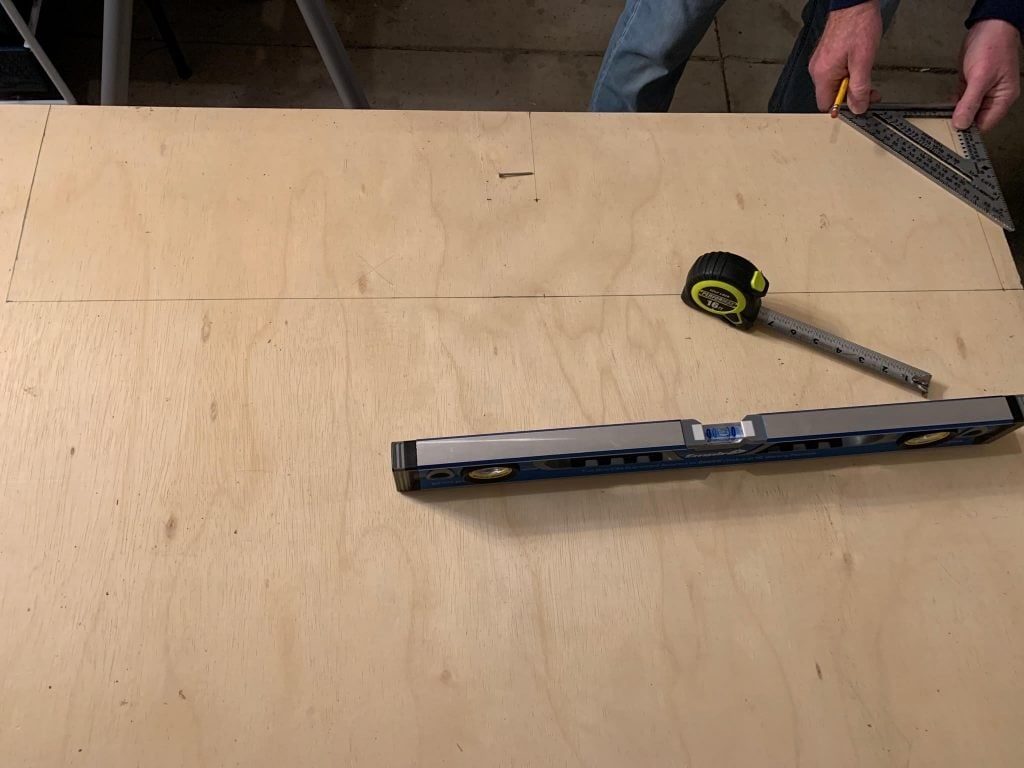
The next measurement is to find the center of your rectangle and draw a line as shown below.
Then determine how far down you want the top of your arch and make a mark. We chose 5 inches for ours… All these marks and the guy helping me (hi Dad!) is also named Mark lol!
Hammer four nails into the wood.
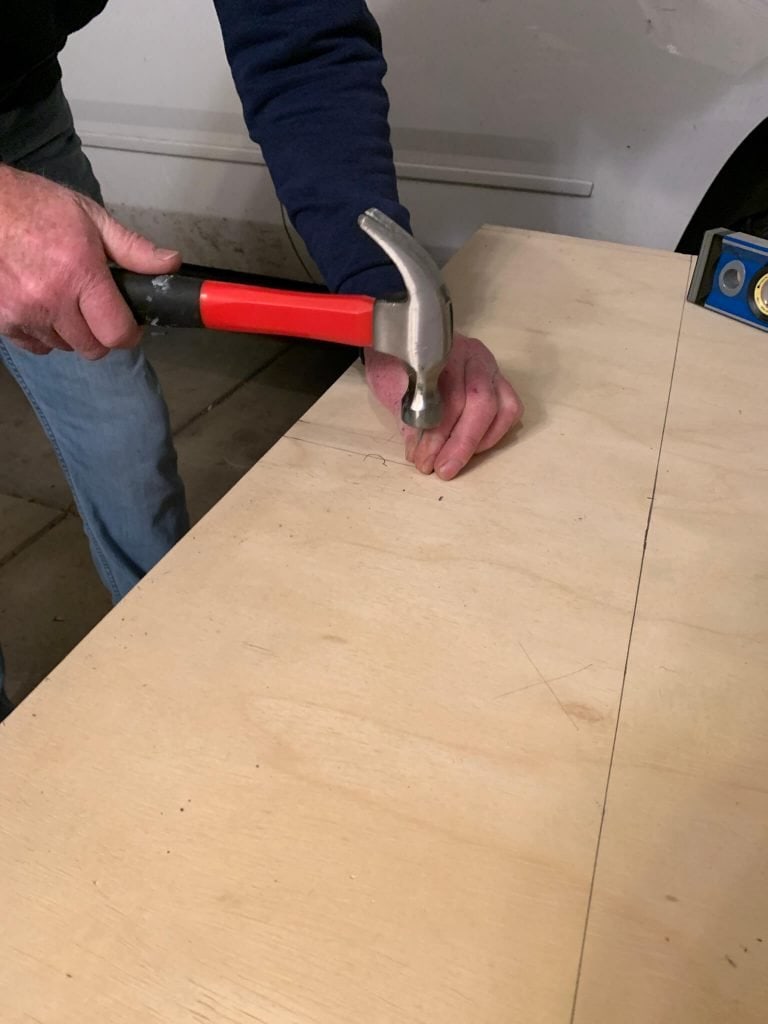
You want one nail at the mark where you will have the top of your arch as shown above.
Then, one at the edge where the bottom of your arch will be as shown above.
And lastly, two nails at either end of your rectangle on the other side as shown above.
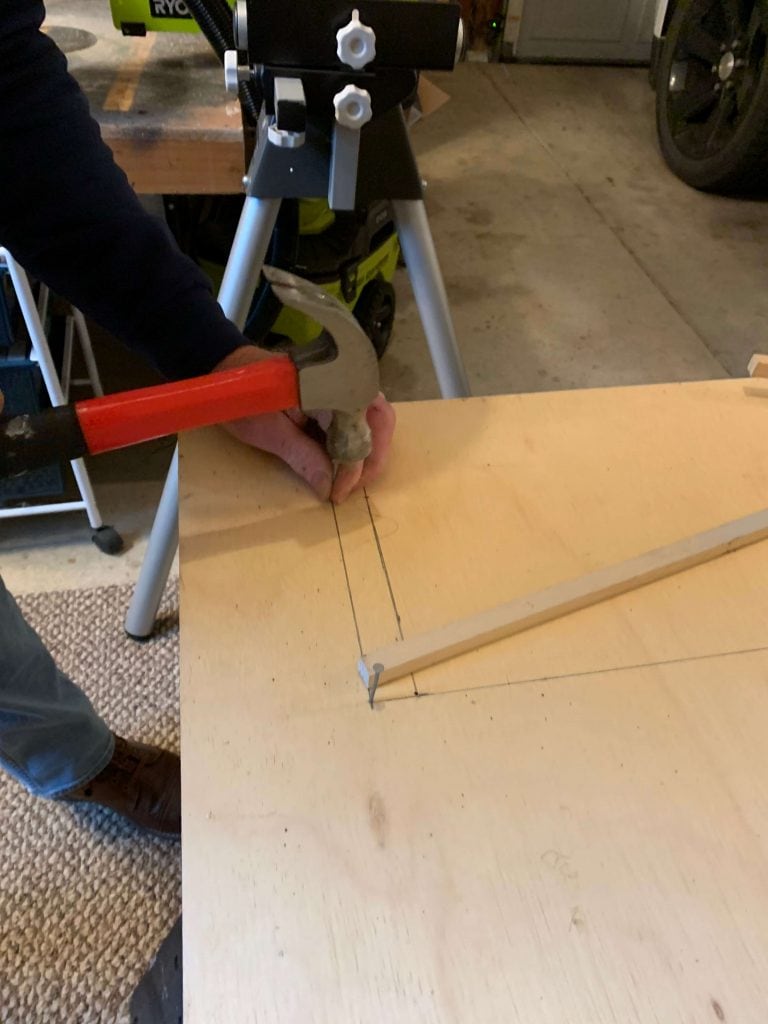
Create your makeshift perfect arch maker.

Now that you have the nails in place, you want to place your two flat boards – one horizontally and one diagonally as shown above.
We used square dowels because it's what I had on hand, but I recommend flatter boards – you just need something that will create a notch for your pencil.
I created a video tutorial on my YouTube Channel as well to give you a better look as to how we did this.
Once you've paced them touching the nails as shown in the above picture, you want to either hot glue, staple, or nail the two pieces together.
Warning 1: Make sure whatever you use doesn't go through because you need this contraption to slide easily.
Warning 2: As you are securing them together, make sure the boards are touching those nails the whole time. This is how the perfect arch will be formed.
Since I used square dowels, we used two nails to secure them together because the hot glue didn't get the job done… could also have been that I was using a super small craft hot glue gun.
Either way, the goal is to have the boards keep their shape.
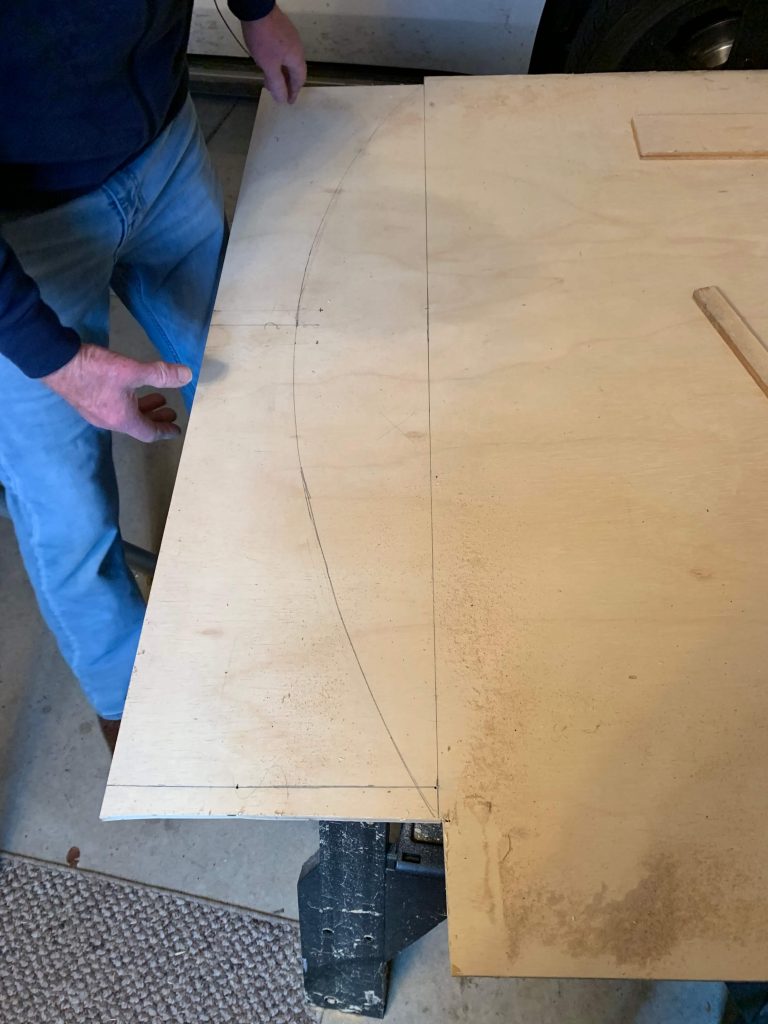
Draw your arch.

The best way to see how I drew this arch is with the DIY archway video.
Basically, you are going to put your pencil resting where the two boards crossed.
While the outer edges of the boards rest on the nails, slide your boards and pencil from one nail to the other.
Then repeat on the other side.
Again, the best way to get the view on this is watching me do it in real time here.
Use your jigsaw to cut the arch
Using your Ryobi Jigsaw, cut the side pieces and then cut on the arch line.
Again, the best way to show you my skills is by watching the DIY archway video.
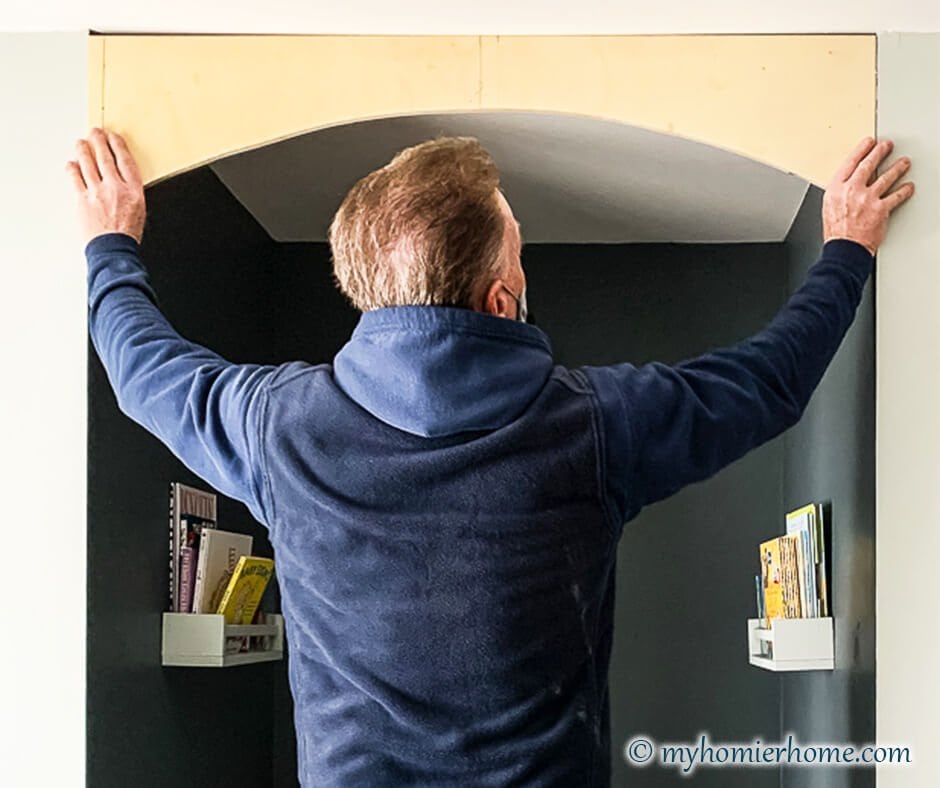
Voila! Check out how we hid that unlevel ceiling you see there and then, check out the before, middle, and afters of this DIY reading nook… it's come a long way!
In the meantime, you can find another one of my favorite woodworking projects, How to Create a Budget-Friendly Statement Ceiling!