How to Store Fishing Rods in the Garage: Reel-y Easy Ideas
Learn how to store fishing rods in the garage to keep your rods organized, out of the way, and ready for your next fishing trip.
This post is sponsored by ProSlat. All opinions are my own.
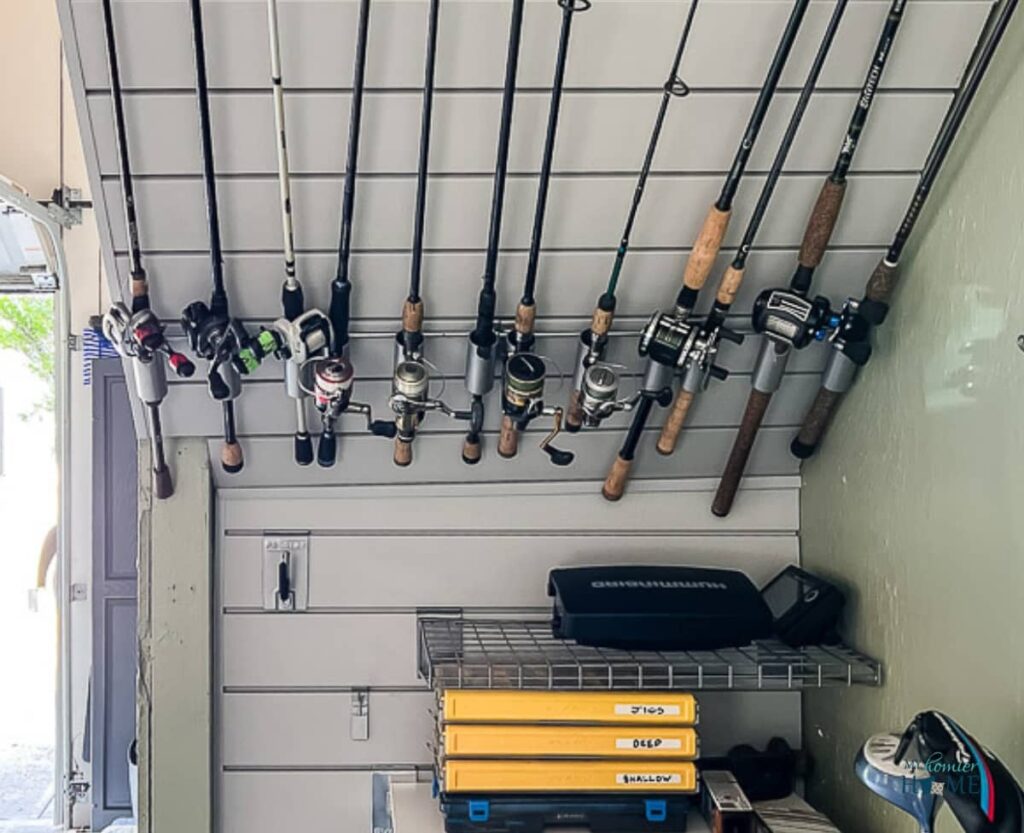
Storing fishing rods in the garage can be quite a challenge, especially if space is limited. However, with the right approach, you can efficiently organize your fishing gear and maintain the integrity of your rods.
When I started the garage project, my husband asked only for one thing – a designated place for his fishing stuff.
So let me introduce to you… our garage fishing nook.
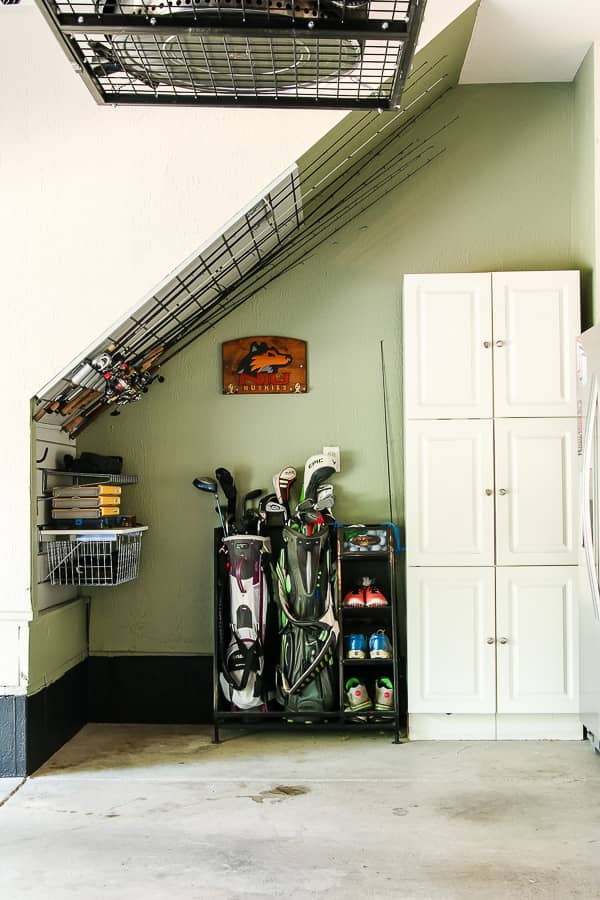
As I'm sure you are aware, proper organization not only helps you quickly locate the rod you need, but it also protects your rods from potential damage and ensures their longevity.
One effective method I found for storing my husband's fishing rods in the garage is using a PVC slatwall system – namely the Proslat PVC slatwall system.
In short?
I am obsessed with the Proslat PVC slatwall systems because it is durable, customizable, and easy to install on garage walls.
This storage solution has allowed us to keep my husband's rods off the floor, where they could be more susceptible to damage. The versatility of the Proslat system also enables us to add hooks and other accessories tailored to our specific storage needs. Winning!!
If you haven't checked out our Proslat PVC slatwall system that we have on the back wall, you can check it out here.
Now let's talk a little bit about how we accomplished this task and some important things to consider when DIYing a fishing rod storage system.
Table of contents
Disclaimer: This post does include affiliate links for your convenience. This is at NO additional cost to you but earns me a small commission. To read more, check out our disclosure policy. As an
Before
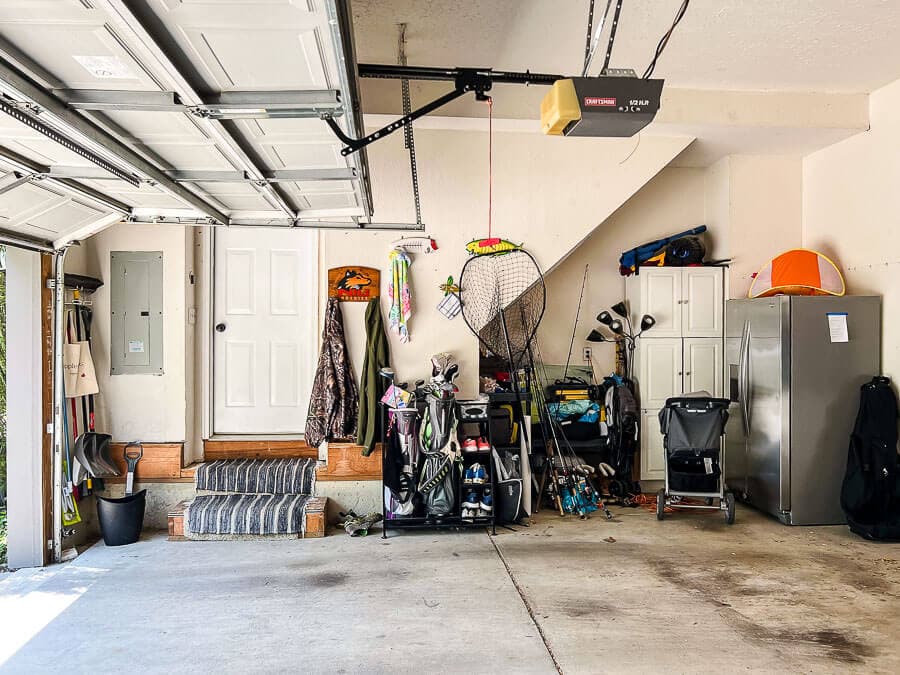
How horrible is this before? lol… oyy! If you missed the first round of this garage project, it has come a LONG way to say the least.
The really cool part about this garage fishing nook project is it was created from leftover slat wall pieces I had from the back wall organization project…. now that's what I call efficiency!
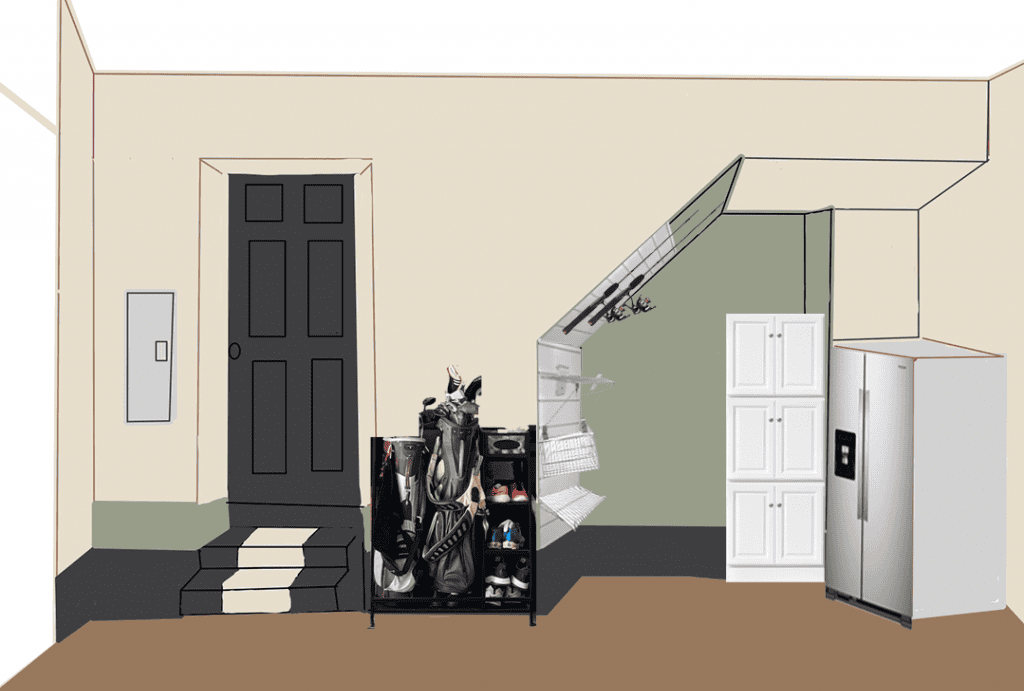
When I first started this project, much like I do every project in my home, I created a design board to get my ideas out of my head and see them IRL
The photo above was my initial mockup of this space.
The Process
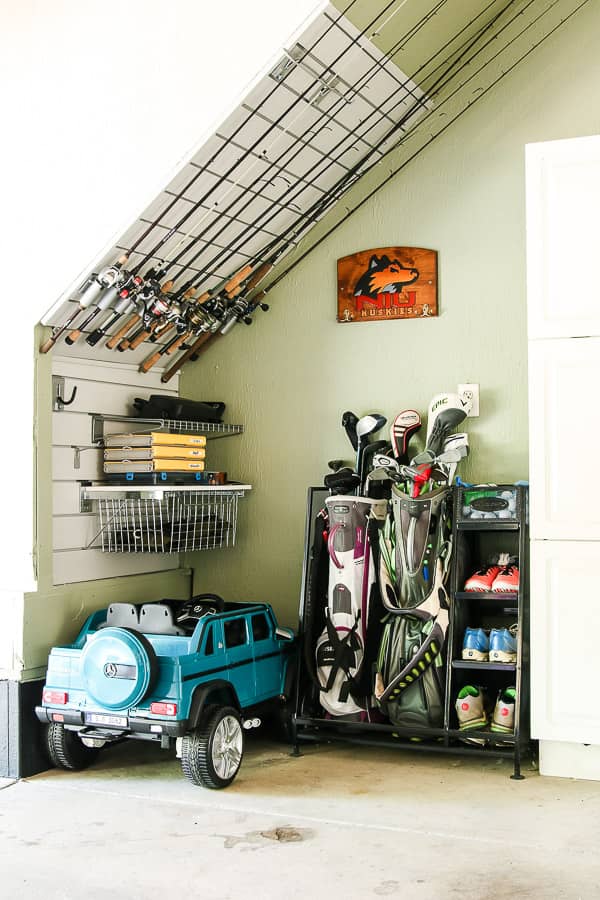
If you have an awkward area of your home, whether that be the garage, a closet, or really any room of your home, the ProSlat PVC slat wall system is a really great way to bring in organization that is aesthetically pleasing.
Again, we used leftover slat wall from our garage back wall to create this, so get creative!
Here's how we did it…
1. Find and mark the studs on the wall.
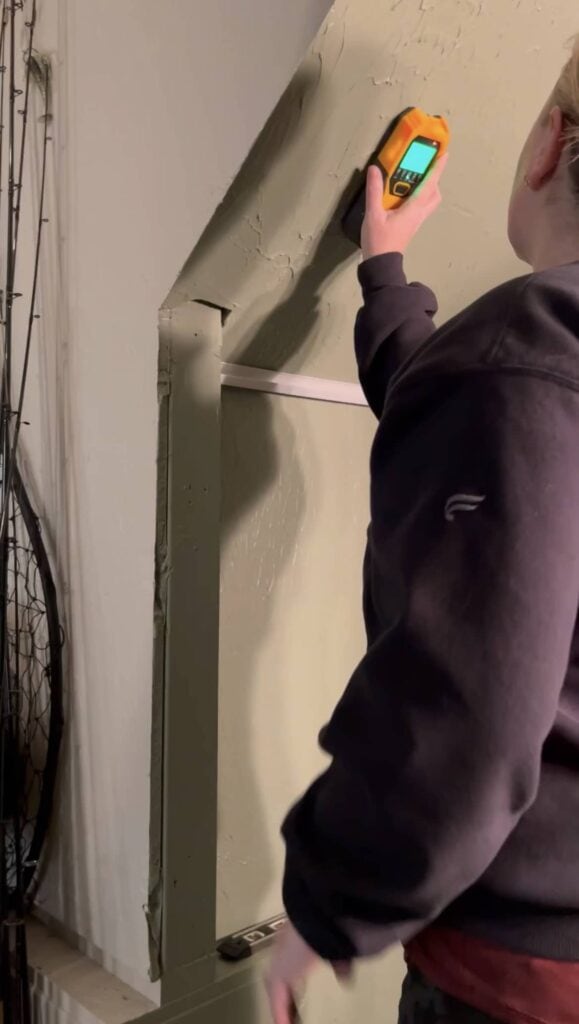
For this slat wall system, it's important to make sure you find and mark the studs. Because this is under the stairs that lead to our upstairs in the house, we actually only had studs on the edges.
Typically you'll have studs every 16 inches or 24 inches to secure your slats.
2. Measure and attach bottom of slatwall.
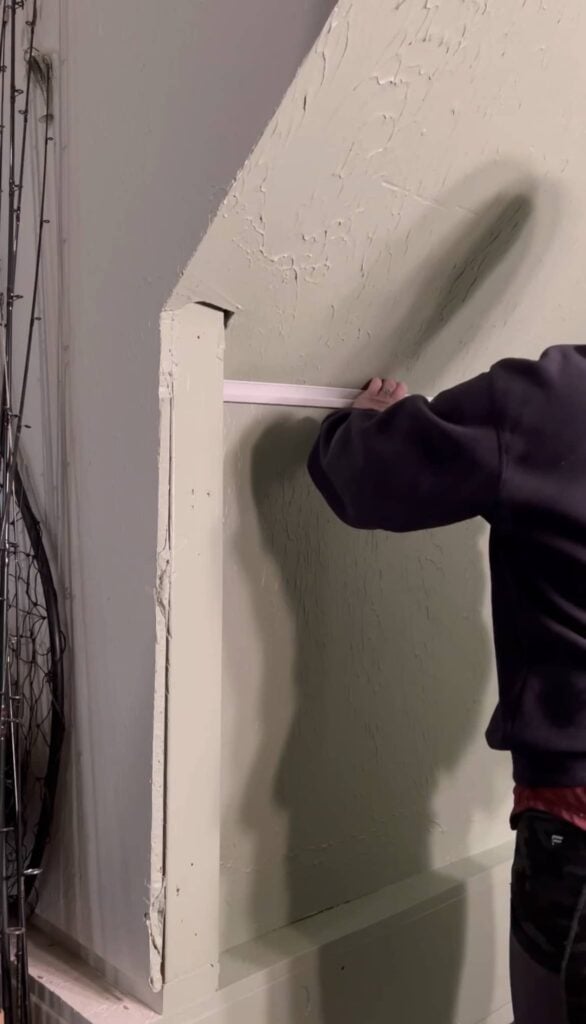
We started with the angled part of the wall and attached the starter piece for the slat wall system.
It's important that this part is level and secure because the rest of the slat wall system stems from this starting point.
3. Measure and mark your slats
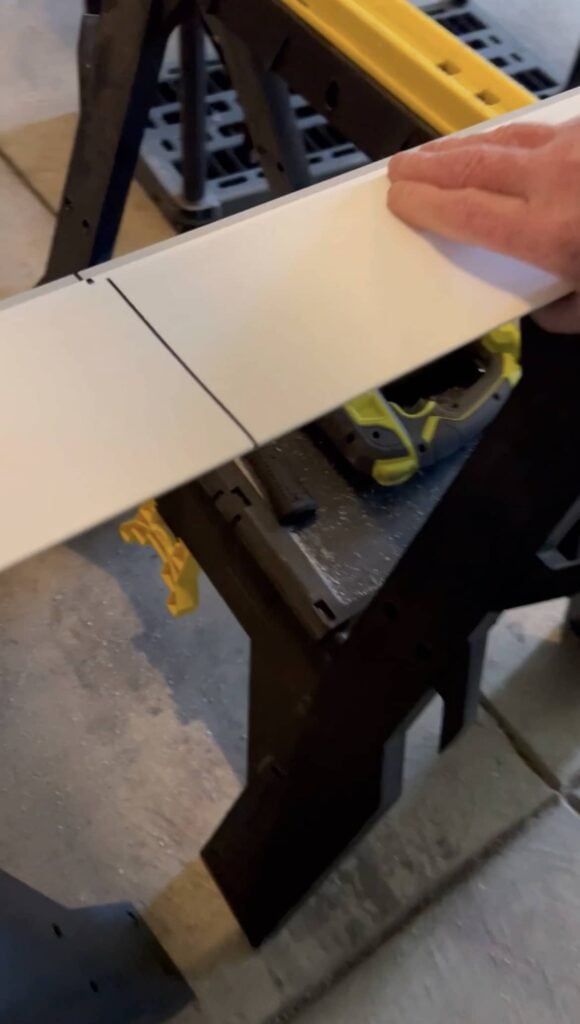
The next step was to cut the individual slats down to size.
We measured our area for the first slat and transferred the measurement on to the slat marking it with permanent marker on the backside of the slat so we could cut it to size.
4. cut your slats to with a jigsaw
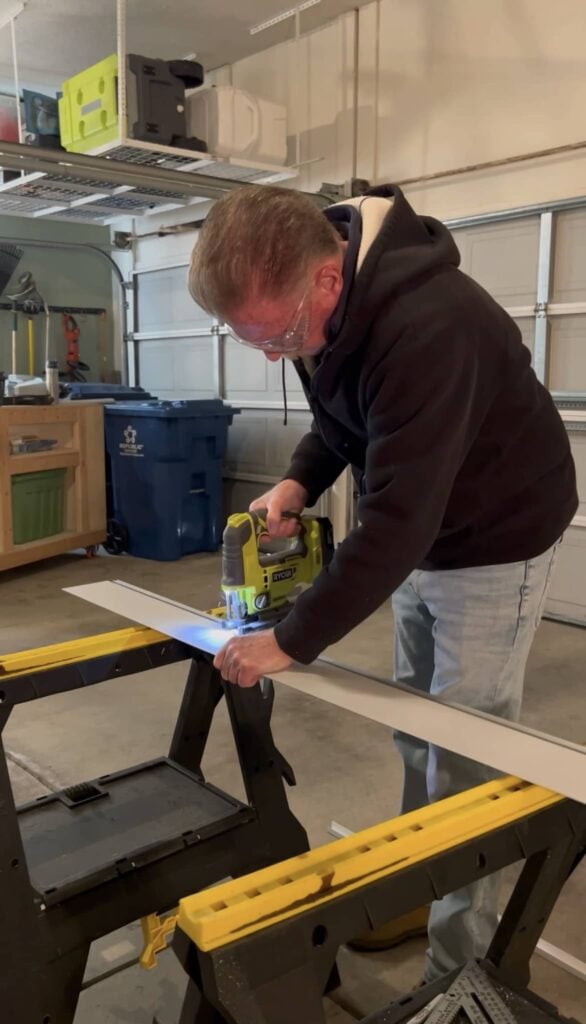
We use a jigsaw to make all our cuts.
Note that there is a metal piece within the topside of the slat. Make sure you are using a blade that works to cut through this material… and don't forget eye protection!
My tips for making the cuts smooth is to keep the jigsaw flat against the slat and go slow.
5. Drill a pilot hole for each stud
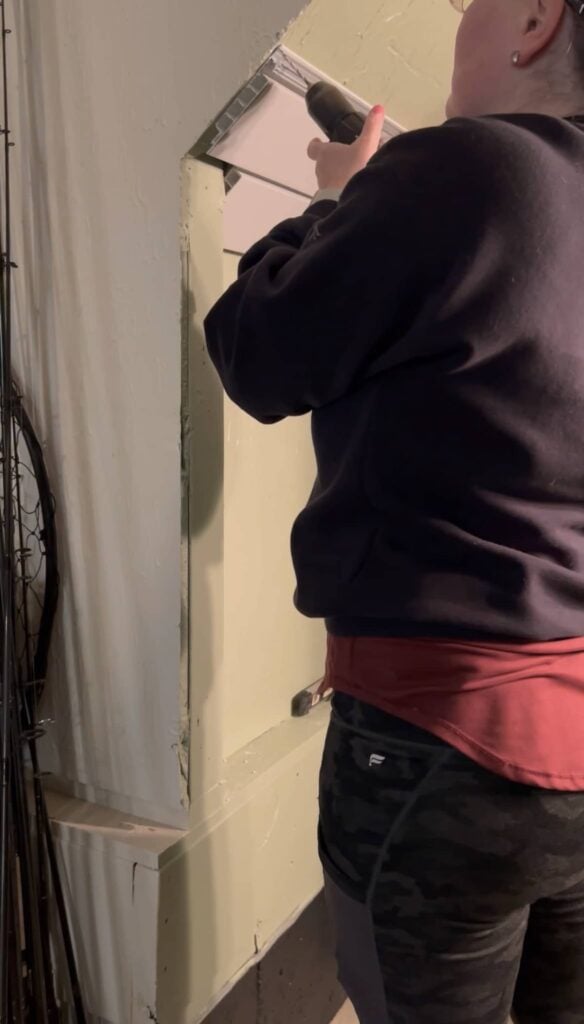
Once your slat is cut to size, connect the slat to the one before it making sure to push down so no metal is showing – it will lock into place.
Next, drill a pilot hole through the metal part of the slat aligned with the studs. Do this for all the studs on your wall
6. Drill your screws in
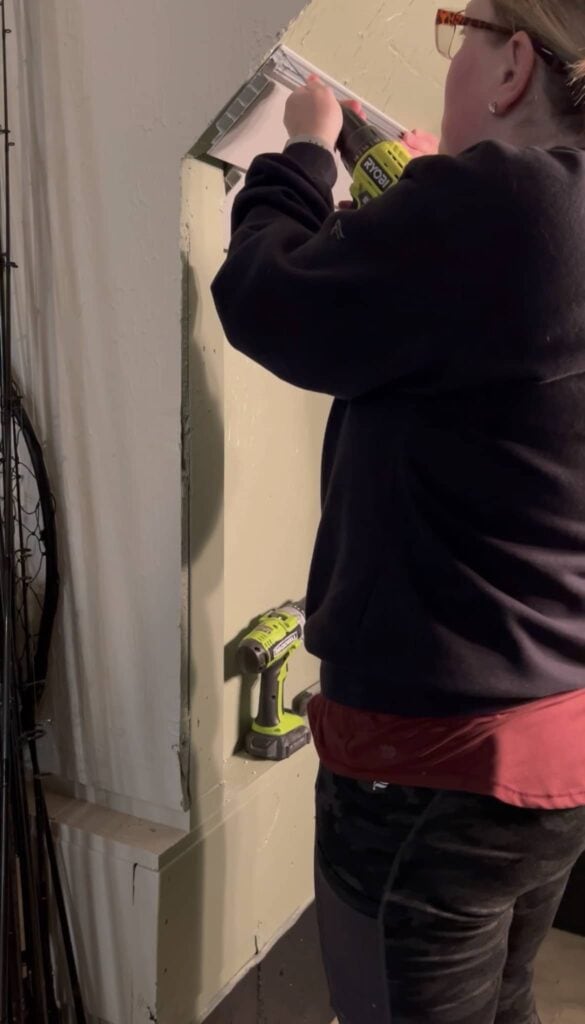
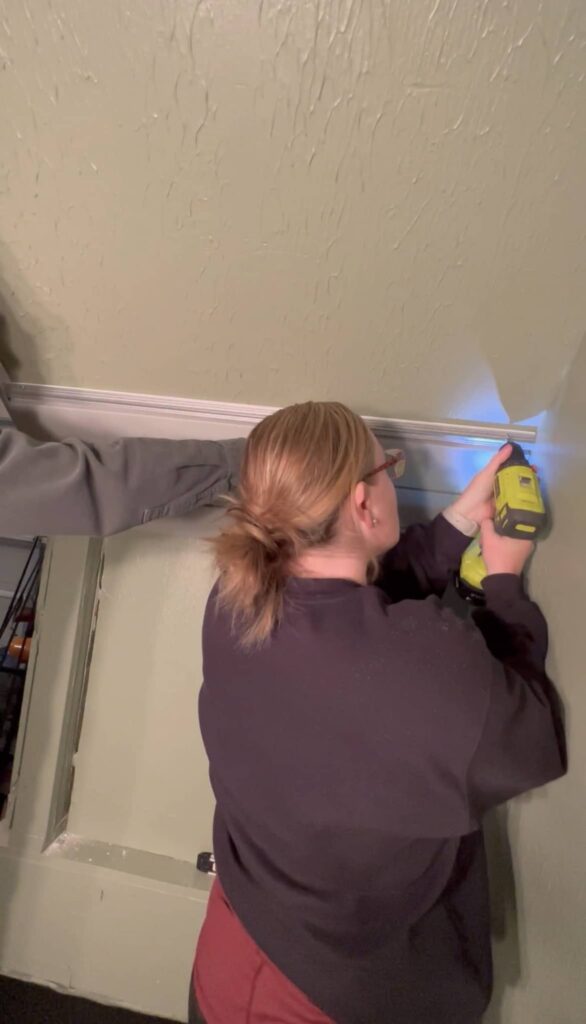
After the pilot holes, you'll be able to screw the screws in way easier.
It helps if you have two drills, so you can use one for the drill bit and one for actually screwing in your screws without having to change it every time.
7. Repeat steps 3 through 6 for each slat.
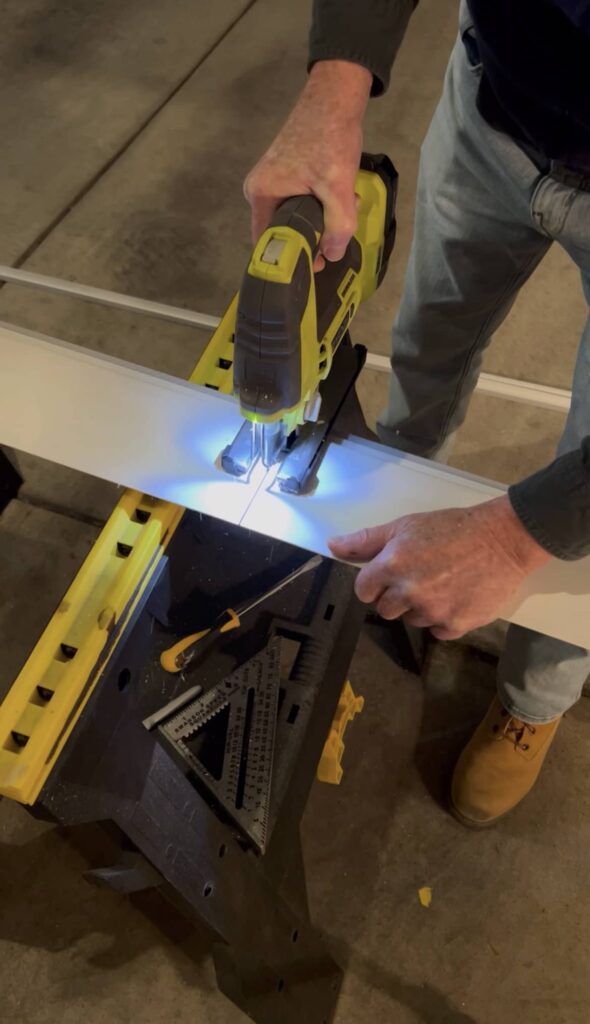
Continue cutting, drilling, and screwing in until you reached the desired height of your slat wall system.
8. Attach the top cover
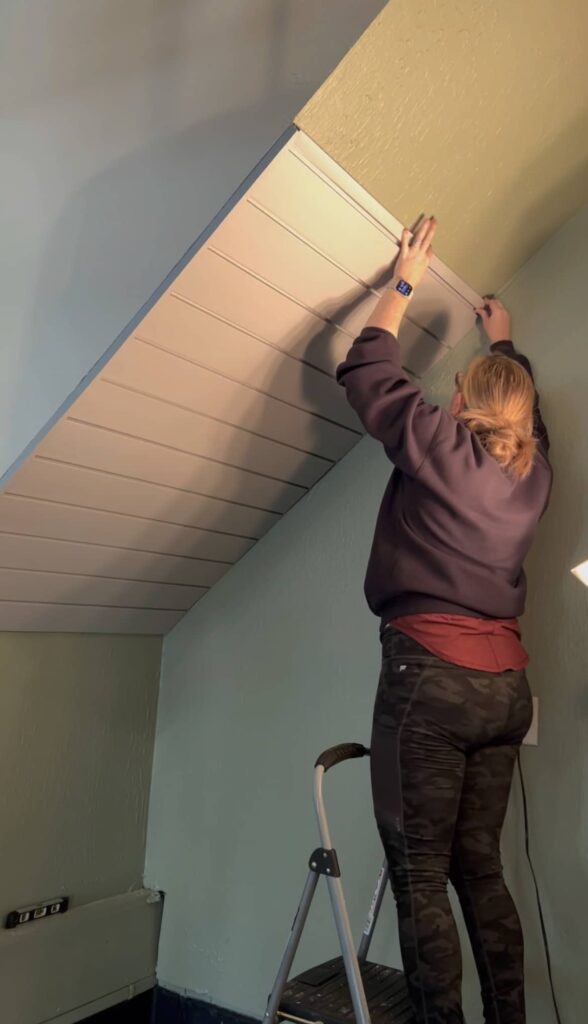
One of the things I love about the ProSlat PVC slat wall system is the pretty factor.
They have side edging and top pieces that make the slats look so clean.
What to do if your wall is not square
1. Measure the ends of the gap.
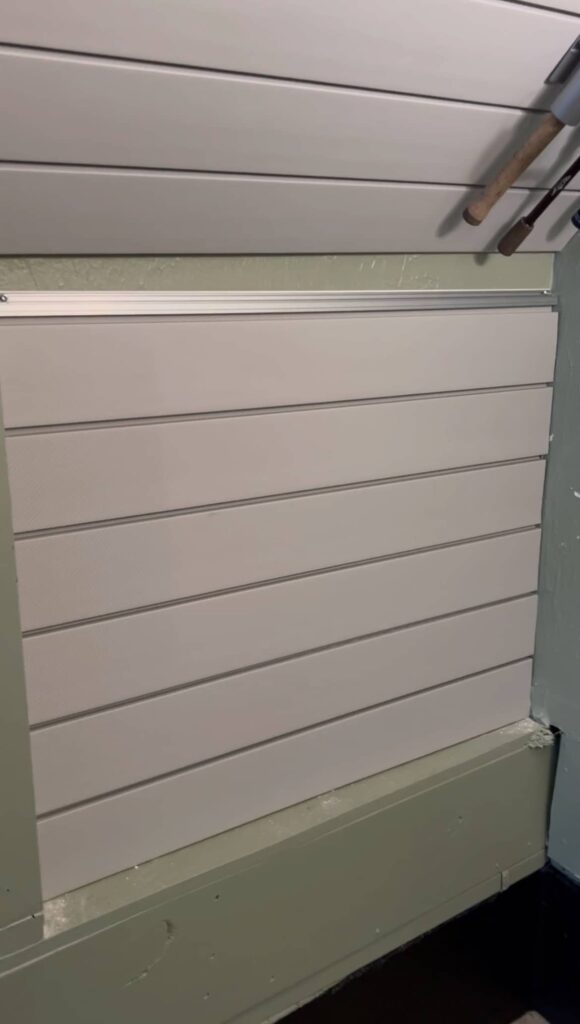
Once we finished the angled part of the wall, we followed the same steps for this inset part as well.
The only problem we ran into was… whomp whomp… this wall is not square.
Granted this is a garage, but there was no way I was going to leave this weird gap.
So, in order to make it fit, we measured from top to bottom the size of the gap where the last slat had to go. And then, measured the length we needed.
2. Use a straight edge to draw a line on each side
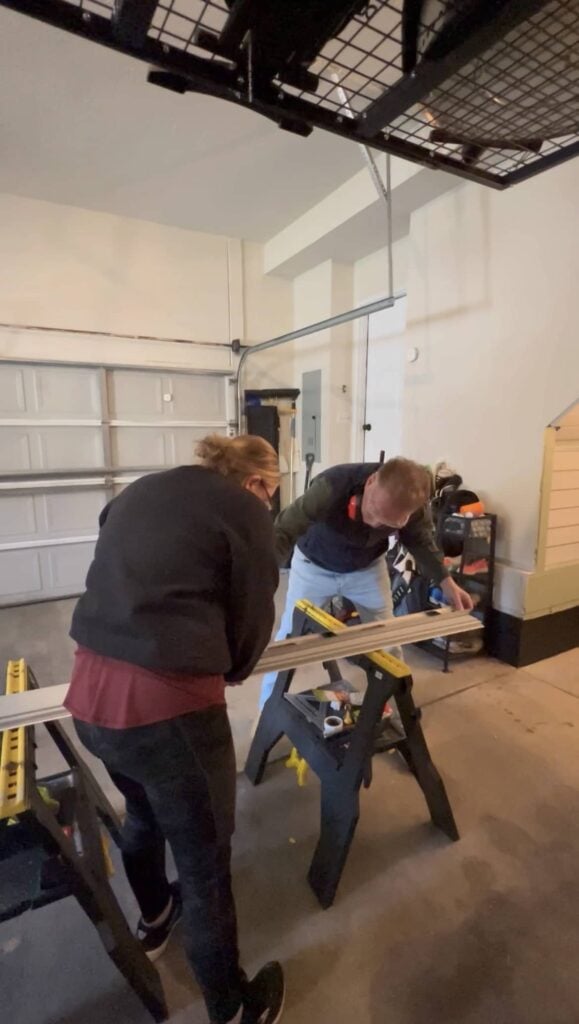
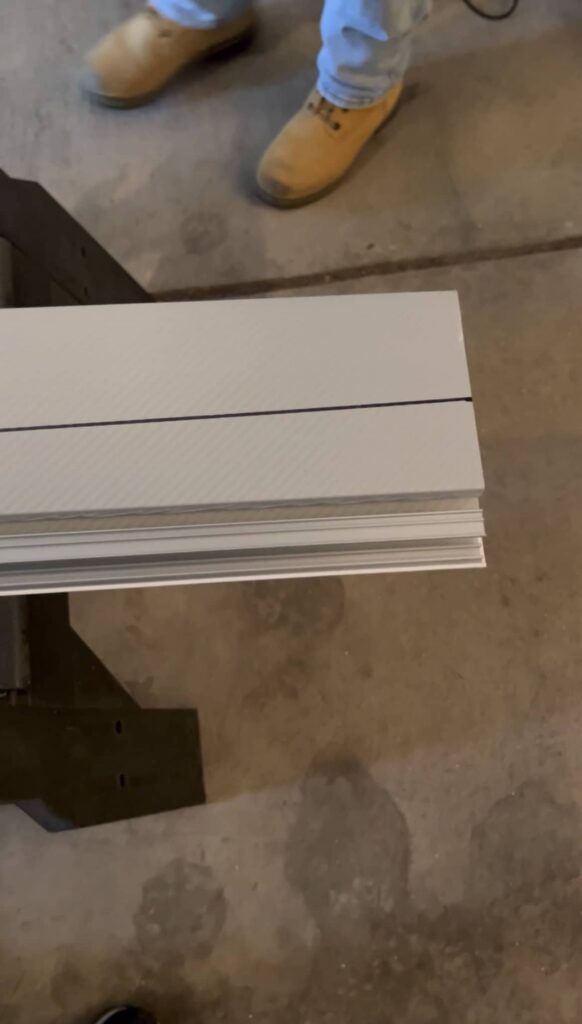
Then, we marked the measurement at each end, making sure we had the slat right side up, and used a straight edge to connect to the two sides.
This made sure when we went to cut this slat to size, it would fit perfectly in this weird gap.
3. Use your jigsaw to cut along the line.
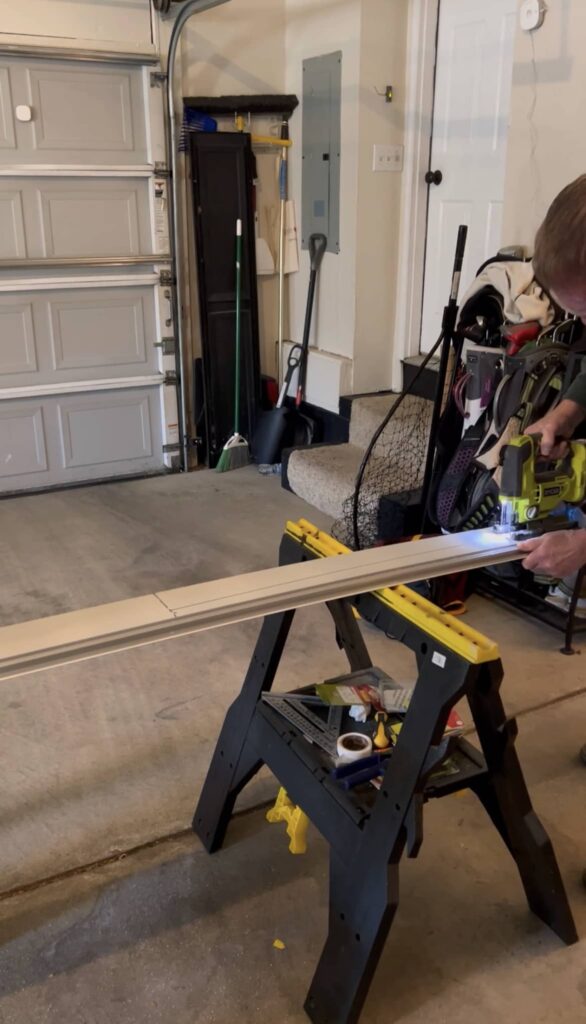
Once we had our line, it was just a matter of cutting along it.
4. Fit the slat in the space.
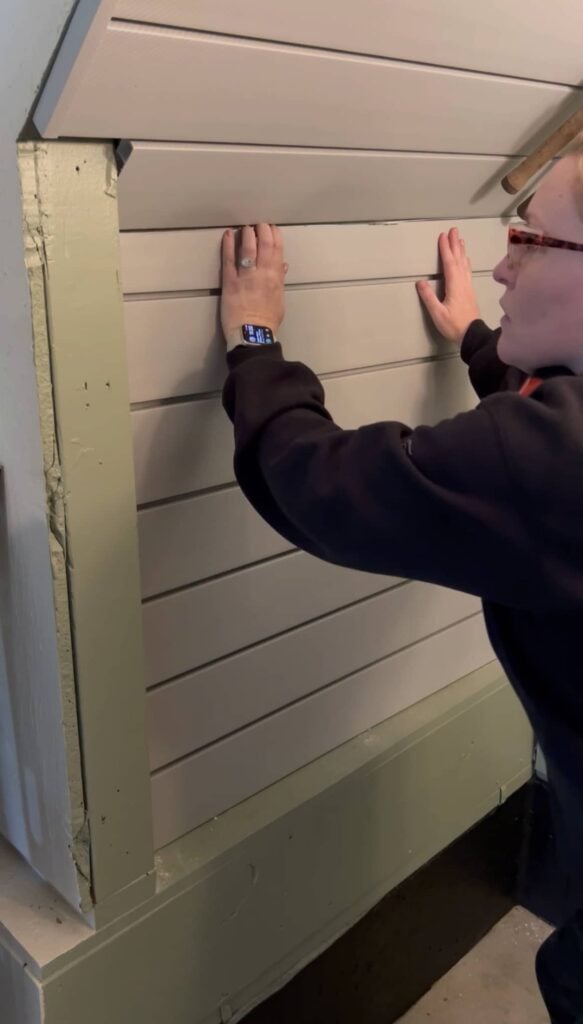
Moment of truth!
It worked!! As the old adage says, measure twice, cut once… and voila!
5. Attach the top piece if desired.
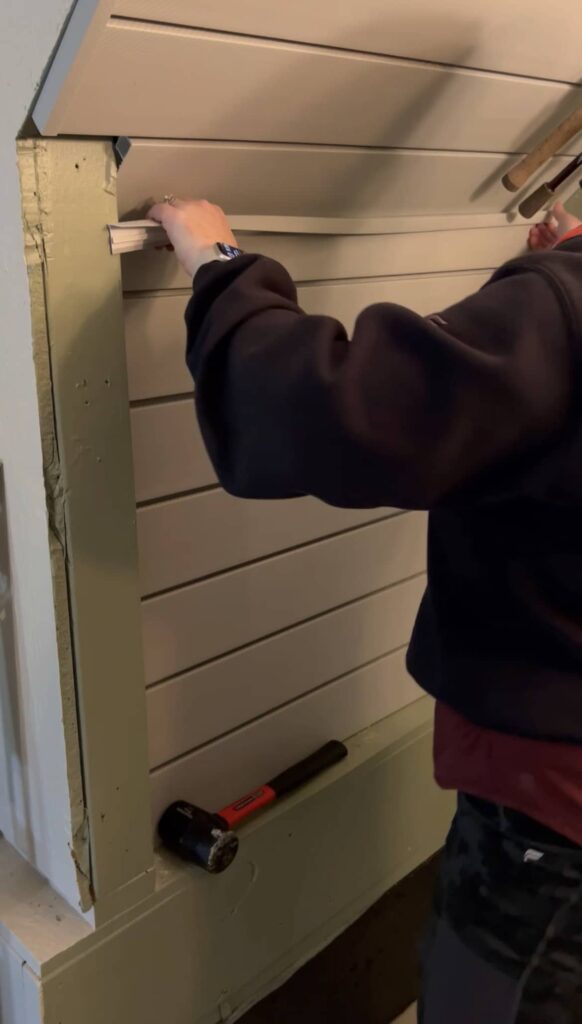
If you can fit it in, attach the top piece to make it look as clean as possible. It may take a little finagling.
After
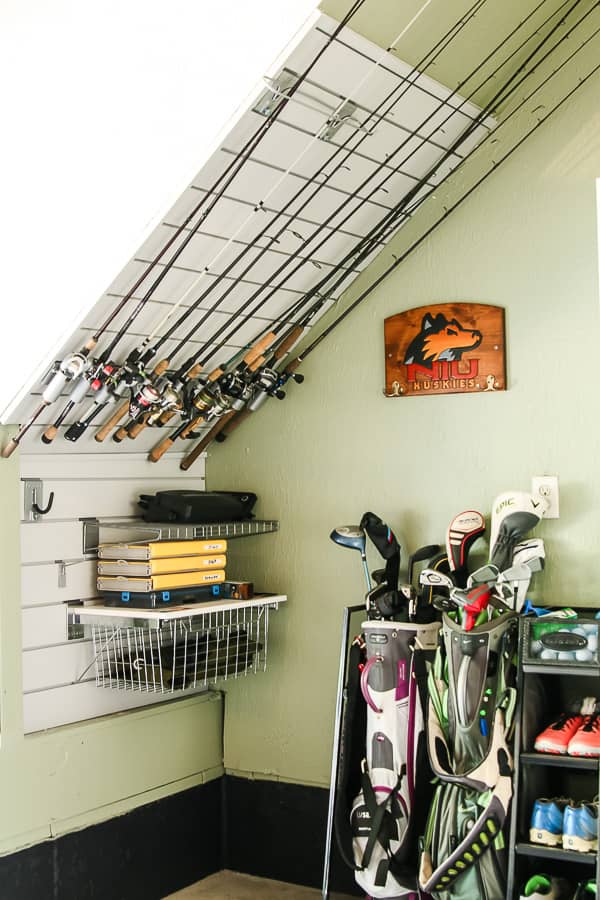
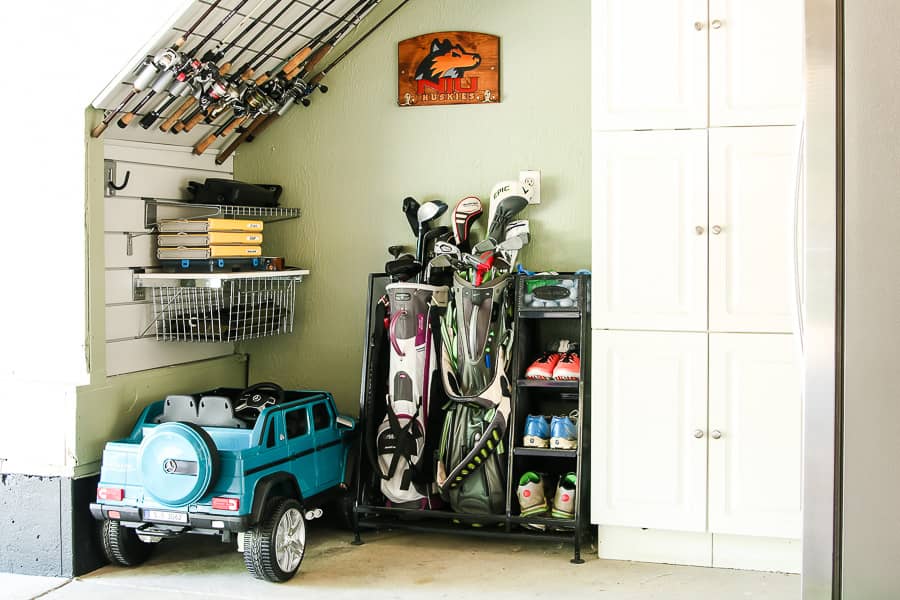
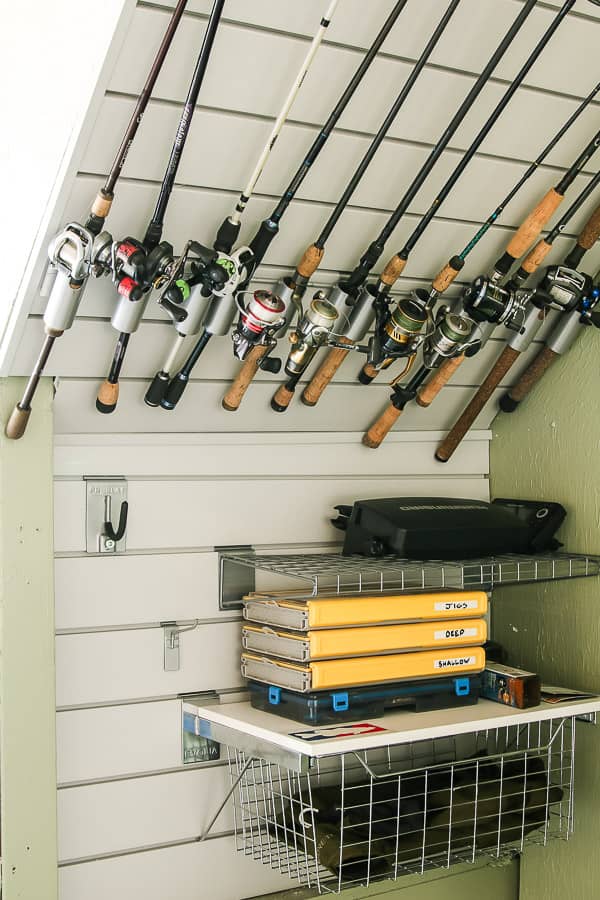
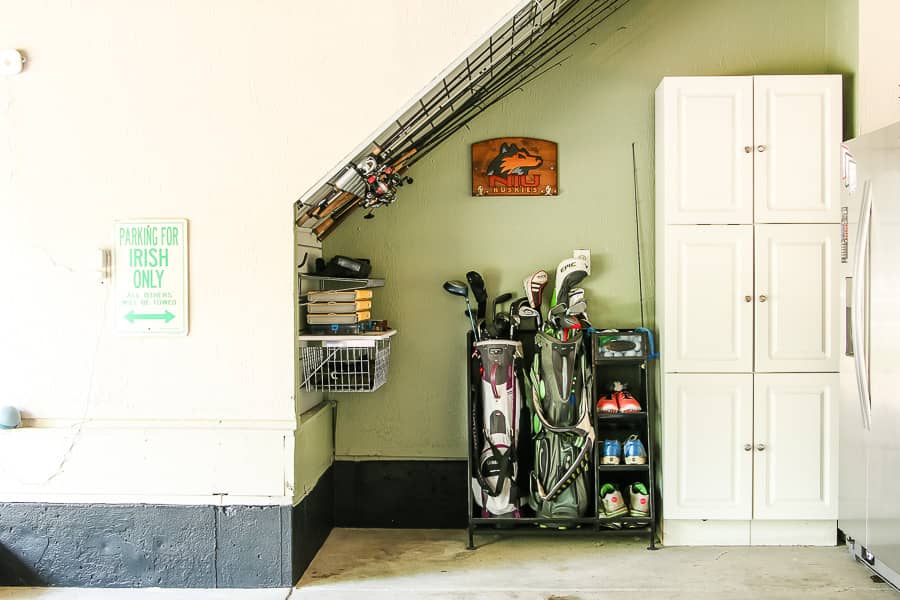
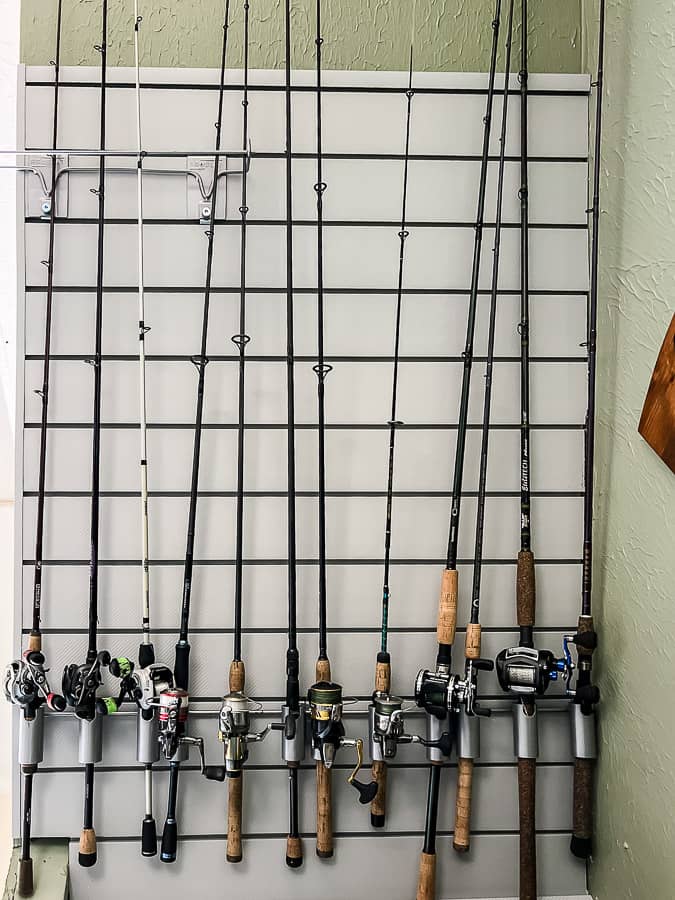
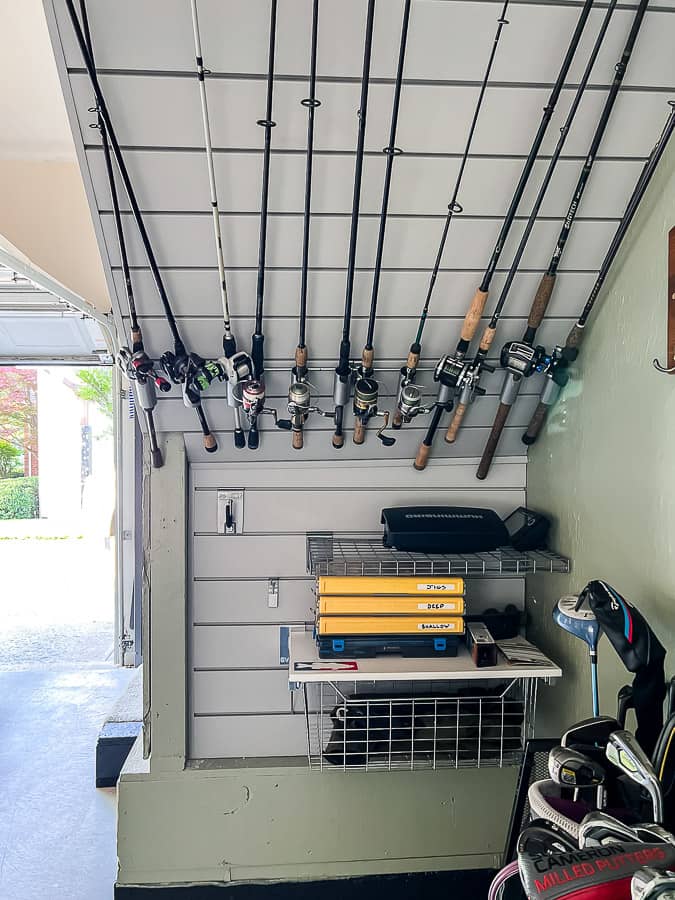
If I didn't tell you about the wonky gap, would you have noticed?
In either case, I am absolutely thrilled with how this turned out and better yet… so is my husband!
Now it's time for you to start scheming and grab your ProSlat PVC slat wall system to get organized!
If you want more home design, DIY, and project planning tips, be sure to subscribe below. Talk soon!






Thank you so much for sharing this, I really needed it. My husband kept bringing in his fishing stuff into the house and it was driving me insane! I want to get some cabinet painting in Syracuse , UT and I bet if I show him how easy it is to store his fishing rods in the garage, he’ll do it and my kitchen will stay looking beautiful newly painted with not a sight or smell of a fish. Unless we’re cooking salmon that is lol! Thanks again!
😂 Oh my gosh yesssss!! I actually stepped on a fishing hook and had to go to the ER to get it removed last summer, so it was beyond necessity to get them up and out of the way. Can’t wait to hear how the convo goes!!