The Best Garage Organization System for your Home
Looking for a gorgeous way to make the most of your garage space? Check out all the details on my new garage organization system in today's post.
This post is sponsored by Proslat. All opinions are my own.
We are making strides in the garage makeover and even though it is week seven of the One Room Challenge and we won't be completely finished, I definitely want to share the reveal part one. So, be sure to stay tuned for that!
If you haven't seen how far we've come so far, you can click any of the week's progress below. Also, don't forget there are tons of more projects going on over on the ORC blog. You can click the big yellow logo below to check them out.
Week Three (Garage Paint Colors)
Week Four (Garage Tool Accent Wall)

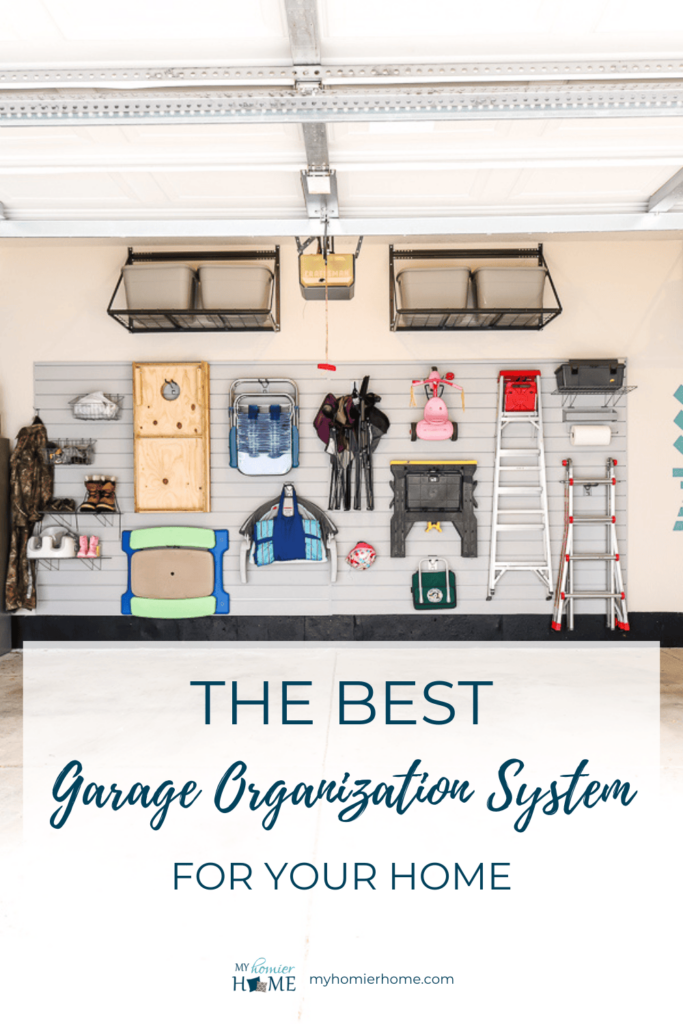
Now on to our newly installed slat wall from Proslat!
Jump to…
- Why you need a Home Garage Organization System…
- The key to making this project run smoothly…
- The base sets the trajectory for the rest
- Make sure each panel snaps into place…
- … Because each panel gets secured tight.
- The Side Edge Pieces May need to Be Cut to size
- And voila! The finished product
- What I Bought
Disclaimer: This post does include affiliate links for your convenience. This is at NO additional cost to you but earns me a small commission. To read more, check out our disclosure policy. As an
Why you need a Home Garage Organization System…
Before I get into my recommendations on how to install this amazingness, let's talk for a second about why you need a home garage organization system.
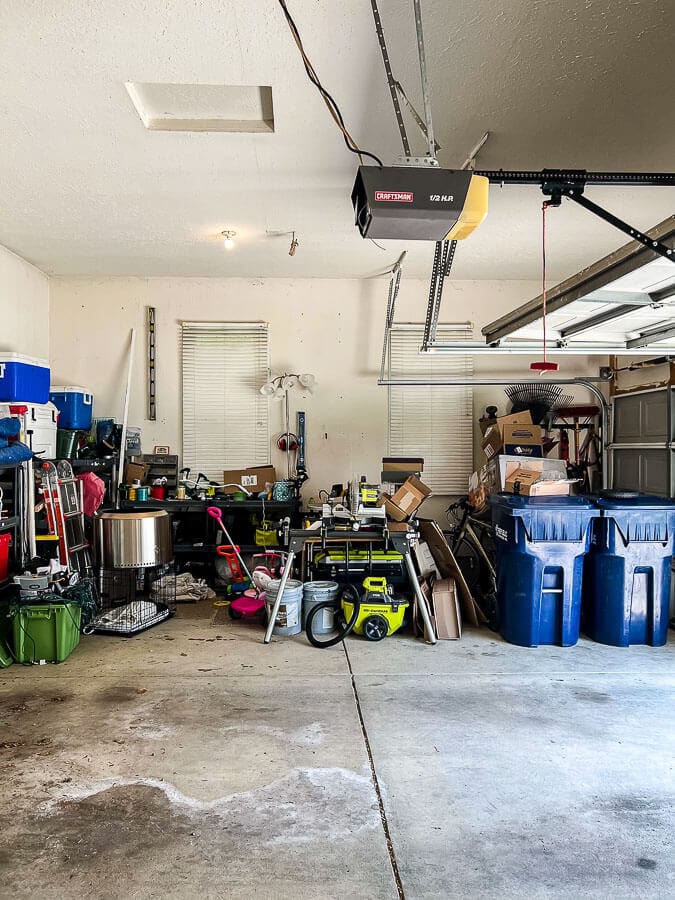
First of all, if you're living in a garage situation like we were (see above), this garage organization system will literally change your life.
This is literally what we saw everyday leaving and everyday coming back.
You don't think it is, but it is totally affecting your daily mood.
Pulling in now to see peace and order in this garage organization system makes me feel like I've already won the day.
Secondly, it completely up-leveled our garage.
You figure it's one thing to have all the stuff hung on the wall, but a whole other thing to have it look put together and beautiful.
So worth it!
Now let's talk about some tips to make installation of your garage organization system easy peazy.
The key to making this project run smoothly…

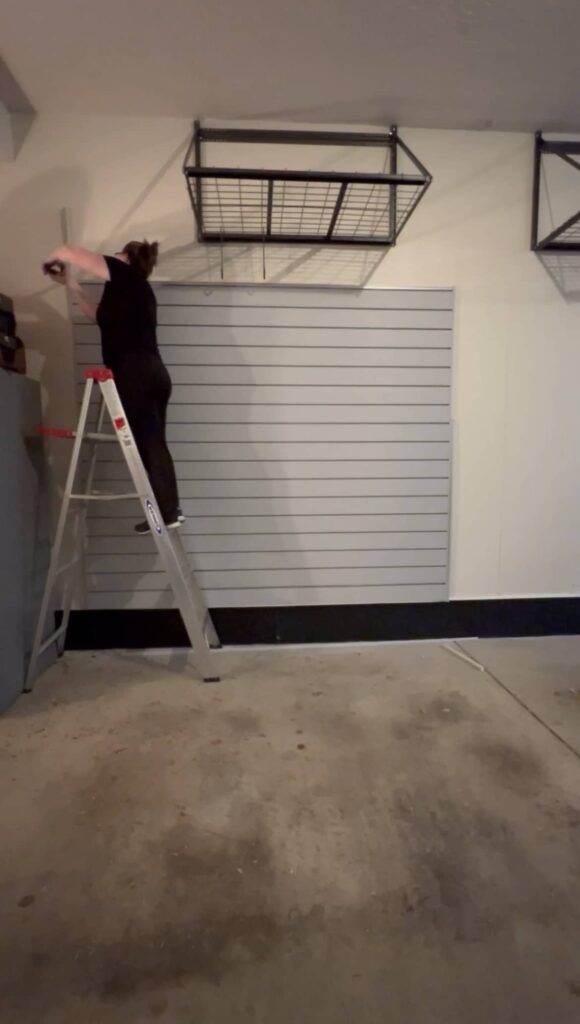
As with many projects that involve hanging items, light or heavy, finding the studs with a decent stud finder is priority number one.
Not sure why this always seems to be the most challenging part for me, but the nice part about these slats is you could easily attach them on your garage walls instead of drywall.
Mind blown.
We already had drywall up, but keep that in mind if you don't.
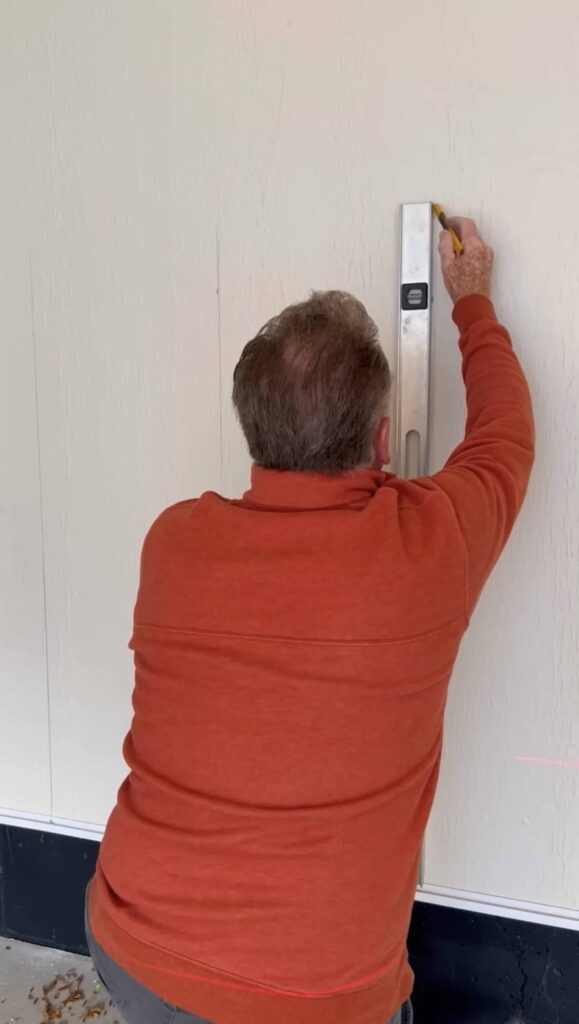
It was also super helpful to draw lines were the studs were up the entire height of the wall that we were going to cover.
This is because we will be securing a screw into each stud that lines up behind the slat wall to make sure it can hold all the weight you might need it to.
The base sets the trajectory for the rest
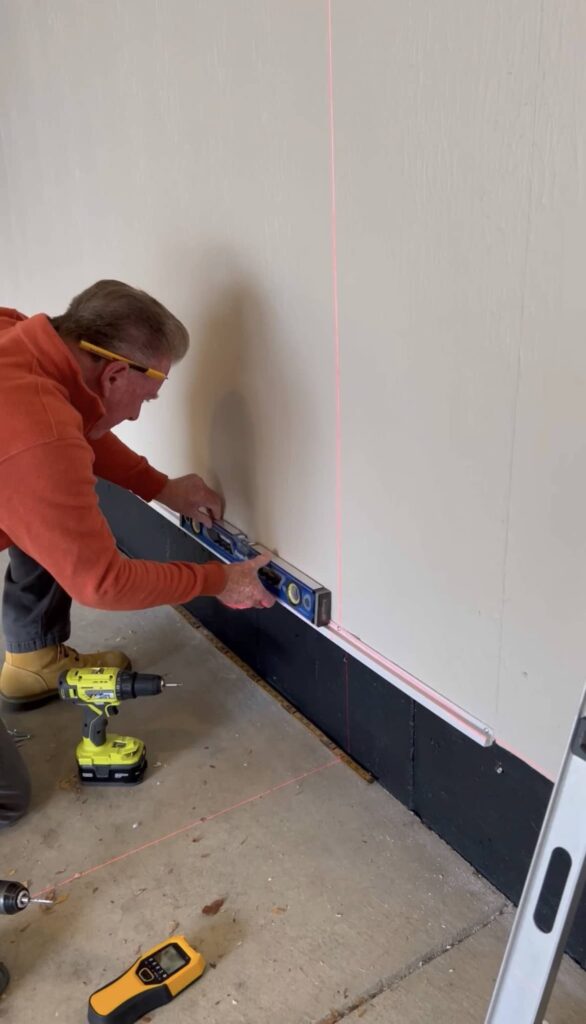
The base piece of the slat wall is by far the most important part.
Making sure you have this level and secure will ensure the rest of the slats are level too.
We tried installing this two ways since we did two full walls side by side.
The first time we secured a screw on the far left and far right side of the base piece. This worked fine, but this piece has some play in it rather than being stiff all the way across.
So, I would recommend the second way we did it.
For that, we made sure we were in the position we wanted and then secured just one side.
Then, we moved to the next stud and using our level, secured the base piece to that adjacent stud and worked our way right to left making sure we were level with each new screw.
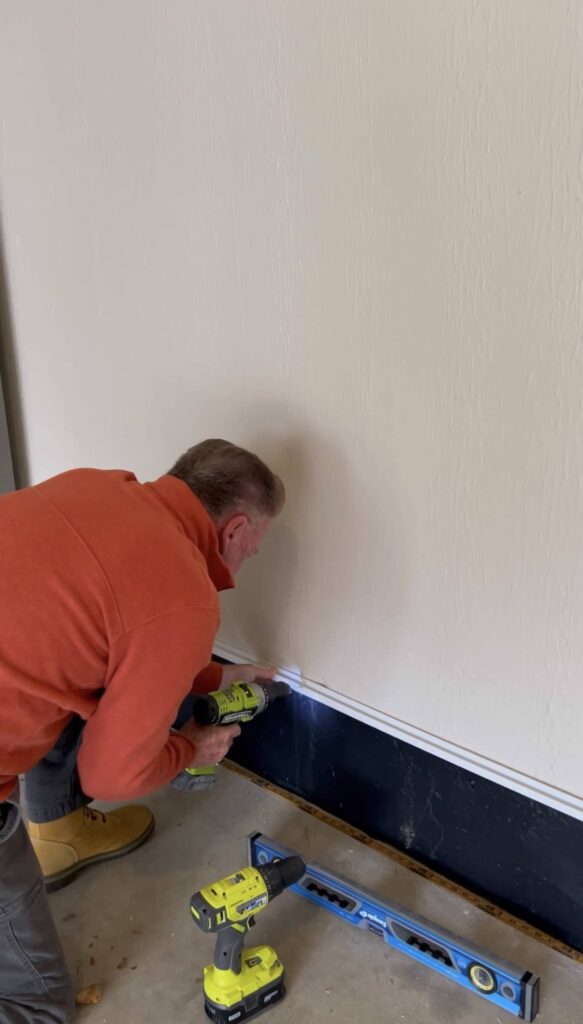
IMPORTANT: For all the pieces of the slat wall, you will need to drill a pilot hole into the PVC before using the screws.
The easiest way to do this is to have two drills, one with the pilot hole bit and one with the screwdriver bit.
Make sure each panel snaps into place…
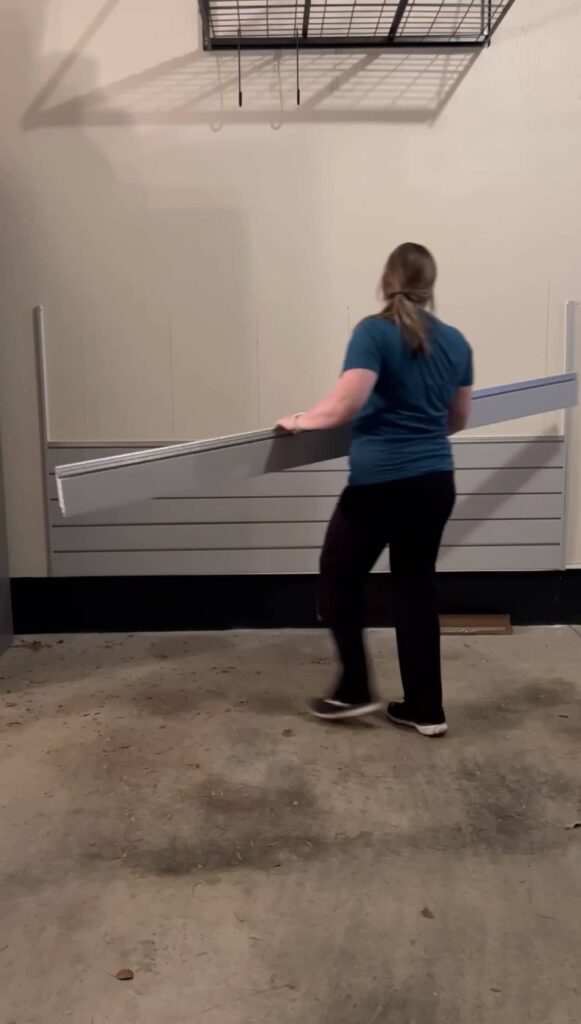
What I didn't realize about this before it arrived, is that each panel is it's own piece.
So not only do you have to screw every piece in, but it is imperative that you make sure it locks into place before securing it.
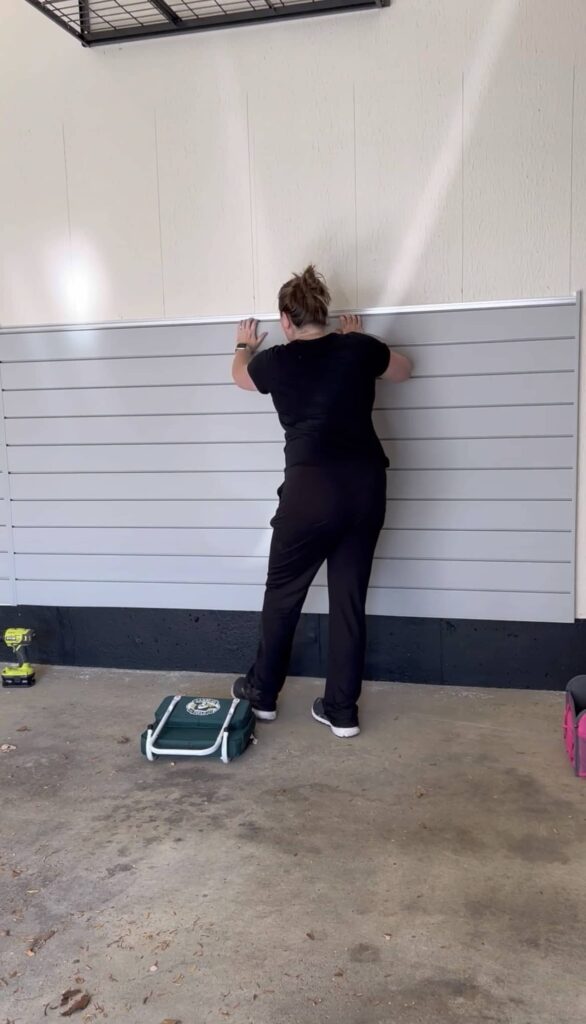
To do that, you want to lay your piece on top and push it back towards the wall and down. You will be able to see and feel it snap into place.
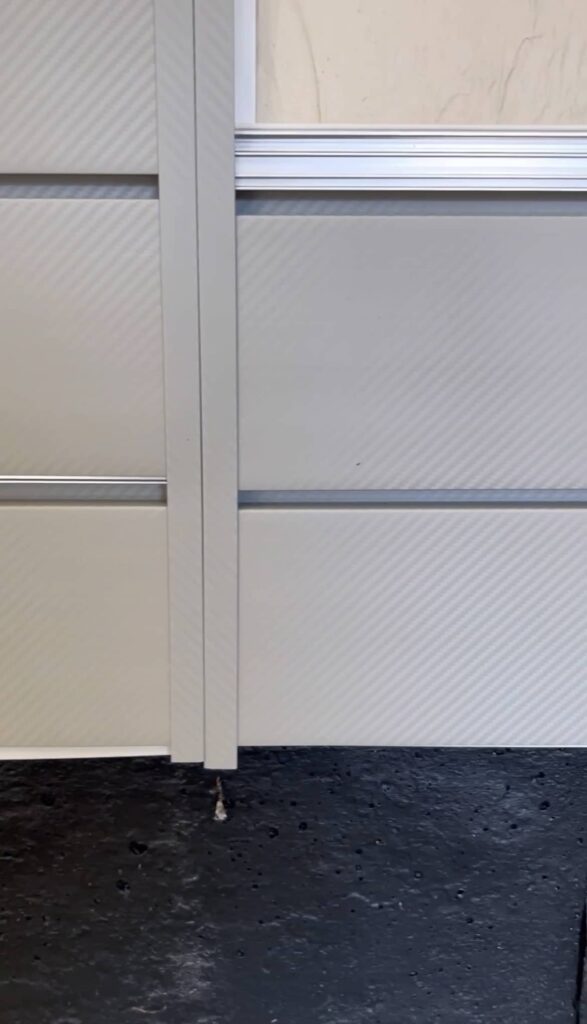
This is the difference between snapped in correctly (on the right) versus not correctly (on the left).
Be sure to check this for all of them one at a time by getting down to eye level because once it is screwed in and you add another one, there's no going back.
… Because each panel gets secured tight.
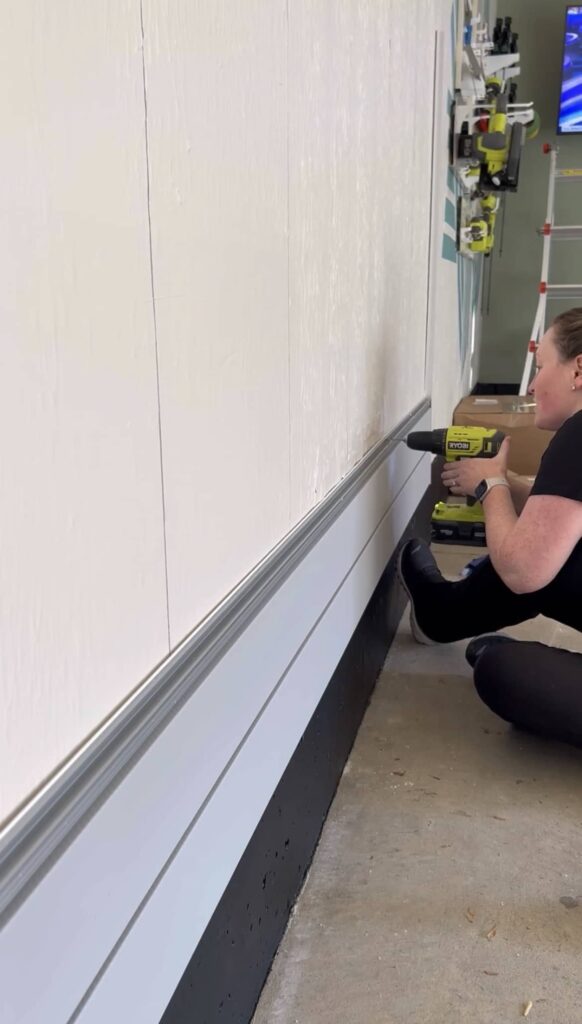
Like I said above, you will drill a pilot hole and a screw into every stud behind each panel.
That's why it's a good idea to make a line where the stud is ahead of time to make this part go faster.
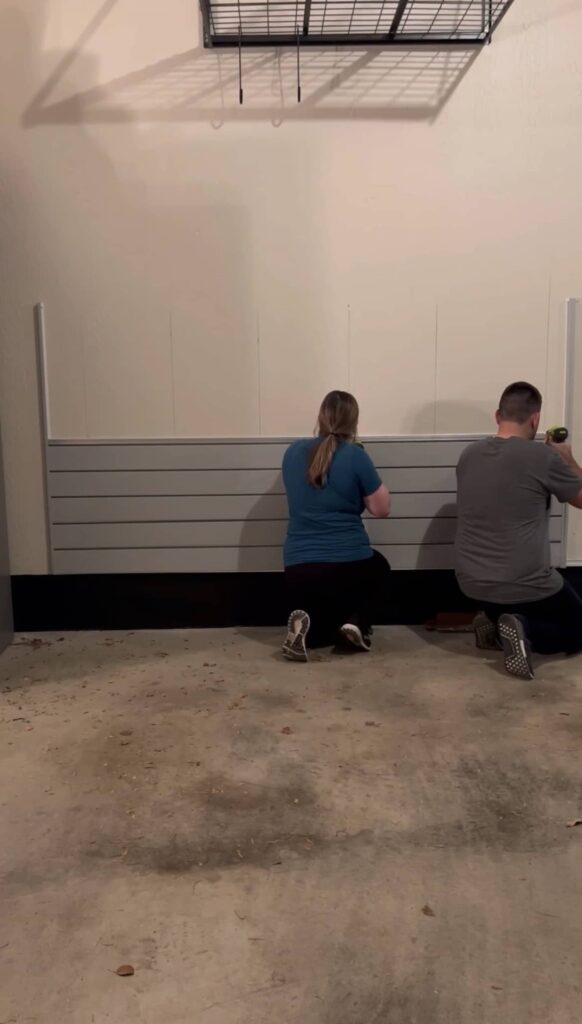
Helpful tip… have two people with two drills, one for the pilot hole and one for the screw.
I did part of this project by myself, so it's definitely doable, but way faster with a buddy.
The Side Edge Pieces May need to Be Cut to size
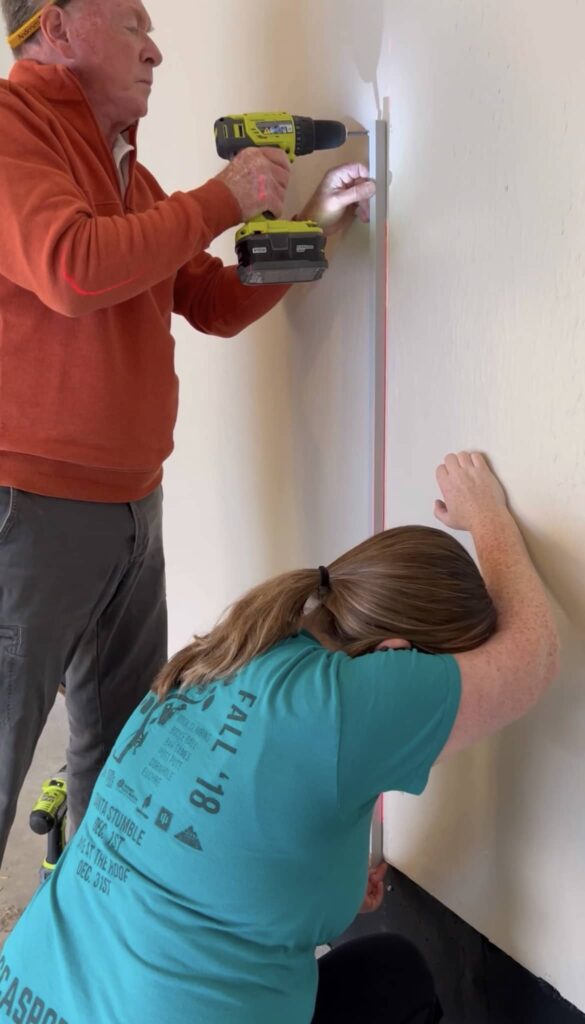
Each section of 4 feet by 8 feet has an edging piece. This piece slips behind the slats to make a cleaner look.
To get started, we put one screw in the top to hold it into place until we could get a few panels secured so they could take over holding it into place.
Depending on how high you go up, you may need to cut the side pieces, but you can do this with simple gardening snips.
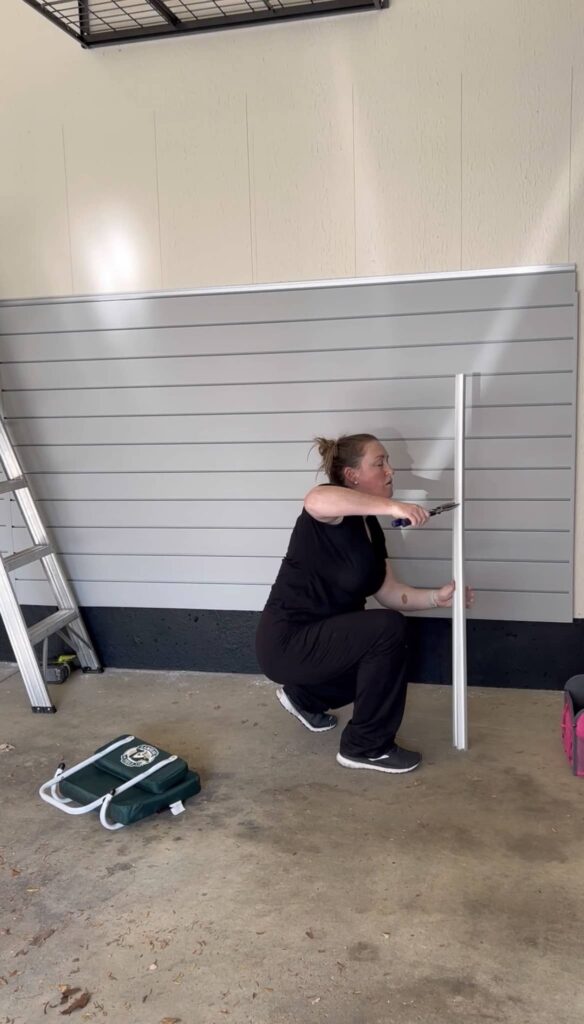
Since I did two sets side by side, I measured the length and cut it before putting it up on the wall for the second section.
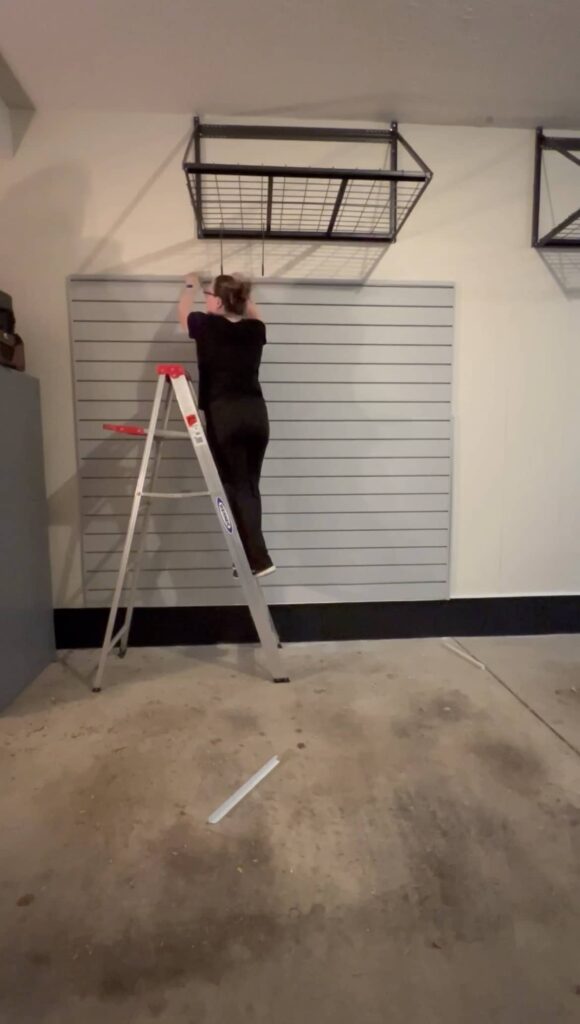
Once you reach your desired height and have all side pieces and slats in place, you will add the top piece over the metal.
This piece is just a finishing piece to clean up the look and sits nicely on top.
And voila! The finished product
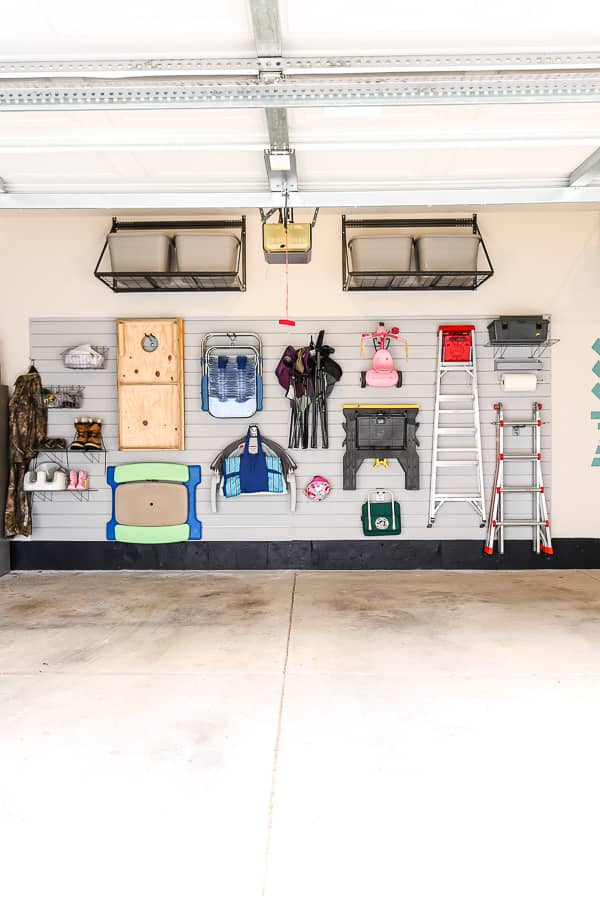
Once you have it all set up, it's time to play the jigsaw game to figure out the best place for all your stuff.
What I Bought
If you know you have a lot of big stuff, you won't need a ton of extra hooks. I did have a handful leftover, but here is the list of what I purchased.
- 4 – 8ft x 4ft PROCORE+ Silve Gray Carbon Fiber PVC Slatwall
- 1 – Hose, Rope, and Extension Cord Holder (2-pack)
- 1 – Heavy-Duty 8 in. Double Hook (3-pack) [These were my favorite]
- 1 – Sports Kit (13-piece)
- 1 – Hook Kit (20-piece)
- 1 – Ultimate Kit [I love the baskets and shelves]
- 1 – Shelf and Paper Towel Holder
Note… I will be using the leftovers since I didn't go a full 8 feet tall because of my storage shelves above for the fishing nook area (coming soon).
Stay tuned for the garage reveal (part one) next week!