
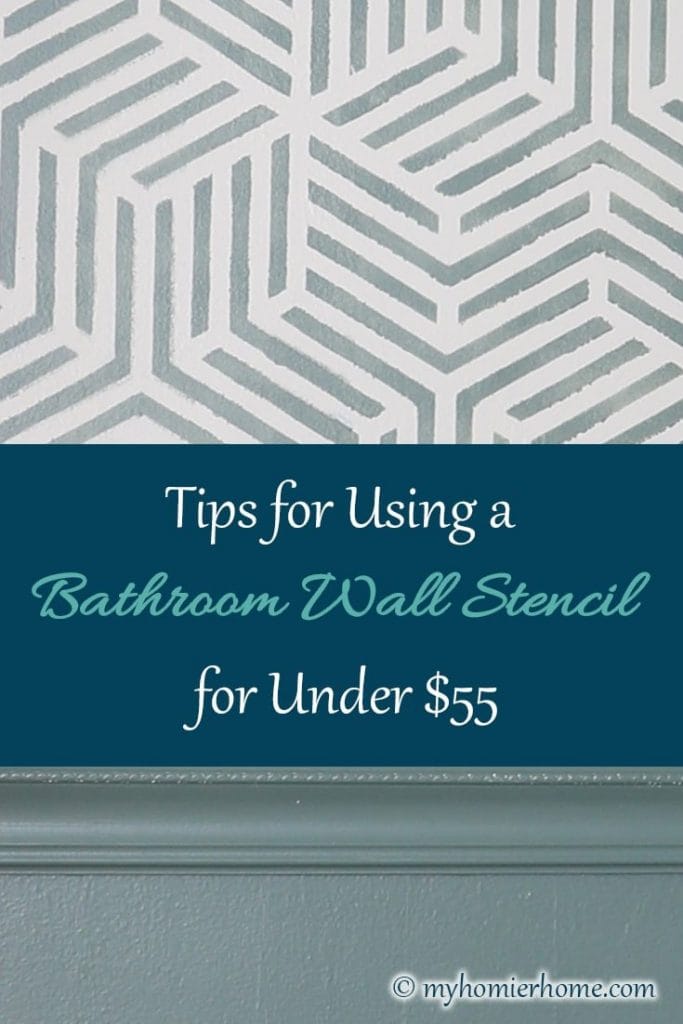
Tips for Using a Bathroom Wall Stencil for under $55
Looking for a budget-friendly way to update your bathroom walls? A bathroom wall stencil will make a huge statement.
It's week 3 of the $100 room challenge.
If you missed the last two posts you can check out my small bathroom makeover plan and DIY bathroom shelving posts.
Today, I'm sharing with you my tips for using a bathroom wall stencil on a budget.
This portion of the project took me about two weekends.
The major portion of the stenciling was not difficult, but figuring out how to fill in the corners took a little ingenuity. Here are my tips for stenciling a bathroom wall.
Week 1: Project Plan | Week 2: DIY Shelves | Week 3: Tips for Stenciling | Week 4: Final Reveal
Table of contents
- Tip 1: Pick a stencil you'll love for a long time.
- Tip 2: Consider using repositionable spray adhesive to secure your stencil to the wall.
- Tip 3: Make sure the stencil is level… especially the first one of each wall.
- Tip 4: Tape the ceiling.
- Tip 5: Be careful to line up the stencil perfectly with the previous before painting.
- Tip 6: Try to use the same pressure on the roller as you move from spot to spot.
- Tip 7: Extend the stencil to the edges using a cut piece of the stencil and a small brush.
- Tip 8: Don't connect the stencil in the crease of the wall.
- Tip 9: Take your time – Don't rush.
Disclaimer: This post does include affiliate links for your convenience. This is at NO additional cost to you but earns me a small commission. To read more, check out our disclosure policy. As an
Tip 1: Pick a stencil you'll love for a long time.
I scoured Etsy to find my perfect modern, geometric hexagon stencil.
It took me some time to narrow it down, but I would suggest deciding on a type of style (modern, traditional, etc.) and narrowing your focus that way first.
Then, as you see ones you like, add them to your favorites or cart to narrow the search even further.
You'll also want to gather your other materials once you've decided on your stencil including the following (affiliate links below):
- Foam Roller
- Frog Tape
- Paint Tray
- Paint of your Choice (this is the link to the green paint I chose)
- Small Paint Brush
- Laser Level
- Repositionable Spray Adhesive (optional)
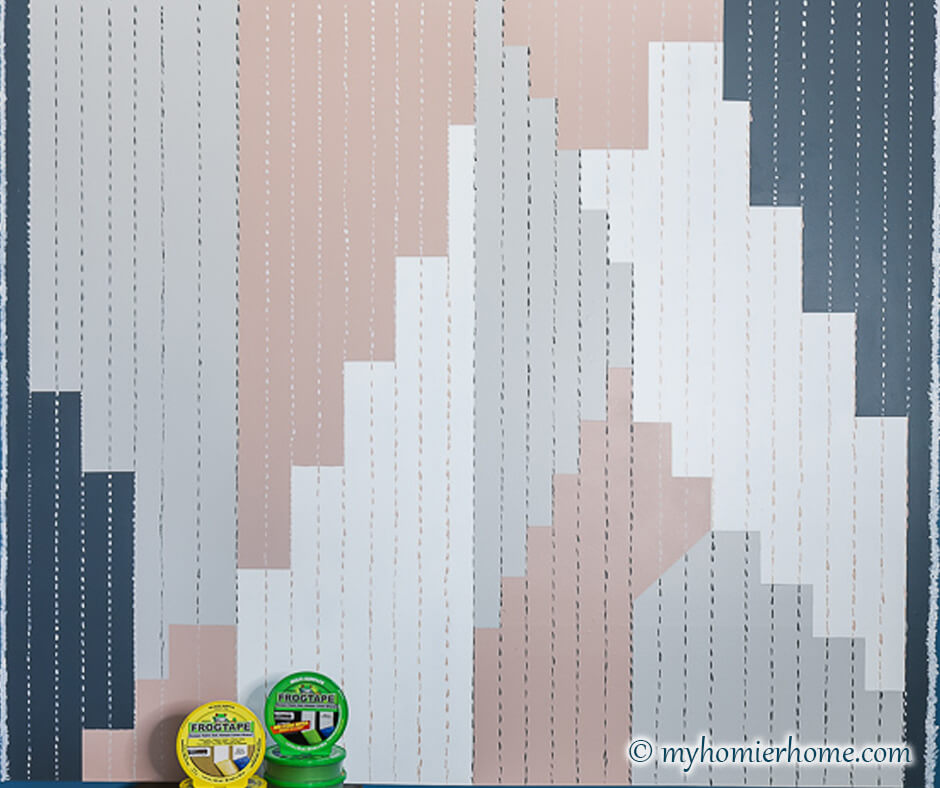
Tip 2: Consider using repositionable spray adhesive to secure your stencil to the wall.
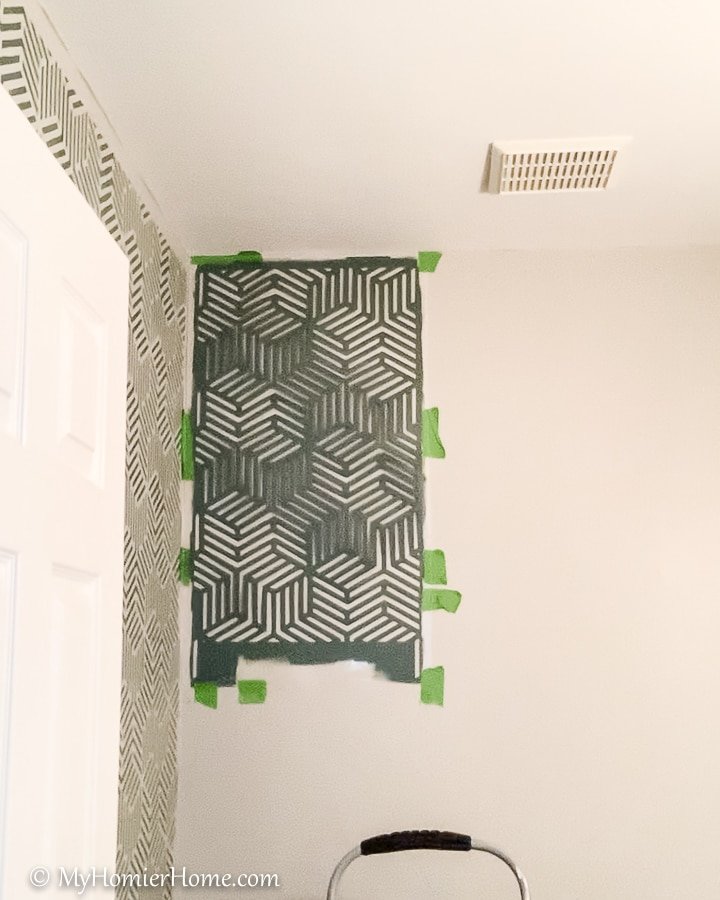
As you can see in the above picture, I used Frog Tape only to adhere my stencil to the wall.
The only issue with this was that my stencil was a little flimsy and moved on me when I didn't have it flat to the wall, such as when it was resting up against a corner or didn't have room to go all the way down.
Had I used the repositionable spray adhesive, I feel like I would have had less slips to fix.

Tip 3: Make sure the stencil is level… especially the first one of each wall.
I used my laser level to make sure the pattern was straight for both the first one of each wall, my top left corner, as well as the one underneath that.
It best to work from up to down and then left to right or right to left depending on your wall.
If the first one is not level for either the top or bottom one, the rest will gradually start to show the slope.
Tip 4: Tape the ceiling.
I normally don't bother taping the ceiling, but I wish I had this time.
When I was trying to get as close to the edges of the stencil as possible, I ended up hitting the ceiling in two different spots.
The issue now is the previous owners didn't mark their paint, so I have no idea which ceiling paint is meant for the bathroom.
My new plan is to add crown molding to phase two of this bathroom makeover.
Tip 5: Be careful to line up the stencil perfectly with the previous before painting.
As you can see in the picture above on the left side, I did not align the stencil perfectly.
This didn't cause me much issue as far the entire stencil rectangle, but obviously you can see the spots where it is thicker and darker.
Now, I didn't have to redo the whole stencil, but I did have to go in with the background paint color as well as the green color and fix these marks (see tip 7 for more detail).
Tip 6: Try to use the same pressure on the roller as you move from spot to spot.

You can see in the picture above how much more seamless it looks with the same amount of paint from the roller.
On one of the walls where I first started, it was lighter in some areas, darker in others, so it ended up needing to be fixed to give it the look like you see above.
Before moving your stencil to the next box, be sure to step back and make sure the paint coverage is even.
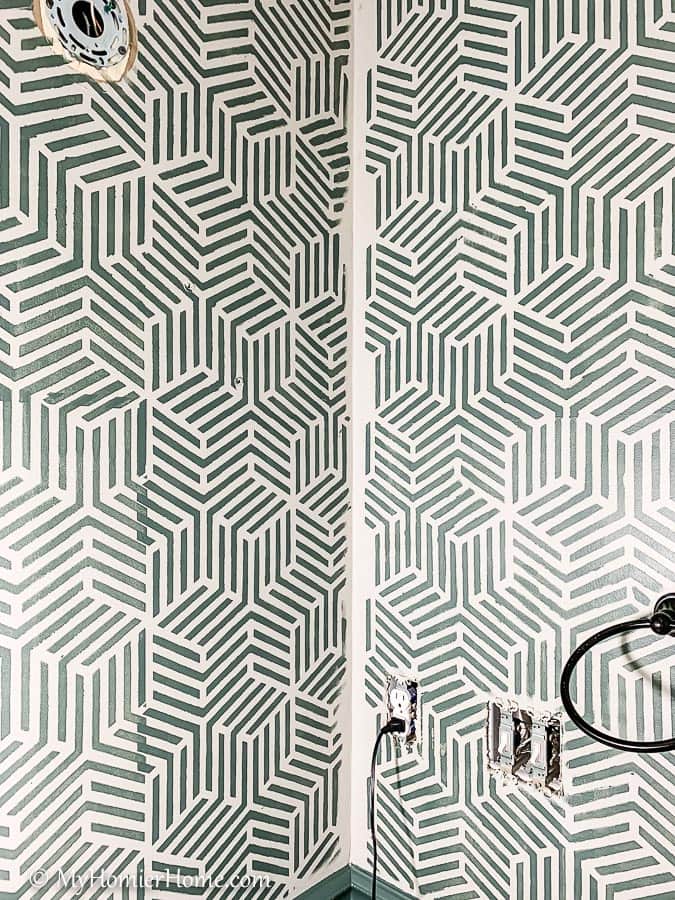
Tip 7: Extend the stencil to the edges using a cut piece of the stencil and a small brush.

You'll notice in all the previous pictures that the stencil didn't meet the crease of the wall.
It left a distinct section of white because of how they had to print the stencil.
Because this was so obvious, I needed to continue the stencil to fill in these white spaces in the corners.
My first recommendation is to figure out one “unit” of the pattern on the stencil.
For instance, my pattern had a repeat pattern of three boxes in a triangle shape.
It took some focusing and refocusing my eyes to see it, but once I did, I cut just one section out of my pattern.
Definitely save this part for last since you'll want the full stencil to complete majority of the walls.
Once I had the single pattern, I was able to align the smaller version near the corners and bend it a little better to extend the pattern closer to the corner.
I didn't need it to be perfect, but I was aiming for a light map of the extended pattern to go back over with my smaller paint brush.
I used my foam roller with very minimal paint on it to roller horizontally towards the corner of the wall.
Once I was able to extend the pattern as close to the corners as I could, I broke out a small paint brush used for painting art and darkened in the pattern and extended it as close to the corner as I could.
This took about an hour, but it definitely got the job done in a way that you cannot really tell that it was hand painted.
Tip 8: Don't connect the stencil in the crease of the wall.
At first when I completed the step above to extend the stencil to the corner, I connected to the two walls at the corner.
This looked really strange because they didn't quite line up the same.
To fix it, I had to go back with my neutral paint underneath and paint a line in the corner to disconnect the two patterns.
Therefore, to save you some trouble, know that it will not look right to connect the patterns at the corner of two walls.
Tip 9: Take your time – Don't rush.
If you are in a hurry or need to do something else important during the day, wait to start your stencil.
My husband had invited people over in the early evening on a Saturday and I just needed a couple more hours to knock it out, but had to stop.
Not only was I rushing to get it done, but I ended up causing myself way more work later because of how often my roller kept slipping.
Take your time, make sure you have enough time in the day to take it easy, and start in an inconspicuous spot… just in case.
All in all, this project was well worth the time and effort.
It only cost me $54.72, including the stencil and all the materials, allowing me to stay within budget.
Compared to the cost of wallpaper, stenciling is the way to go to make a budget-friendly upgrade to your bathroom.
Alright, it's your turn… What tip resonates most with you?
Leave a comment below. Happy stenciling!
UPDATE: Check out the reveal of phase 2 of this powder room makeover.

Wow, that stencil is amazing! Great tips. This is so much more detailed than what I am used to seeing…it looks more like wallpaper! I can’t wait to see the final reveal!
Thanks so much, Joy! I honestly was hoping to go wallpaper and couldn’t afford it, so the stencil was my backup plan! I’m obsessed!
Thanks for all the inspiration. Plan to stencil the wall above the vanity in my master. Question is: is their a sealing spray or protectant of some sort so if I have to wipe the wall from toothpaste or soap splash it wont ruin stenciling??? Thanks!
I actually haven’t had any issues with that. I think as long as you use an easily cleaned paint finish.