
DIY Countertop + My Gift Wrapping Organizer
DIY countertop to the rescue! When you can't find exactly what you want, make it yourself!
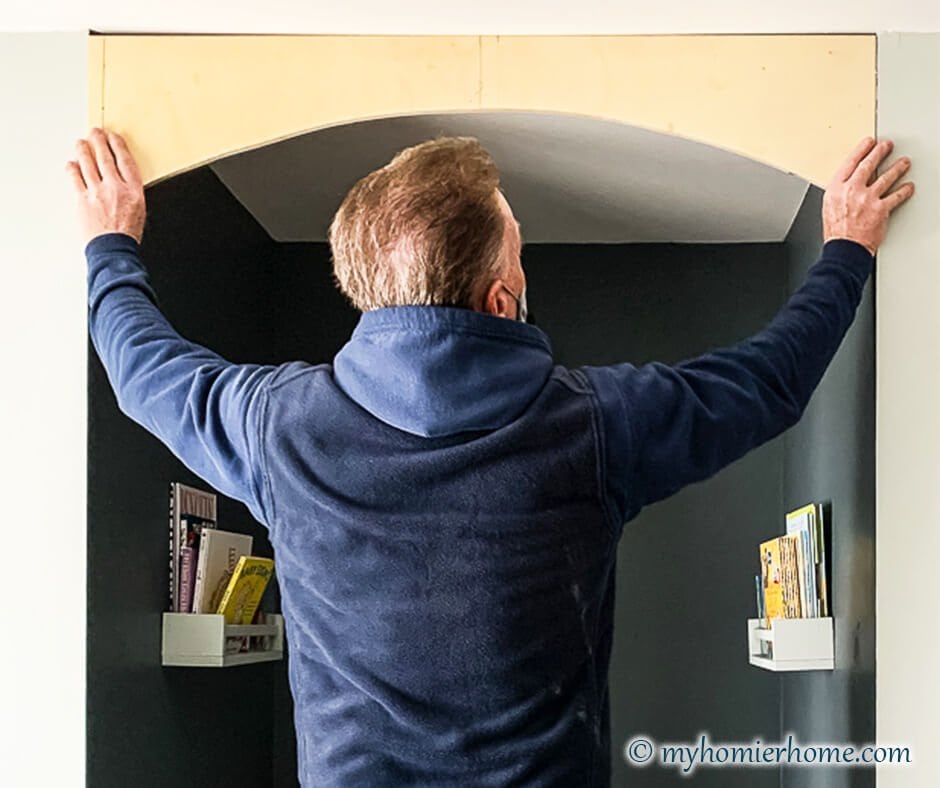
This past week, I was so excited when I got home with all my IKEA furniture, I started building immediately.
I’m really glad I waited to build some of the smaller items I thought I could squeeze in to the space because I over bought a bit.
I teach math for a living and still after calculating all the measurements, I overcrowded my room.
I did not end up assembling the last two pieces, so I will have to return them.
But, I did read that if you do accidentally build an item, IKEA will take assembled furniture back, so that’s good to know!

I feel like this one room challenge is flying by!
If you haven’t had a chance to check out the other blogger's and designer's progress, head over there after reading here.
As excited as I am for my own one room, I’m even more excited to see what everyone else’s final reveals are going to look like!
Watching people progress through their projects is so much fun, so don’t miss out! As for me, I’m sharing with you today my DIY countertop and the Elfa gift wrapping organizer I chose!
Table of contents
I searched high and low for a suitable countertop to rest on top of my Kallax shelves.
I even ordered a countertop from Wayfair, but quickly canceled it because I realized after ordering that it was going to be too long.
Because I was looking for something specific, it seemed like an impossible task. That’s when I realized why not make one myself?
Now time will tell on the durability of this countertop, but for now it is a perfect fit!
The goal was to create a work surface that was seamless and added to the dark wood that the other furniture was made of.
Here are the steps I took to build it…
Step 1: Measure and Measure Again
I don’t know what it is about measuring, but if I don’t triple check myself, I am almost always wrong.
To most, that doesn’t seem like such a big deal, but I teach math in my daily life!
Something about converting units, adding and subtracting that gets me, but I can tell you all you need to know to be ready to rock AP Calculus.
Needless to say, I had to measure, measure, and measure again.
I found that I needed a 92” x 18” counter to cover the three shelving cubes I already had from IKEA.
I toyed with the idea of mounting the countertop to the wall, but since I was going to rest another piece on top if it in the corner, I did not find it necessary.
If you do feel like you need to mount it to the wall, I would talk with the guys at Home Depot for help.
Step 2: Get the Wood Cut to Size
I’m partial to Home Depot because it’s close to my house and I have never had a bad experience, but for this step, I’m sure any lumber store could help you.
Because I knew my exact measurements for the counter, I was able to have the associate at Home Depot take one piece of drywall, the flattest one I could find, and cut two 92” x 18” pieces from it.
In order to get the countertop thickness, I wanted two the same size to stack on top of each other.
Disclaimer: This post does include affiliate links for your convenience. This is at NO additional cost to you but earns me a small commission. To read more, check out our disclosure policy. As an
Step 3: Screw the Two Pieces Together

When I got home, my dad and I set up the wood on two horses.
We made sure to look at the way the wood was bowing and put the underside of the curve together.
Then we clamped them together with a few clamps.
We used 1.25” construction screws.
When screwing the two pieces together, decide which side will be the top of your countertop. Once you’ve decided the top, flip the wood over to screw them together from underneath.
If you don’t have a punch, I would highly recommend one.
By using the punch, we didn’t have to pre-drill our holes because the punch started the slot for the screw to begin.
We used 8 screws spaced evenly starting at the corners of the board working our way to the other side.
Step 4: Stain the Countertop
Once the boards are screwed together, we brought the counter out into the garage to stain it.
Be sure to find a well-ventilated area to stain.
The odor was so strong it lingered in the garage for a few days even though we had the door open while staining. I applied two coats of Jacobean Stain according to the directions on the can.
Make sure you give the boards time to dry fully and no longer smell of stain. I brought mine in too soon and we had to get an air purifier in that room to get rid of the stain smell. Once they are fully dry and no longer smell, they are ready to go!
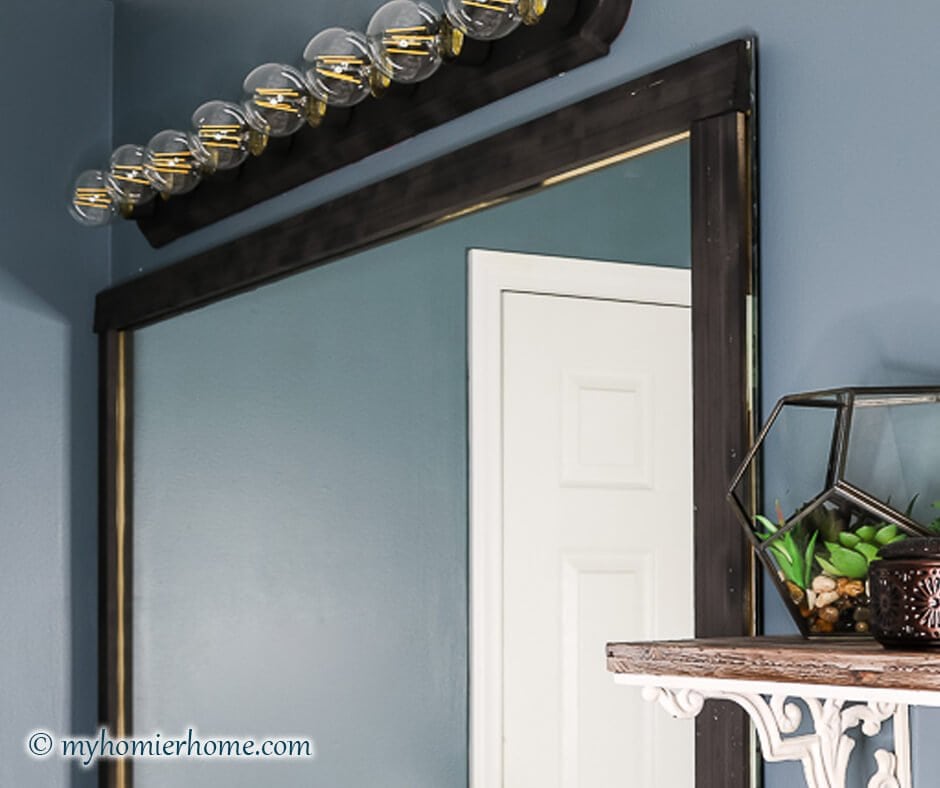
I’m in love with this DIY countertop because I was able to make it custom to my specifications.
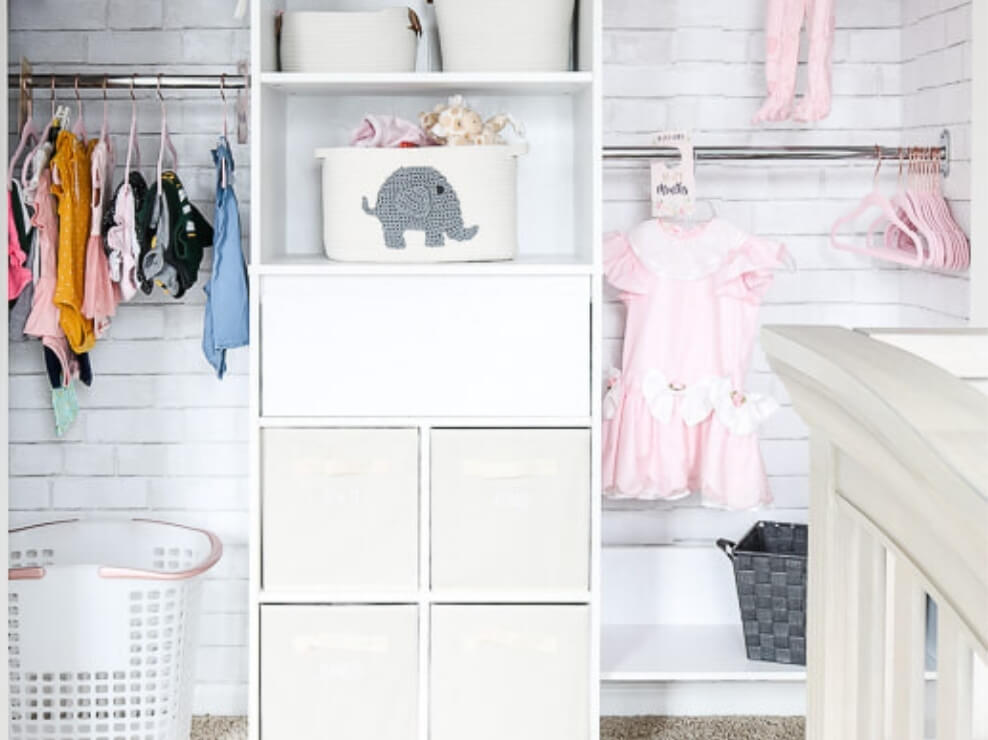
In addition to making the DIY countertops, I picked out the wrapping paper organizer.
I chose the Elfa Utility Gift Wrap Door & Wall Rack .
I have heard so many great things about it. I plan to mount it behind the office door. I'm so excited!
Still some things I need to research and purchase below, but hopefully this week I can knock out even more of my One Room Challenge To-Do’s!
Don’t forget to go check in on all the rest of the one room challenge participants!
You won’t be disappointed!
My To-Do List
- Choose Paint
- Buy Paint
- Clear the room
- Paint the room
- Research & Purchase IKEA items
- Bookshelf with cabinet doors to fit the depth of a binder
- Filing cabinet
- Photography equipment storage
- Legs for craft table
- Sewing storage
- Countertop to go over my IKEA Kallax shelves – *DIY'd*
- White cabinet doors for IKEA Kallax shelves
- Build the IKEA furniture
- Buy new canvas drawer cubes for IKEA Kallax shelves
- Buy new drapes
- Take down blinds
- Hang drapes and sheers
- Clean up antique sewing table
- Buy a bigger garbage can
- Research office lighting
- Hang new office lighting
- Research statement ceilings
- Change the ceiling
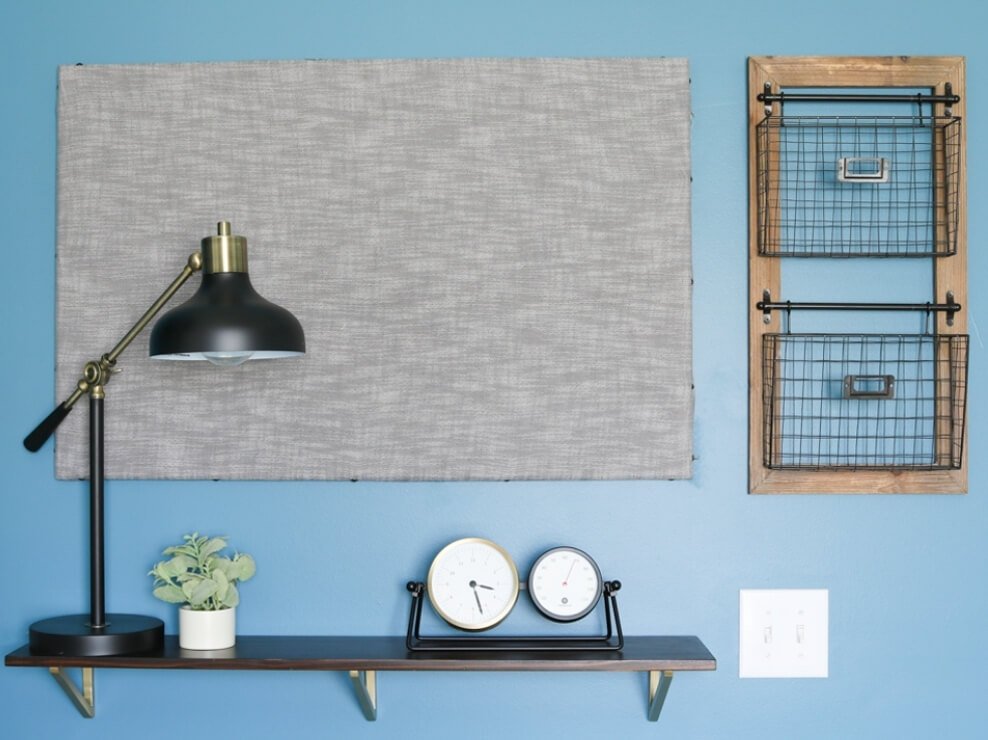
- Cover existing pin board with fabric
- Hang pin board
- Find wall organization
- Hang wall organization
- Hang new white board
- Organize desk drawers
- Buy new desk chair
- Buy new lamp
- Find organizer for gift wrapping
- Purchase accessories for desk and shelf


Looking good! Can’t wait to see your final reveal!
Thanks!! I can’t wait for the reveal too! And to be able to actually work… in a real office lol
So excited for you to have a real office. Your plans look wonderful and those countertops are fabulous. Can’t wait to see more next week!! Susie from Chelsea Project
That is one of my favorite stain colors! It’s such beautiful rich brown – great choice!
Thanks! I totally agree! I have tried so many different ones over the years, but Jacobean is always the best look!