How to Paint IKEA Furniture the Right Way | Painting IKEA Furniture Dos and Donts
Learn from someone else's experience on the painting IKEA furniture dos and donts for your next IKEA furniture painting project.
I'm sure you've had a piece of IKEA furniture at some point in your life that was just the right price and style for what you needed.
If you're like me, you have a few of those pieces.
When we moved in to our new house, these pieces were still functional, but not quite the style I wanted any more.
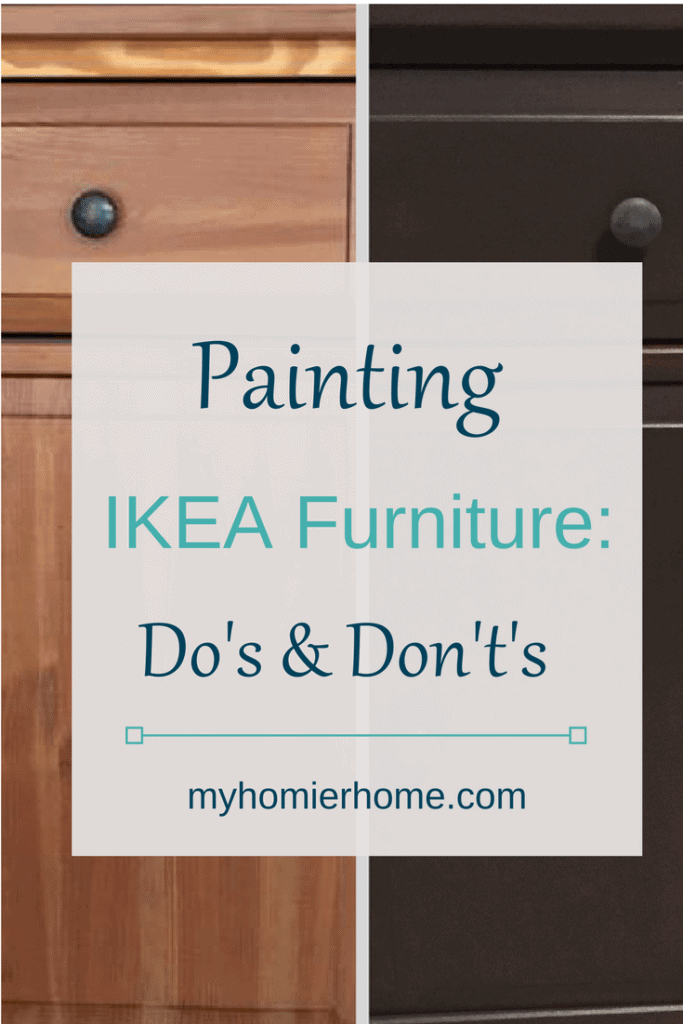
One piece in particular was a nightstand I used back when I was living in an apartment in college. (shown below)
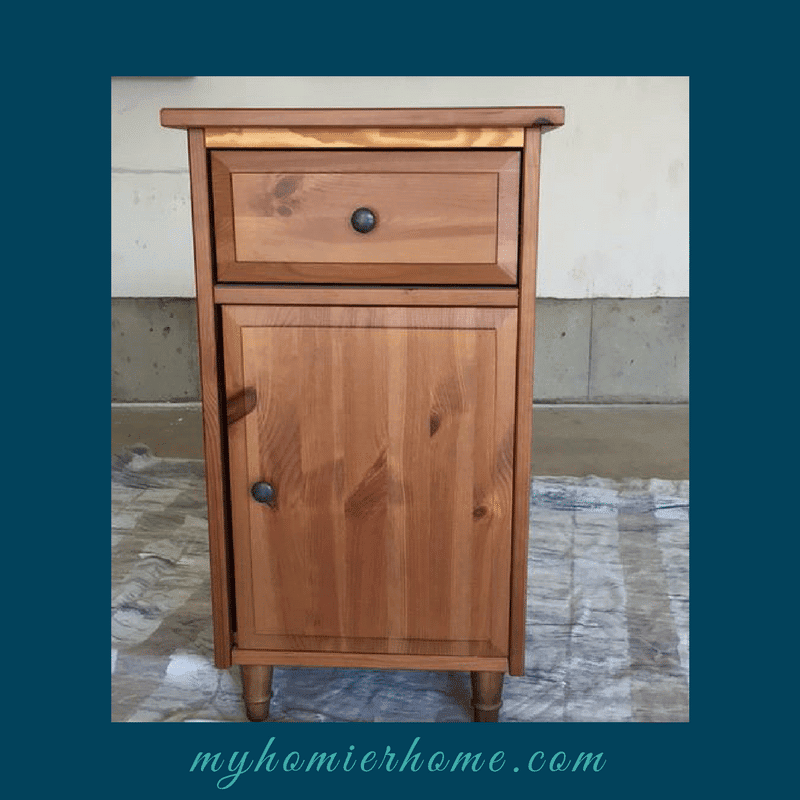
As you can see by the messed up piece above the drawer, I put it together myself.
I knew this was still a very functional piece of furniture I could use in my guest room, but the color was all wrong.
Naturally, I took to the internet to see if anyone else was painting IKEA furniture and here's how it went.
Table of contents
Disclaimer: This post does include affiliate links for your convenience. This is at NO additional cost to you, but earns me a small commission. To read more, check out our disclosure policy.
The Decision…
After doing my research, I discovered many people were attempting to do this very thing.
There are a million great articles out there for sure, but I would recommend checking out Homeli‘s very informative article as well as the article from LiveLoveDIY.
Each of their tutorials are pretty good.
Gaining tips and tricks from other people's experience is always beneficial, but I find that I have to be careful with what I find on the internet because one person's easy project may turn out to be a giant waste of time for me.
This particular project was supposed to be quick and easy, but mostly, I gained knowledge that I am excited to share with you.
Hopefully, if this project is in the cards, you can learn from my mistakes and end up with a successfully, easy project yourself.
My Experience…
Once I decided to make this a DIY event, I went to the paint section of Home Depot to get my tools and make sure I wasn't missing anything.
Sometimes when I go to the hardware store, I end up having miniature panic moments considering all the things I may need that maybe I didn't think of beforehand.
Sometimes this works out great, but this time my mini-panic probably cost me some hours on this project.
So, here's what I would and wouldn't do:
Note: The links in this post may contain affiliate links and I will receive a small commission at no additional cost to you. Click here to see my full disclosure policy.
1. Don't skimp on the primer.
Everyone who painted IKEA furniture that I found online either used Kilz or the ever popular Rust-Oleum Zinsser Bulls Eye 1-2-3.
As you can see in the picture of my materials below, I did not go with this one and I definitely wish that I had. (Here is the link to the one I used… Zinsser bulls eye shellac)
Because I didn't, I ended up painting approximately two coats of primer and seven (yes, you read that right) coats of paint before sealing it.
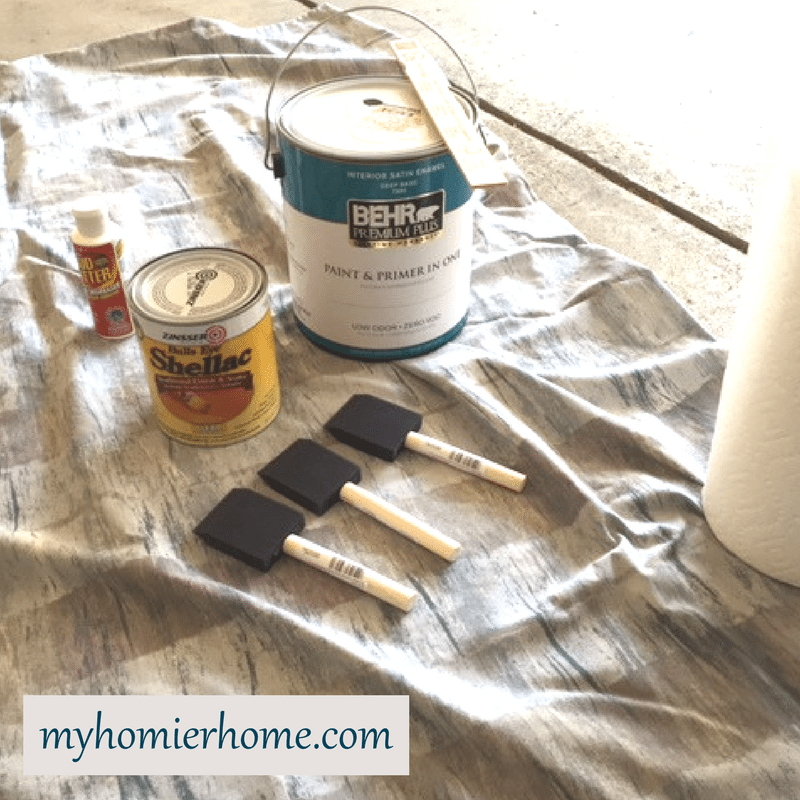
According to the articles I read, the Bulls Eye 1-2-3 primer I have listed above versus the one I used allows you to do one coat of primer and two coats of paint before sealing.
That would have made my life a heck of a lot easier.
I originally went in to get the primer listed above, but I cheaped out because the only one they had available was a giant tub for $50.
Had I been a little smarter, I could have bought the good stuff on
2. Do clean your furniture piece before priming.
Of course, after sitting in my first apartment, moving in with my parents, and then making it to Indiana, there was a build up of a lot of “stuff” on this piece of furniture.
The paint girl at Home Depot said to make sure to clean the surface you will be priming and painting really good.
This way, the primer and paint will adhere and you don't have any surprises when you're done.
I ended up getting the little 4 oz. bottle (Krud Kutter Concentrated Cleaner/Degreaser Stain Remover) in the concentrated formula because it was so cheap and you could just put it in a spray bottle with water for a less concentrated dose.
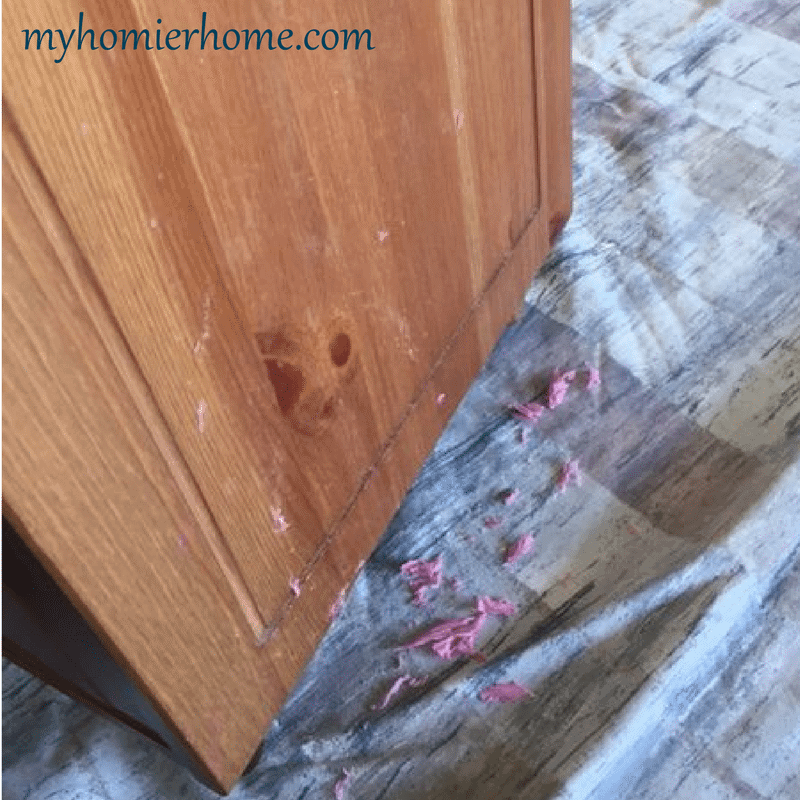
Of course, I'm glad she told me this because I had a flashback as I was cleaning of a past Halloween party in which a “doctor” spilled a red candle all down my nightstand.
Luckily, a little scraping and some Krud Kutter did the trick.
The picture below is a few minutes into the process with the Krud Kutter. It worked really well.
3. Don't use a paint brush.

As you can see from the picture above, after the seven coats I needed to do from using the wrong primer and using a standard paint brush, I was left with a not-so-smooth finish in some areas.
The brush lines were impossible to cover up.
From the articles I mentioned earlier, I do believe I should have invested in a little paint sprayer to avoid this.
If that isn't in the budget or doesn't make sense for your one project, then make sure you fight the urge to pick up the paint brush.
Because I used the wrong primer, I got annoyed and figured everyone was wrong and a paint brush would be just fine… not so much.
The foam brushes I have shown in the picture of my materials earlier worked pretty good, but it was very tedious.
I did wait about 3-4 hours, sometimes a full day, between coats just to make sure everything had dried fully.
I found that I was having to slop on the paint pretty good for the first couple of coats while being careful to spread it evenly so it didn't drip.
Obviously, I'm no pro-painter, just real talk from real experience.
I have heard great things about the HomeRight Finish Max Fine Finish Sprayer, but I have not given it a try yet.
One of the articles I linked to earlier, says her favorite was the K-Grip Siphon Spray Gun because of the adaptability with mason jars and no need for a huge air compressor.
I plan to do more research on paint spray guns. When I do, I'll update this post! (Psst… let me know if you have a good one you love by commenting on this post)
[UPDATE: This paint sprayer is my absolute favorite!]
4. Don't forget to spray a clear coat over the top.
After all the paint had dried (name of the paint and top coat I used below), I found that the piece was a little rough and didn't have that natural smooth furniture feel.
So I went out and bought a top coat spray to give it more of the glossy, smooth to touch feel.
I'm sure there is a better top coat spray out there, but this did the job.
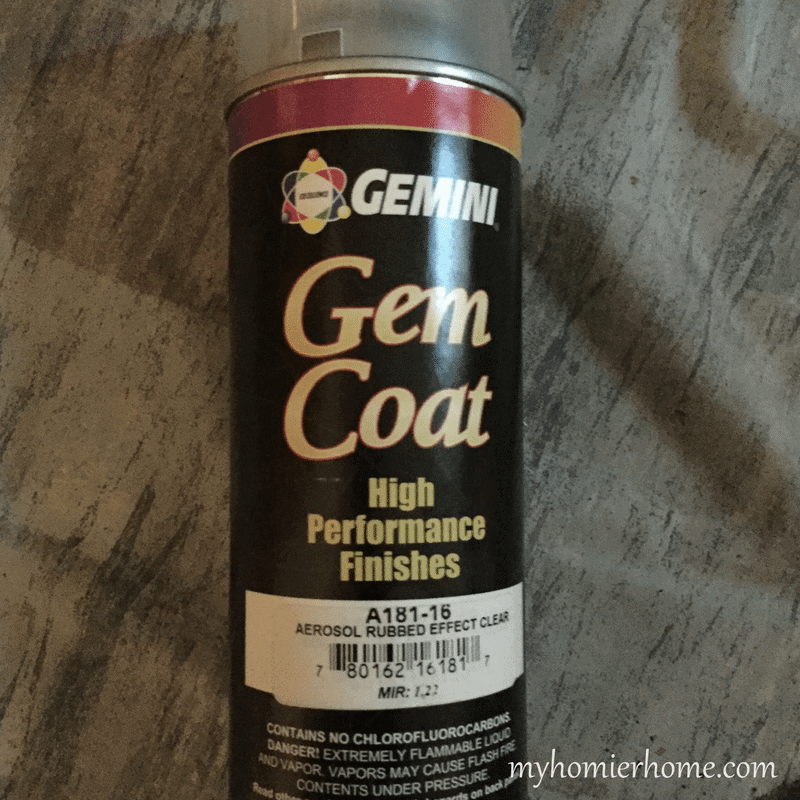
The generic top coat from the local paint store.

Finished Product…
Again, if you don't skimp on the primer, use the write sprayer/brushes, you could do this without half the strife it caused me.
Regardless of my mistakes, I am happy with the result and it now matches the other pieces in the room.
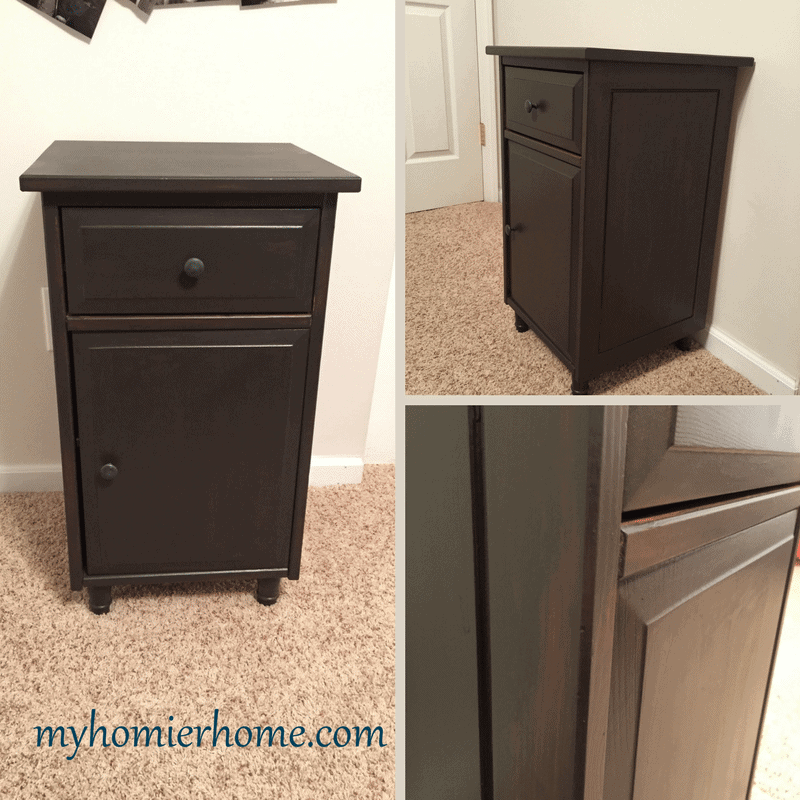
Cheers to you learning from my mistakes and making your IKEA furniture painting a much easier experience because it is truly a great, cost-effective way to repurpose furniture you already have in your home.
What do you think? Have you tried this before? Any painting tips you would add?
Disclaimer: This post does include affiliate links for your convenience. This is at NO additional cost to you but earns me a small commission. To read more, check out our disclosure policy. As an
Shop the Materials Discussed in this Post
(click on any of the images to shop the products)





This is so helpful! I refinished our maple table last year & had so many lessons learned too! I shared them all here! https://clippercityhouse.com/must-see-furniture-refinishing-tips/
Hopefully we can help others have a smooth DIY furniture refinish with these types of posts!
Heck yes!!