How to Create a Budget-Friendly Statement Ceiling
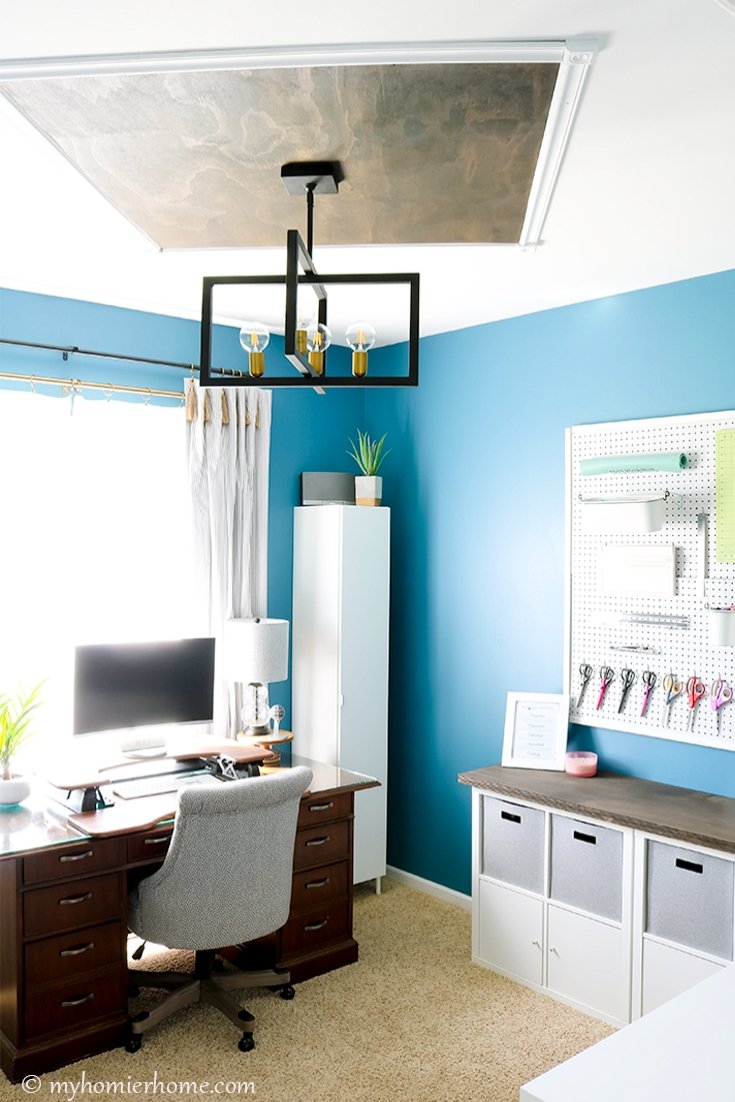
Want to give your room a little wow factor? Learn how to create a wood statement ceiling for under $80!
After the One Room Challenge this Spring, I am feeling all kinds of good vibes from my home office/craft room update.
As a last minute addition, I added a wood statement ceiling that I absolutely love!
It gives it just enough of a jolt to really bring the room from done to dreamy.
My DIY sidekick (a.k.a. my dad) is the guy featured in all the photos below and he is the other half of the “we” I speak of throughout these steps.
Because my room is only 11′ x 11′, I didn't want to cover the entire ceiling in dark wood for fear it would make it feel too small.
By only using a 4′ x 4′ piece of wood, it almost gave the ceiling a kind of illusion to make it seem like the white part of the ceiling was even taller than it actually was.
If you're looking to add a little pizzazz to the ceiling for little cost, this wood statement ceiling is for you!
Table of contents
- Materials
- Time to Complete Project
- Wood Statement Ceiling Step-by-Step Tutorial
- 1. Remove Light Fixture
- 2. Mark studs on ceiling
- 3. Measure the Light Fixture Cover
- 4. Cut hole in wood piece
- 5. Stain piece of wood
- 6. Paint Rosettes and Moulding with your Ceiling Paint
- 7. Measure Again
- 8. Nail wood to ceiling
- 9. Nail Chair Rail Moulding
- 10. Hide Nails Using Wood Putty
- 11. Touch up the paint
- 12. Glue rosettes to each corner
- 13. Caulk Edges (Optional)
- 14. Hang ceiling light fixture
Disclaimer: This post does include affiliate links for your convenience. This is at NO additional cost to you, but earns me a small commission. To read more, check out our disclosure policy.
Materials
- Stud Finder
- 4′ x 4′ Underlayment Wood Board
- Dark Walnut Wood Stain
- Foam Brushes
- Circular Saw (Not included in price of project)
- 4 White Rosettes
- 2 – 8′ Pieces of Chair Rail Moulding
- Wood Glue
- Painter's Tape
- Box of 1 5/8″ Panel Board Nails in White (if not using a nail gun)
- Box of 1-5/8″ Panel Board Nails in Dark Brown (if not using a nail gun)
- Small Hammer (if not using a nail gun)
- Punch Set (if not using a nail gun)
- (Optional) Ruler
- (Optional) Caulk
- (Optional) Nail Gun (At the time of this project, I had yet to buy one, but it would have made this project 10x's easier.)
- Two 6′ ladders (or 1 ladder and 1 tall step stool)
- Your Ceiling Paint
(click on any of the images to shop the products)
Time to Complete Project
Approximately 2 days for about 5 total hours with two people.
Wood Statement Ceiling Step-by-Step Tutorial
1. Remove Light Fixture
Because I wanted this statement piece to go around the light fixture, we removed the light fixture first.
If you are planning to change the light fixture, definitely remove the old one, complete the statement ceiling, and then install the new fixture.
I had the idea for the statement ceiling after having changed the fixture, so we had to uninstall to add the statement piece and then reinstall at the end… not ideal.
2. Mark studs on ceiling
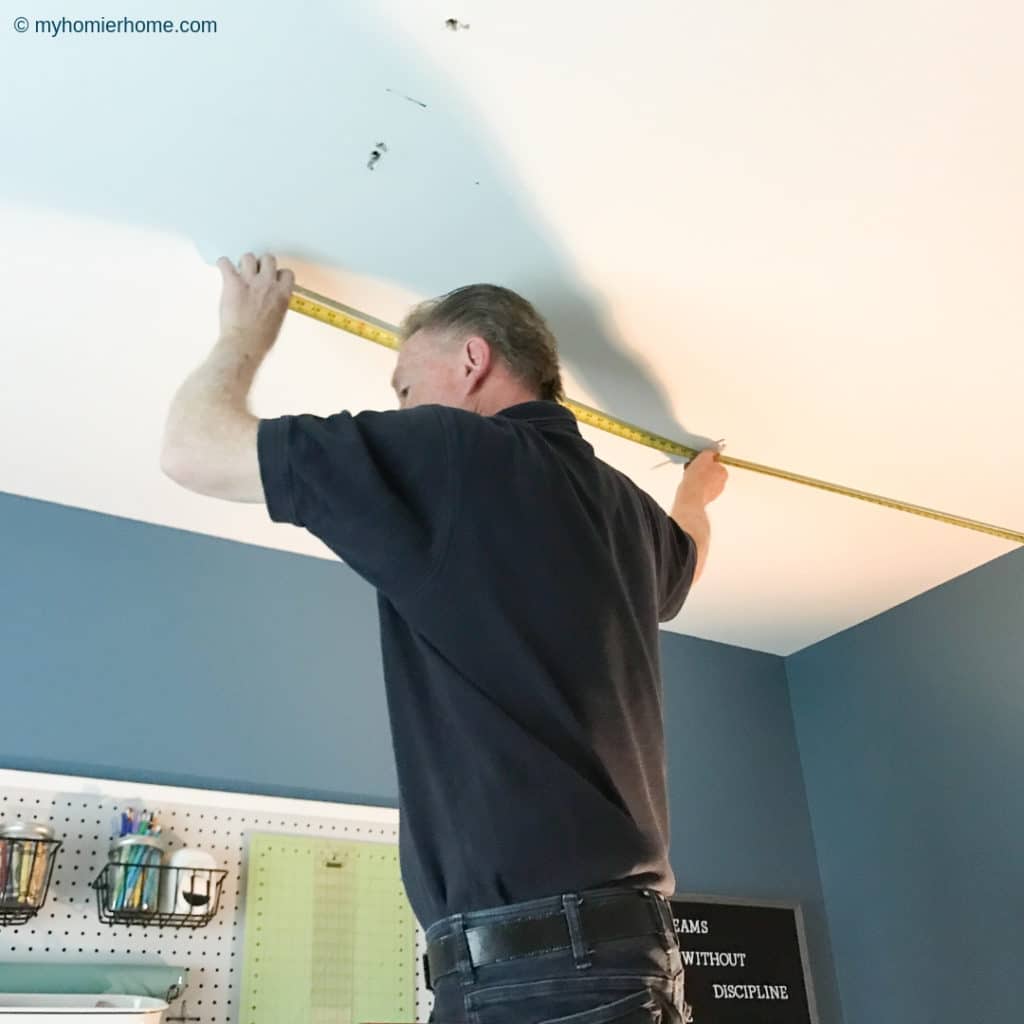
Before we even did anything with the piece of wood, we mapped out how the wood was going to be attached on the ceiling.
First thing was to use our stud finder to mark the studs.
We started finding the studs closest to the light box. We marked them with a pencil on the ceiling and then verified the distance between each… 16″ apart.
We then took the measurements from the wall to the stud to get a better idea of how many studs our 4′ x 4′ piece would cover in its diagonal form.
We wrote these measurements down so we could mark them again when we put the piece of wood in place on the ceiling.
3. Measure the Light Fixture Cover
For my light fixture, I had a 5.5″ square cover and a wire box that had a 4″ radius.
In order to keep the wood piece within the square cover, but still allow the wire box to be accessible, I made the cut on the wood a 4.5″ square.
Be sure to measure and measure again before cutting.
The goal is to get the light fixture cover to hide the entire opening in the wood once installed.
4. Cut hole in wood piece
Before cutting the piece out of the middle, we marked the center of the 4′ x 4′ piece of wood.
Since our square cut out needed to be 4.5″, we lined up our flat ruler with the 2.25″ mark in the center and drew a mark on either side.
After repeating for all sides, we outlined the square in full that needed to be cut out.
I'm sure there are better tools to actually cut the hole in the wood, but all we had on hand was a circular saw.
With the wood piece propped up on two sawhorses, we very carefully used the circular saw above the top of the wood and cut on the lines we had drawn.
5. Stain piece of wood
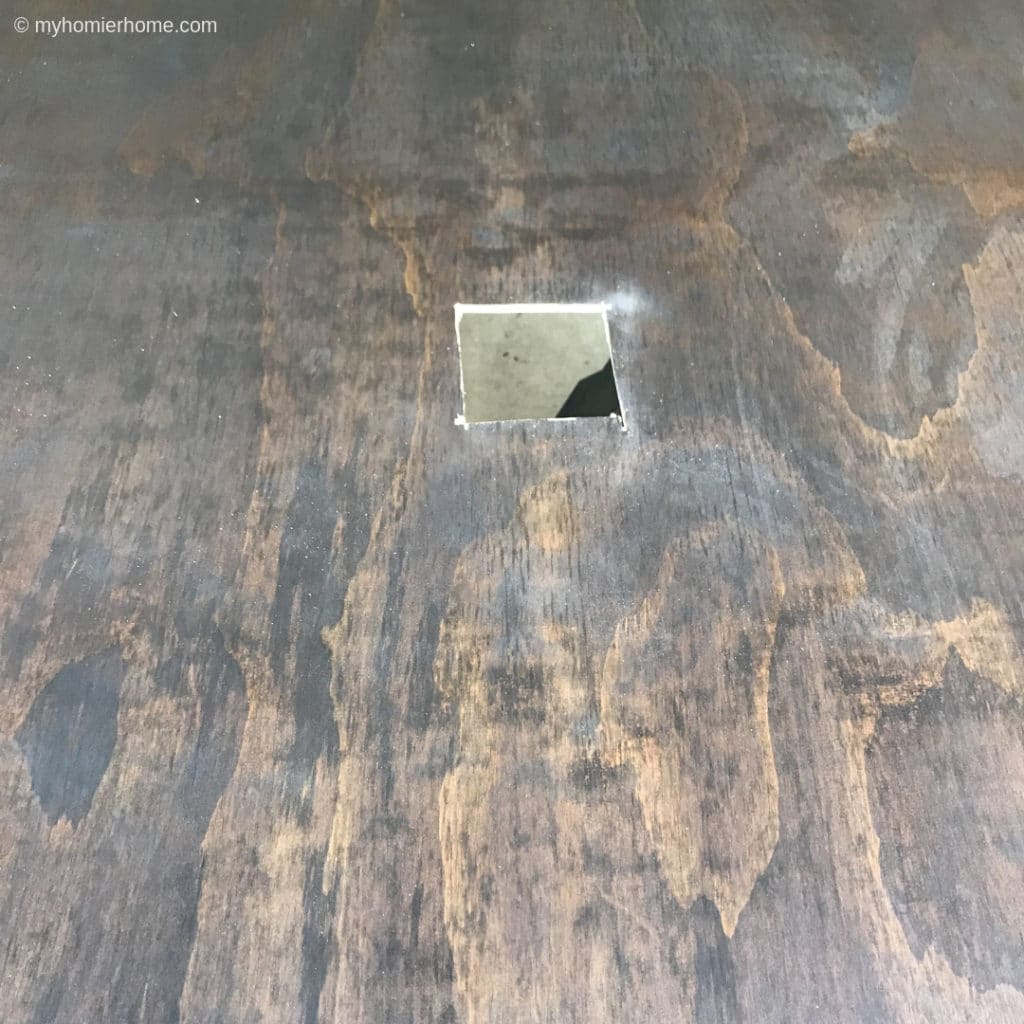
This is where your artistry can shine! If you are worried about the color, buy a few samples and test them on your cut piece from the center of the wood.
I was worried the underlayment 4'x4′ sheet would absorb the stain weird, but it turned out exactly how you would expect.
I chose a dark stain because my other wood accents in the room where dark as well.
To apply the stain, I used a wide foam brush to keep everything even.
I followed the directions on the can for timing and I actually only needed one coat to get my desired look, but note you may need more than one coat depending on the look you are going for.
6. Paint Rosettes and Moulding with your Ceiling Paint
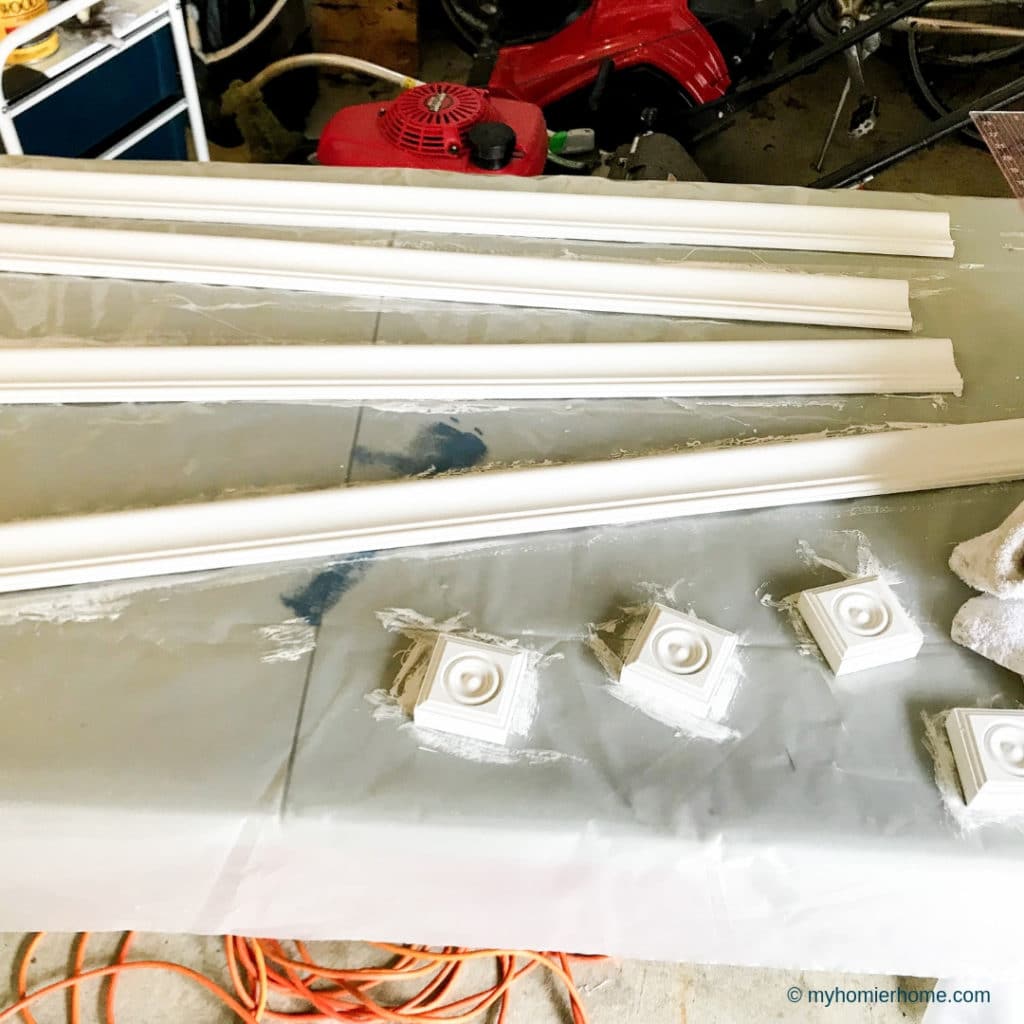
While you are waiting for the stain to dry, grab your ceiling paint (or desired color).
Give the rosettes and moulding a once over.
You may need to do a second coat, but I only did one because I bought them in the white color to begin with, so I just wanted them to match my ceiling.
I used a standard paint brush for this part.
7. Measure Again
To avoid any misalignment with the install, we marked the ceiling with an X for each corner the wood piece would line up with, so we could see if we were holding the piece straight before nailing it.
We also extended the measurements of the studs we originally marked on the ceiling to a spot outside of where the 4′ x 4′ piece would go, so we could see it when we held up the wood piece to install it.
Accurate measurements are key, so double check yourself as much as you need and write down the measurements in case you need to reference them again.
8. Nail wood to ceiling
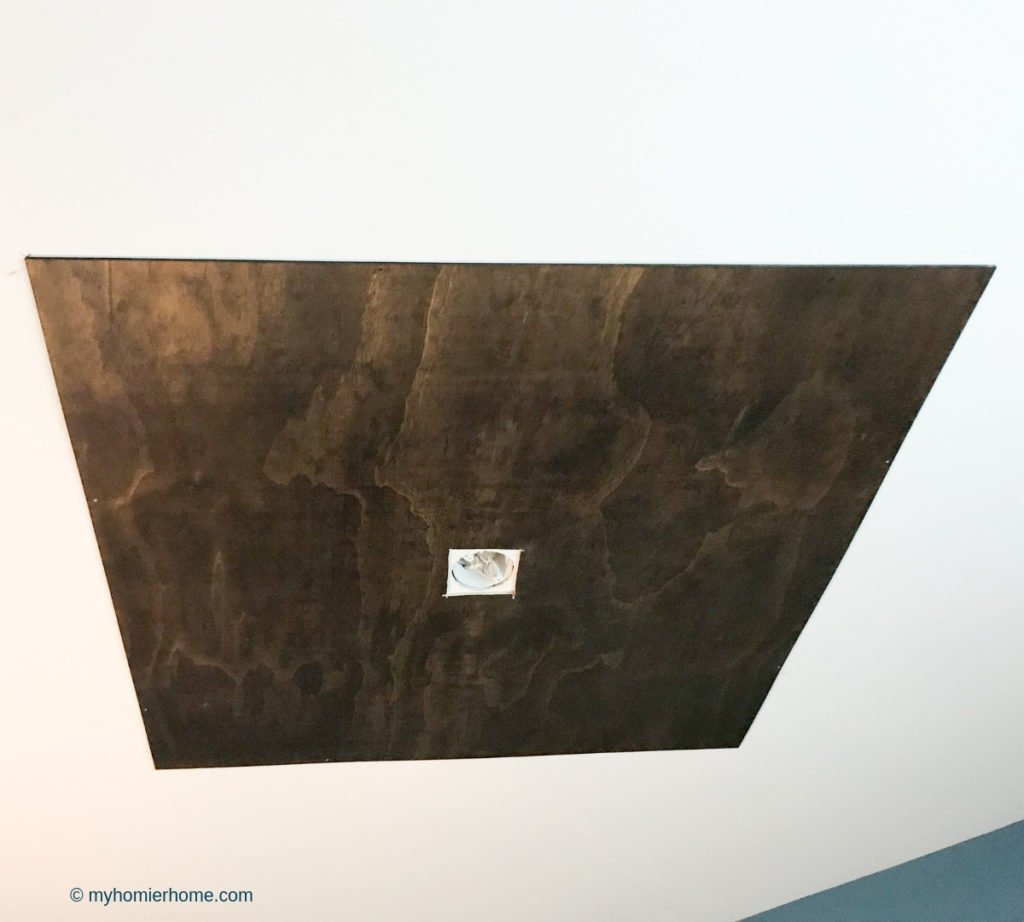
Once you feel good about your measurements, it is time to hoist that puppy on the ceiling.
This part is definitely a two person job.
You need one person to stand on their ladder or step stool and hold the wood piece in alignment with your X markings you made while the other stands on their ladder and hammers in the nails (or better yet uses the nail gun).
We used 10 dark brown nails, two on each side in line with the studs and two in the area aligned with the studs.
9. Nail Chair Rail Moulding
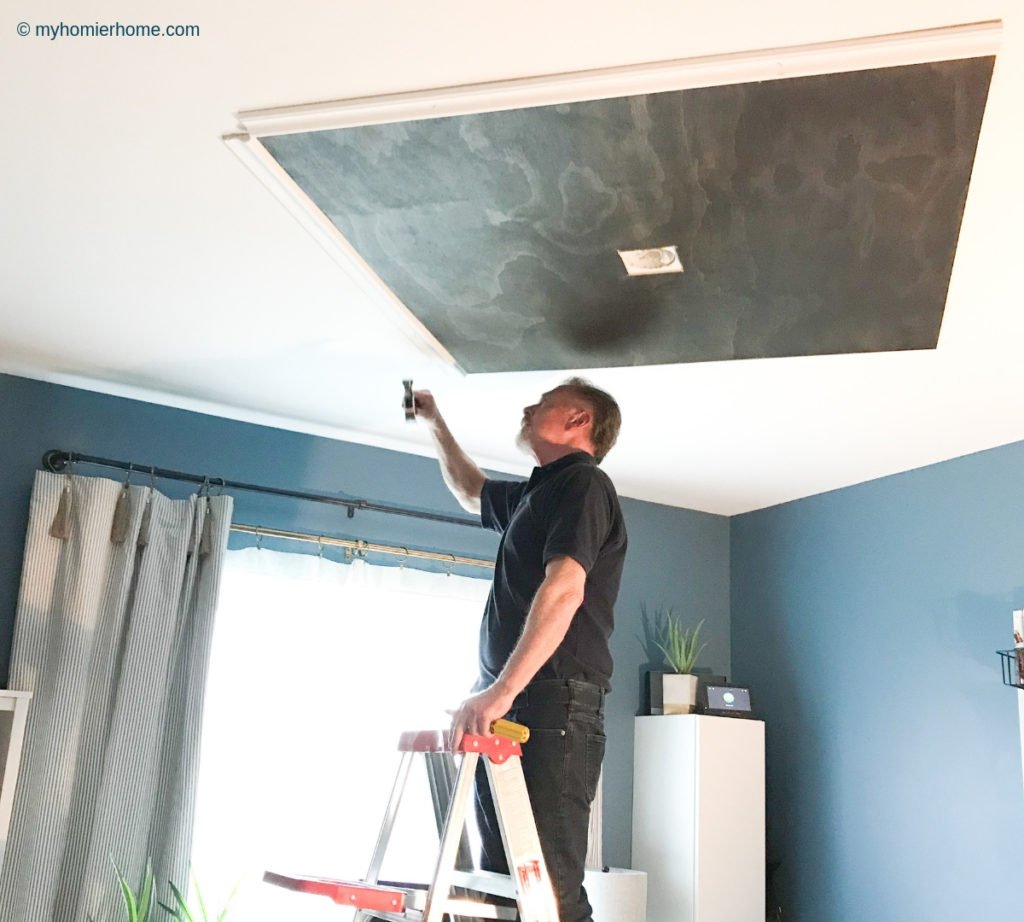
Once your main wood piece is up, you can trim out the edges using the chair rail moulding.
This is where a nail gun would have been helpful.
If you have one, this will save you some issues getting the nails fully embedded into the wood.
Some of the nails we couldn't get deep enough with a hammer, so we had to use a punch set … highly annoying if you ask me, but may be necessary if you are not ready for a nail gun.
When using the punch set, be sure to get the nail so it is past flush to make room to cover the hole with wood putty and not have a nail sticking out.
10. Hide Nails Using Wood Putty
Some of the brad nails you use may not be seen because of how small they are and, therefore, won't need wood putty.
However, if you are using a finishing nailer or the hammer/punch set method, you may have nails that leave a hole that would need to be filled in.
Follow the instructions on the back of the wood putty for drying time.
11. Touch up the paint
Once the wood putty is dry, you will want to touch up the paint. It should blend pretty well.
You may need to do a light sanding to make sure there are no ridges or uneven areas before painting.
We couldn't find dark brown brad nails at our local hardware store, so we ended up using the white ones on the wood piece.
To cover the glaring white dots on the wood, I used a good ole' Sharpie marker in black to paint over the top of the nail… just in case you're in a pinch.
12. Glue rosettes to each corner

Once you have the wood and moulding in place, there should be 4 perfectly square missing pieces at each corner.
These are where you will glue your rosettes.
We tried to figure out a way to nail the rosettes, but there seemed to be no good way to do that without compromising the design.
If you use the right glue (the one I have listed in the materials), you should not need to worry about dripping.
Just in case, you may want something down underneath where you are gluing in case it drips.

We used a swirl of glue on the back of the rosettes and the sides to adhere them to the moulding as well.
We had a wet rag handy, too, to wipe off any excess glue.
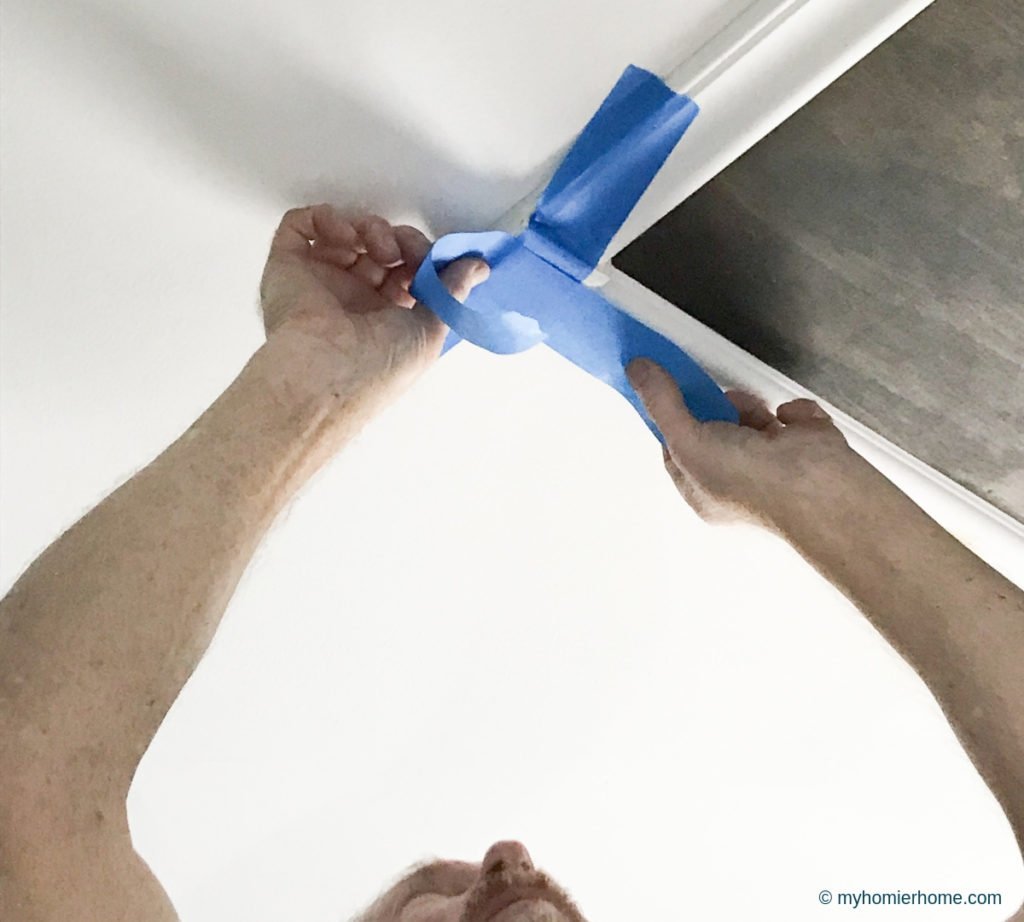
In order to make sure they stayed put, we used two strips of painter's tape to hold the rosettes in place while the glue dried.
13. Caulk Edges (Optional)
If you are a fan of clean edges, you may consider caulking around where the rosettes meet the moulding and where the moulding meets the ceiling.
You may even consider caulking the seem between the moulding and the wood piece.
We did not do this for what is shown here because I am a messy caulker.
Also, I did not think it needed it, but totally an option.
14. Hang ceiling light fixture
If you created your statement ceiling around a light fixture as I discussed above, this would be the time to put it all back up.
We did not have a huge base knowledge for electrical, but the directions on the new light fixture, coupled with a little background knowledge from my dad, we were able to hang the light no problem.
It was way easier than I had thought.
Biggest things are making sure the light switch is off, the two wires get attached to the two from the ceiling they are supposed to (white vs. black or smooth vs. ridged), and that the grounding wire is touching something metal.
Other than that, following the given directions on the new fixture will guide you to awesomeness.
With this tutorial, I am hoping you will have another DIY way to jazz up a boring ceiling.
If you do this project, drop me a comment below and let me know how it went!
This project is definitely doable for all levels!

