How to Start a Home Project with No Money in the Budget
Short on cash, but want to tackle some home projects? This post will give you practical, steps on how to do it!
When you think about home projects, the first thing that comes to mind for most is the cost.
How much will it be to complete this with my dreams in mind, but also, where can I potentially cut costs to make sure we are not scrapping for pennies afterwards.
From big jobs, like remodeling kitchens and bathrooms, to the somewhat smaller jobs, such as redecorating a room or DIY projects, there is one factor that always remains… how does this fit our budget?
I am lucky enough to have a husband who understands that I’m a big dreamer as well as someone who finds great joy in completing tasks and basking in their glory.
However, more often than not, my big ideas also come with a big price tag and require saving up to complete.
When you are ready to start a project, there are always places you could cut down costs, but what if you’re not ready to start a project monetarily at all?
Do you save, hope, wait, and dream?
Sure, but wouldn’t it be nice to actually be able to get started and get the project-train moving now?
Whether you are currently saving or just dreaming, these steps will keep you focused, planned, and overall more successful with your project when you finally have the money to complete it.
Let’s get to it then, shall we?
Table of contents
- 1. Identify how you want the room to feel and determine its function.
- 2. Make a list of tasks that need to be completed in the space.
- 3. List your tasks in order of importance.
- 4. Gather inspiration, do your research, and go window shopping.
- 5. Make a list of what decisions you need to make.
- 6. Create a mood board.
- 7. Create the budget.
Note: This is not an affiliate post. Any mention of Trello and/or other companies or websites is based on my own use and opinion.
1. Identify how you want the room to feel and determine its function.
The feel and function of a room are the most important pieces to guide your vision to reality.
Whether you are looking for a calm, relaxing vibe or an energetic, eye-catching vibe, determining how you want the space to feel will ultimately shape your decisions on how you want the room to come together.
There is a great pie chart of room by room feelings found here.
This will also be an important step if you are in need of sharing your vision with other members of your household.
When you can identify the feeling words associated with your vision, others will find it easier to grasp your vision.
Determining the function of a room is also just as important as identifying the feeling in the room/space.
The purpose/functionality helps you address exactly what is needed in the space.
Functionality also determines what you must-have to make this space usable.
With the feeling and function identified, much of the remaining steps will fall into place quite easily.
2. Make a list of tasks that need to be completed in the space.
If you are not a natural list-maker, or even if you are, there is a free program called Trello that I use to enter in every task, down to the minute detail.
Not only does it have an online version, an app, and a desktop version that all sync together, but it is setup to allow you to create “cards” in which you can add information, such as checklists and due dates which can sync to your phone’s calendar, too.
Using this program allows you to mind-dump everything you are considering for that room/space and know that it is easily accessible when you need it.
Spending the time to make a list of tasks helps bring you focused as to how much you are going to need to save and realistically, how much time the project will take.
Also, seeing the list of tasks laid out in front of you will help you decide what tasks you can you really accomplish and which ones are more for when you win the lottery.
This act of getting everything out of your head is a really great step to take before starting any project.
3. List your tasks in order of importance.
Once you have your list of tasks entered into Trello (or in another place), it will be a great idea to start rearranging them in order of importance.
Trello allows you to drag and drop your task cards with the click of a mouse.
Knowing which tasks need to be done first versus which ones can take a back seat will help you ultimately define a budget and know how much you need to save to get the project rolling.
In addition to helping you define a budget, ordering your tasks will give you a clear timeline of which part of the project to start with first, second, etc.
So, when you are ready to begin your project, you will not have to worry or feel overwhelmed about what order to complete your project.
4. Gather inspiration, do your research, and go window shopping.
Now, this step may cause you to have to use some restraint because it is not about purchasing anything. The main goal here is to get a grasp on what you like and how much it is going to really cost you in the end.
Gathering inspiration is a great idea at first, but make sure this step is purposeful and does not cause you to dream overly big.
For instance, I love to dream big, but sometimes when I find these great things on Pinterest, I realize I will never be able to do that in my home because of the way it is setup or otherwise.
Attempting to “stay in my lane” when I’m gathering inspiration is a great practice, but not an easy endeavor, so I heed you caution here.
While gathering inspiration is important, don’t forget to research items online from your favorite stores, too.
Focusing on places you will actually shop is key to making the research portion effective.
This also coincides with window shopping. Taking a trip to your favorite stores, pricing things out, and taking pictures of these items is super important for a clear vision on your budget and your plan.
5. Make a list of what decisions you need to make.
In Trello, there are boards (kind of like the sheet in Excel), lists (kind of like the columns in Excel), and cards (kind of like the cells in Excel).
The board would be the room you are creating the plan, the cards are the individual items, but the lists are what I would use for my tasks (first list) and decisions I need to make (second list).
Creating a list of decisions to be made will help you narrow down what tasks need more thought and what the next steps will need to be to make those decisions.
Breaking down these decisions in to tasks that can actually be completed will definitely ensure your planning and preparation is useful for when you go to actually complete the project.
The third and fourth lists in your Trello board should be dedicated for things like errands you’ll need to run and calls you’ll need to make.
Later on, you could add in a list for things you’ll need to do at the computer and while you are at home.
I use Trello for planning every one of my home projects and breaking down these tasks and decisions into smaller chunks makes the process much less stressful when going to complete the project because you are only ever looking at the top of the list.
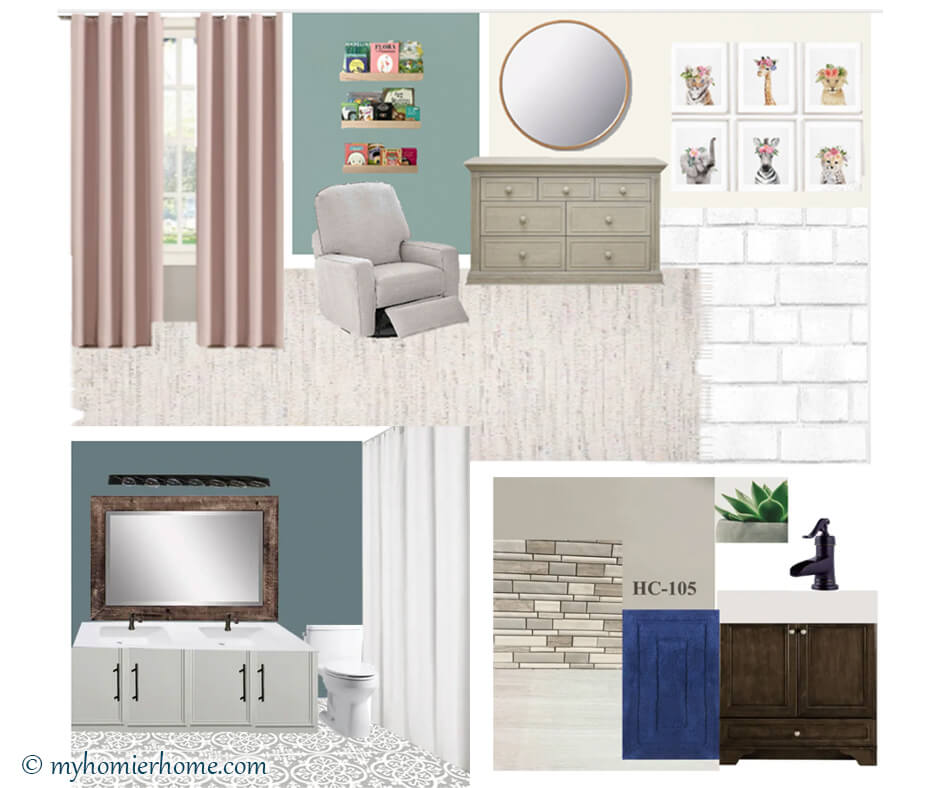
6. Create a mood board.
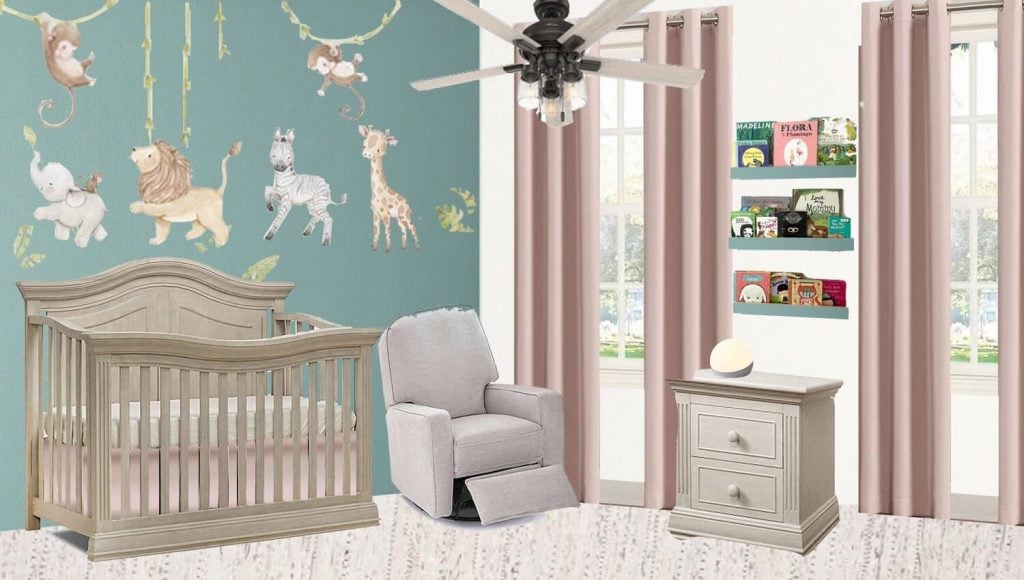
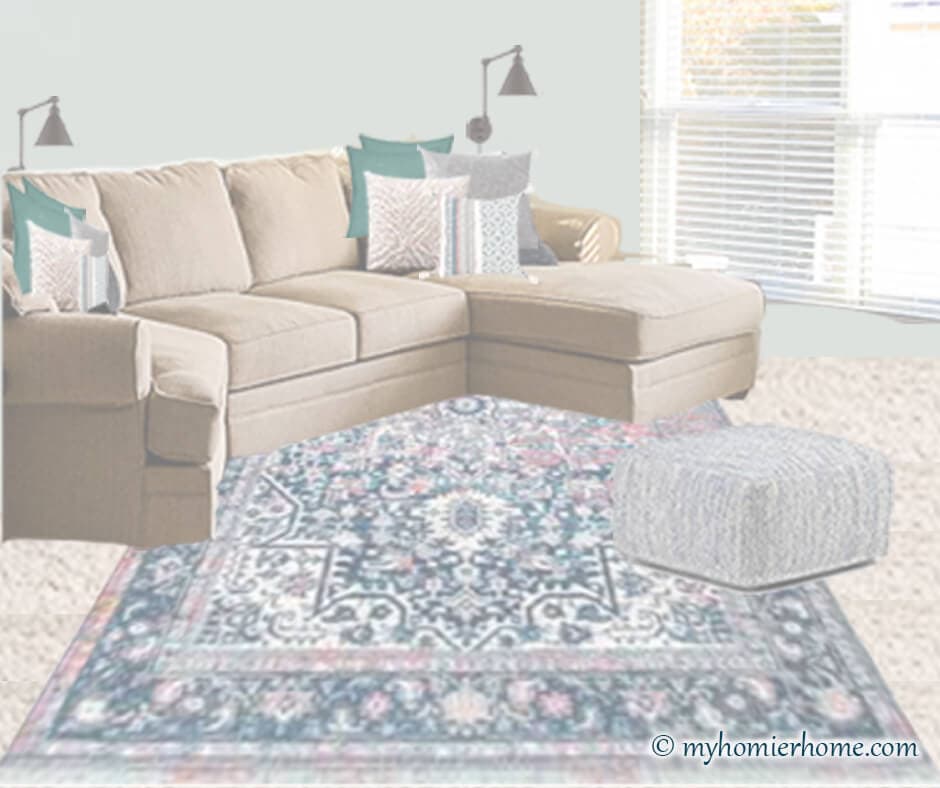
This is one of my all time, must-do steps every single time you are planning to complete a home project.
I have an entire post dedicated to the various ways in which you can create these mood boards, but this is a step you will not want to skip.
Many designers and home décor bloggers end up with such beautiful spaces because they take special care to define their vision in a visual mood board.
Being able to see your ideas in action is super helpful in determining whether or not your ideas are going to translate well to the real version.
The greatest part about creating a mood board is that it takes your research, inspiration, and window shopping step and puts it all together.
Then, you can share the visual board with other members of the household to see what else needs to be changed, altered, or kept for the final project completion.
Mood boards are a great tool to help you make sure your vision is actually going to work well in the finished product.
7. Create the budget.
Creating the budget step is a necessary evil. I would venture to say this is not the most riveting and fun step, but it will ultimately lead you to completing your project responsibly.
After your research, itemize the cost for each task, purchasable item, and any other costly pieces you will need to do for this project and tally up a total.
Once you have an approximate total cost, consider how long you think each task will take.
Try to be realistic by considering how much time you are willing to spend on the project, but also what kinds of things may impede the timeline, such as holidays, vacations, etc.
Then, pick a date in which you would like the project completed. This may be something you will need to be flexible on, but it will at least give you an idea of how long a project may take.
Lastly, divide your total cost by the number of weeks to see what you need to save per week to reach your goal.
I like to use a calendar to map out how much I will have saved each week and what tasks I will then be able to complete.
If you can accomplish some of your steps as you save, your project will be completed in no time.
Taking these steps above will ensure a stress-free experience in your next project.
It will also allow you to feel confident that your project is going to be done right the first time due to your diligence in planning and preparing ahead of time.
These steps may take some discipline, but if you follow them, you will be sure to complete any home project effectively.
Comment below… I want to know!!… What is your next dream project?
Happy Planning!



This is a great post full of useful information. Well done, Christin!
I love using Trello!
This is my exact process too. I’m always looking to save where I can as we have a big reno and not a big budget. I window shop until I drop, basically I have to find the best deal. Love that you put this in words.
Christin … I’m so impressed with your organization and planning process. I need to look into Trello. I’m hopping over to your mood board post now … I love the idea of mood boards but I’ve never mastered the art. I know you’ll give me some good ideas! xo
These are great tips! I’ve never thought how I want a room to feel, only how I want it to look. Trello looks like a fanstastic tool to have!
Great ideas! I hadn’t thought of using a mood board for an upcoming project, but it would be really useful!
This a great cohesive set of steps. I love seeing a mood board, but I’m not the best at making them! I’ll need to refresh and read your post. I’m all about the bargains. I search high and low!
I love the organized steps you take here. Very helpful for those of us who tend to fly by the seat of our pants!
This is so useful! I always struggle with costs of my projects and working it into a budget