
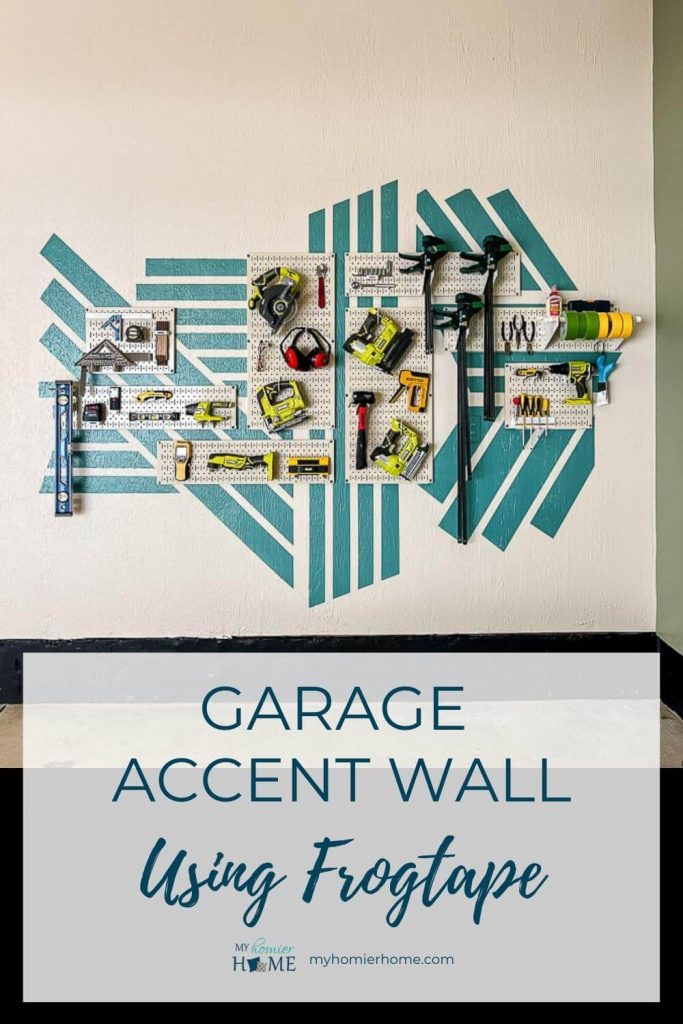
Garage Accent Wall for Tools Using Frogtape®
Adding a garage accent wall with a peaceful color palette has completely up-leveled our tool wall. In today's post, I'll be sharing how exactly we made it happen.
This post is sponsored by Frogtape. All content and opinions expressed here are my own.
It's week four of the One Room Challenge and FINALLY time to reveal my super unique garage accent wall behind my tools!

Now in case you don't know, every year Frogtape releases their Design Trends for the upcoming year. This year, I partnered with Frogtape to help showcase the Redrock Renewal trend.
This trend is all about getting inspired by nature and bringing in earthy textures and colors.
For the garage, we wanted to bring a sense of calm and serenity into an otherwise dark and gloomy space using the inspiration from the Redrock Renewal trend.
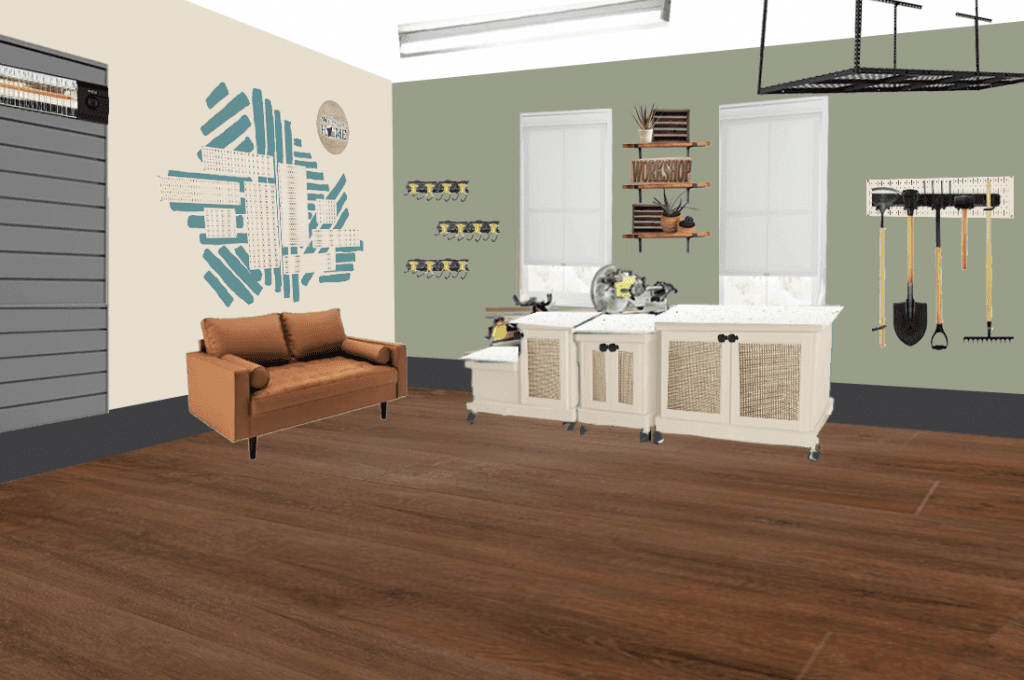
We decided to add an accent wall behind the tools with a peaceful color palette as a reminder of the joy and natural beauty we can create with the right tools, mindset, and inspiration.
Alongside the relaxing color scheme of the room, we created clean, crisp lines with a fresh vibe to give the feeling of clarity in the midst of chaos.
With a place to hang all our important tools, we can soak in the true heart of our design to bring about renewed creativity and joy and I canNOT wait to show you how we made it happen.
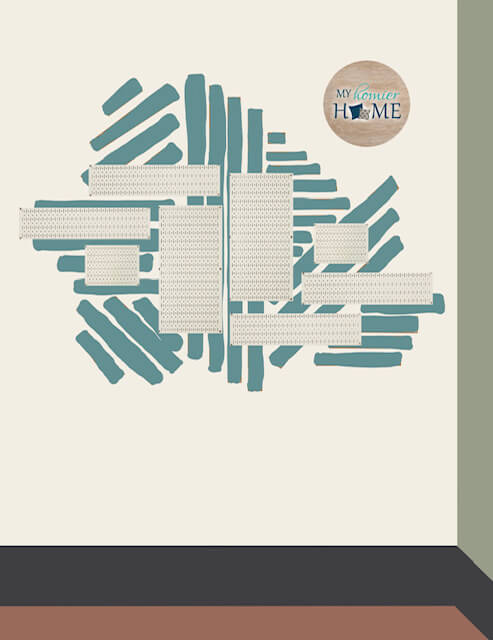
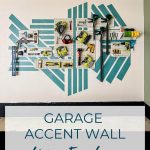
Just as a reminder, the picture above was what I drew on my iPad to come up with how I wanted to create this unique garage accent wall.
Are you ready? I don't think you're ready!
It's soooooo good I can't even stand it!
Ok, let's do it!
Week Three (Garage Paint Colors)
Week Four (Garage Tool Accent Wall)
Table of contents
- Adding a garage accent wall with a peaceful color palette has completely up-leveled our tool wall. In today's post, I'll be sharing how exactly we made it happen.
- How to Make a Large Garage Accent Wall Design
- Step 1: Gather your materials.
- Step 2: Tape off your pattern using a laser level and measuring tape.
- Step 3: Use a plastic card to secure the tape, especially on a textured wall.
- Step 4: Paint over your pattern with the wall color first.
- Step 5: Paint over your pattern with your accent color.
- Step 6: Remove tape while still wet.
- Step 7: Hang your tool organizer.
- Step 8: Add your tools.
- Step 9: Soak in the peaceful view of a well-organized, beautified garage accent wall.
- What's left on the Garage Makeover To-Do List?
Disclaimer: This post does include affiliate links for your convenience. This is at NO additional cost to you but earns me a small commission. To read more, check out our disclosure policy. As an
How to Make a Large Garage Accent Wall Design

Step 1: Gather your materials.
![Step 1 - Gather your materials [My Homier Home Garage Accent Wall]](https://myhomierhome.com/wp-content/uploads/Step-1-Gather-your-materials-My-Homier-Home-Garage-Accent-Wall-1024x768.jpg)
First of course, you want to gather all your materials.
Here is a list of everything I used:
- Delicate FrogTape®
- Paint Color of Choice
- Paint Brushes
- Small Paint Roller
- Laser Level
- Level
- Measuring Tape
- Plastic card
- Ladder
- Metal Pegboard System (see week two's post here)
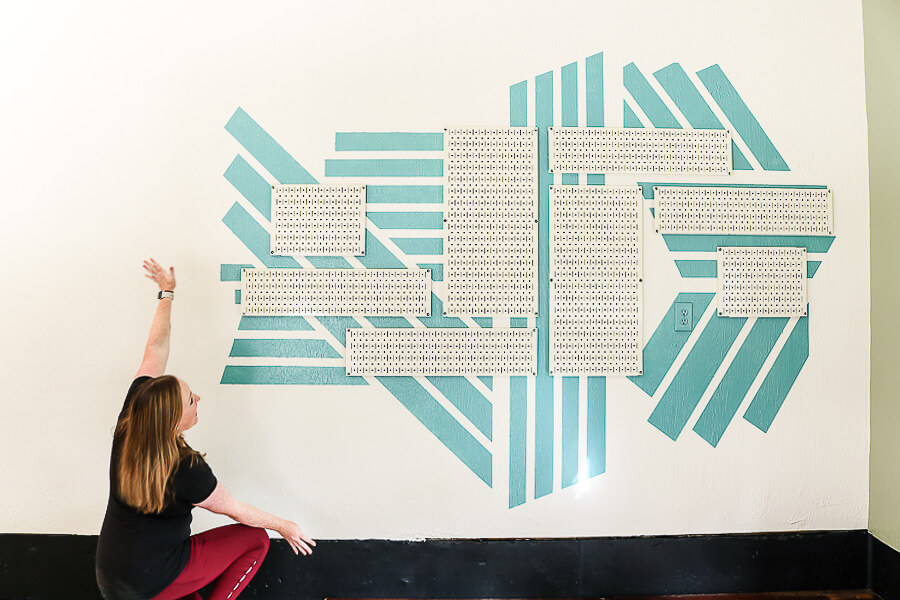
Step 2: Tape off your pattern using a laser level and measuring tape.
![Step 2 - Tape off your pattern using a laser level and measuring tape [My Homier Home Garage Accent Wall]](https://myhomierhome.com/wp-content/uploads/Step-2-Tape-off-your-pattern-using-a-laser-level-and-measuring-tape-My-Homier-Home-Garage-Accent-Wall.jpg)
As I mentioned in week two of the One Room Challenge, we measured and hung the metal pegboard's first since that helped make sure the design was centered behind the pegboard design.
Once I had all of those screw holes set up, it made it a lot easier to determine how I was going to map out my pattern idea using Frogtape.
I used the delicate Frogtape because we had just painted these walls the day before, but if your walls are fully cured, the standard Frogtape will work too.
For the straight edges, I used my laser level.
For the angles, to be honest, I eyeballed it.
I kept going back and forth from the mock-up drawing to my wall.
I started with the center first and then worked my way in to the different angled sections to the right and then came back to do the same on the left.
Step 3: Use a plastic card to secure the tape, especially on a textured wall.
![Step 3 - Use a plastic card to secure the tape [My Homier Home Garage Accent Wall]](https://myhomierhome.com/wp-content/uploads/Step-3-Use-a-plastic-card-to-secure-the-tape-My-Homier-Home-Garage-Accent-Wall-586x1024.jpeg)
This step is ULTRA important
Our walls are extremely textured, so it was hard to get the Frogtape to simply adhere nicely like it usually does.
So after smoothing it down with my hand, I went back and used a plastic gift card to make sure all the little crevices of the tape had actually touched the textured wall behind it.
Step 4: Paint over your pattern with the wall color first.
![Step 4 - Paint over your pattern with the wall color first [My Homier Home Garage Accent Wall]](https://myhomierhome.com/wp-content/uploads/Step-4-Paint-over-your-pattern-with-the-wall-color-first-My-Homier-Home-Garage-Accent-Wall.jpg)
The next thing you want to make sure you do for the most crisp lines is to paint over your tape with the same color as the wall behind it.
This simple trick helps make sure the adhesive on the Frogtape is activated.
Because, did you know, it is actually activated by the wetness of the paint!
Pretty cool right?
That's reason number 852 why I only ever use Frogtape.
Step 5: Paint over your pattern with your accent color.
![Step 5 - Paint over your pattern with your accent color [My Homier Home Garage Accent Wall]](https://myhomierhome.com/wp-content/uploads/Step-5-Paint-over-your-pattern-with-your-accent-color-My-Homier-Home-Garage-Accent-Wall.jpg)
The only hard part about this step is making sure you look closely enough at the tape lines underneath.
I made sure not to have too much paint on my roller to get my clean, crisp lines.
Step 6: Remove tape while still wet.
![Step 6 - Remove tape while still wet [My Homier Home Garage Accent Wall]](https://myhomierhome.com/wp-content/uploads/Step-6-Remove-tape-while-still-wet-My-Homier-Home-Garage-Accent-Wall.jpg)
Another important step in make sure you get clean crisp lines on either smooth or textured walls is to take the paint off while it is still wet.
This will make sure that the paint doesn't dry to the tape and pull off as you remove it.
Just look at those amazing straight lines!
Step 7: Hang your tool organizer.
![Step 7 - Hang your tool organizer [My Homier Home Garage Accent Wall]](https://myhomierhome.com/wp-content/uploads/Step-7-Hang-your-tool-organizer-My-Homier-Home-Garage-Accent-Wall.jpg)
Once I finished the design behind it, I put my pegboard's back up in the holes I already created.
Step 8: Add your tools.
![Step 8 - Add your tools [My Homier Home Garage Accent Wall]](https://myhomierhome.com/wp-content/uploads/Step-8-Add-your-tools-My-Homier-Home-Garage-Accent-Wall.jpg)
Now all that's left is to organize your tools in a fun and pretty way!
I canNOT stop staring!!
Step 9: Soak in the peaceful view of a well-organized, beautified garage accent wall.
So what'd you think? Are you ready to add a little peaceful organization in a serene color palette to your garage?
Just don't forget the Frogtape!
What's left on the Garage Makeover To-Do List?
Paint the roomPaint the tool accent wallHang the tool peg board- Hang the slat wall
- Hang shelving
- Hang ceiling storage
- Paint other accents
- Organize lawn care area
- Organize fishing nook area
- Hang lighting
- Build mobile workbench
- Update the flooring over the concrete
- Clean blinds
- Figure out how to hide the electrical box
- Hang the TV
Stay tuned from now until mid-November to see how I tackle this list and FINALLY get the garage of my dreams.

Pin any of the photos above for later too by hovering over the image and clicking the Pinterest logo.
![Step 4 - Paint over your pattern with the wall color first [My Homier Home Garage Accent Wall]](https://myhomierhome.com/wp-content/uploads/Step-4-Paint-over-your-pattern-with-the-wall-color-first-My-Homier-Home-Garage-Accent-Wall-150x150.jpg)
![Step 3 - Use a plastic card to secure the tape [My Homier Home Garage Accent Wall]](https://myhomierhome.com/wp-content/uploads/Step-3-Use-a-plastic-card-to-secure-the-tape-My-Homier-Home-Garage-Accent-Wall-150x150.jpeg)
Amazing! You are so talented. Happy Saturday!
Aww thanks Renae!!