Garage Tool Organization with Wall Control
Looking for a fun way to display your tools? I came up with the coolest garage tool organization solution using wall control and i can't wait to share phase one with you today.
Week Three (Garage Paint Colors)
Week Four (Garage Tool Accent Wall)
It's week two of the One Room Challenge and we are moving and grooving over here! This week I'm sharing with you phase one of the garage tool organization.
If you've missed any of the other amazing rooms participating in the challenge, click the logo below to check them out.

Now on to this week's progress and the amazingness that is your new favorite pegboard system.
This post is sponsored by Wall Control. All opinions are my own.
Table of contents
- Looking for a fun way to display your tools? I came up with the coolest garage tool organization solution using wall control and i can't wait to share phase one with you today.
- The Idea
- What You Need to Hang the Garage Organizer
- Tips for Creating and Hanging a Fun Pattern
- Phase 1 Tool Organization on the Wall
- Accessories I haven't Used Yet
- To-Do List
Disclaimer: This post does include affiliate links for your convenience. This is at NO additional cost to you but earns me a small commission. To read more, check out our disclosure policy. As an
The Idea
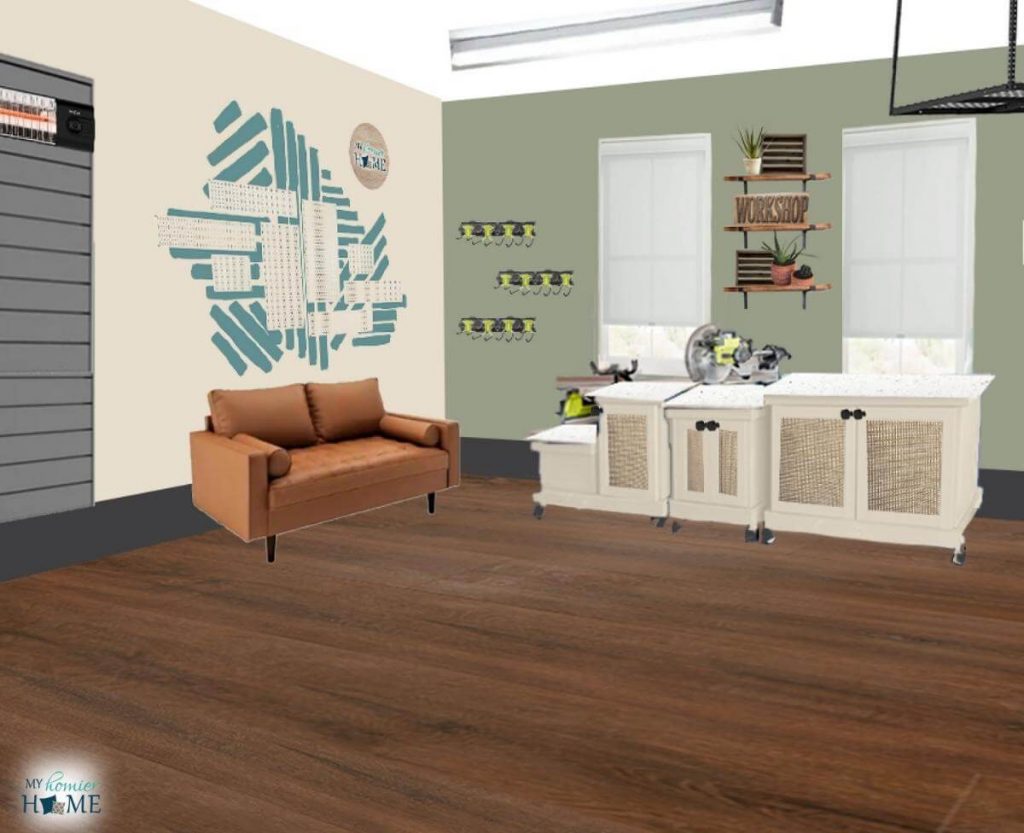
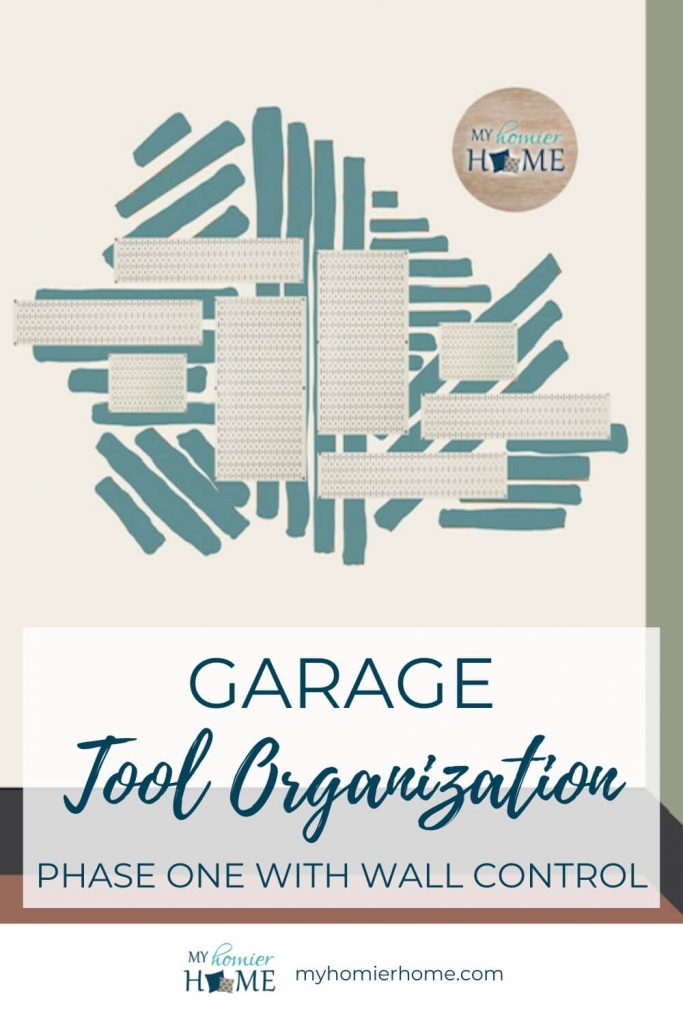
As I shared with you last week in my garage design plans, I'm going to create a cool feature wall to hang all my tools as you see above the couch there.
Typically these Wall Control panels are put together in a grid, but I wanted more of a feature, so I jazzed it up a bit.
Now, I'm gonna give you some details and tips for hanging them, but spoiler alert – it was super easy…. which they said, but I wasn't expecting.
Honestly, the hardest part was deciding what accessories to get, so I'll give you the full list of what I purchased versus what I had left over when I was done hanging the tools, too.
And… before I get into the details, be advised that I have the finished garage tool organization wall done with all the tools in the rightful place… but I can't share it with you in all its glory for another two weeks, so you'll have to stay tuned!
What You Need to Hang the Garage Organizer
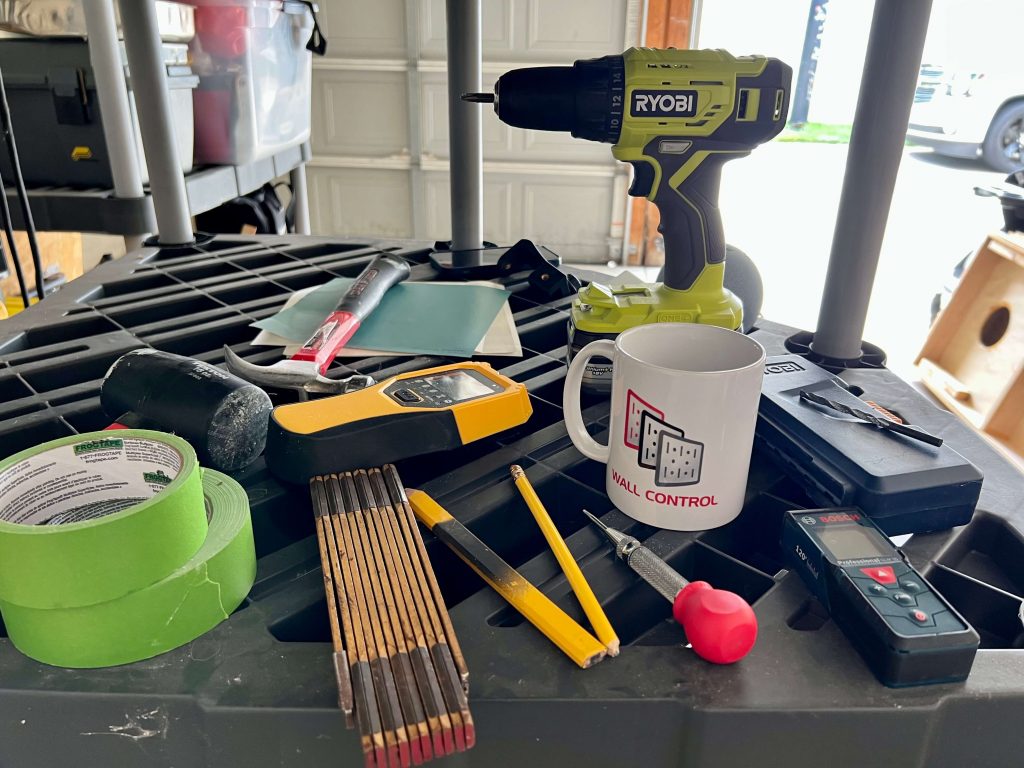
Materials I would gather to make life easier would be…
- Ladder
- Measuring tape and/or laser measurer
- Drill
- Drill bits
- Punch tool (my absolute favorite thing ever)
- Mallet
- Level
- Pencil
- Painter's tape if you want to mark anything on the walls
My Wall Control Shopping List
Tips for Creating and Hanging a Fun Pattern
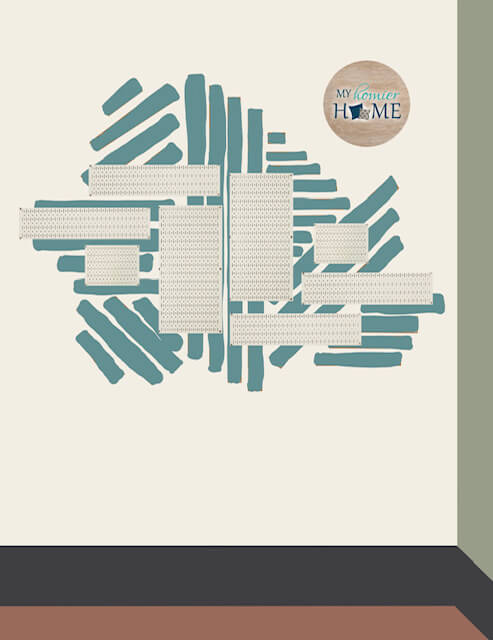
If you're looking to create something unique, I would either grab the ole' standard pen and paper or I used my iPad to draw out my idea in the GoodNotes app.
I just saved a screenshot of the panels and moved them around with my design and what you see above is what I came up with.
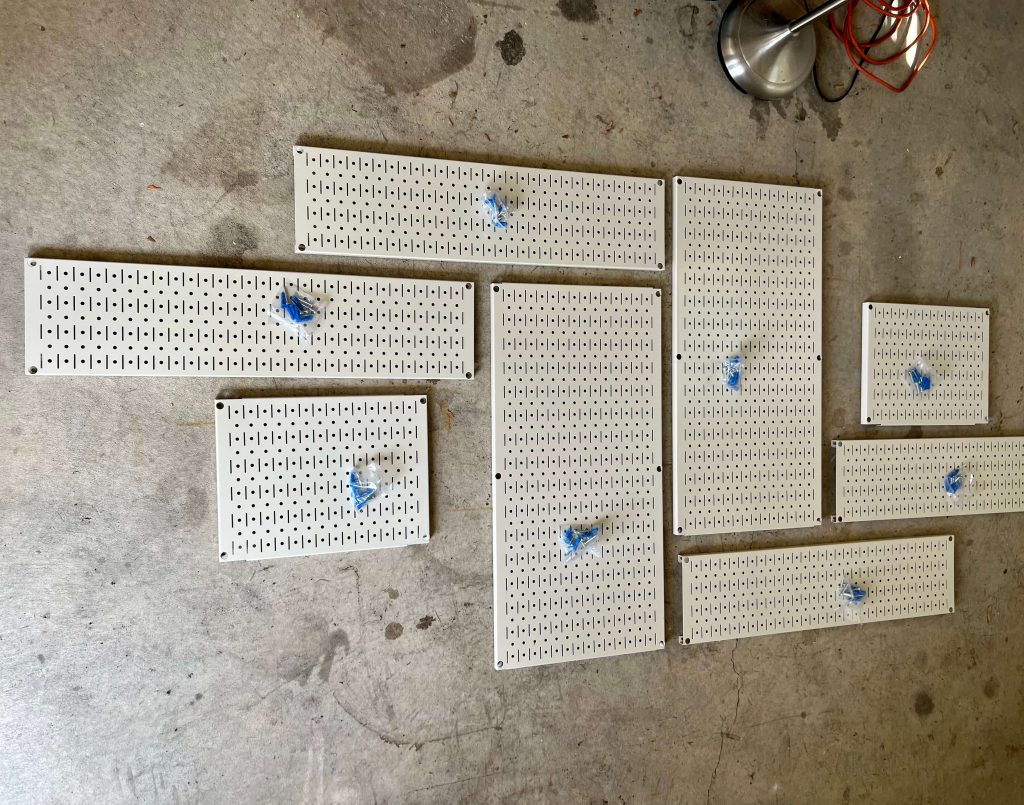
Once the order came in and we were ready to hang them, I started by laying the pattern out on the ground first.
We measured the length and width of the whole pattern with approximately two-inch spacers and then made sure it would fit on the wall where we had planned.
It's a good thing we did that too because the electrical outlet was right under one of the panels in this pattern, so I ended up doing the flip of this design instead so the outlet could still be used.
Once we figured out the center of our design, we were ready to start hanging the panels.
Steps to Hang the Garage Tool Organization
Here are the steps we took to get everything setup perfectly for this pattern design.
- Measured the wall to make sure it would fit as I stated above.
- Found the center of the wall and located the studs.
- Determined the first panel would need to use the drywall anchors provided since it was not in line with where the stud was.
- While my dad held the panel and the level up where we wanted it, I used my punch tool to mark where the holes were so we could make sure the holes were lined up perfectly.
- We then drilled holes in each of the places I punched
- Added our drywall anchors using the mallet, and
- Screwed the first panel in.
It was a literal no-brainer operation. I was legitimately shocked.
Needless to say, they're not lying when they say its super easy to hang these… and they are wildly sturdy.
To complete the rest of the pattern, we followed the exact steps above, but just made sure to measure 2in spaces in between.
One thing that was really helpful when I went to hang these again after painting was using a small level with a magnet on its side to attach to the pegboard.
If you want to see this process up close and personal, you can head over to my Instagram.
Disclaimer: This post does include affiliate links for your convenience. This is at NO additional cost to you but earns me a small commission. To read more, check out our disclosure policy. As an
Phase 1 Tool Organization on the Wall
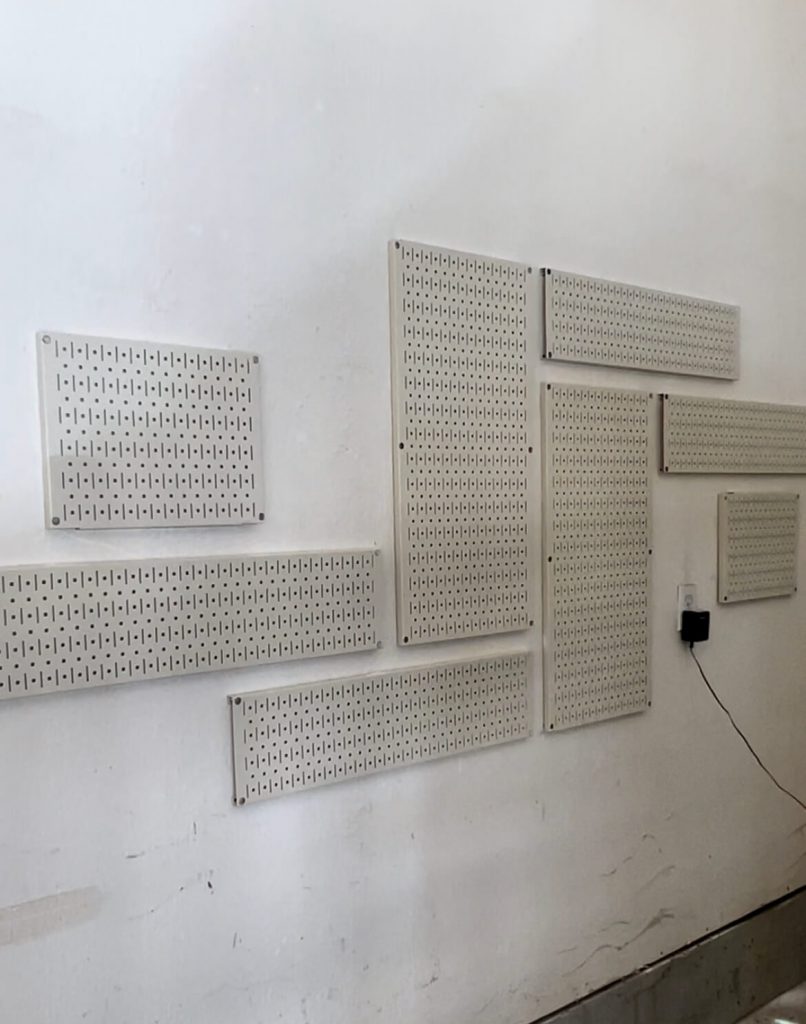
Like I said above, the reveal of the cool design behind these panels with the tools on the organizers will be revealed in the next couple of weeks, so stay tuned, but this is at least the first phase actually hung on the wall.
I purposely hung these before doing the design and painting the room because I knew it would help me with the spacing of the design behind it.
And I didn't want to get the fresh paint all gummed up with drywall dust lol.
I was absolutely amazed at how simple it was to hang and use these pegboards.
I'm literally dying to show you the reveal.

Accessories I haven't Used Yet
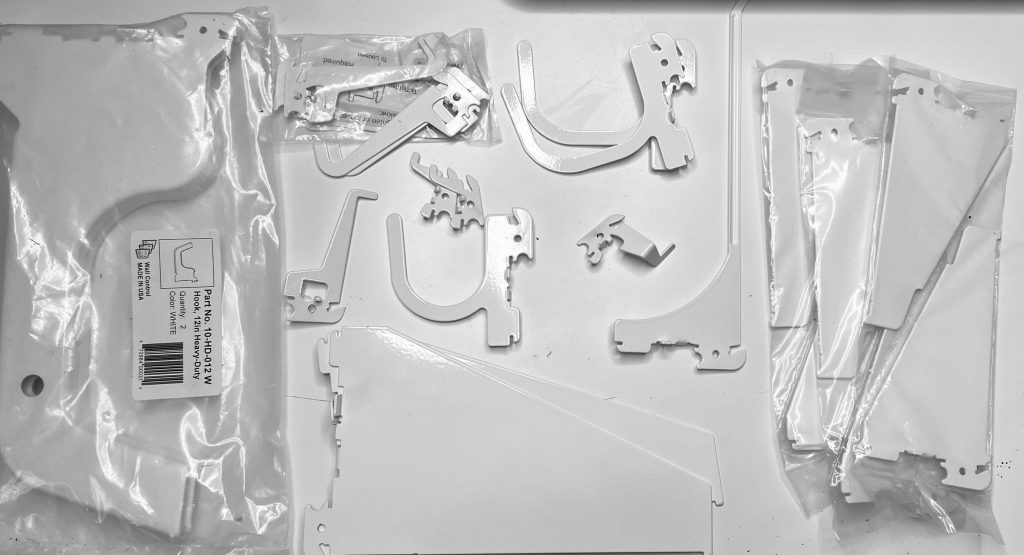
Of all the accessories that are included in these bundles, I ended up using everything on the tool organization wall except what you see above, but I haven't hung the additional 8in X 32in pegboard I got yet, so I may still end up using some of these.
- Additional items I bought for the garage that I haven't put up yet…
I love to spray paint, well, everything, so I wanted to set up a nice place to hold my unused cans.
Depending on the layout, I may still have room to add a few more of these hooks.
Now on to what's left for the garage organization makeover.
To-Do List
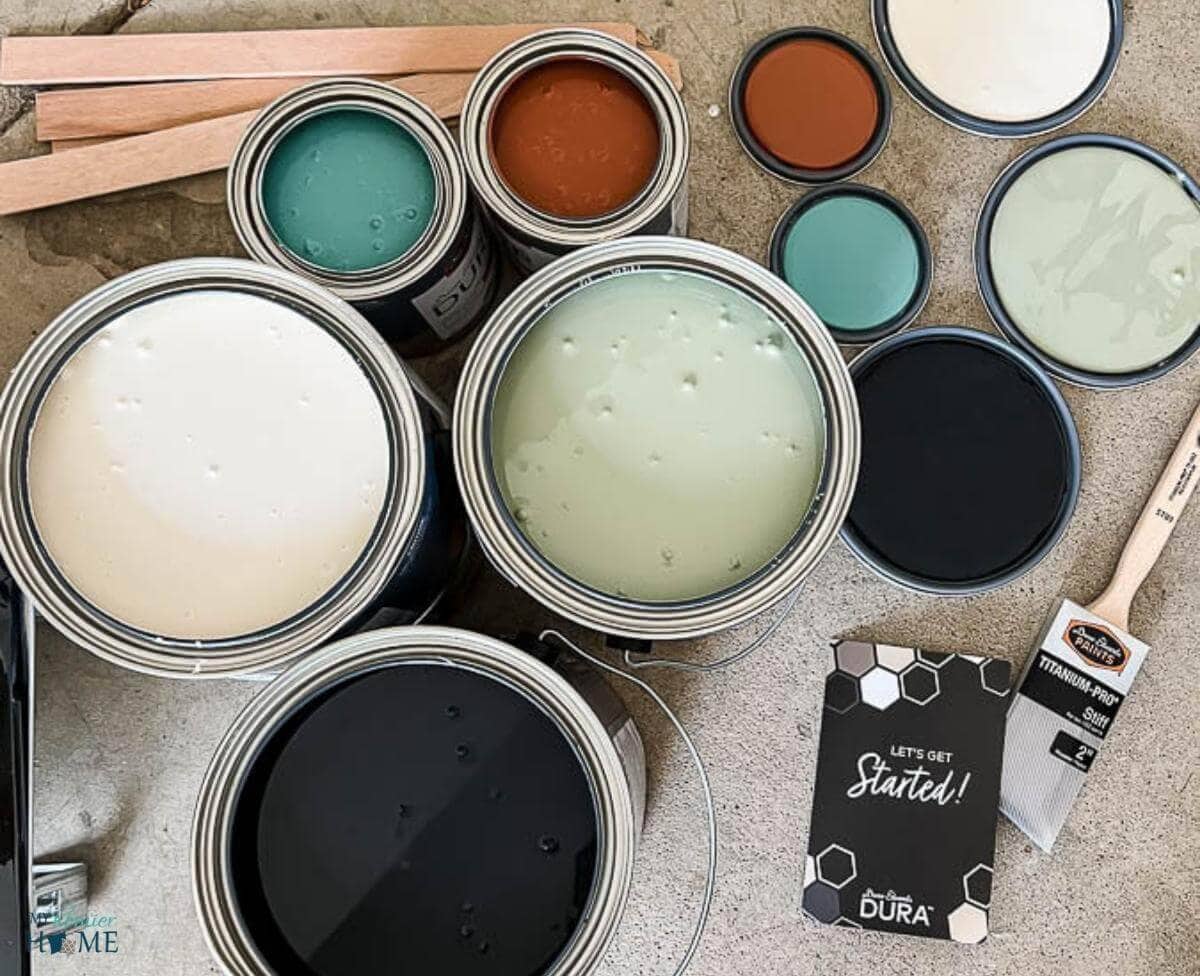
- Paint the room
- Paint the tool accent wall
Hang the tool peg board- Hang the slat wall
- Hang shelving
Hang stationary ceiling storage- Hang motorized ceiling storage
- Paint other accents
- Organize lawn care area
- Organize fishing nook area
- Hang lighting
- Build mobile workbench
- Update the flooring over the concrete
- Clean blinds
- Figure out how to hide the electrical box
- Hang the TV
Stay tuned from now until mid-November to see how I tackle this list and FINALLY get the garage of my dreams.

Pin any of the photos above for later too by hovering over the image and clicking the Pinterest logo.