
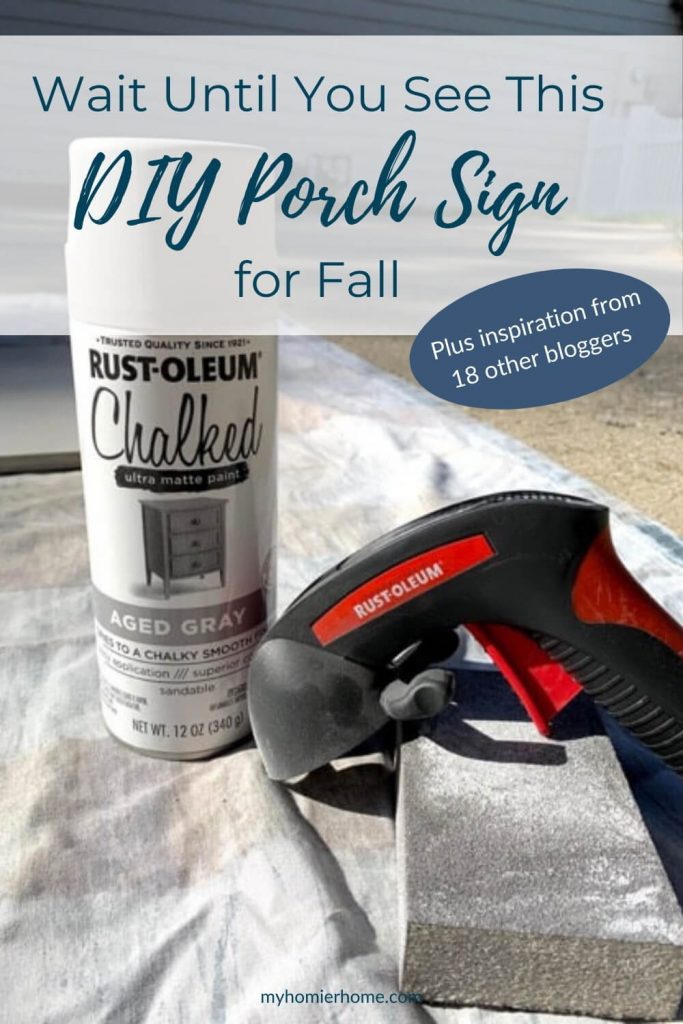
Wait Until You See This DIY Porch Sign for Fall
Looking for a personalized DIY porch sign for fall? Here's how I made ours using a piece of wood, spray paint, and some paint markers.
Happy official Fall!!
I'm so excited for today's post because it's one part of so many fun Fall DIY projects from my Thistlewood VIP group!
This is a seriously talented group of home decor, DIY, and craft bloggers!
Today, we are hopping around for the ALL THE FALL Blog Hop!
If you're coming from This Dear Casa with her DIY pampas grass, how cool was that?!
Be sure to stick around to the end to see who's up next on this blog hop.
Now on to my DIY porch sign for Fall!
Steps for DIY Porch Sign
- Gather materials
- Lightly sand both sides including the edges
- Spray paint all sides
- Decide on a phrase and take measurements
- Make a grid in pencil on your board
- Map your plan on graph paper
- Transfer the rest of your grid to your board
- Outline the words and picture using a white pencil
- Trace your words with the black paint pen
- Add white to the words for depth
- Paint the edges black (Optional)
- Clean up the excess lines
- Seal the sign with matte clear enamel spray paint
- Want to watch the video for this post?
Disclaimer: This post does include affiliate links for your convenience. This is at NO additional cost to you but earns me a small commission. To read more, check out our disclosure policy. As an
Gather materials
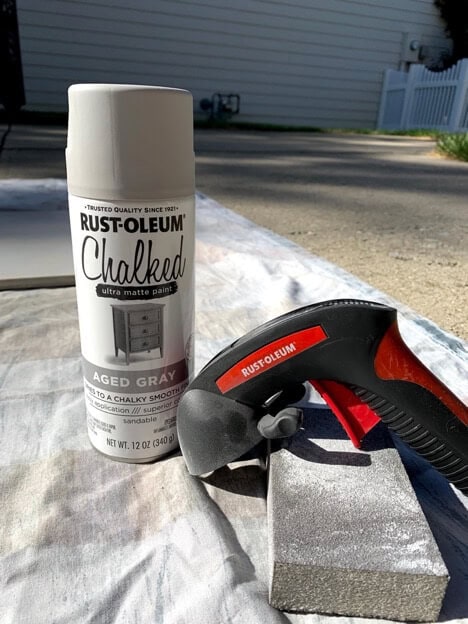
- Aged Gray Rustoleum Chalked Spray Paint
- Spray Gun Nozzle
- Piece of 1/2″ Plywood Cut to Size (mine was 16″x60″)
- Sanding Block
- Pencil (regular and white)
- Black Paint Pen
- White Paint Pen
- Matte Clear Enamel Rustoleum Spray Paint
- Drop Cloth
- T-Square
- Measuring Tape
- Graph Paper
- Large Ruler
- Eraser
You can purchase any of the items that I used for this project through the pictures below.
(click on any of the images to shop the products)

Lightly sand both sides including the edges
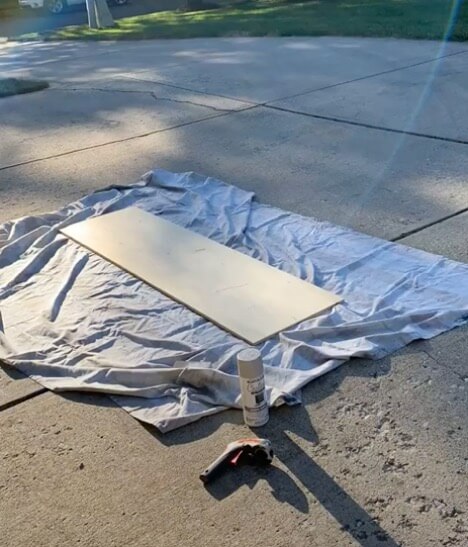
Use a 220 grit sanding sponge and lightly sand all sides of the board.
It doesn't need to be a lot.
Once you're done, shake off the sanding dust from your drop cloth.
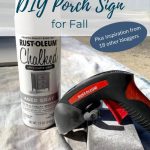
Spray paint all sides
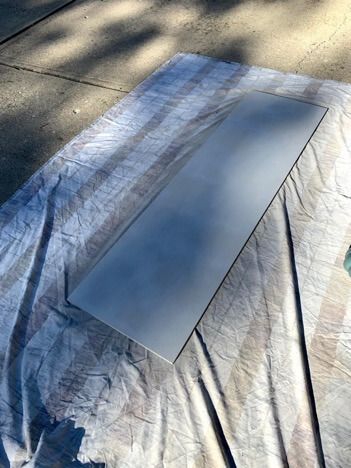
I like to use the nozzle because it saves your fingers and hands from any cramps.
The best way to spray paint is in short bursts starting from one side and working your way to the other side.
Don't forget to spray the edges.
If you do forget, I have a back up plan later (shh… I forgot to spray the edges lol).
Let dry according to the spray can instructions.
I think waited about an hour.
Repeat on the other side.
I did this so I could make a double sides sign and to make it look finished.
I haven't gotten around to the other side yet, but I'm thinking of something fall, but post halloween.
Or even something for the Christmas holiday season.
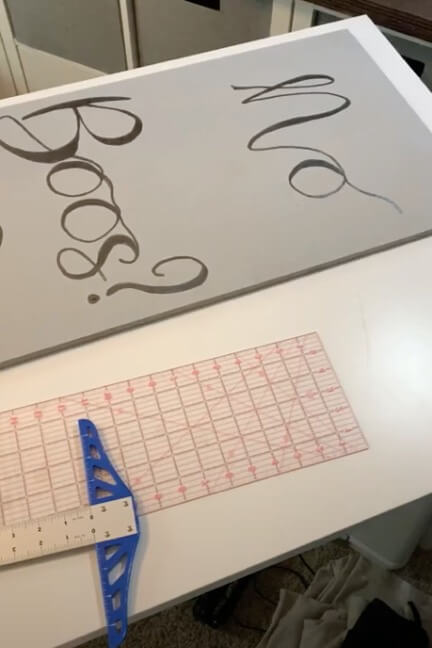
Decide on a phrase and take measurements
I decided I wanted “No Boos, No Entry” as my phrase because, well, seriously.
I decided, too, that each word would be its own line.
With 4 words and a five foot board, I added in a picture of a ghost in the middle as well.
I would recommend leaving about 4 inches from the top before starting the words and 6-8 inches from the bottom so when it's resting on the ground the words aren't so low.
I also spaced my words 5 inches apart.
If I were to do it again, I would say 2-3 inches would be better so they don't look disjointed.
With all this in mind, it gave me about one foot or less for each word and the picture.
I took my pencil and measuring tape and cut the board into sections marking a foot for each.
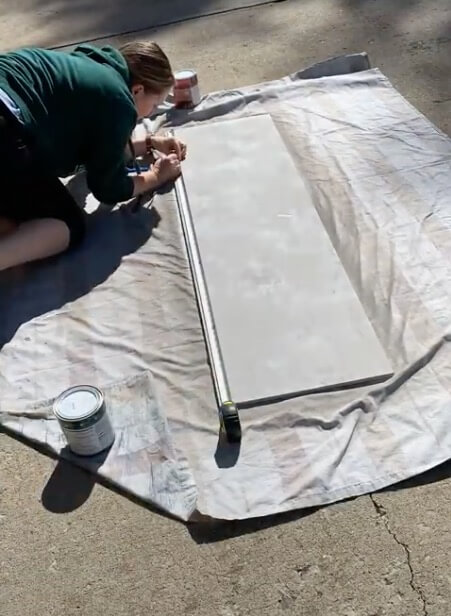
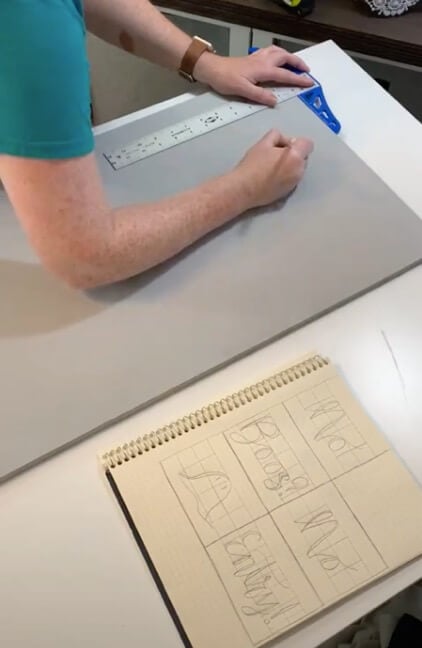
Make a grid in pencil on your board
I used my t-square to make sure my lines were straight and broke up the board lengthwise into 5 sections.
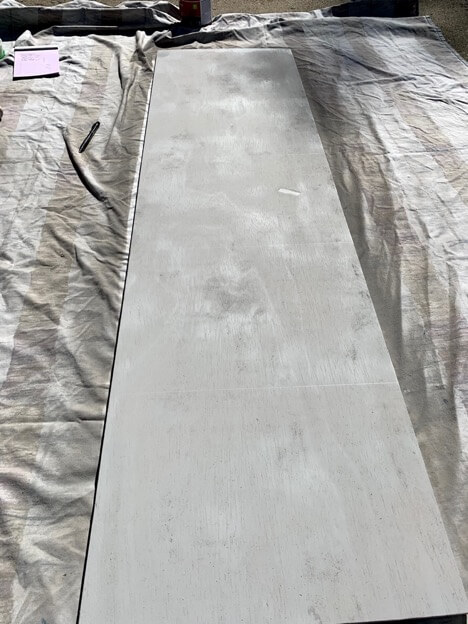
You can kind of see the faint pencil lines in the picture above.
Map your plan on graph paper
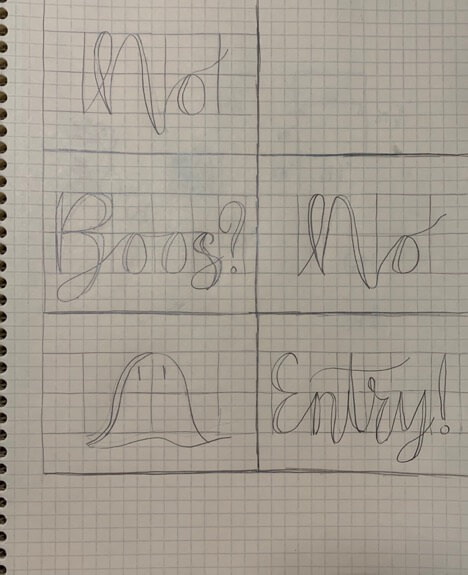
Once I had the measurements, I transferred the grid on to graph paper.
Each block of the graph paper represented an inch width-wise and 2 inches length-wise.
Since the width is 16 inches for my board, I left 2 inches on either side as blank space.
Again, I would keep it mind that the distance between the two words probably should have been less than what I did.
Also leave yourself room at the bottom so the last word isn't so close to the edge of the board.
I used some modern calligraphy I learned at a conference, but you can make these letters whatever type of font you want.
If you are worried that you have bad writing, you can look up how to make your own stencil without needing a machine, like a cricut or silhouette.
I did mine freehand using grids for each letter size from what I learned from the calligraphy.
Again, these can be block letters, script font, or whatever you think.
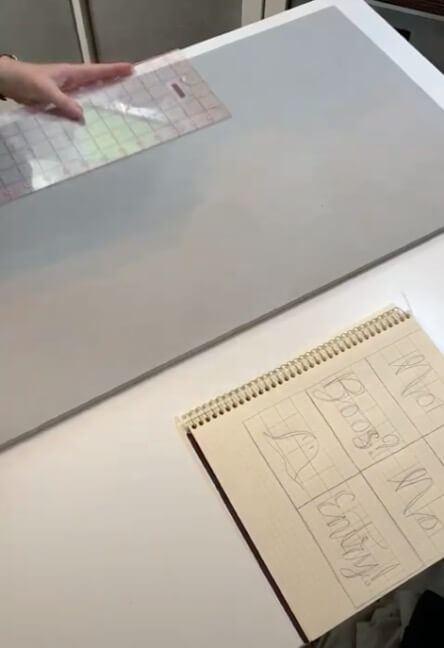
Transfer the rest of your grid to your board
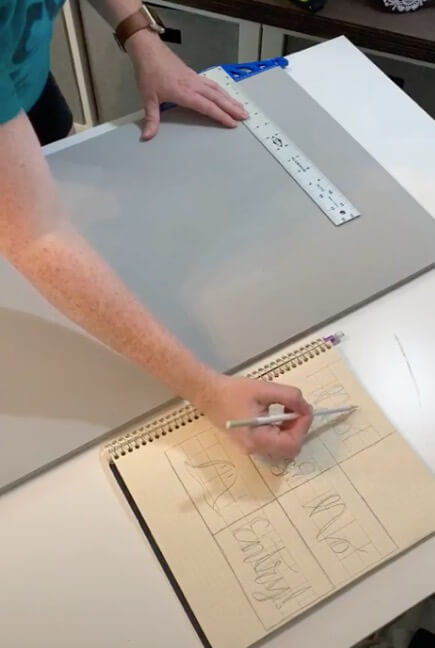
Using your t-square again, mark relevant measurements vertically and horizontally to help keep your words in line.
Again, I did this freehand using the grid.
However, if you made your own stencil, like I mentioned in the last step, you can cut the excess paper around your words and line up your stencil with your center line.
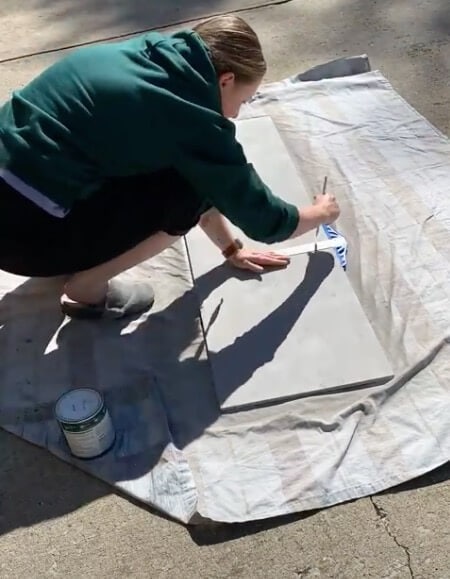
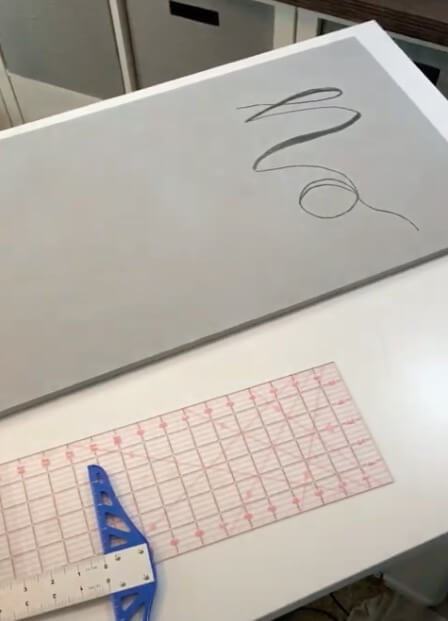
Outline the words and picture using a white pencil
I counted boxes to see where to start my letters and where they needed to end.
I also left my t-square off to the side so I could get an idea of how tall to make my letters.
You could do this by drawing more boxes too.
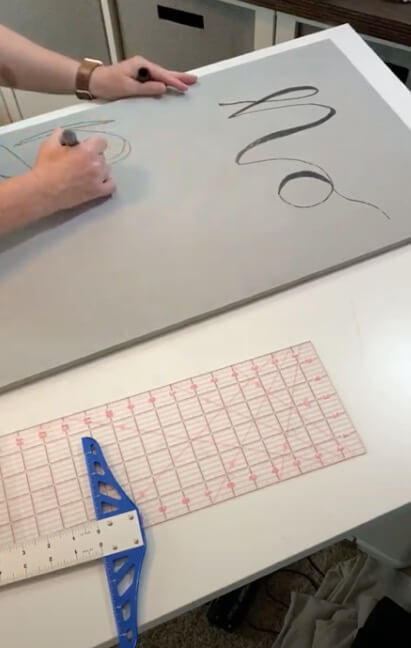
As I started to get further down the board, my vertical lines with the t-square were getting harder to draw because I have small t-square.
I would recommend either a larger t-square or a long ruler.
I used the one I use for sewing cuts, but I linked a larger one in the materials section of this post.
Continue to transfer your words on to your board using the ruler, t-square, and white pencil.
I did the top words first and then the bottom words.
Then, I drew the ghost because the ghost could be any size.
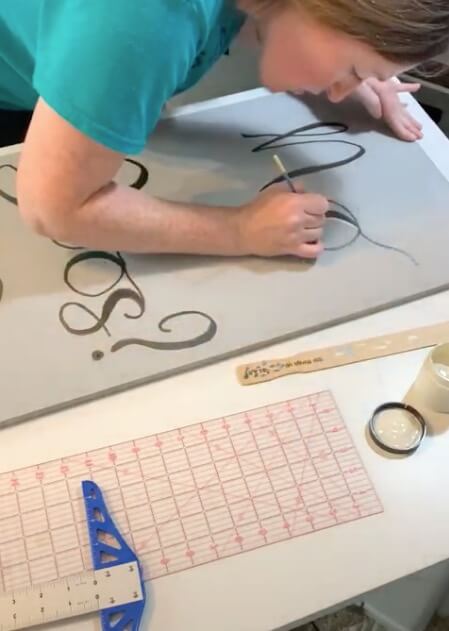
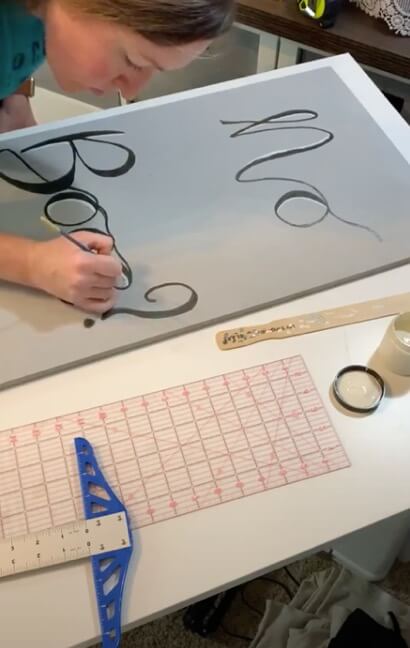
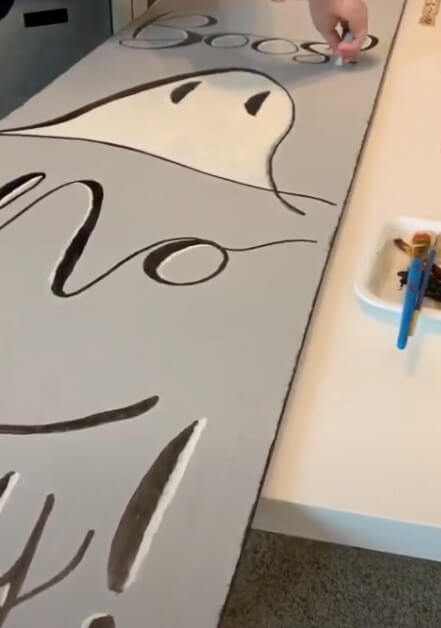
Trace your words with the black paint pen
Once you have it all mapped out and you feel good about the outline, it's time to use the black paint pen.
Remember if you don't like something, now is the time to change it while it's still in pencil.
Follow the instructions on the paint pen for use.
I did the outline of the letters first and then darkened in the areas of the calligraphy to give it depth.
You can see the difference between the above picture and the one below.
Go over the letters a second time to make sure they are dark enough.
Add white to the words for depth
At this time I didn't have a white paint pen, so I just used white paint I had on hand with a small brush.
I also ended up painting my ghost white as well.
Again, the easier way is to use a white paint pen, but paint and a brush will obviously work too.
Paint the edges black (Optional)
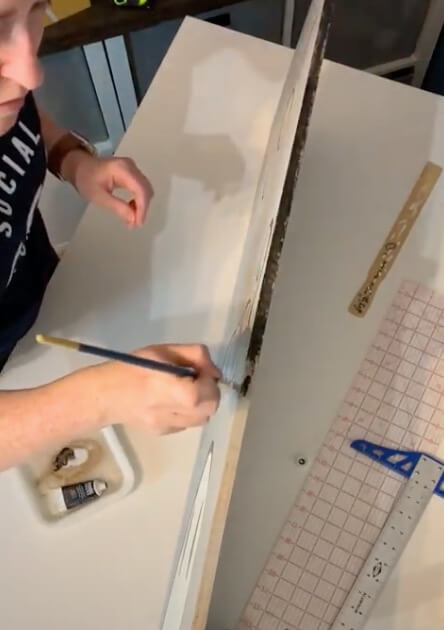
I would recommend just spray painting them from the begininng gray.
I left raw edges, so I ended up painting mine black.
Totally personal preference.
Clean up the excess lines
I used a small eraser to go around and remove the lines that I could still see from my white pencil.
I didn't do these very dark, so there were only some areas that needed to be cleaned up.
Seal the sign with matte clear enamel spray paint

Since this will be sitting outside, I wanted to make sure it was protected.
Rustoleum has many options for weather-proof top coats.
I went with the Matte Clear Enamel because I didn't want the sun to reflect off the sign at all.
I used two horses this time to prop it up out in the driveway and sprayed the whole thing down.
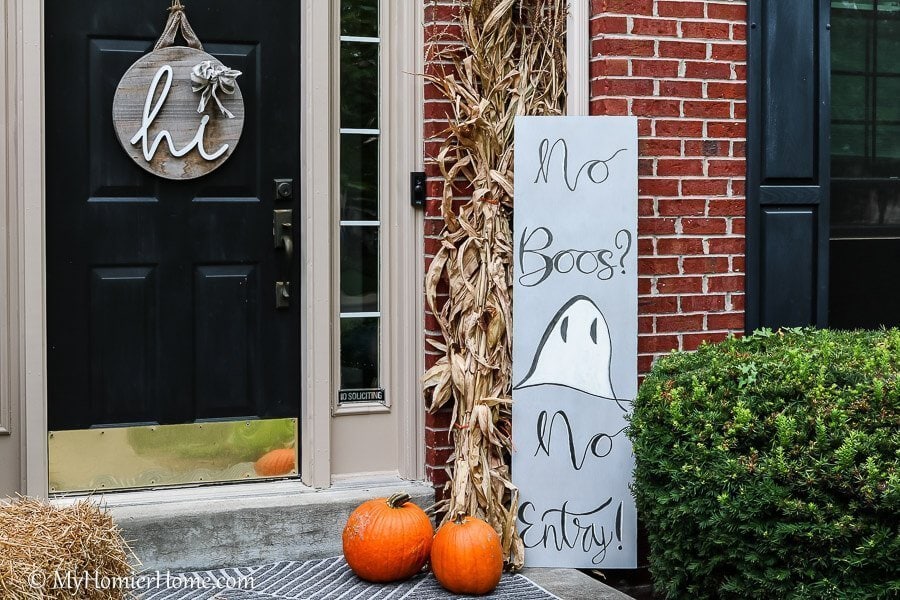
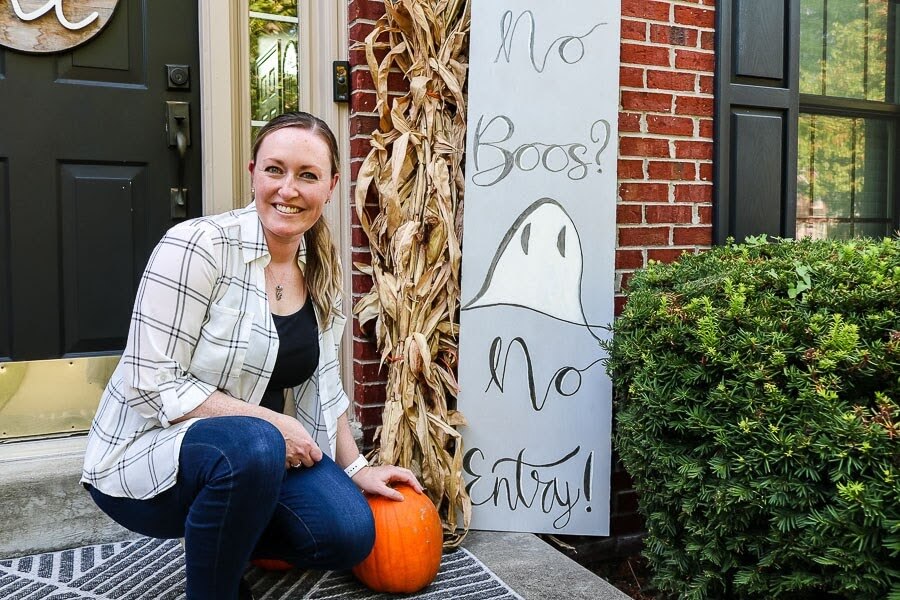
What do you think of the finished product?
Alright, the next stop on this “All the Fall” Blog Hop is over to Hen and Horse Design for her best Fall place card DIY.
Let's keep the party going!!
Want to watch the video for this post?
You're in luck!
I put together a video tutorial to add to this post, so you can see the full scope in real time!
Check it out below and while you're there, be sure to hit the subscribe button and turn on the bell notifications to make sure you never miss a new My Homier Home video!


This is such a cute sign. Thank you for the tutorial! It is lovely to be on tour with you.
Same laura!
So Cute!!! Love this sign for Halloween.
Amazing post! I love it! Thanks for sharing all the details!
What a great project! So amazed at how you can paint the words freehand – I could never do that! It looks awesome!
It was fresh from a class I took lol… I love me some math, so the grid made it possible!!
So cute! Now I need calligraphy lessons! Pinned!
Such a cute and fun project! Thanks for sharing, Christin.
Such a darling sign! we all need one of those on our porch.
So cute!!! Such a great idea!
I love this Halloween sign! It is so cute and it looks great on your front porch.
I love the detailed instructions. So helpful!
What a fun project, Christin. I love it and your fall front porch looks amazing! xo
What an adorable sign, Christin. Love it!
So cute! I think your neighborhood is going to love your house at Halloween! Thanks for a great blog hop! ~Missy
I love this sign so much. It’s adorable. The lettering is amazing.
What a fun sign! The directions were so detailed!
Thanks for sharing!
Happy day!
KariAnne
So cute! The verticle sign is just the right height and size for your porch Happy Hop!
What a lovely sign! Saving it to make next year!
I’m so glad! Thank you!