Guest Bathroom Mood Board + Befores [$100 Room Challenge]
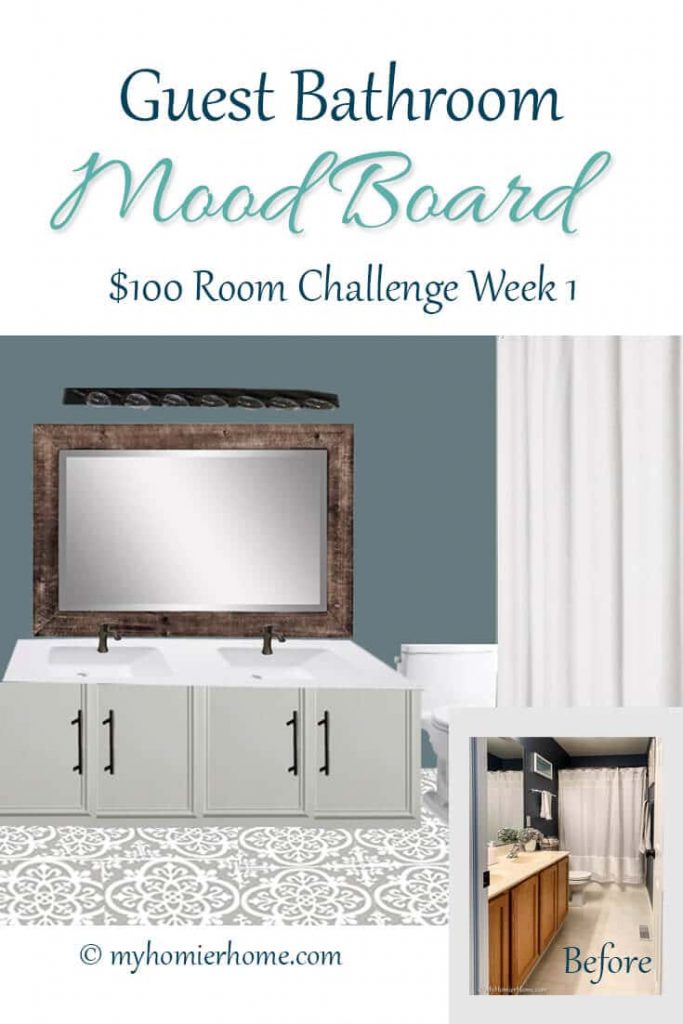
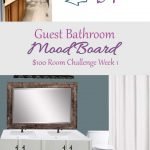
Looking for bathroom inspiration? Today I'm sharing my guest bathroom mood board and before photos to show you how I plan to turn our dated guest bathroom into a $100 rustic and elegant room.
Oh hey, guest bathroom. I didn't see you there!
It has been a minute since I have even cared about this room since we haven't had guests in over 5 months!
However, we are now using this bathroom more often for bath time.
Because this room is not on my top priority list, but could use some TLC, I've chosen to try to tackle this for the $100 Room Challenge! Wait till you see what I've got in store!
Table of contents
Disclaimer: This post does include affiliate links for your convenience. This is at NO additional cost to you but earns me a small commission. To read more, check out our disclosure policy. As an
(Mood Board)
(Spray Paint Counter)
(Spray Paint Faucets)
(Spray Paint Vanity)
(Final Reveal)
About the $100 Room Challenge
Before we dive in, let me fill you in on what the $100 Room Challenge is. (If you want to read all the details from the originator, check out Erin's post here)
In short, this challenge is for both bloggers and literally anyone else!
How's it work? Complete one room for $100. It's that easy… or is it?
From my experience with the last time I participated in the $100 room challenge with my powder room, you can definitely do it.
Does it take some elbow grease and ingenuity?
Oh ya!
But with a good plan and some creativity, you can make so much progress throughout your home and really get it to be so much better than what you have now.
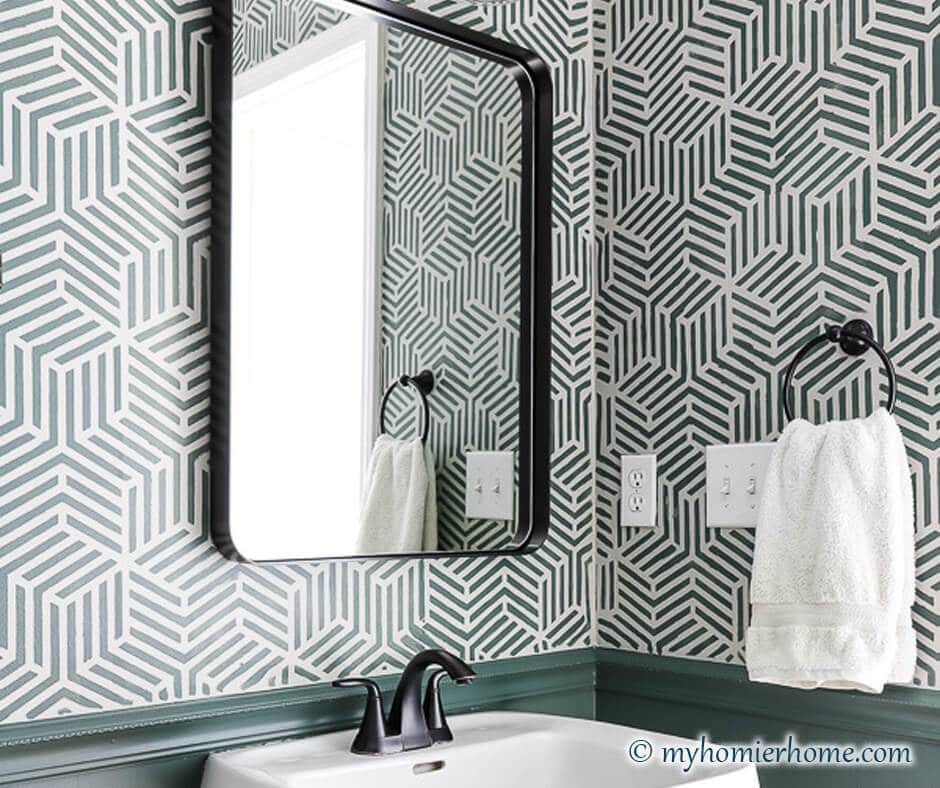
I mean look at my transformation from the last round…
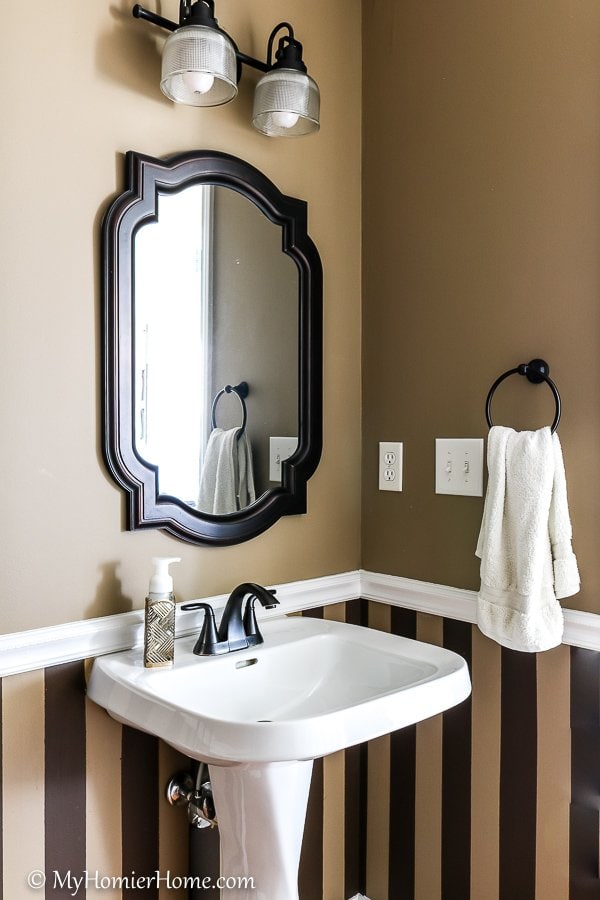
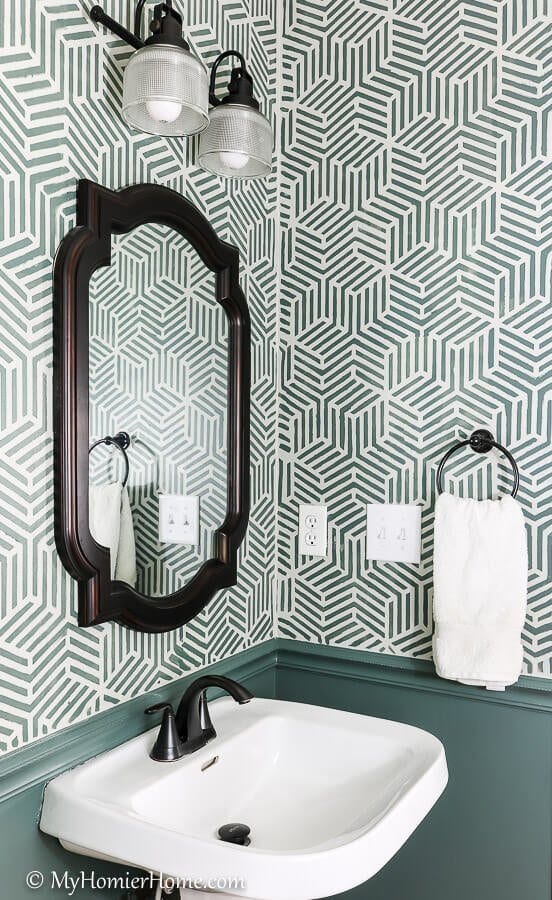
Find the details on how I did this here: $100 Room Challenge | Small Bathroom Room (Week 1)
Before Photos
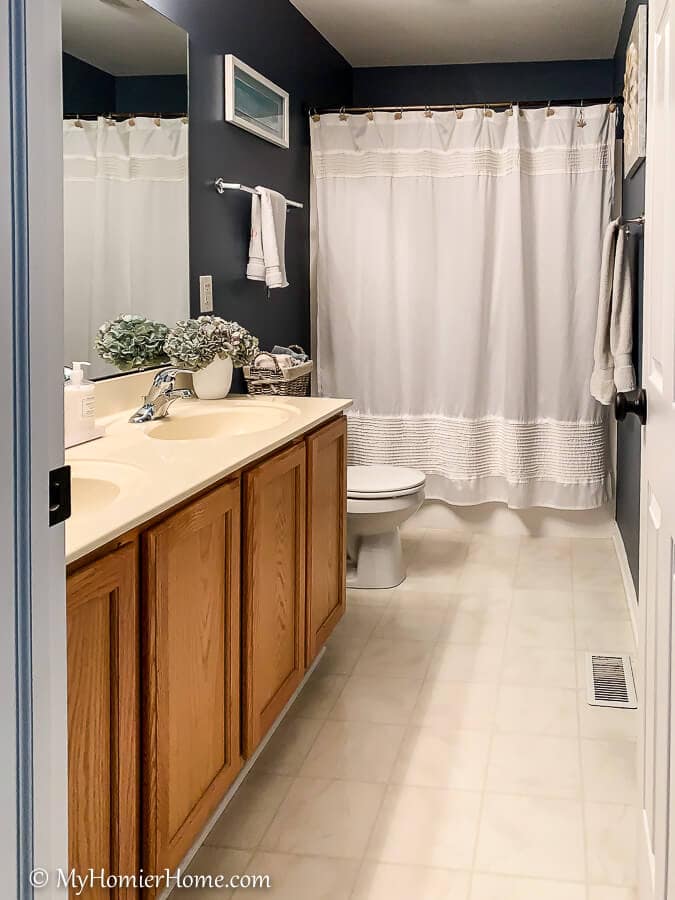
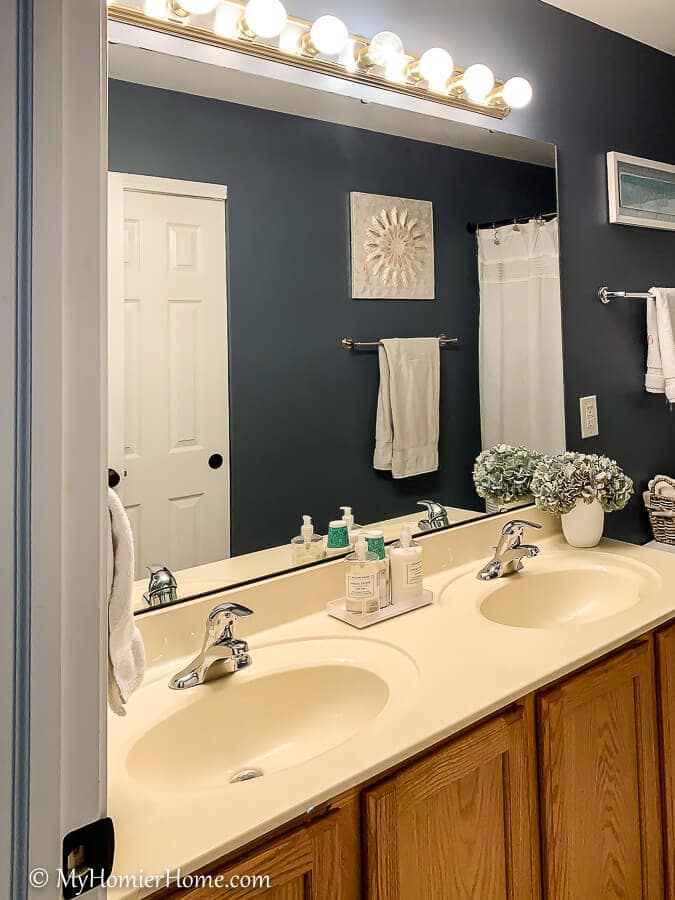
Hollywood vanity lights anyone?
Yuck! Can we please call the 90s and ask them what's up with this? I need an answer.
Practically speaking, I guess they give good lighting, but man are they hideous!!
Who's idea was this?
Oh wait… Let's play a game of ‘I Spy'… I spy a builder-grade's dream vanity… Oooo, and linoleum flooring!
Ugh… Where's the character? The feels? The vibes?
Talk about basics.
Alright, enough jibber-jabber (remember this toy you used to shake and he made weird noises? ha!)…
So how the heck am I going to revamp this space for $100?
Well, I'm glad you asked. Here's my plan…
Mood Board and The Plan
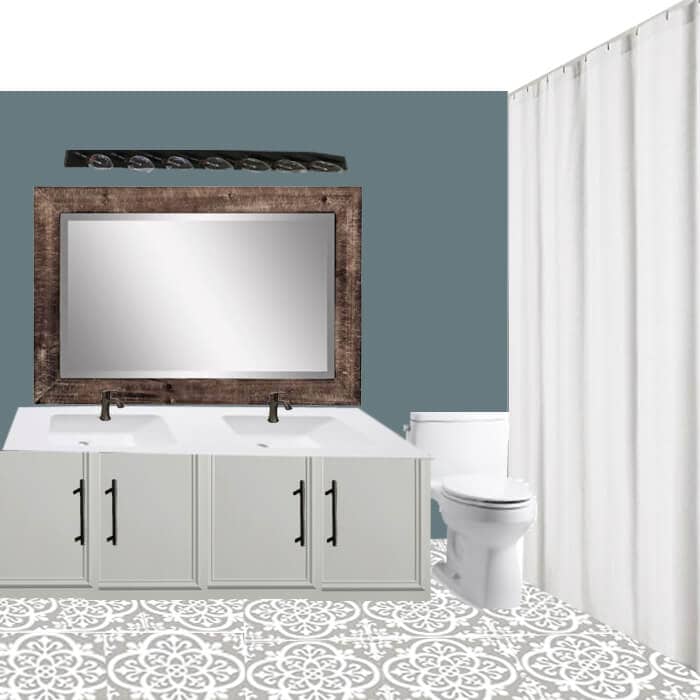
Sooo…. it took me awhile to come up with this plan because I found a way to get everything I wanted for under $200, but this is the $100 room challenge people!
Not the $200 room challenge (lol <– Does anyone still lol? #oldschool)
This is where that creativity and ingenuity comes in to play.
Here's what I'm thinking…
The To-Do List + The Details
UPDATE: This bathroom makeover is now complete. Each of the list items below is linked to the project I completed. You're going to love the end result!
- Paint the vanity
- Gonna have to buy paint… womp womp
- I was hoping to be able to use paint I already had, but it wasn't the best color for the space and then I realized I should really use paint specific to cabinets, so this has to be factored in.
- Paint the countertop white
- Hoping to snag the can of white appliance epoxy spray paint from my mom's house they never used… if there's not enough, I'll have to forfeit the $5.
- Paint the faucets oil-rubbed bronze
- Use oil-rubbed bronze spray paint I already have
- I need to hunt down some automotive primer spray paint… I might know a guy who knows a guy… If not, I'll have to cough up the $5.
- Paint the bathroom towel hangers oil-rubbed bronze
- Use the same oil-rubbed bronze spray paint I have… I literally have so much of this because I want everything to be oil-rubbed bronze (lol)
- I read I probably need top coat spray for these because they'll have more wear and tear, but I may have some hiding in the garage… hopefully
- Build and hang the mirror frame
- Use wood, stain, + supplies I already have, including some 3-M picture hangers… we'll see if that works (lol)
- Spray paint the vanity light with oil-rubbed bronze spray paint
- Did I tell you how much I love oil-rubbed bronze?
- Hopefully using the spray I have, as long as I don't run out, and giving this ugly light a quick once over.
- I was going to build a box to go around the light, but at $50 and a lot of time, I'm thinking spray paint is a better choice.
- Add pulls to the cabinets
- Make the extra kitchen pulls I have work for this space
- Last but not least, changing the flooring to a fun pattern
- I was gonna stencil the floor as I see many do, but unfortunately I have time working against me too since we are going on a small trip for a wedding this month.
- So, I'm hoping to save enough in my budget to get these peel and stick floors I found on
Amazon . - If not, stenciling may have to be the way to get this done or I'll have to save it. We'll see how the budgeting goes along the way.
I do plan to add some decor from things I already have, like a couple shelves that have been kicking around and maybe some faux plants I have tucked away, but that'll be my last addition and I don't plan to spend any money on decor.
What's Next?
Alright! Now that you know my plan and you've seen the before photos, you are exactly where I am in this project (ha!).
While you wait for next week's update, go check out all the other participants in the $100 room challenge (links below).
Then, mark your calendar for next Wednesday for my next update on how the progress of this project is going with the big reveal happening Wednesday, September 30th.
Oh boy! I'm nervous, but the good kind! Talk soon!
UPDATE: The reveal is live… check out each of the week's projects for this bathroom makeover below:



Your powder room turned out gorgeous! I love the moodboard and agree $100 is tough!!
I know! Hoping to stretch it as far as I can go, but there’s no turning back now lol!
I am loving your vision board and design plans for the guest bathroom and I am eagerly waiting to follow along this season.
Thanks Jen! I have no idea how it’s going to come together, but those are the best kind of projects!
Love your mood board, it’s going to be amazing!
You’re so sweet Brooke!! I hope you are right lol!
Loving your plans for the bathroom! I’ve been wanting to try those stick on tiles somewhere in our home too!
Yes! Hopefully it goes to plan! I’ll keep you posted!
I LOVED your bathroom makeover last year! I can’t wait to see this one come together. It is going to be gorgeous!
I love oil rubbed bronze too! And may have a can or three in my garage. This sounds like a very doable plan. Can’t wait to see the transformation.
I like the positivity!!
I think it’s going to look amazing! I love oil rubbed bronze too! I can’t wait to see what happens with the floors. Great space to work with!
Thank you!! The floors are going to be the crowning jewel hopefully! Lol
Love the mood board, Boy! such a grand list, can’t wait to see the reveal.
I’m hoping it goes to plan! Lol we will see!
I love all your goals for the room. It is going to be so fun watching you at work.
Thanks!! We will see how it turns out… I have high hopes!
Wonderful plans here! I can’t wait to see..
Thanks! I’ll have my How to Spray Paint Bathroom Countertops up on the blog in a little bit!
I LOVE Oil Rubbed Bronze Spray Paint! I have used it on SO many projects. You have such great ideas for this space, and I’m excited to see how they all come together… Especially interested to learn about the peel and stick tiles. I’d love to use them in a couple rooms in my house.