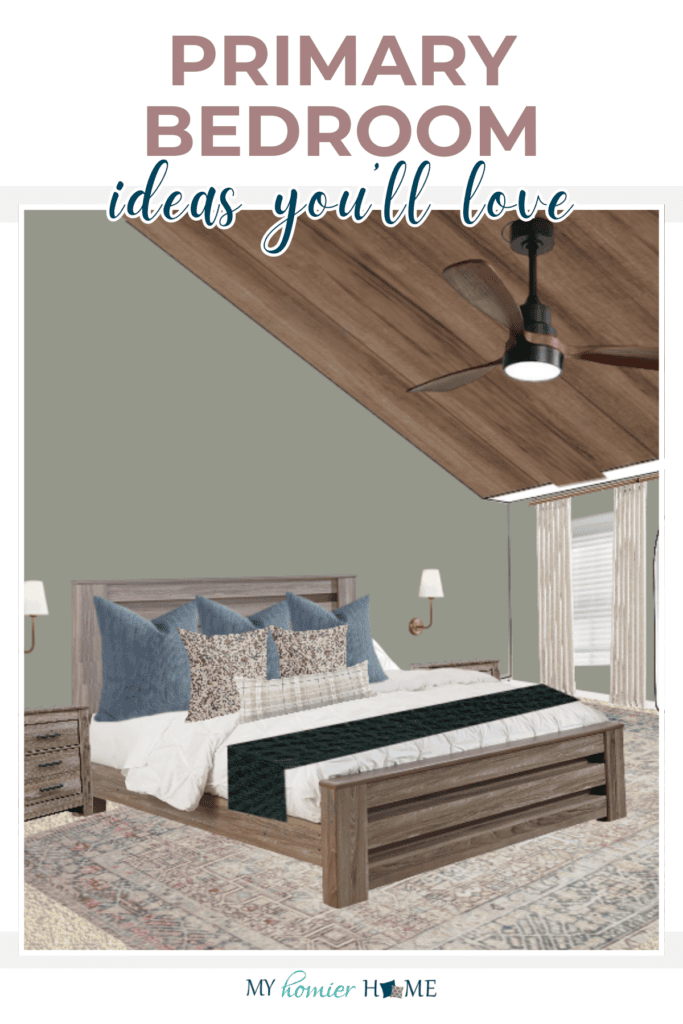
Primary Bedroom Ideas to Create a Cozy Retreat You’ll Love
Let's create a cozy bedroom retreat with fun accents, fresh paint, and an accent ceiling. These primary bedroom ideas are perfect for you.
It's finally time! I have been waiting for the spring One Room Challenge® for the last few months. I love participating because it is the perfect catalyst to refresh a space.
I've participated in a few rounds with my living room, home office, and garage, but this time I'm focusing on a room I haven't updated since moving in 10 years ago.
Why is it that our bedrooms are always the last to make the cut for a refresh? Not today!
I'm geared up and ready to tackle this space with full force. Make sure you're following me on Instagram @myhomierhome for real-time updates.
And don't forget to stop back on the blog every Wednesday throughout the One Room Challenge to see the progress I've made!
➡️ Get caught up with each week's progress mapped below 🛏️

My Bedroom Design Ideas for a Calming Retreat
Disclaimer: This post contains affiliate links. To read more, check out our disclosure policy. As an Amazon Associate, I earn from qualifying purchases
The Confident Decorating® Approach to Room Makeovers
If you're new here, hi 👋🏼, I'm Christin!! I'm your new decorating BFF! Before I get into the details of my project, I want to make sure we're all on the same page for tackling a room makeover.
You can read my whole story on how the Confident Decorating® framework came to be, but I wanted to focus on the process real quick so you know how I recommend to even start your next room makeover.

Each letter of the word CONFIDENT stands for a part of the process.
- C is for Create Your Style Profile
- O is for Organize Your Ideas
- N is for Narrow Your Focus to One Room
- F is for Floor and Space Planning
- I is for Identify Your Design
- D is for DIY or Buy
- E is for Establish Your Action Plan
- N is for No Excuses, Get to Work
- T is for Take a Deep Breath and Enjoy!
I follow this same process with all my home projects, all my client's projects, and all of the students inside Confident Decorating®. So my tip for you, is if you feel overwhelmed starting a new project, follow this framework to avoid any buy-return mayhem and create a space you love to be in.
Alright, now let's get to the details in my project!
Where to Start When Refreshing Your Bedroom
Refreshing your bedroom seems like a luxury, but it is one of the places in your home you spend the most time. It's the first thing you see when you wake up and the last thing you see before you fall asleep.
I decided this is the year I'm investing in my well-being by updating my bedroom. In this section, I included my tried-and-true steps to make sure your design for any room of your home goes well, but also, these are the things I've done already to get started.
Feel free to drop a comment at the bottom of the post if you have any questions, too!
Determine Your Style Profile and Get Inspired
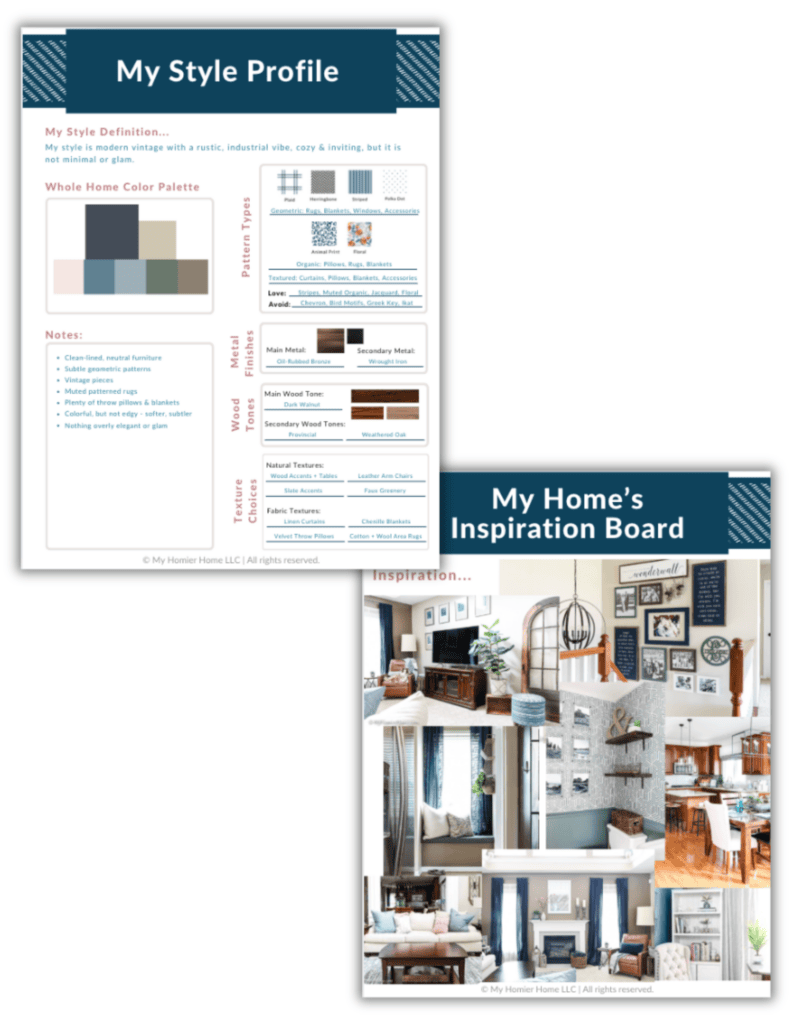
I teach exactly how to create your one-page style profile in the Style Shift Challenge I host throughout the year. But basically, you want to pick a color scheme, your preferred patterns, textures, and finishes, and create a style definition to help keep you focused.
You can see the one I use for my whole home in the picture above. Each room doesn't have to be exactly the same color scheme, but I always say if you can put your room colors next to your style profile and they still look like they go, you're good.
My Primary Bedroom Inspiration
I have been scouring Pinterest for a while to get a handle on how I wanted to tackle the bedroom, but you can see all my inspiration photos in this board.
Choose a Color Palette Based on the Vibe You Want
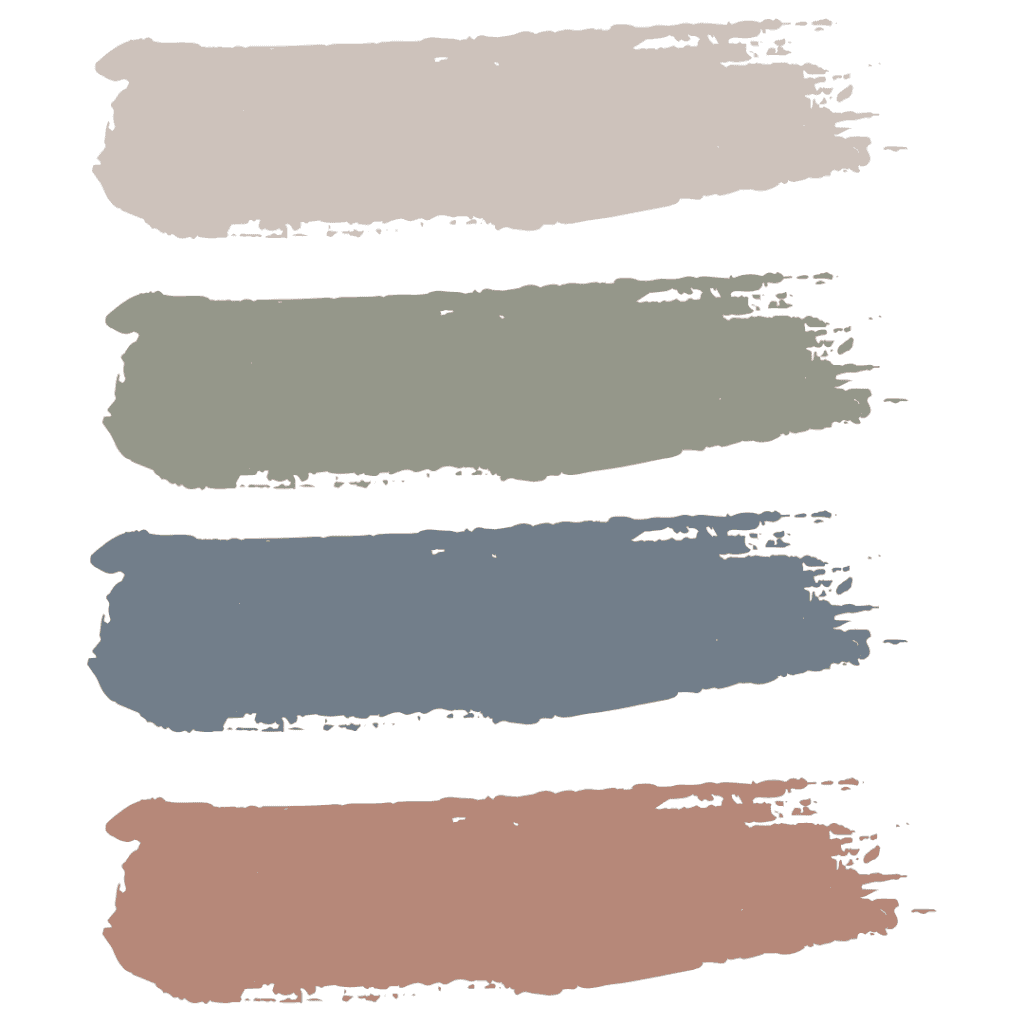
I always teach that your colors should reflect how you want to feel. So first, you need to figure out how you want the space to feel. Then, you can search color palettes that align with your vision.
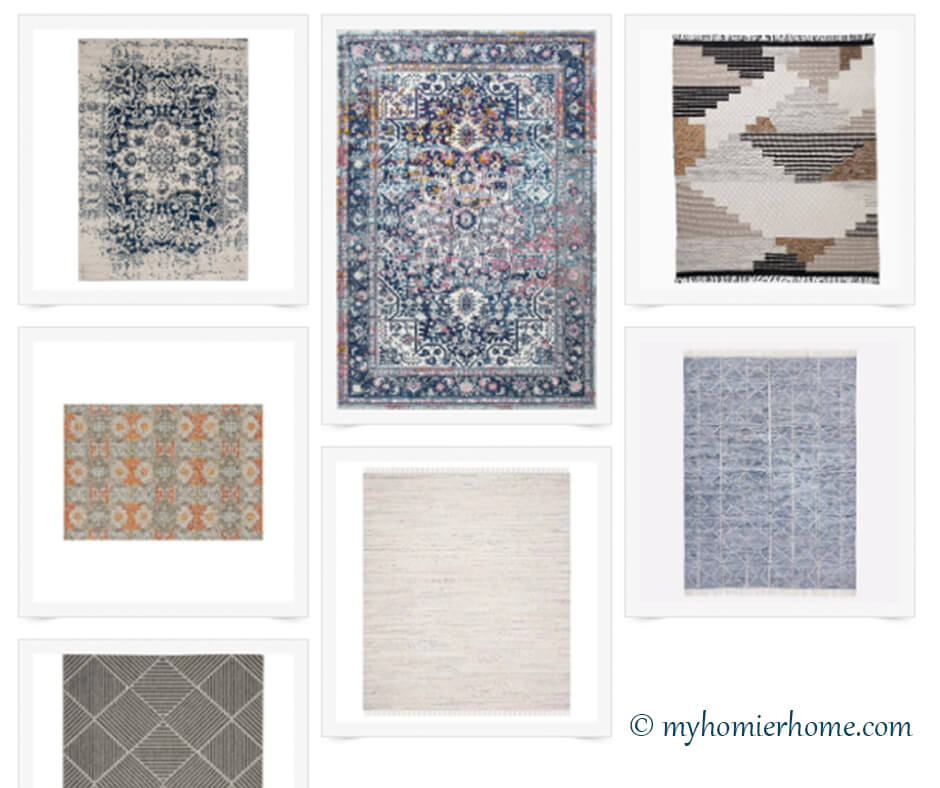
At first I thought I was going to keep the navy accent wall that you'll see in my before photos below, but the vibe was off, so I had to adjust. What you see above is the color palette I'm going to try and stick with. What do you think?
Make a Source List
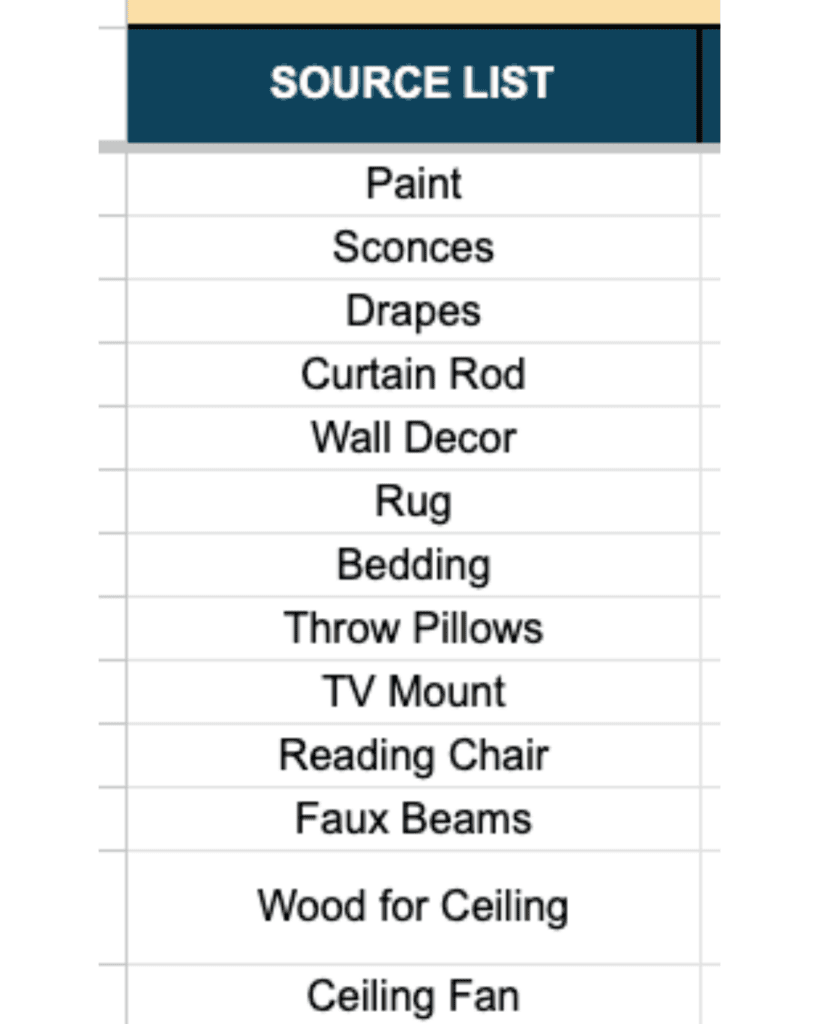
Before even thinking about the design, I always make a list of the things I need to source. This helps me stay focused so I don't get side-tracked on things I don't need.
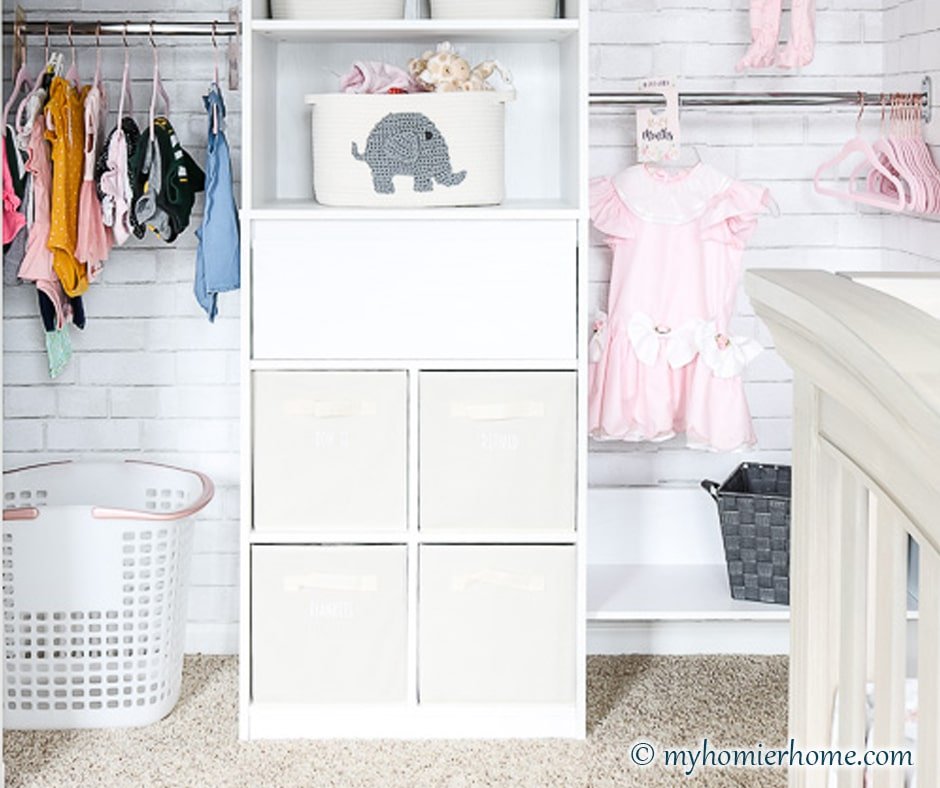
What's Staying in My Bedroom
For my bedroom project, we won't be starting from scratch, which is nice. We are keeping all of our furniture, which includes the dressers, nightstands, and bed frame. I may also commandeer my daughter's swivel chair from her room because I love it so much, but we'll see.
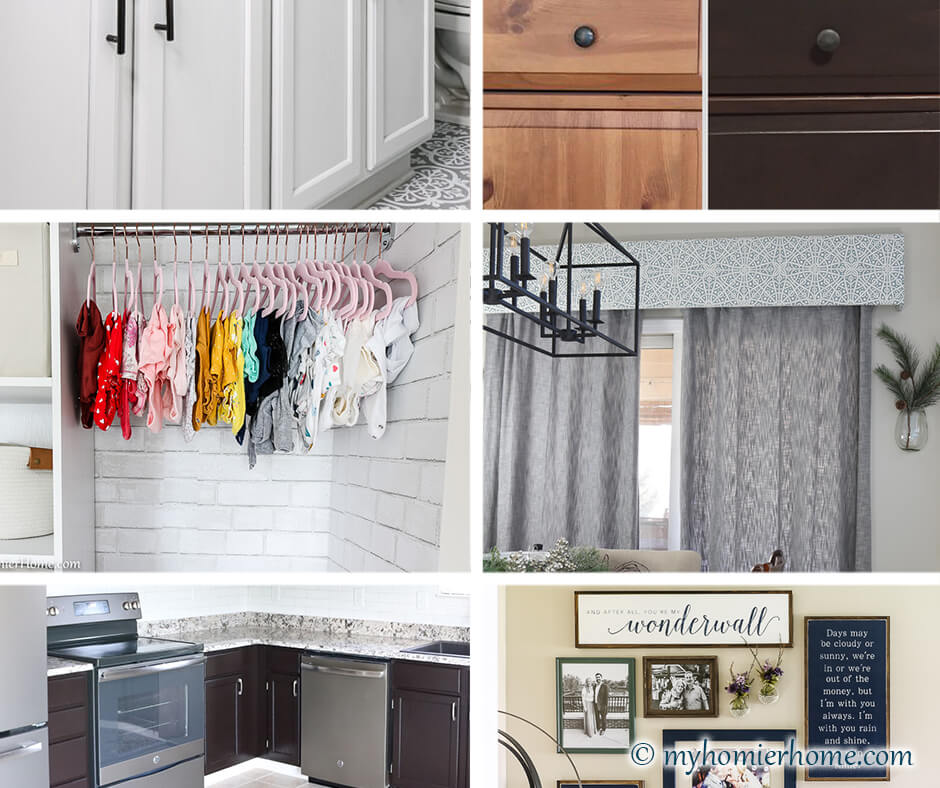
What Items Need to Be Added
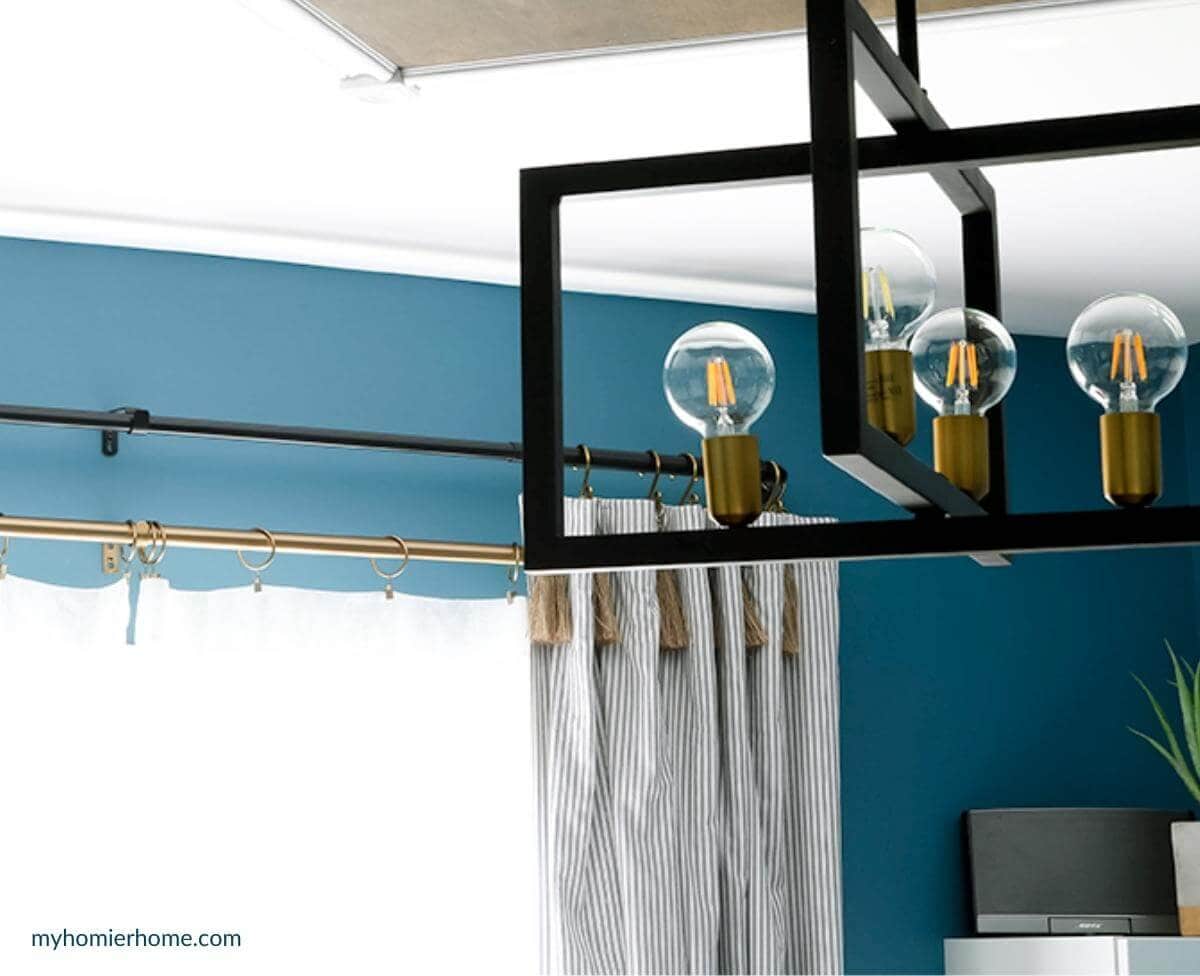
As for the items needed to make it all come together, I listed those in the picture above:
- Paint
- Sconces
- Drapes
- Curtain Rod
- Wall Decor
- Rug
- Bedding
- Throw Pillows
- TV Mount
- Reading Chair
- Faux Beams
- Wood for Ceiling
- Ceiling Fan
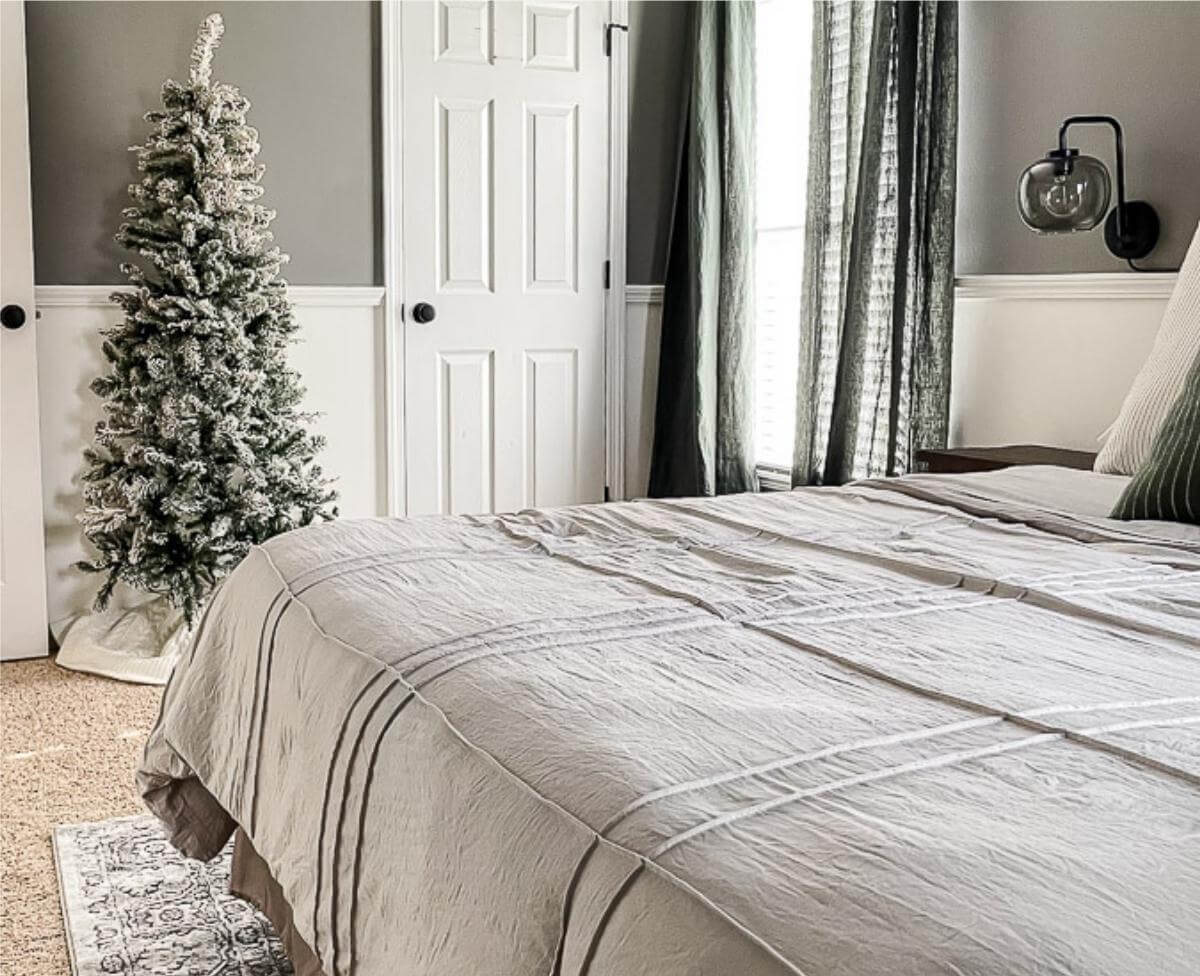
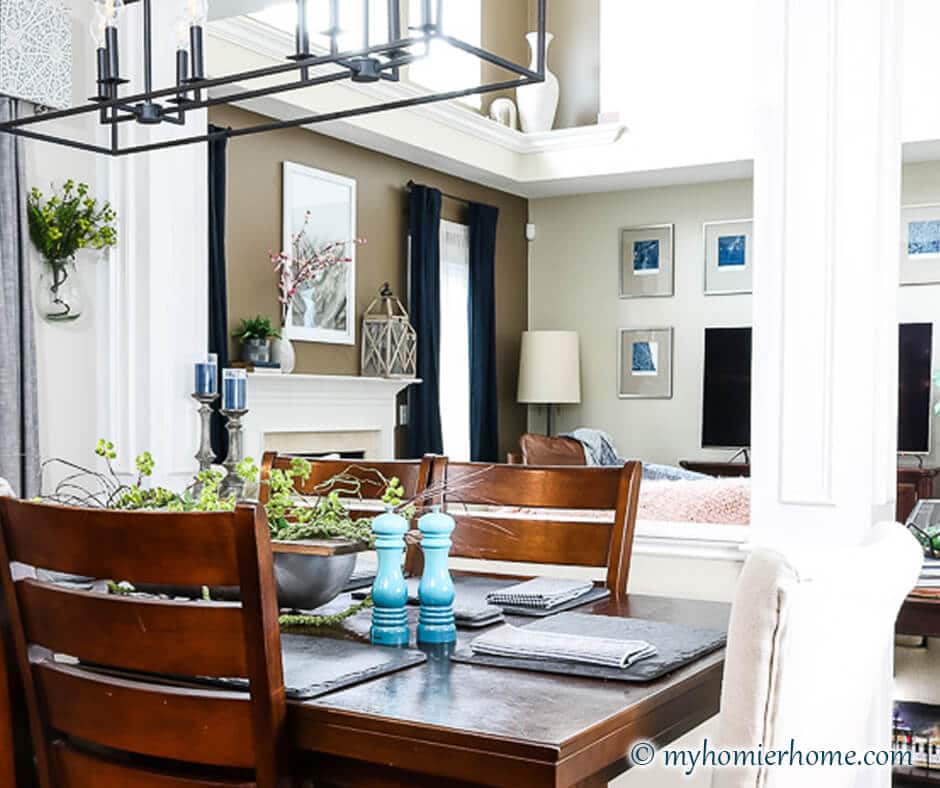
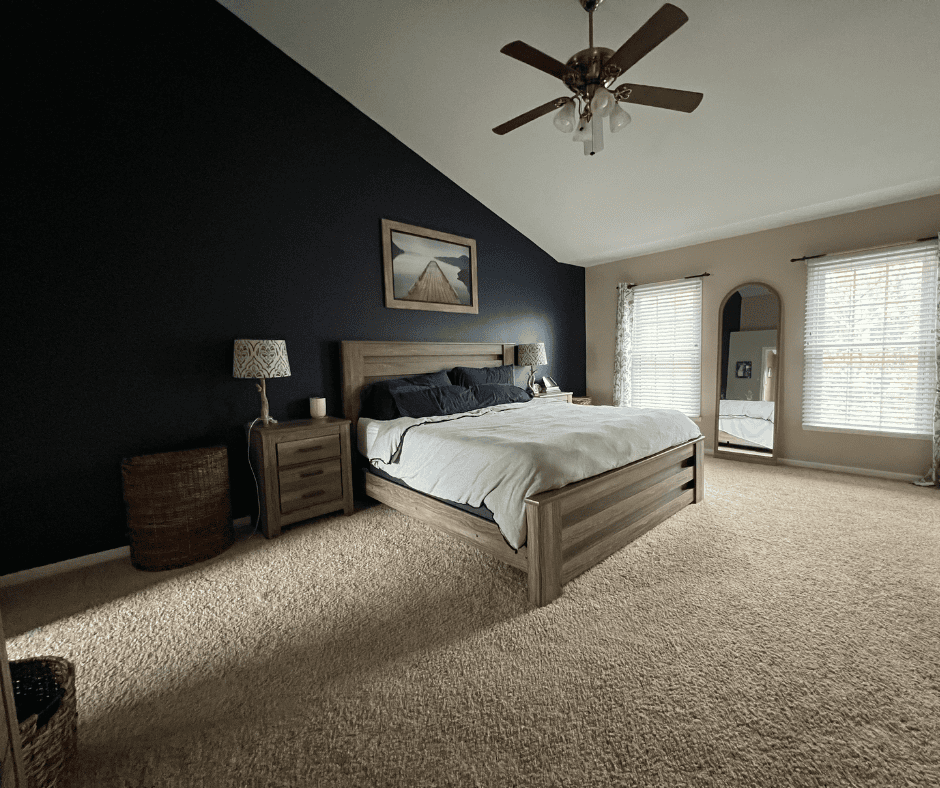
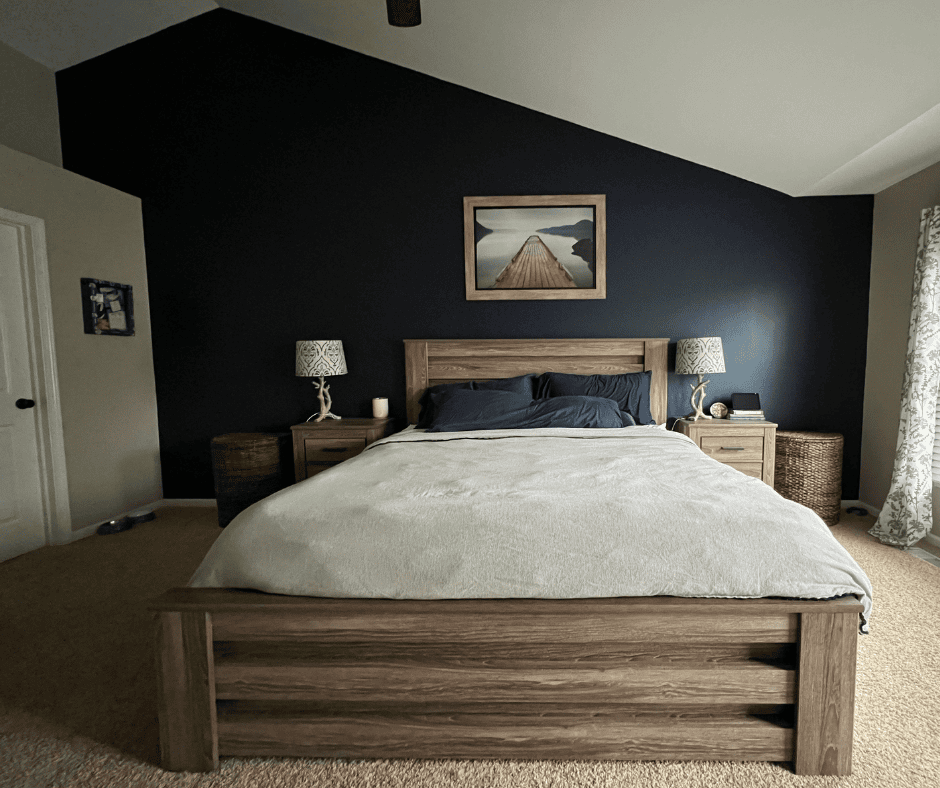
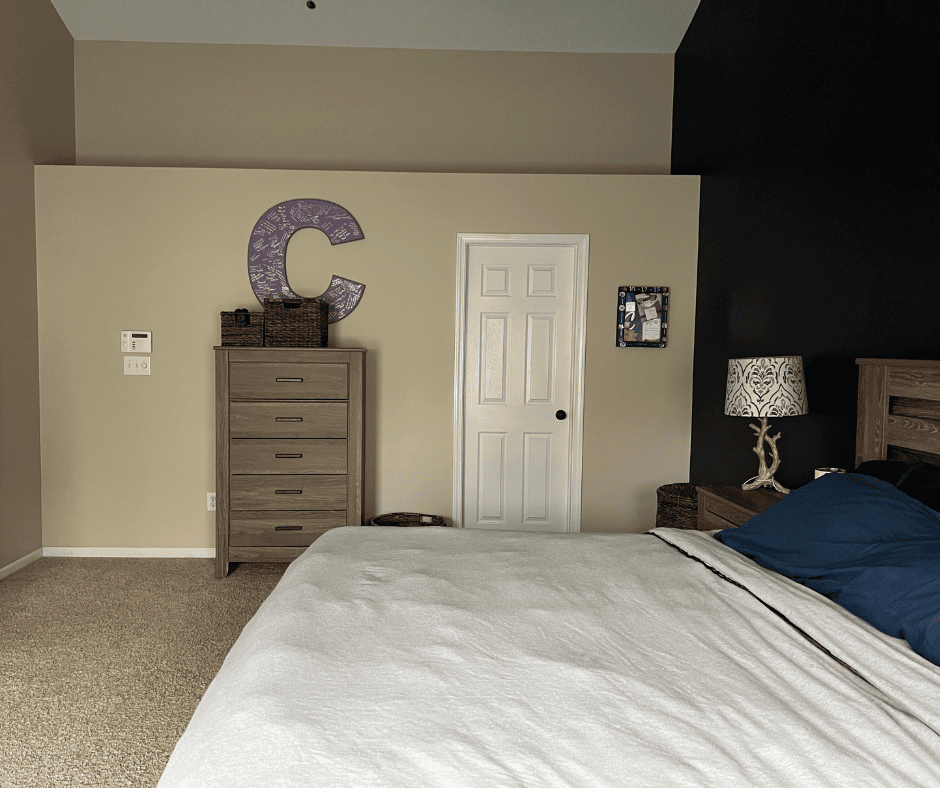
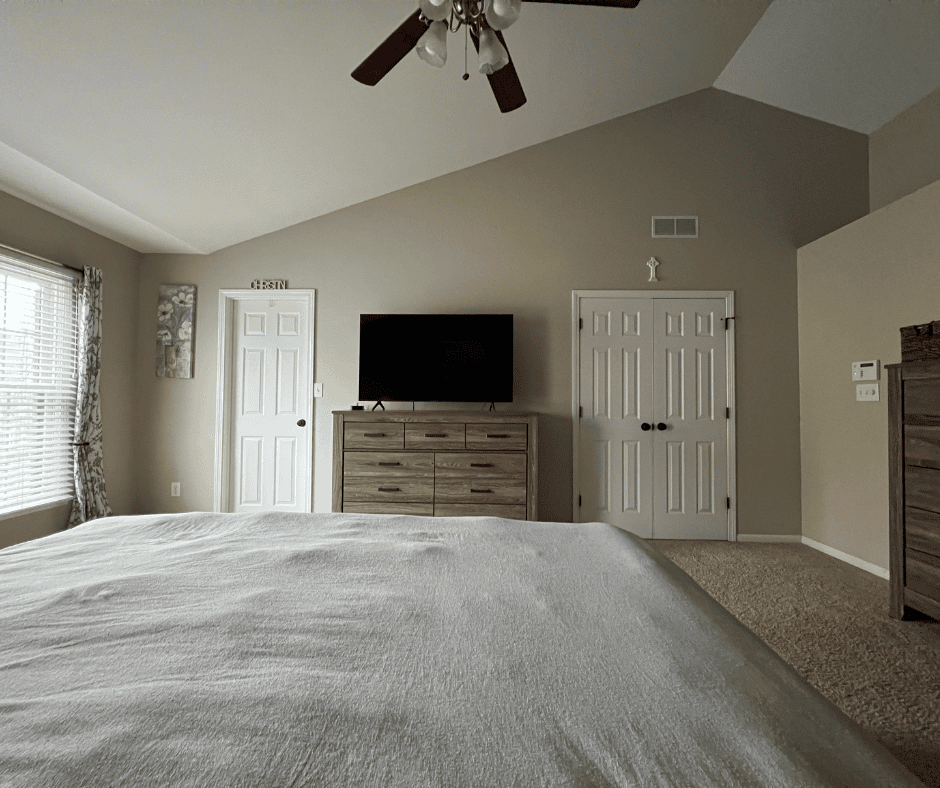
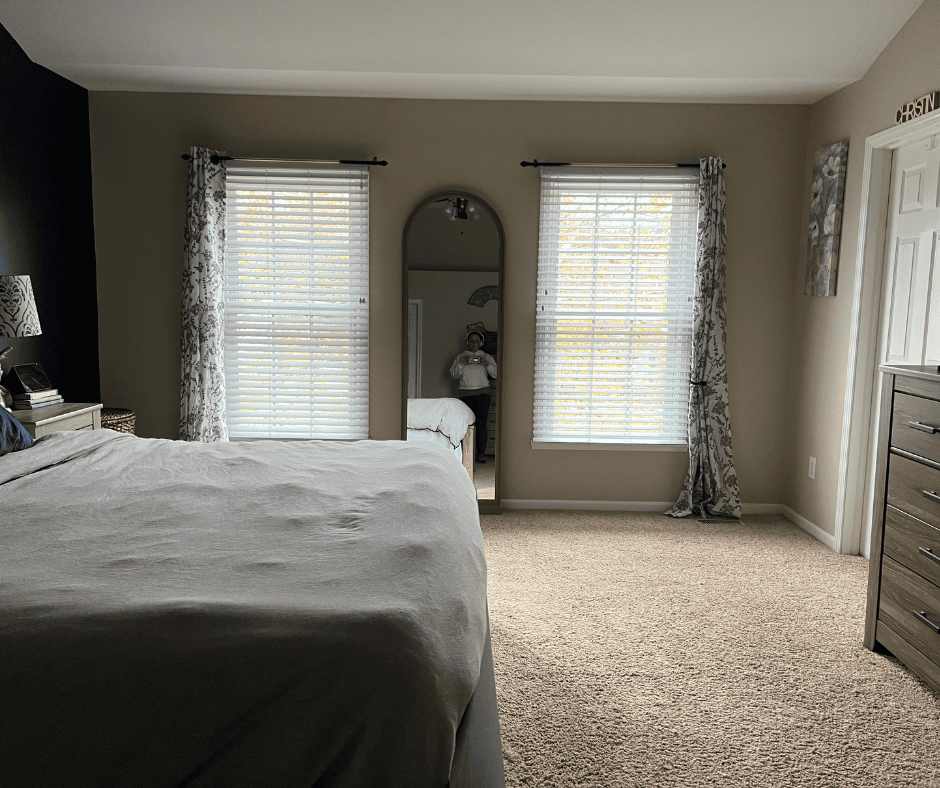
Take Before Photo from All Angles
Before photos are literally the best! No matter what kind of makeover you're doing, make sure you take before photos from all the angles so you can see your progress and feel really good about it when you're done!
Here are my before photos for the primary bedroom:
Set Your Project Goals
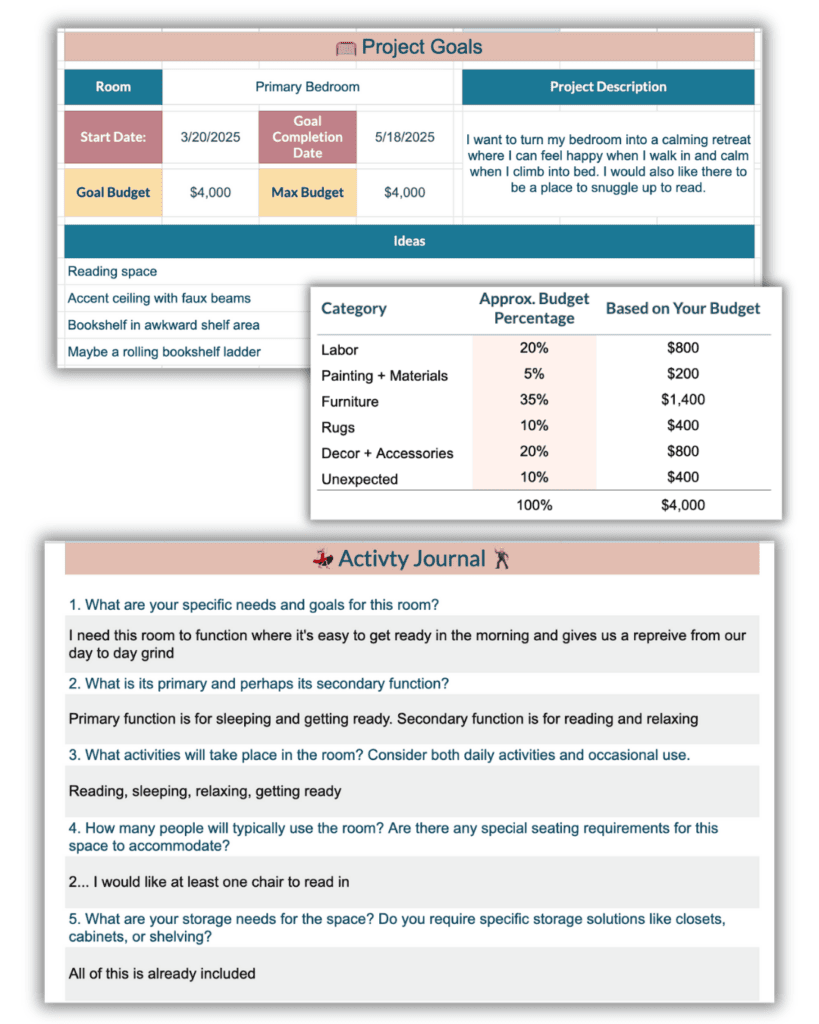
When it comes to starting a project, it's important to think about your timeline, your budget, and what you plan to do in that space.
Each of these areas will help you with your overall design and make sure it fits your project goals. You can see the question I ask myself when planning a room makeover, along with the proposed budget and timeline.
Take Measurements of Your Space
Before you go on the hunt to find your items for your refresh, make sure you know how much room you have to work with. I use my Room Makeover Budget Buddy to help me record my measurements and keep it with me on the go.
Create a Floor and Space Plan
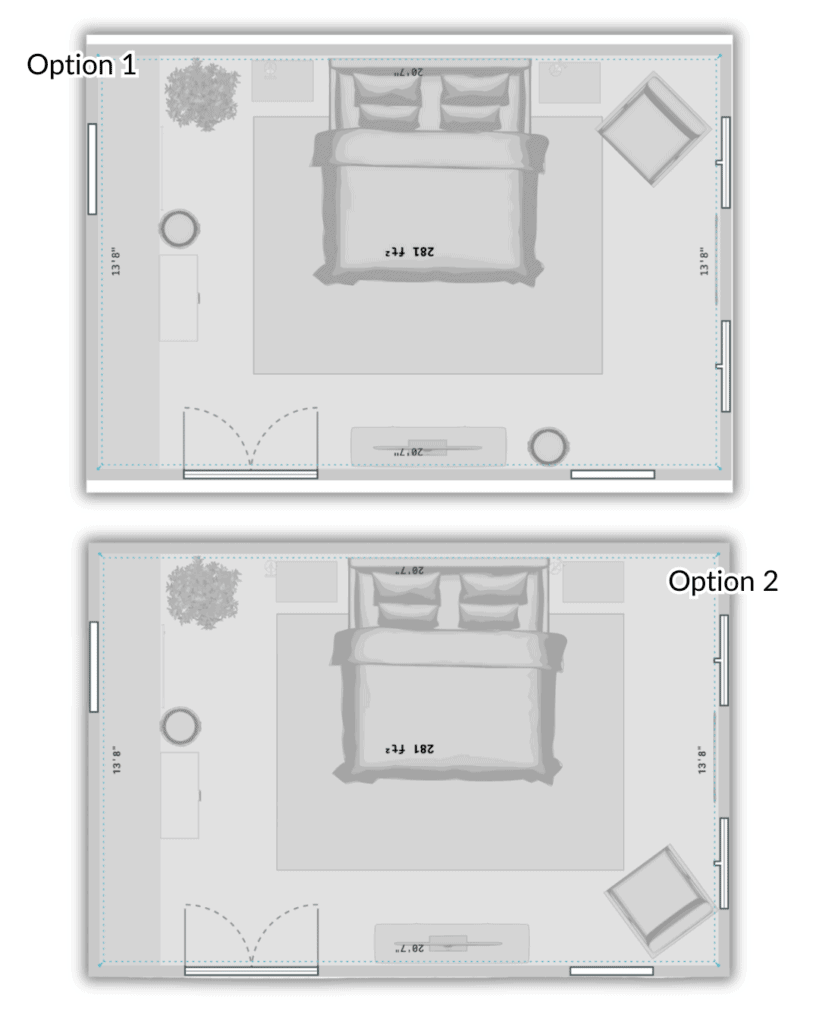
Once I had all my measurements, I created a floor plan in floorplanner.com to see which layout I liked best. I'm having trouble deciding if I should go with the chair in the corner and scoot everything over to the left.
Or go with option 2 and squeeze the chair in the corner by the closet door. What do you think?
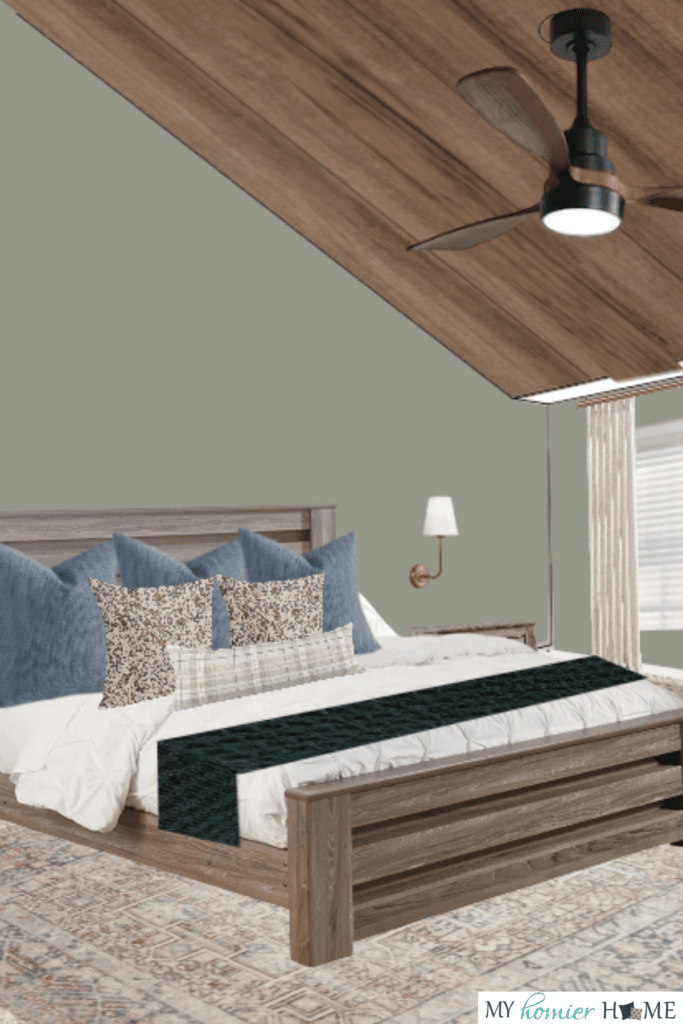
Create a Mood and Design Board
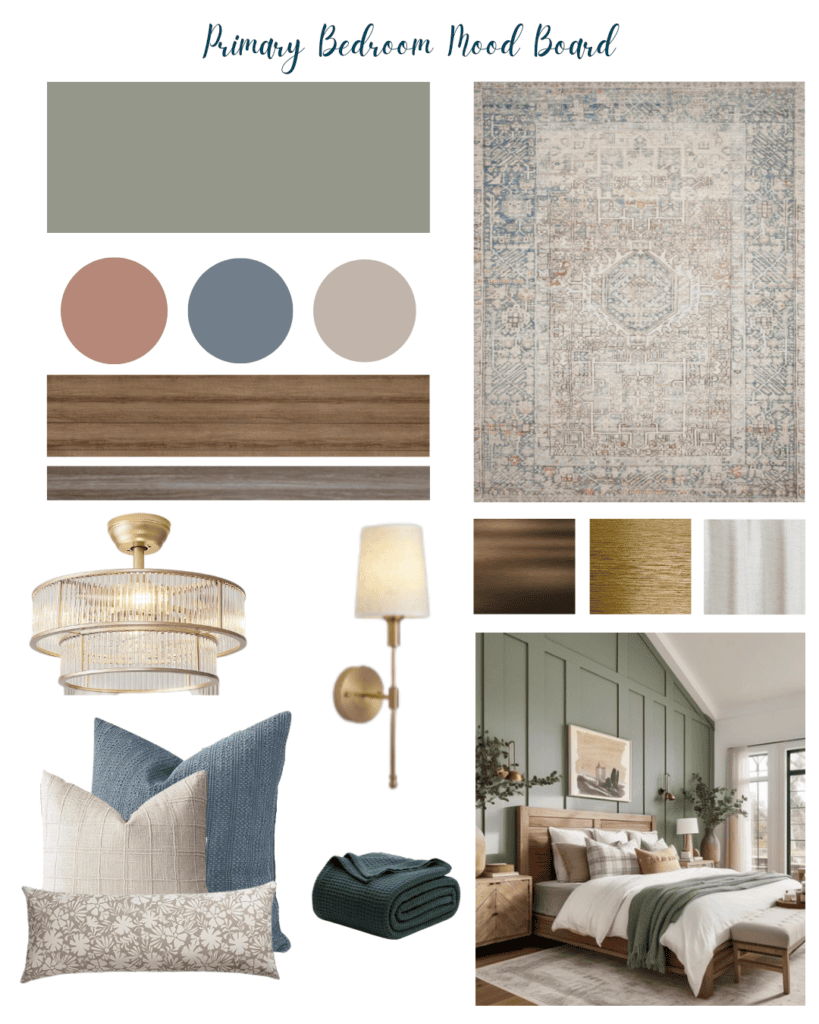
In case you don't know the difference, a mood board is for the general mood you want to bring into your space. This is what I have in the first picture.
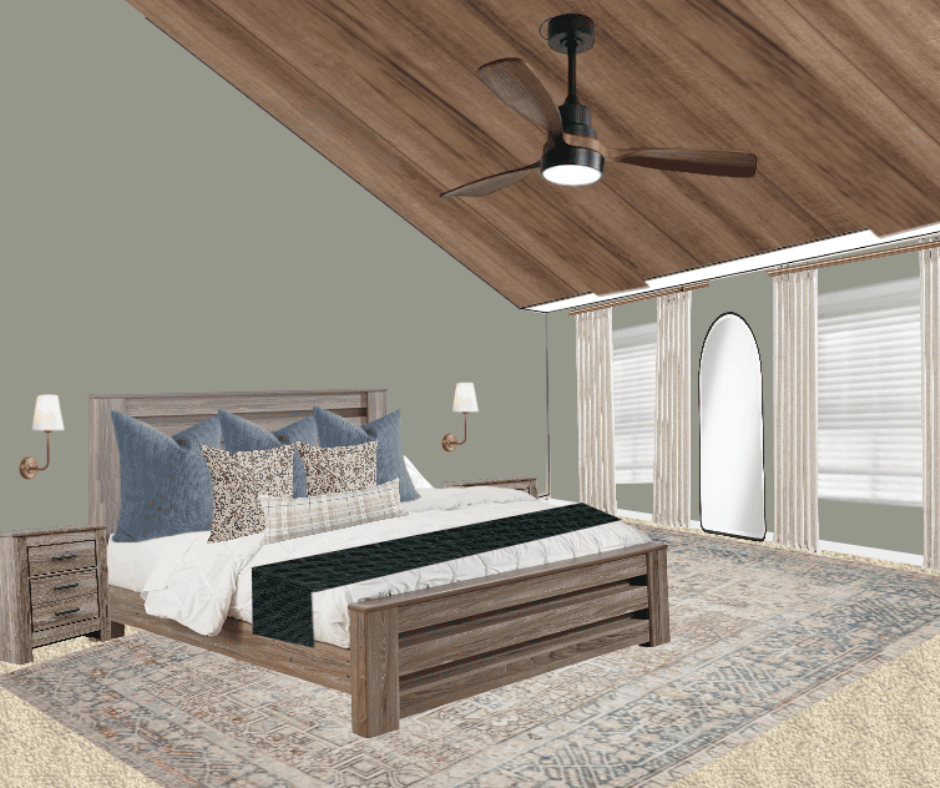
A design board is an actual 3D rendering of sorts to show the items you're going to use in the room. This is the second picture above. I may make changes, but utilizing a design board to get started always helps me feel confident in my decisions.
Map Out Your Project Plans
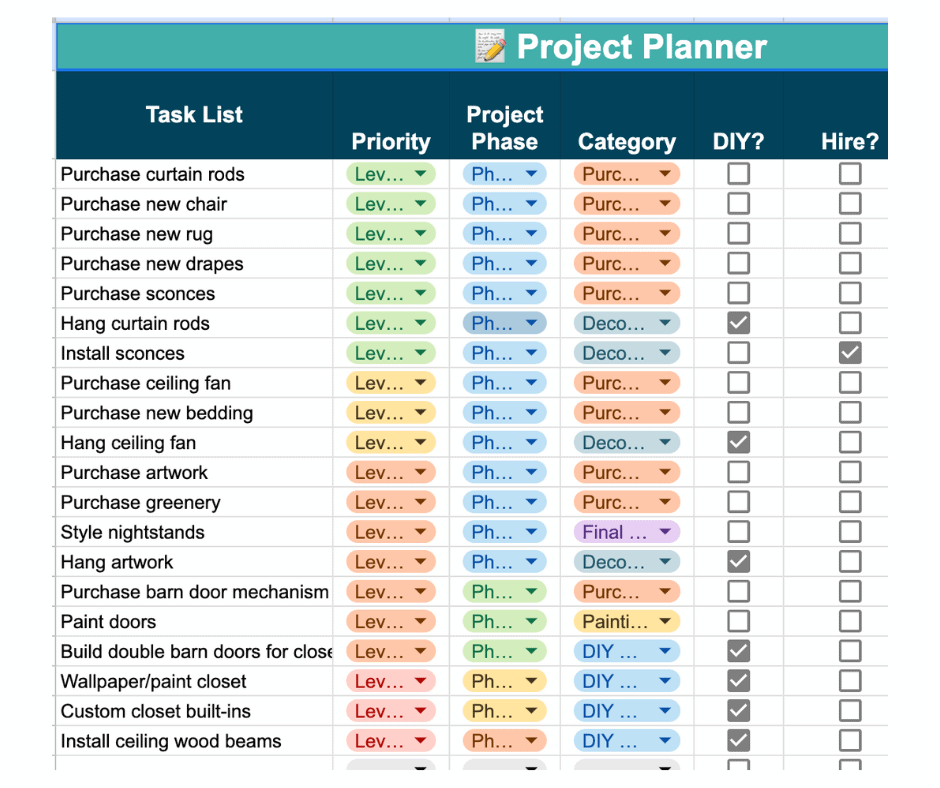
The last step of the planning phase is to map out your project plan task list. I like to break my project into phases in my spreadsheet and categorize them. I also put a priority list so I know what to tackle first.
You can see my full list in the photo above. I don't know if I'll get to the closet items, but at the very least, I'm hoping to get through the green, yellow, and orange phases in the next 8 weeks.
What do you think of my plan? Did I miss anything? Let me know in the comments any advice or ideas you have to make this bedroom refresh amazing! I'm all ears!
Also, don't forget to follow along on Instagram @myhomierhome or via email through the form below. Talk soon!
More Bedroom Tips
If you enjoyed these bedroom ideas, make sure to pin the image below for reference later!