
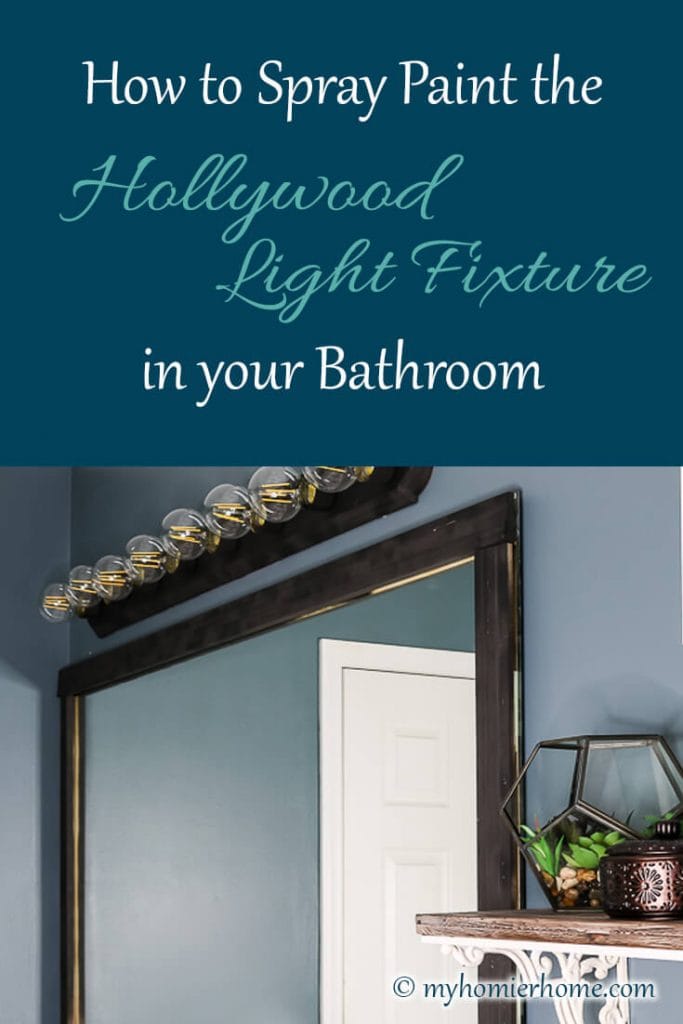
How to Spray Paint the Ugly Light Fixture in your Bathroom
Do you have the old school Hollywood Lights in your Bathroom? Update them with this tutorial on how to spray paint a light fixture.
Sick of looking at that 90s brass Hollywood-style light fixture in your bathroom?
Yep. That was me, too!
With a little spray paint and some new light bulbs, this light fixture is brought into the present, at least as much as it could.
So, if you're saving up for when you can redo the whole bathroom or you just want a little change, this post will give you a simple and easy way to spray paint the light fixture in your bathroom.
Let's do it!
Table of contents
- Gather your materials
- Remove light bulbs and circular covers
- Remove the silver part
- Remove the gold cover of the light fixture with a paint can opener
- Wipe the parts clean
- Set up plastic outside with your items and spray paint the pieces of the light fixture
- Apply a few coats until satisfied
- Let dry and put the spray painted light fixture back together
Disclaimer: This post does include affiliate links for your convenience. This is at NO additional cost to you but earns me a small commission. To read more, check out our disclosure policy. As an
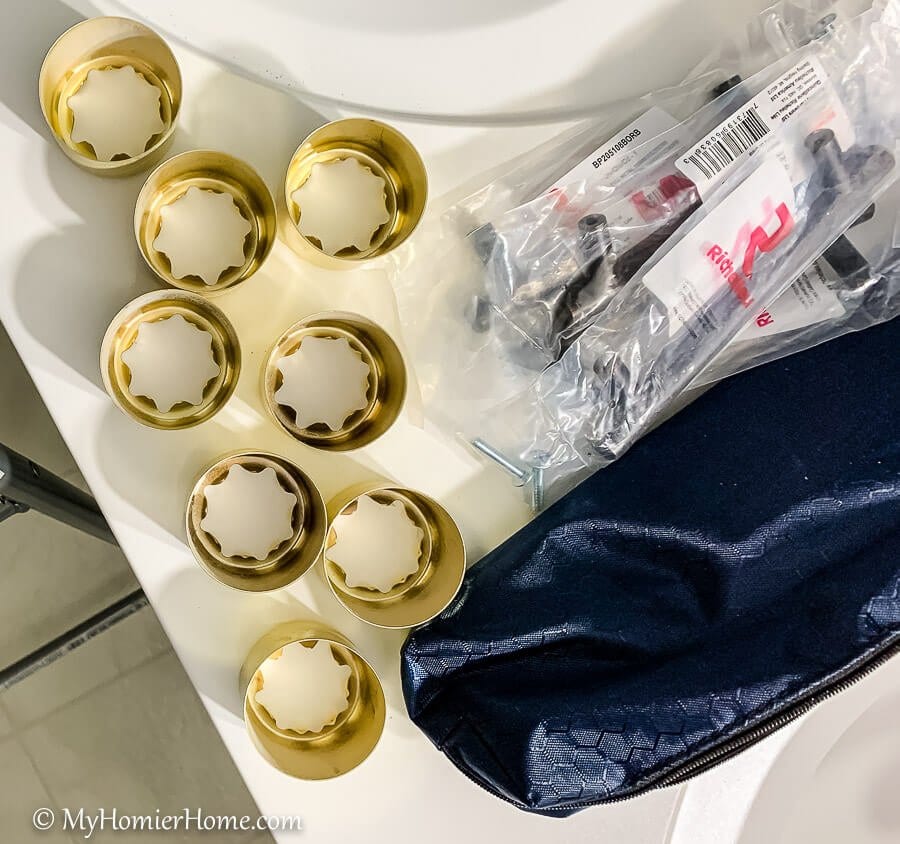
Gather your materials
You will not need a lot of items for this project, but everything I used is shown in a shoppable picture below except the paint can opener. That's the only other thing you'll need.

(click on any of the images to shop the products)
Remove light bulbs and circular covers
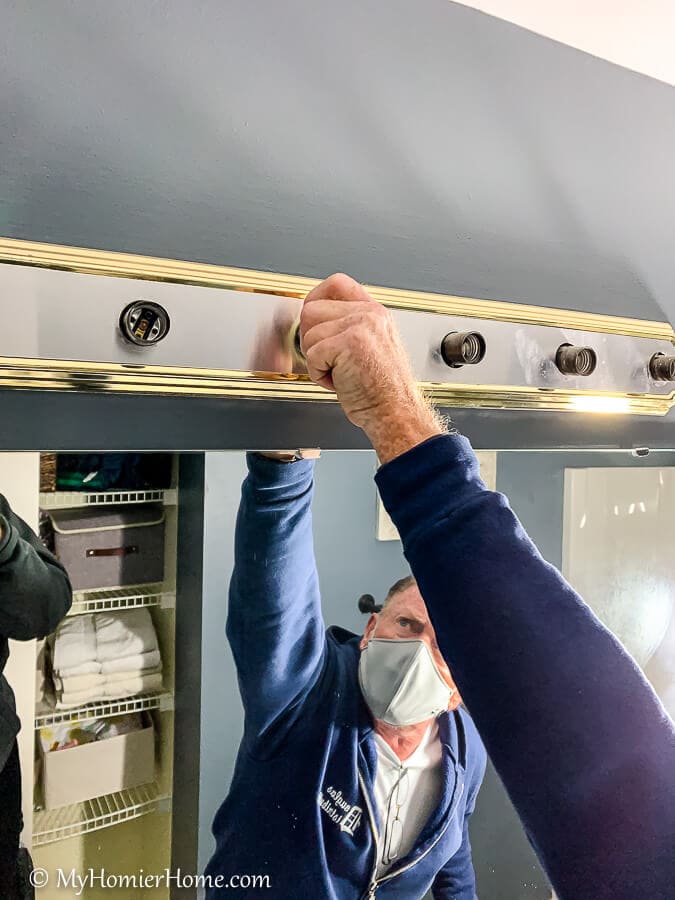
First, you'll want to remove your light bulbs. After that, remove the covers surrounding the light fixture sockets.
We thought that they screwed on, but actually they were just on there with tension.
Twisting them back and forth as you pull them forward was the easiest way to get them off.

Remove the silver part
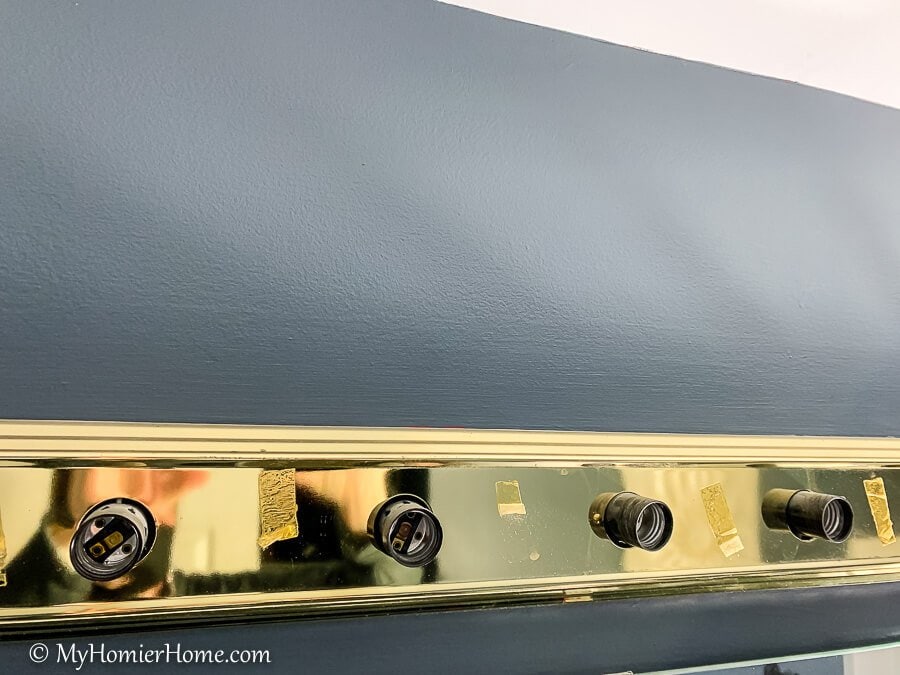
Turns out the silver part that was over the brass was just a small piece of plastic held on by scotch tape haha.
We still removed it so that we could just spray the actual piece.
Remove the gold cover of the light fixture with a paint can opener
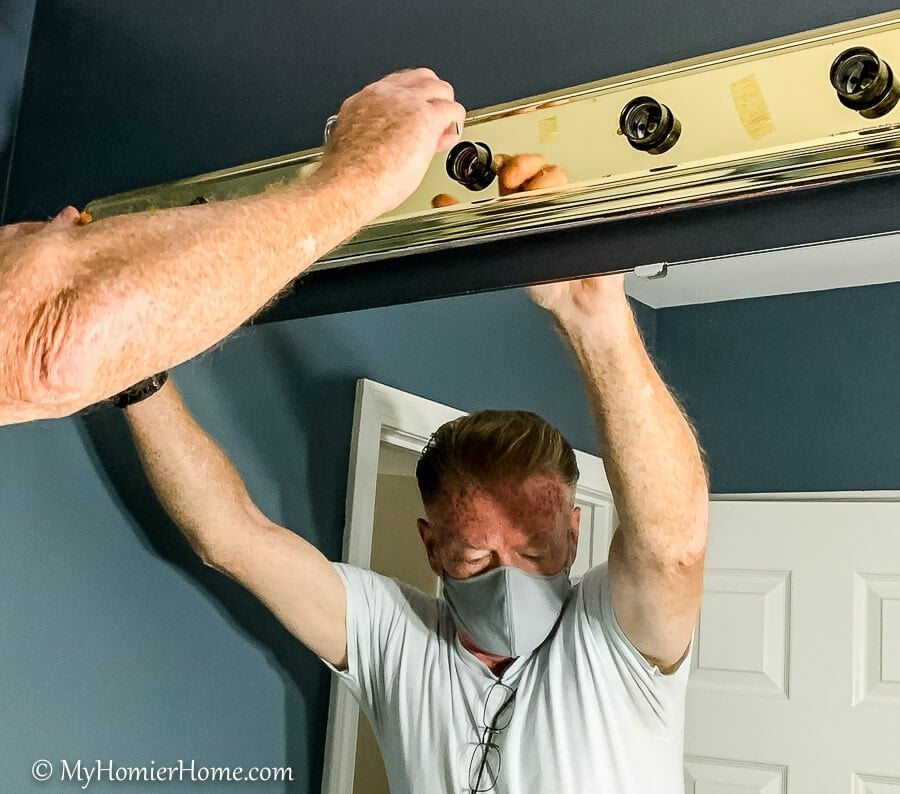
We weren't too sure how this was attached, but since there were no screws to be found, we assumed it was clipped on somehow.
We tried to just pull it, but nothing happened, so we got creative…
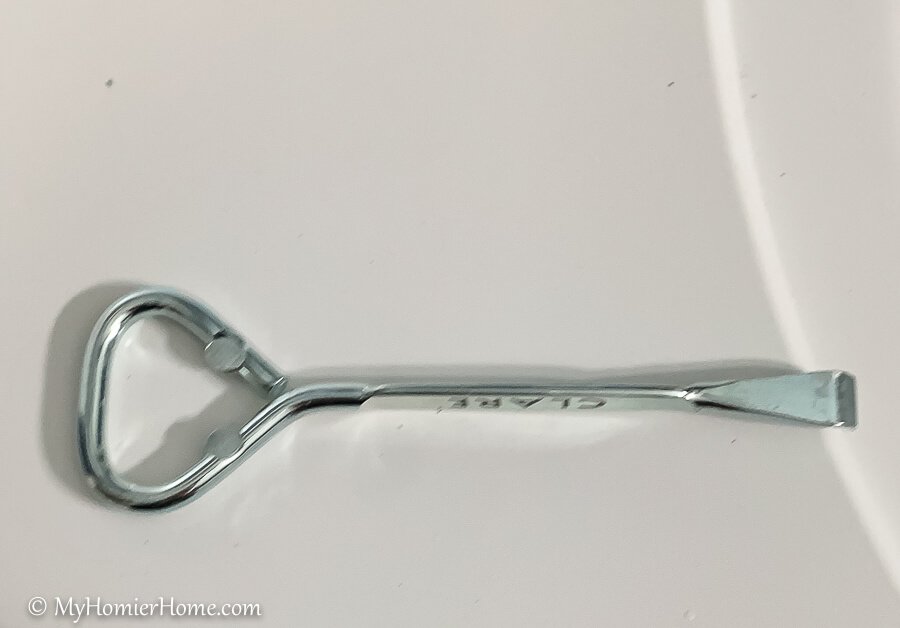
Grab any paint can opener you have and use it to pry the gold cover from the light fixture.
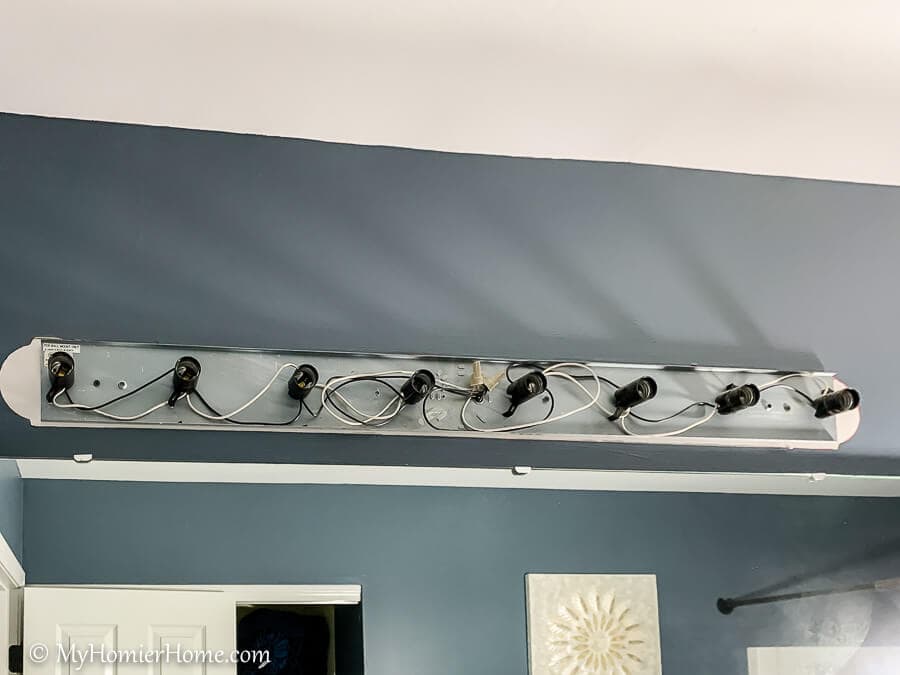
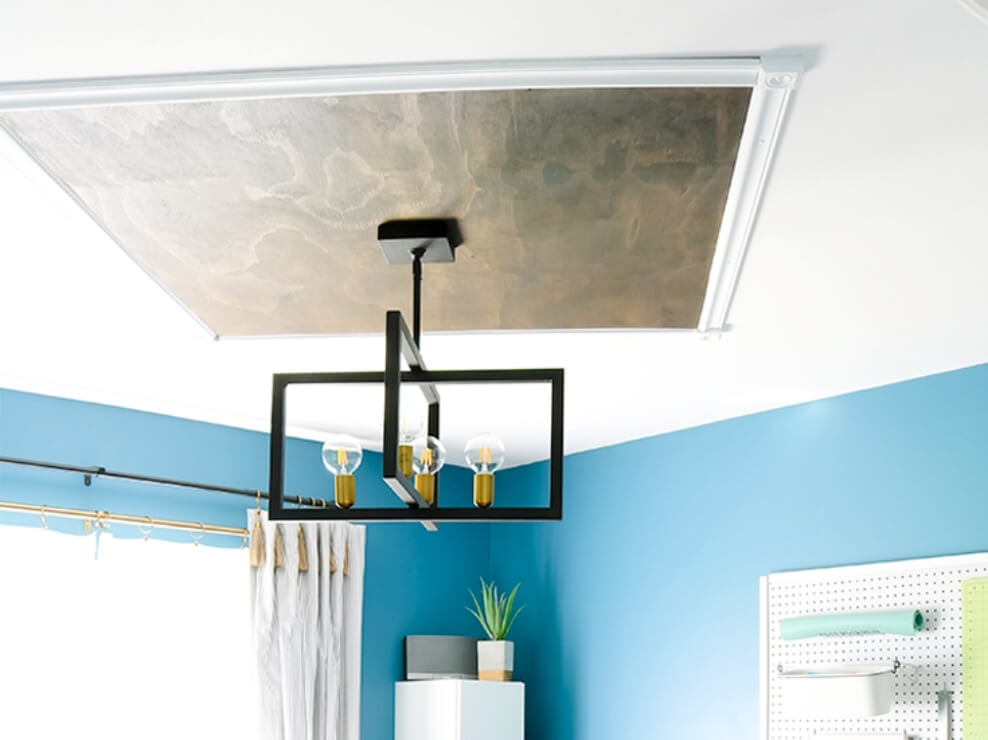
When you are done, this is what will be left on the wall.
The best part about this project is we didn't have to mess with any electrical or removing the whole fixture from the wall.
Wipe the parts clean
After removing the parts, we wiped everything down.
The scotch tape on the panel piece required a little goo-b-gone, but the circular pieces above just needed to be wiped down with a damp rag.
Set up plastic outside with your items and spray paint the pieces of the light fixture
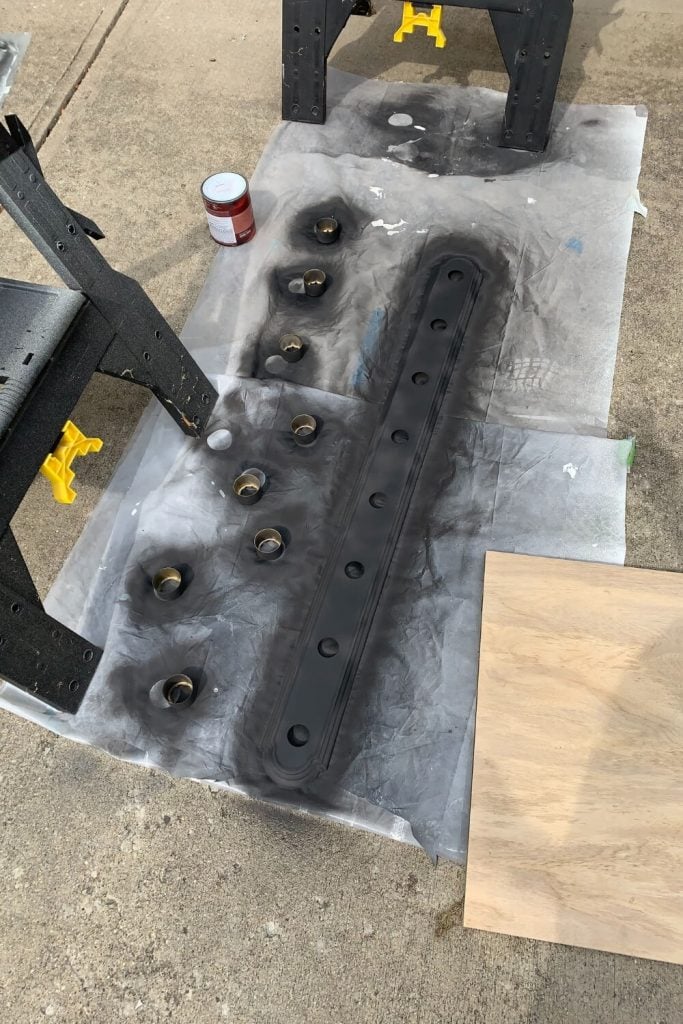
Lay everything out so you have a good view of every angle.
If you can figure out a way to elevate the items off the ground, that may be easier to cover all the angles.
I set this up in the driveway with a plastic tarp held down by heavy objects on either side so the tarp didn't blow around.
When I was spray painting, I didn't worry too much about the inside of the circular pieces because I wanted a little touch of gold, but it doesn't take much to cover each side.
It just may require more coats.
Apply a few coats until satisfied
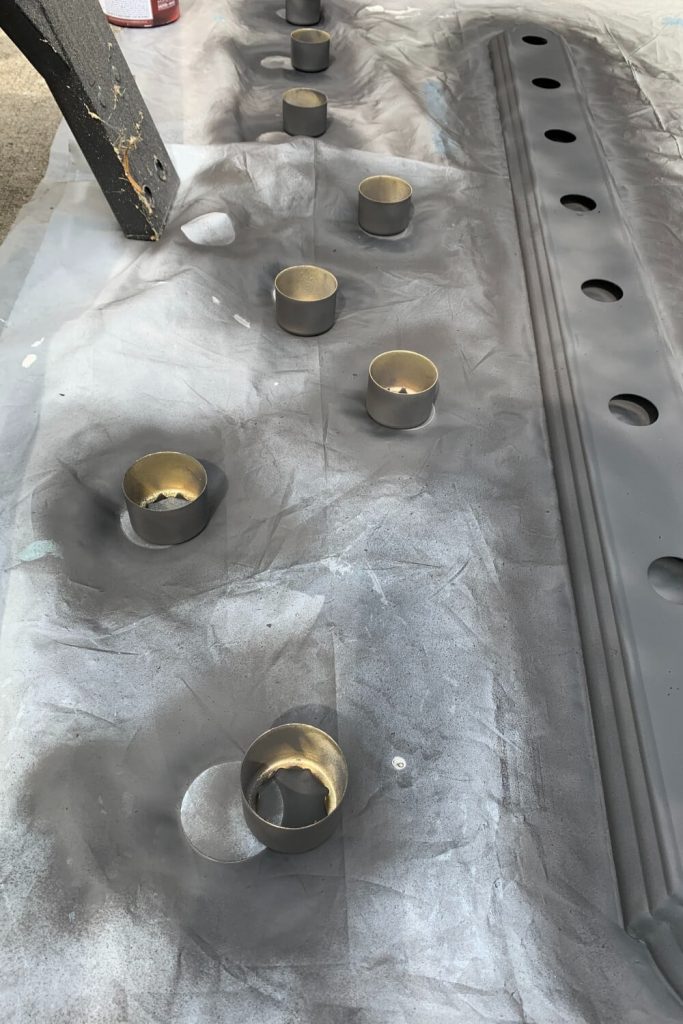
Follow the directions on the can. The picture above is after one coat, but I applied another coat after 20 minutes.
The automotive primer has a matte finish, so if you want a glossier finish, you will need to buy a top coat to spray over this.
I really liked the matte finish, so I did not use a top coat.
Let dry and put the spray painted light fixture back together
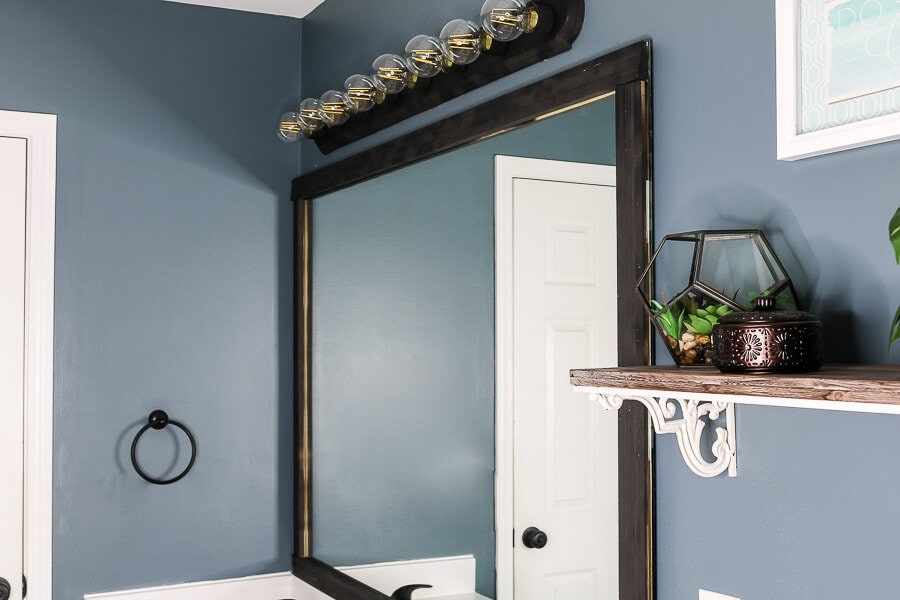
When everything is dry, clip the panel piece back up, add the circular pieces, and then your light bulbs.
Pretty amazing transformation, huh?
This will definitely last me years until I'm ready to overhaul this whole bathroom.
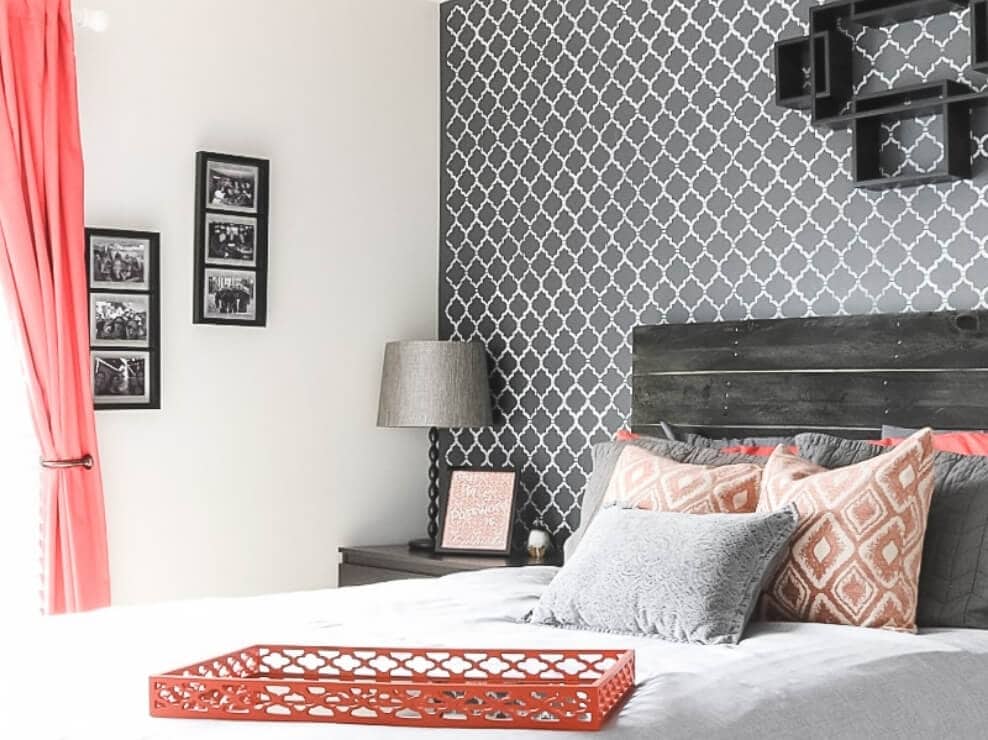
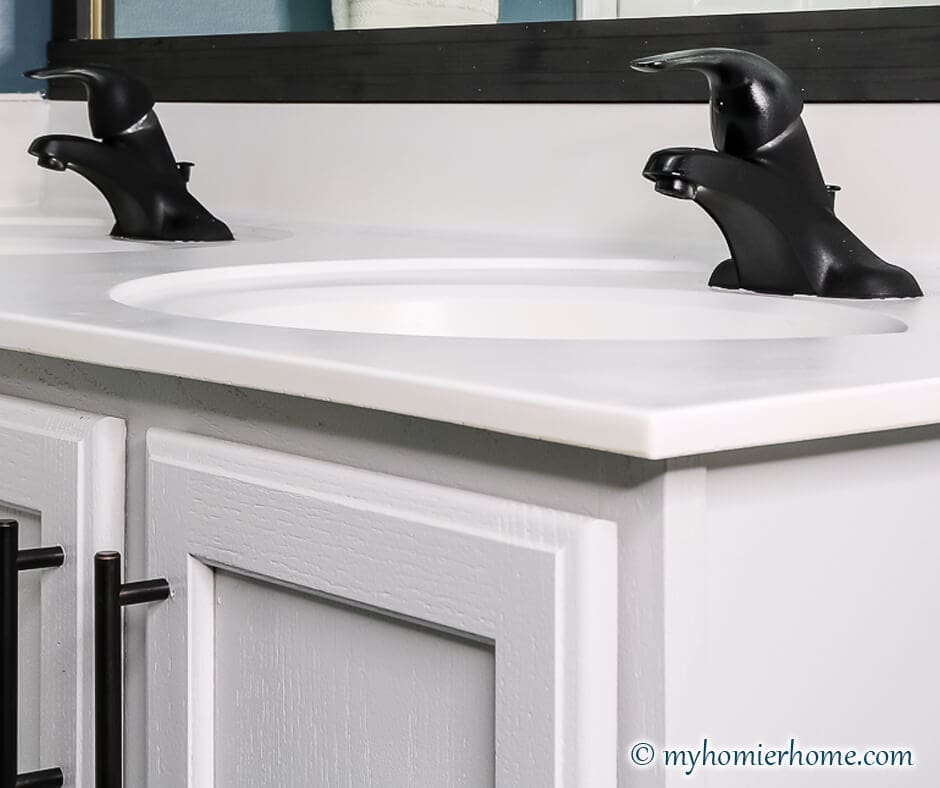
If you want to see the other DIY projects I completed to renovate this bathroom for under $100, follow any of the links below:
Video Tutorial
Frequently Asked Questions
I would highly recommend it only because it does not take much to remove the pieces. Also since you don't have to remove the actual wiring part of the fixture, you'll save yourself time and energy taking it down. Otherwise, you'll have to protect a lot of area against overspray.
I actually purchased LED bulbs that do not give off any heat for this very reason. Since I used automotive primer as my spray paint, I don't think it would be an issue regardless, but to be safe, use LED bulbs.


Great transformation! I love the miracle of spray paint!
It looks so much better! I have a similar fixture and I can’t wait to do something to it!
What a great transformation. Spray paint is a must have in everyone’s home. So many uses. Thanks for sharing. 🙂
what a great idea! I would have never thought to use spray paint on my bathroom light fixture! It made such a big difference! Thank you for sharing!
Awesome! I love how so much can be transformed with spray paint!
Nice job! It looks fantastic.
The paint made such a difference! Great idea!
Thanks! I can’t believe I didn’t do it sooner!
wow this turned out so good!
Thanks!! I couldn’t believe how easy it was, too!
The paint really transformed this fixture!