$100 DIY Guest Bathroom Makeover Revisited | How’s it holding up?
Over a year later, let's see how the $100 bathroom makeover with spray painted counters, faucets, and more is holding up.
I can't believe it's been well over a year since I tackled the $100 room challenge for our guest bathroom.
We have used this bathroom a ton over the last year plus from using it as a steam room for our sick baby to hosting multiple guests to daily bath time.
Now I get to fill you in on what worked and stood the test of time versus what didn't and what I would have done differently.
Let's get started!
Table of contents
Disclaimer: This post does include affiliate links for your convenience. This is at NO additional cost to you but earns me a small commission. To read more, check out our disclosure policy. As an
What We Updated September 2020
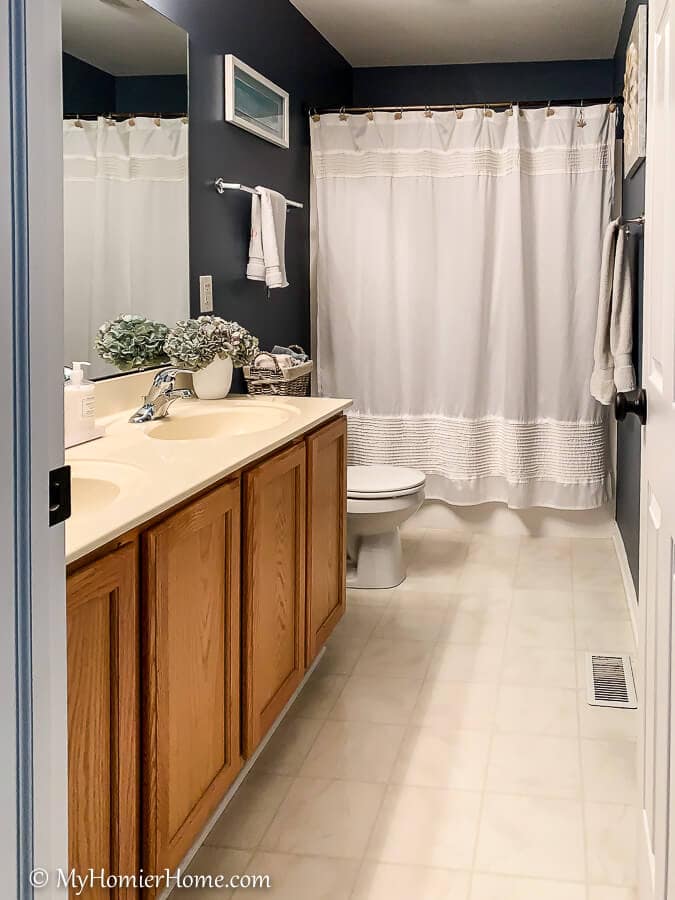
Four months after having our first child, I realized I couldn't handle this make-shift bathroom any more.
Since this is our kid/guest bathroom, I wanted to overhaul the whole thing.
However, the budget wasn't there to make any big changes.
Enter the $100 room challenge.
This challenge has been put on hold as of writing this post, but it was a biannual challenge to makeover one room in your home for under $100.
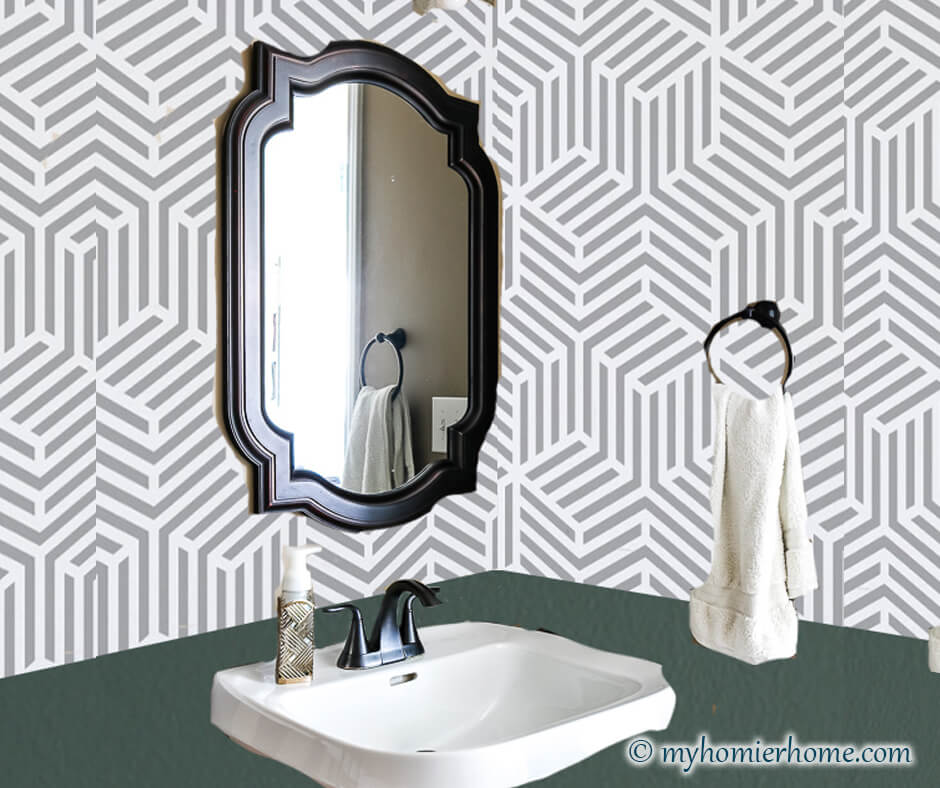
Here was my plan back in September 2020…
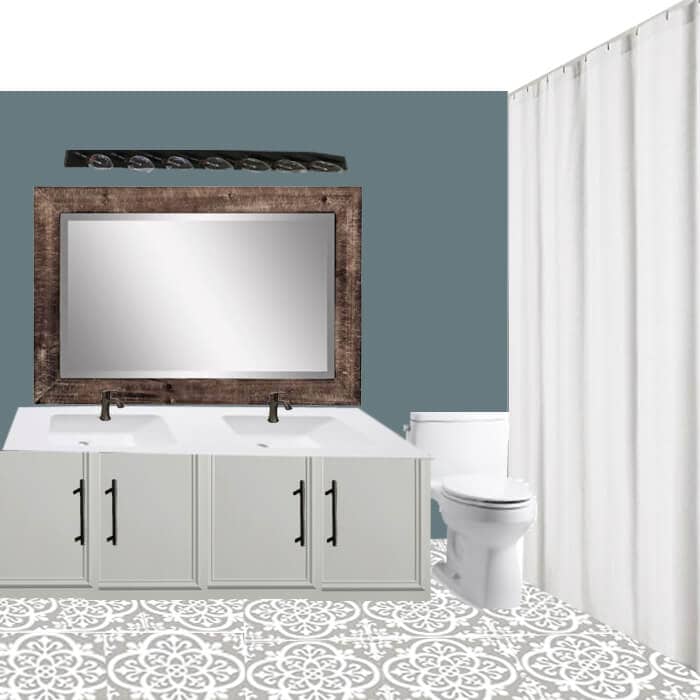
In this mockup, I planned to makeover the vanity, lay new flooring, update the mirror, the light fixture, the faucets, the countertops, and the bathroom accessories (i.e. the towel bars and holders).
And wouldn't you know, I did it all for under $100!
Well technically $107 including tax for full disclosure.
So what worked and what didn't?
Keep on readin'!
What Worked
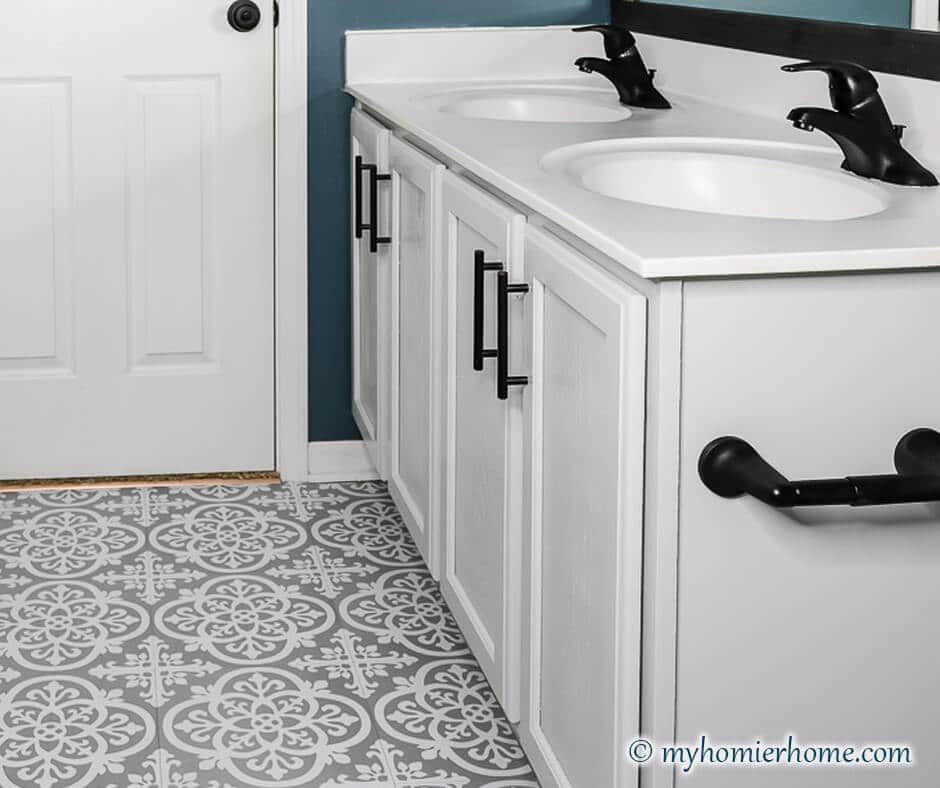
Pretty close to the mood board mockup huh?
After all this time and use, here are all the things that still look amazing…
- The painted vanity looks like a million dollars.
- The bathroom accessories and cabinet pulls look as good as the day I sprayed them.
- The peel and stick flooring looks like real tile… still.
- The mirror surround looks the same as the day I put it up.
- The light fixture is still holding strong.
- The countertops are still easy to clean and have not peeled at all.
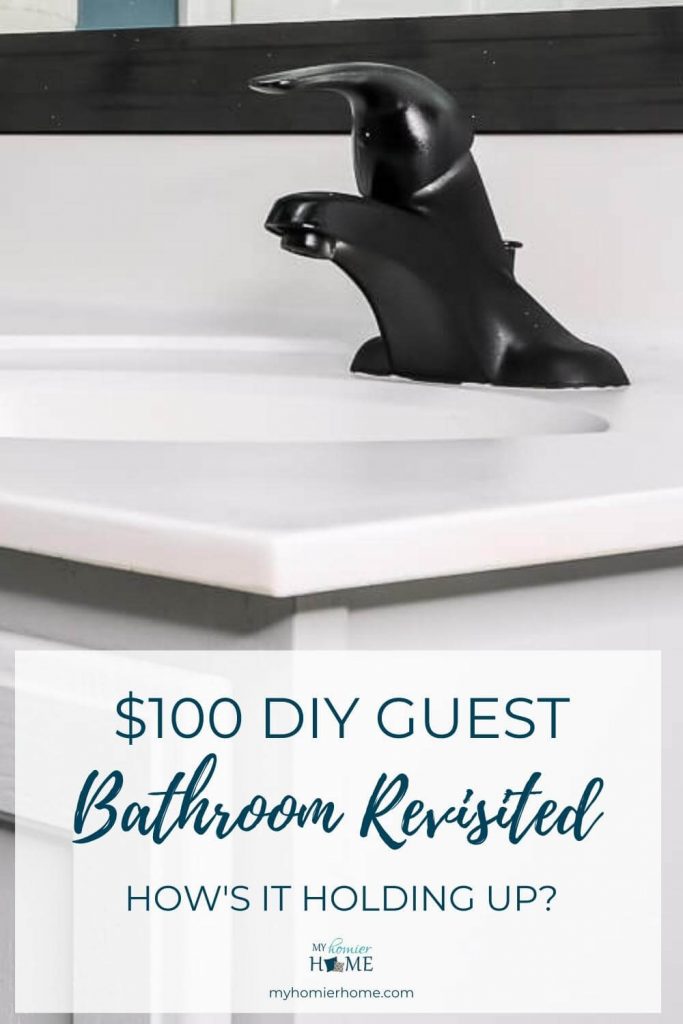
- The spray painted faucets have minor wear and tear, but I'll show a close up in the next section so you can see how minor it is.
What I Would Go Back and Change
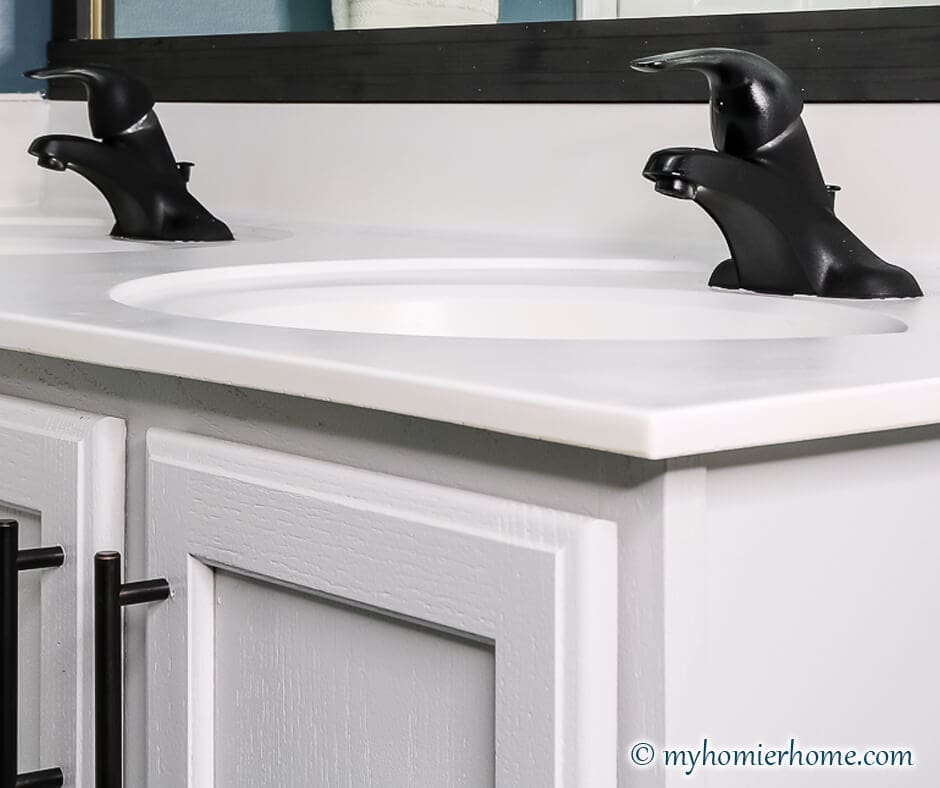
As great as everything is holding up, there are a few things I would go back and do differently.

First off, I would spray paint the wood on the inside of the mirror surround.
I would also secure this with more and maybe tougher adhesive to make sure it didn't shift with the changing of the temperature in this room when showering.

I would also apply a few more coats of the top coat to the faucets.
You can see the top of the actual faucet is slicker than the handle because I did a better job applying the spray top coat.
Because I didn't do such a great job with the top coat on the handle, there are a few minor scratches like what you see above.
The spray painted countertops are by far the most amazing part of this thrifty renovation because they have held up even using chemicals.
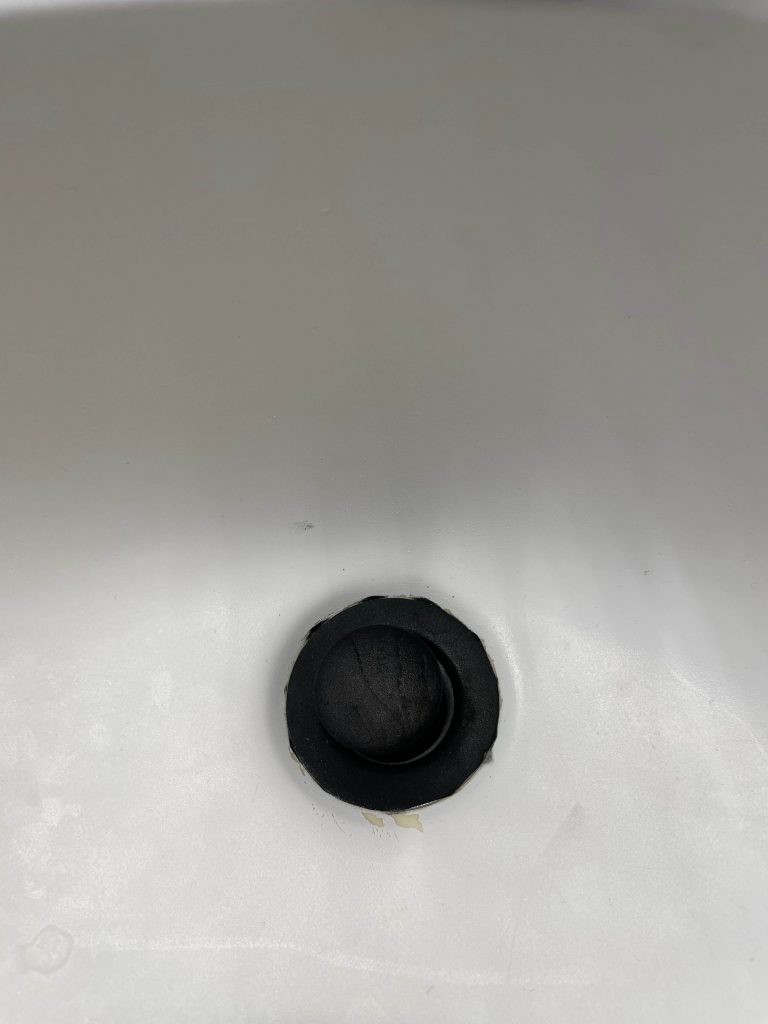
The one thing I would change though is I would wait to apply the tape around the drain until the countertop spray paint has cured for at least 36 hours.
The scratches you see around the drain are actually the exact same markings from the first week of spraying these.
I applied the tape too soon in order to spray the drains.
The crazy part is that these areas have not chipped or grown in any way, so the spray painting countertops with appliance epoxy is literally a game changer.
The only other thing I would change (and probably will do so soon) is adding more color to the room via the shower curtain. I like the white, blue, and gray, but I either need more plants in there and/or a colorful curtain to bring this vibe to a more kid-friendly space.
Other than that, how amazing is this $100 makeover after all this time?
If you have any questions at all on my thrifty bathroom reno, drop a line in the comments below or hit my up on instagram @myhomierhome.
shop this $100 Bathroom Makeover
For all the items I used to complete this makeover, click any of the images below to shop directly.





It still looks so nice!!!
Ah, the inside of the mirror, that’s a lesson we all have to learn! I’m glad it has held up so well for you. Kudos for doing that with a tiny baby too.
Aww thanks Rachel! Yes and yes!!
The bathroom makeover serves as an example of how creativity and cost-effective choices can result in a significant transformation on a tight budget.