Small Bathroom Makeover: $100 Room Challenge
This small bathroom is in need of a makeover. $100 room challenge here I come! See how I transform this dated 90s bathroom into a modern beauty.
Have you ever tried to makeover a room for less than $100?
Me either, but my time has come!
This will be my first attempt at this budget-friendly room makeover.
If you are interested on how this challenge got started, you can read more about the $100 Room Challenge here.
The idea is to complete a room makeover in a $100 or less by completing DIY projects and/or other strategies to keeping the cost down.
I'm so excited, nervous, and ready to share with you, from start to finish, my attempt at this challenge.
Don't forget to follow along on all my progress on Instagram.
Bathroom Before Photos
Much like the rest of our house, the 90s has also been running rampant in our main level half bathroom.
For the past 3 years I have been systematically working through every room of our main level.
Besides my arch-nemesis dining room, the small bathroom is my last room on the main level to put a semblance of my stamp on.
Check out where I'm starting this challenge:
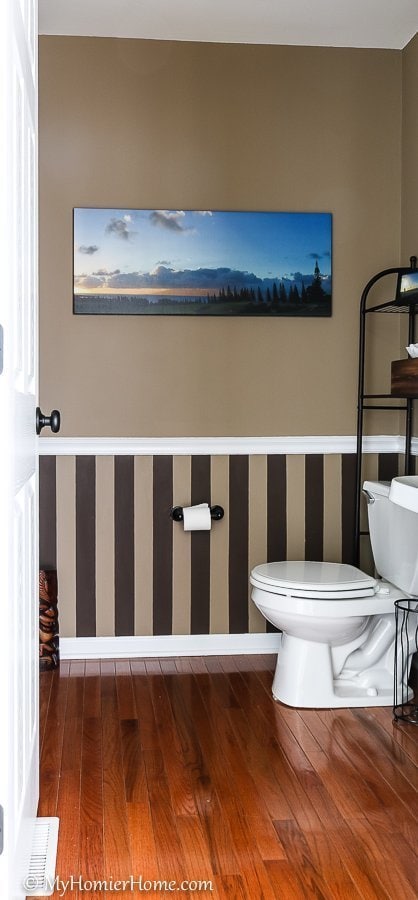
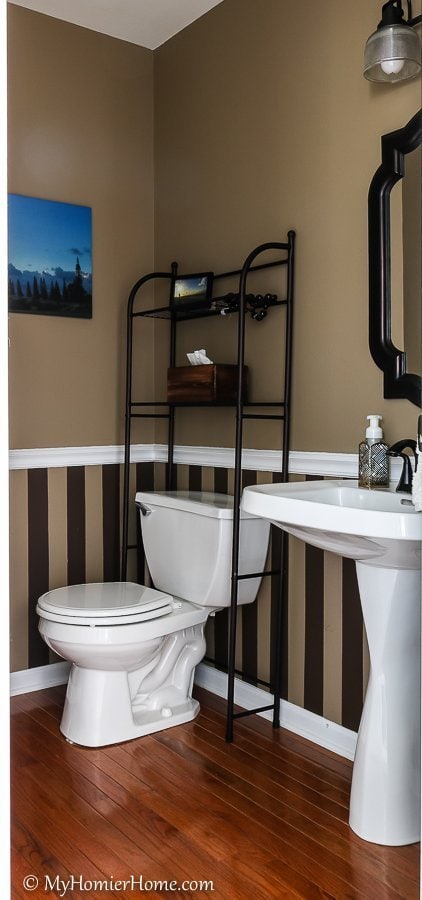
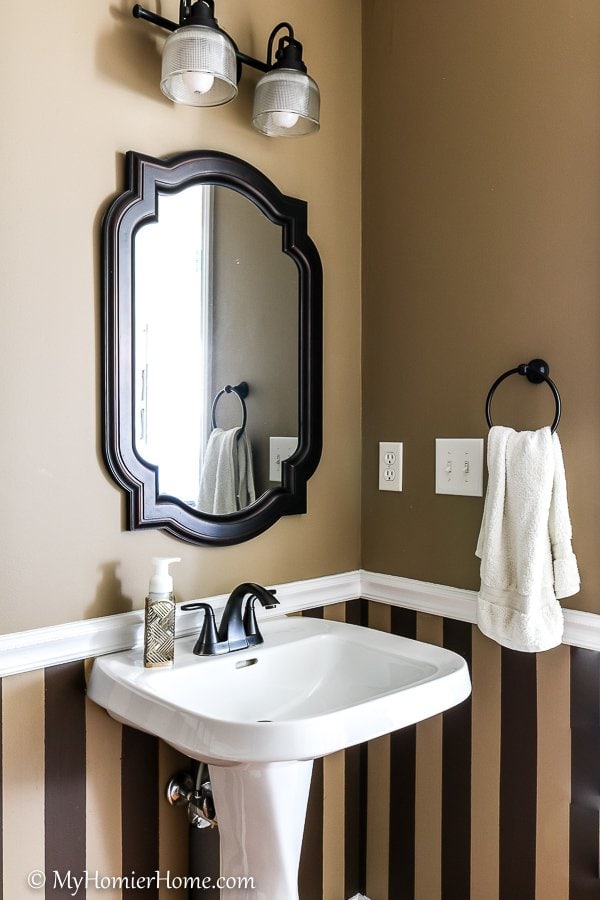
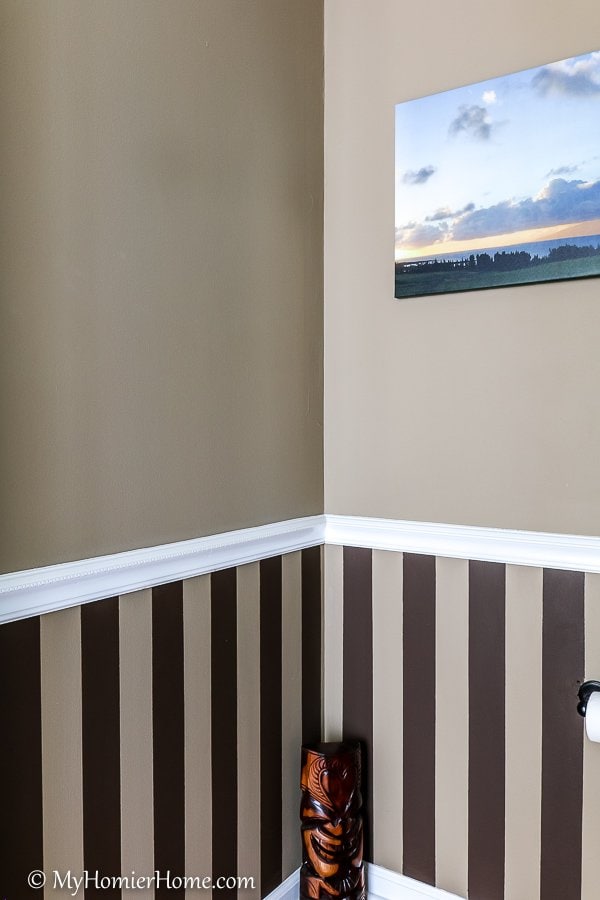
Alright, give it to me straight… Pretty deep in the 90s?
All the items in this bathroom were purchased in hopes to find cohesion with these horrendous stripes, but bad with bad is still bad, amiright? Preach!
I tried to give it a little personality with the Hawaii theme from our honeymoon, but it is just not working.
Needless to say, it's beyond time to whip this small bathroom into shape.
So, let me share with you my plan for phase one of this makeover.
Bathroom Makeover Plans
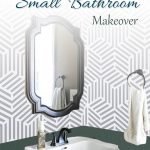
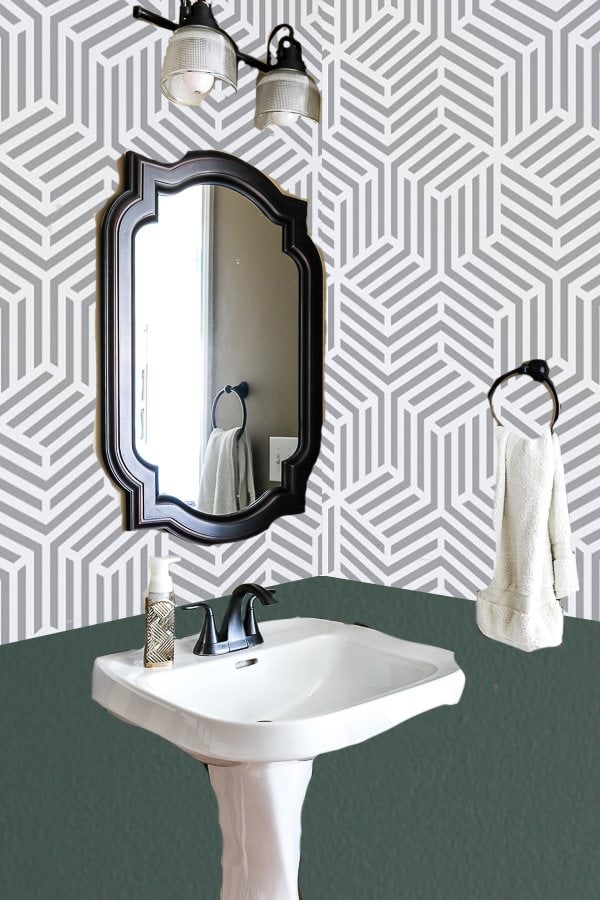 budget before tackling this project, I'm thinking I'm going to have to do this makeover in two phases over the next couple of months. For the $100 room challenge, I will be updating the following:” title=”Small Bathroom Makeover-Mock Up”/>
Because of my mock budget before tackling this project, I'm thinking I'm going to have to do this makeover in two phases over the next couple of months.
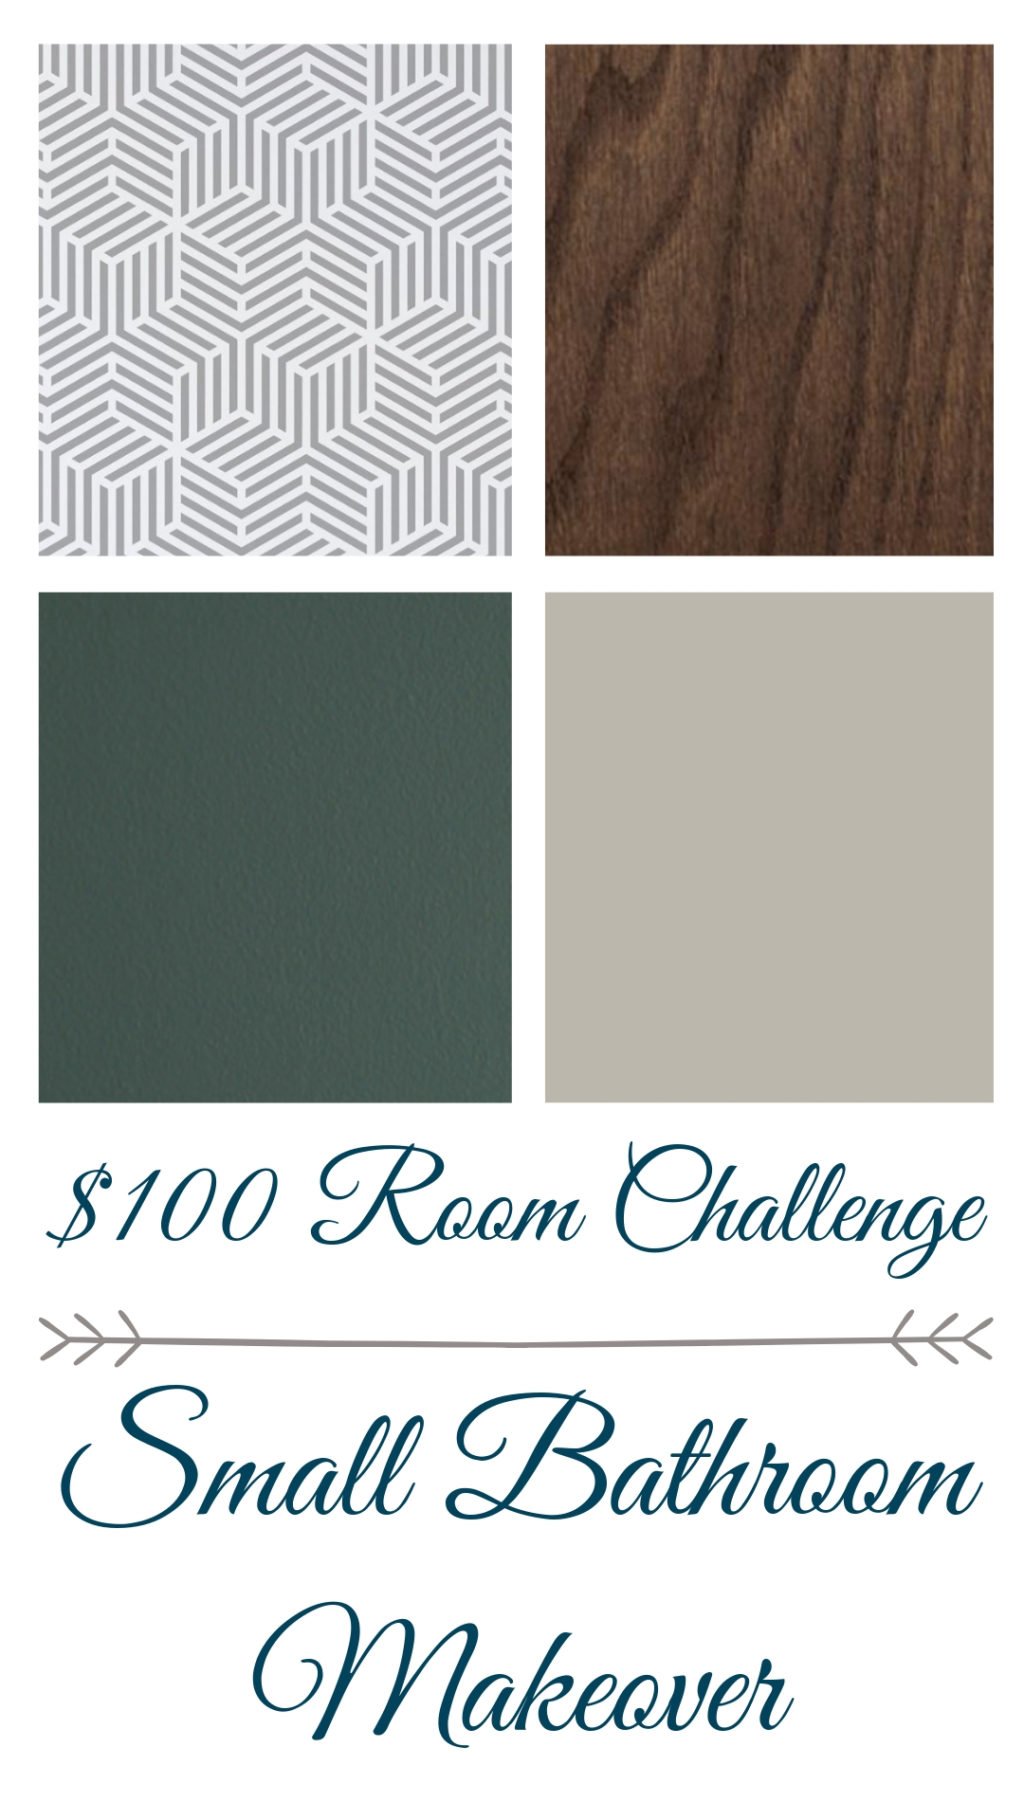
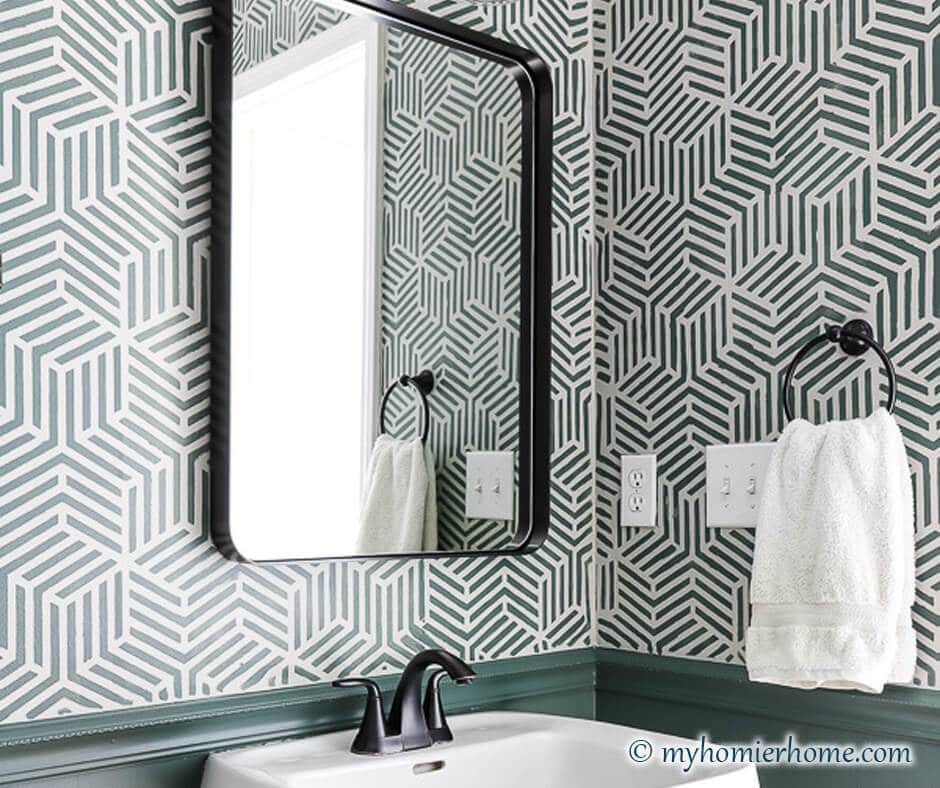
For the $100 room challenge (phase 1), I will be updating the paint to get rid of the horrendous stripes and adding a fun geometric stencil pattern to the top half.
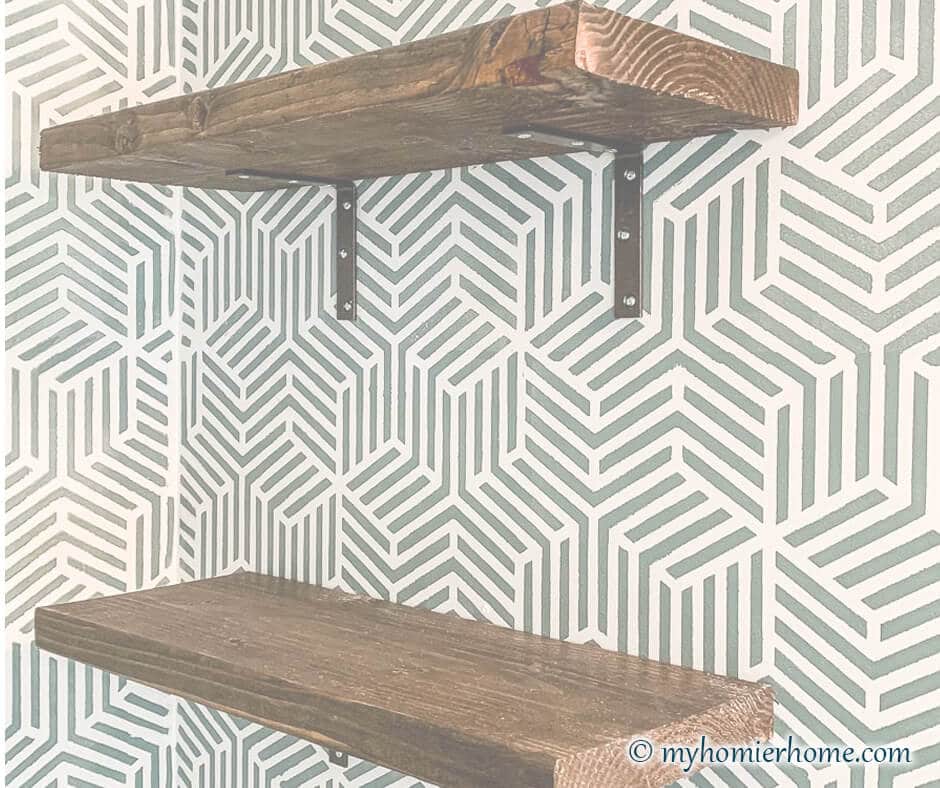
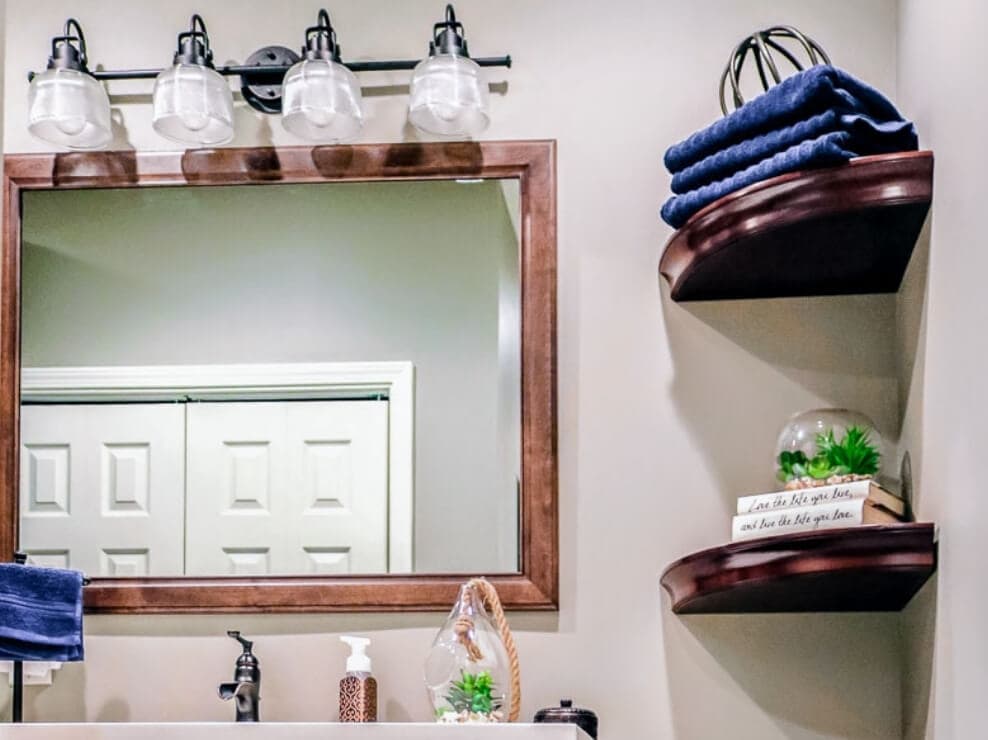
I'm also going to add some DIY wood shelves above the toilet to give it some warmth and depth.
For phase 2, I think I'll save changing the mirror to a more modern one as well as adding acrylic artwork to the back wall.
Once all of that is finished, this baby will be my new pride-and-joy room.
Here is what I plan to tackle over the next couple of weeks:
To-Do List
- Clear out the bathroom
- Tape the edges for painting
- Buy paint and stencil
- Paint the top with Mindful Gray by Sherwin Williams
- Paint the bottom with Current Mood by Clare
- Stencil the top part with Current Mood by Clare
- Get wood pieces cut to size for the shelves at Home Depot
- Purchase brackets for the shelves
- Stain the shelves (I already have leftover stain in Jacobean)
- Spray brackets (I already have oil-rubbed bronze Rust-o-leum spray)
- Hang shelves
Wish me luck on keeping with this budget and finding some better painting skills along the way. To follow all the behind the scenes progress, follow me on Instagram. Until next week!


I love your ideas for this bathroom, and I can’t wait to see that stencil!
Thank you so much!! I’m excited and a little nervous, but it needs a change so badly lol!
I love the new color scheme and wallpaper. Can’t wait to see it come together!
Thanks! It’s actually going to be a stencil which has come with its own set of challenges lol, but the final product will hopefully be like my mock-up!
What a great space to do with a $100 budget! Love your idea of doing the stencil on the top half of the walls. It will definitely add some character. So excited to have you joining in the challenge this month!
Thanks so much! I’m getting close to done, but I had a few slips with the stencil, so hopefully, my idea for fixing them will go quickly. Thanks for hosting this awesome challenge!
Hello Christin,
It is very helpful speech for remodel any kinds of house especially bathroom. I hope my bathroom rebuild easily by following your fantastic blog. please share more.