11 Tips for Decluttering & Organizing Any Space for the Quick-Win
Looking for a quick-win to get your home functioning better? My 11 tips for decluttering and organizing will help! Let's get started…
Raise your hand if you love a quick win when it comes to household function?
With little baby Ciz coming in less than two months, I'm on a rampage to declutter and organize all the spaces I've neglected over the years… Specifically, our coat closet, kitchen desk, guest linen closet, and my master closet.
Because I don't have a ton of time to dawdle on these, I'm looking for some quick wins.
This got me thinking that perhaps you could use a few quick wins in your home, too!
So today, I'm sharing with you 11 tips for decluttering and organizing any space for the quick win!
Table of contents
- 1. Assess the damage.
- 2. Take everything out.
- 3. Make piles of like items.
- 4. Wipe down and vacuum the space.
- 5. Decide if you want to tackle the big tasks now or later.
- 6. Decide what should stay or go in this space.
- 7. If it doesn't go in this space, decide where it goes.
- 8. Assess what type of organizational items you need.
- 9. Put it back together.
- 10. Live with it for a few days.
- 11. Revel in the bliss of a clutter-free, organized space.
1. Assess the damage.
First things first, take a look at what you are working with before you even begin to take anything out.
Then, grab a notepad and start taking notes…
- What doesn't function?
- Why doesn't it function?
- What do you see causing the issue?
- Are there things that don't belong in this space?
- If so, where should they go?
- Is the problem stemming from the space or poor habits by you and/or your family?
- What issues will need to be tackled when you put this space back together?
Assessing the damage, depending on how big the space is, should not take you too long.
Usually, when a space in its most raw form, the problems seem to jump out at you.
Take the time to think about these and just jot something down to reference later.
Trust me, you'll be glad you did.
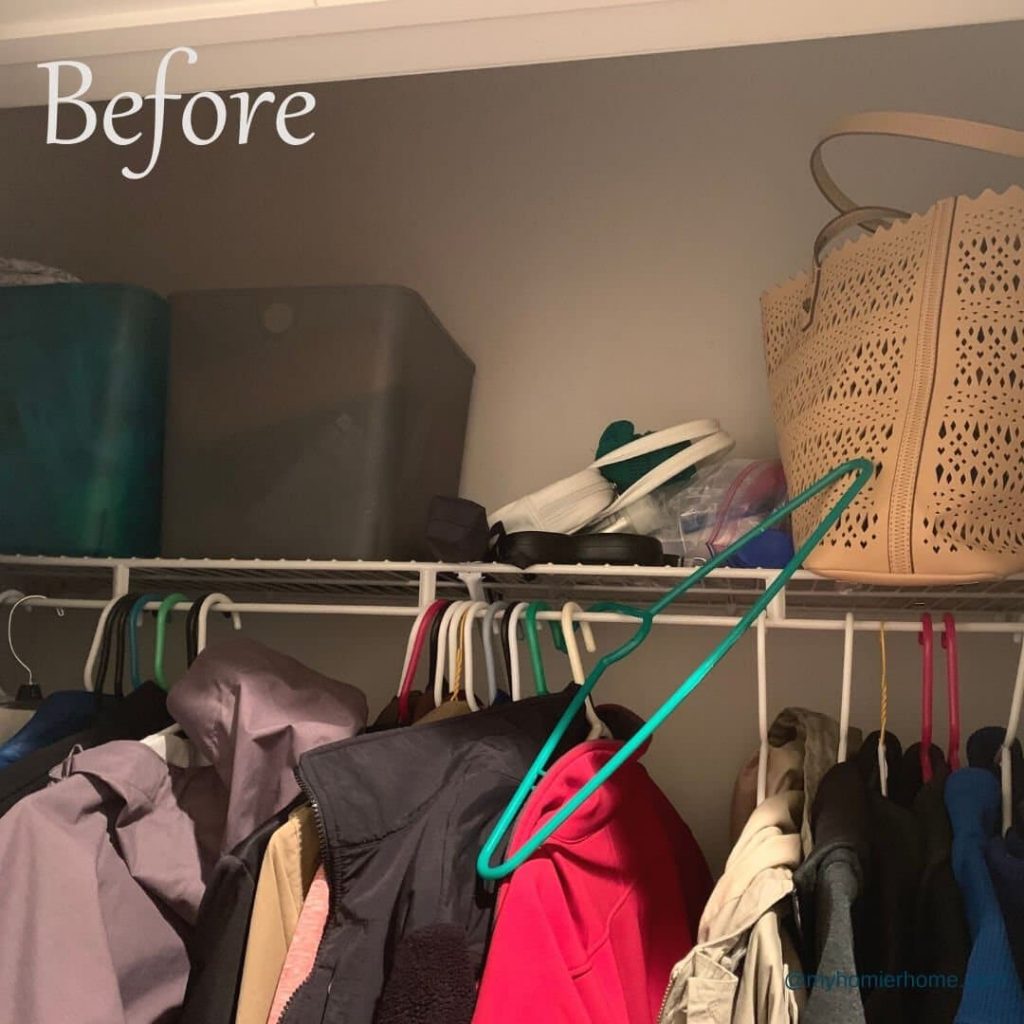
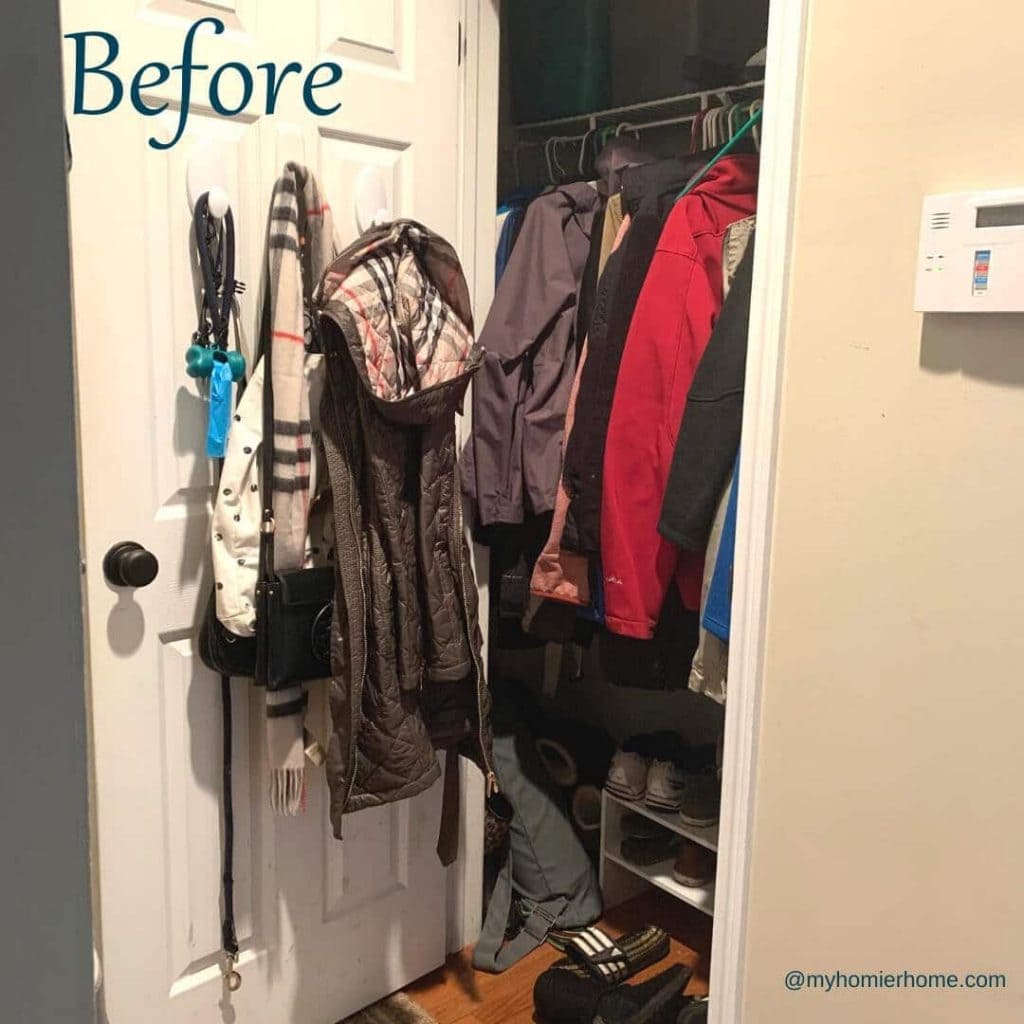
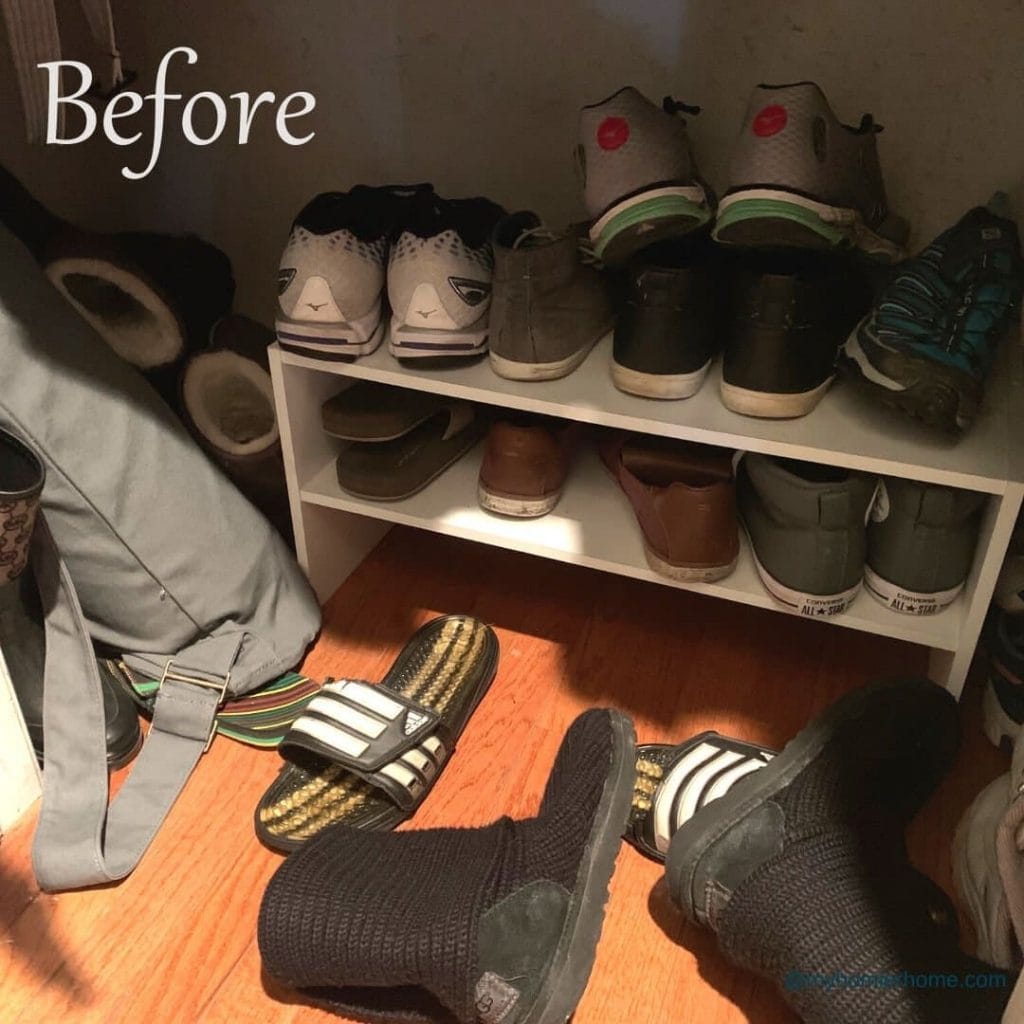
Oh, and while you're at it… take a few snapshots of the disaster, so if you forget how bad it really was or something, you can reference back to the disaster zone.
2. Take everything out.
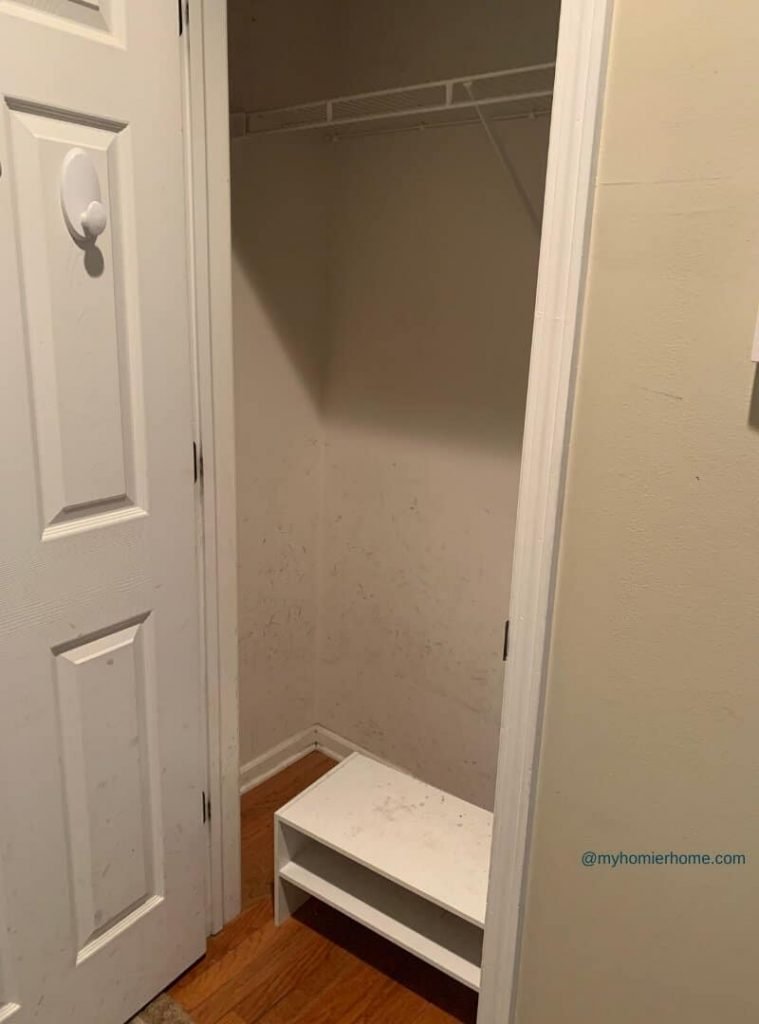
Next, if your space is a confined space, you will want to completely empty it.
This may seem like a daunting task, but trust me, it is an important one.
You will never really know what the heck is going on in there unless you see it all laid out in front of you.
For bigger rooms that are not so confined, I would suggest starting with one section of the room at a time.
For instance, when I organized all my kitchen cabinets, my first instinct was to take everything out, but there was a lot of stuff in there!
Crazy amounts of stuff. That was going to be a little too overwhelming, so I started with certain areas I knew had ‘like' items to gather and assess.
For something like my coat closet, taking everything out was absolutely necessary. I will do the same thing when I tackle the kitchen desk and any other closet.
3. Make piles of like items.
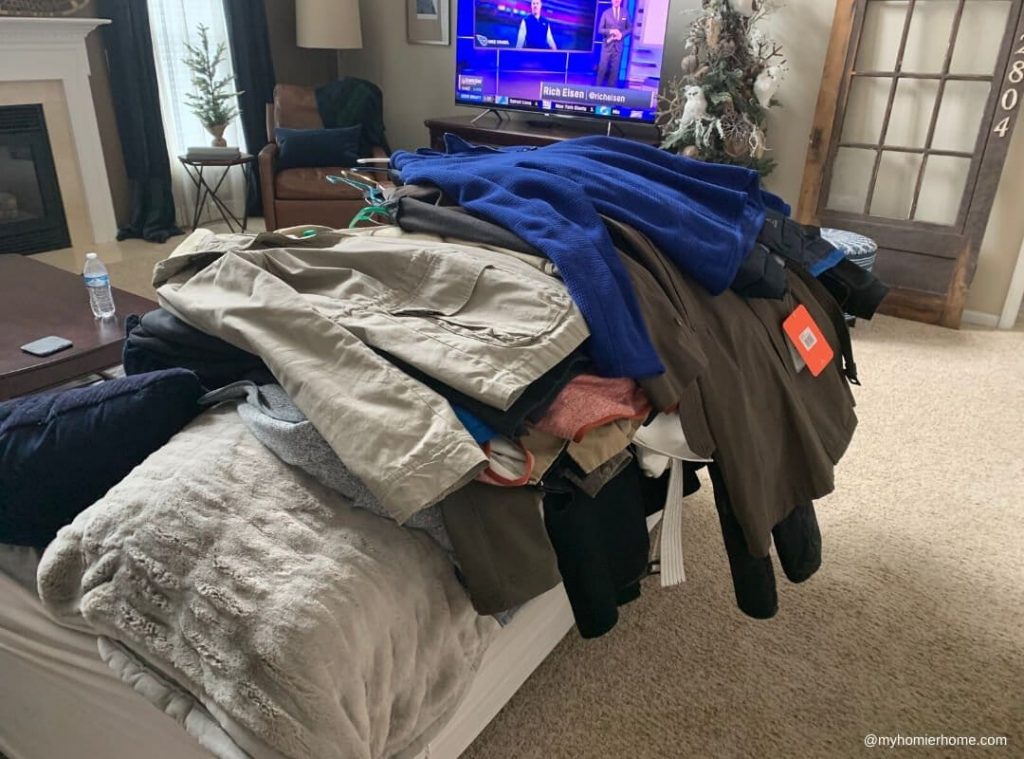
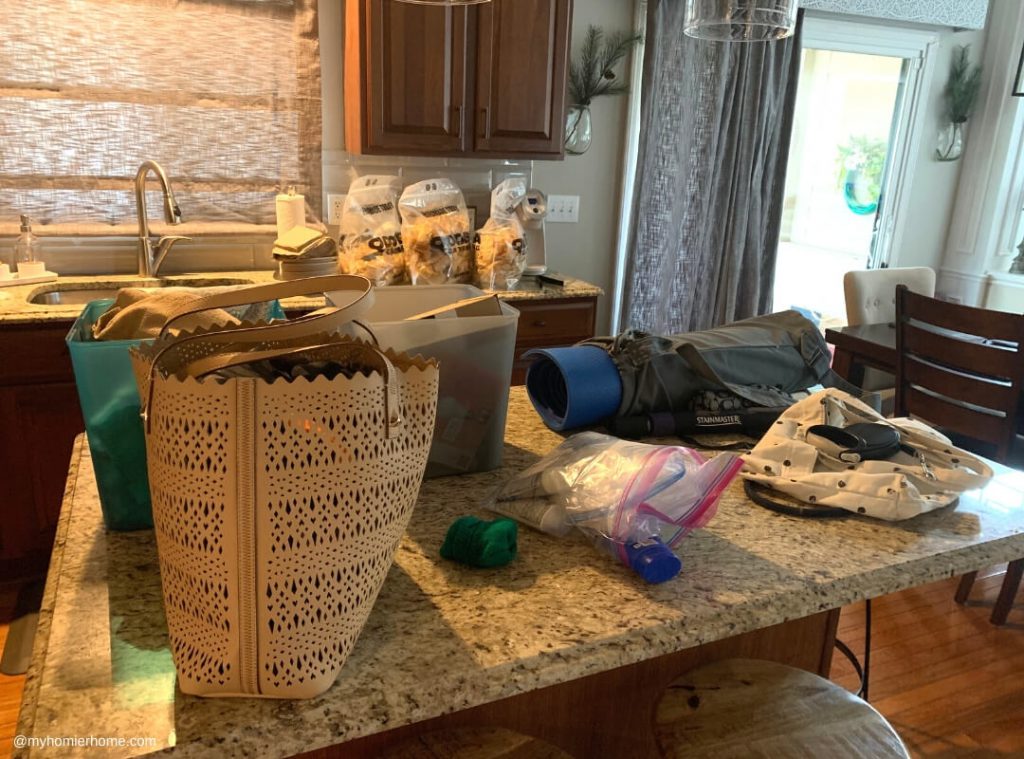
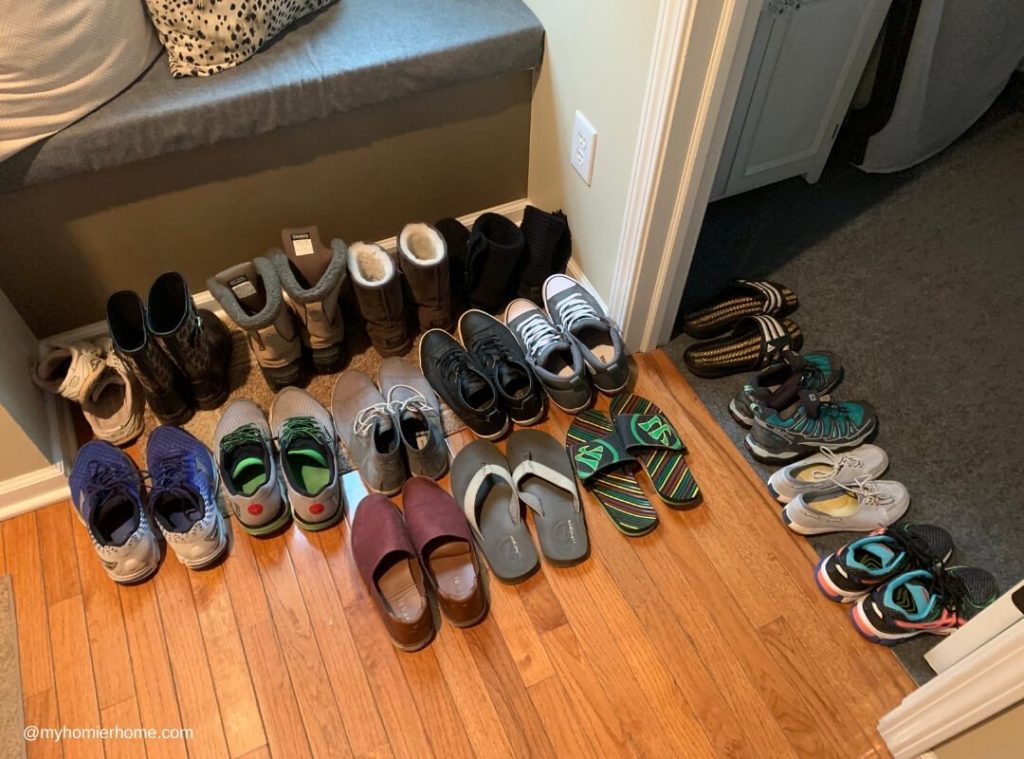
As you begin taking things out, it is helpful to start making piles of similar items.
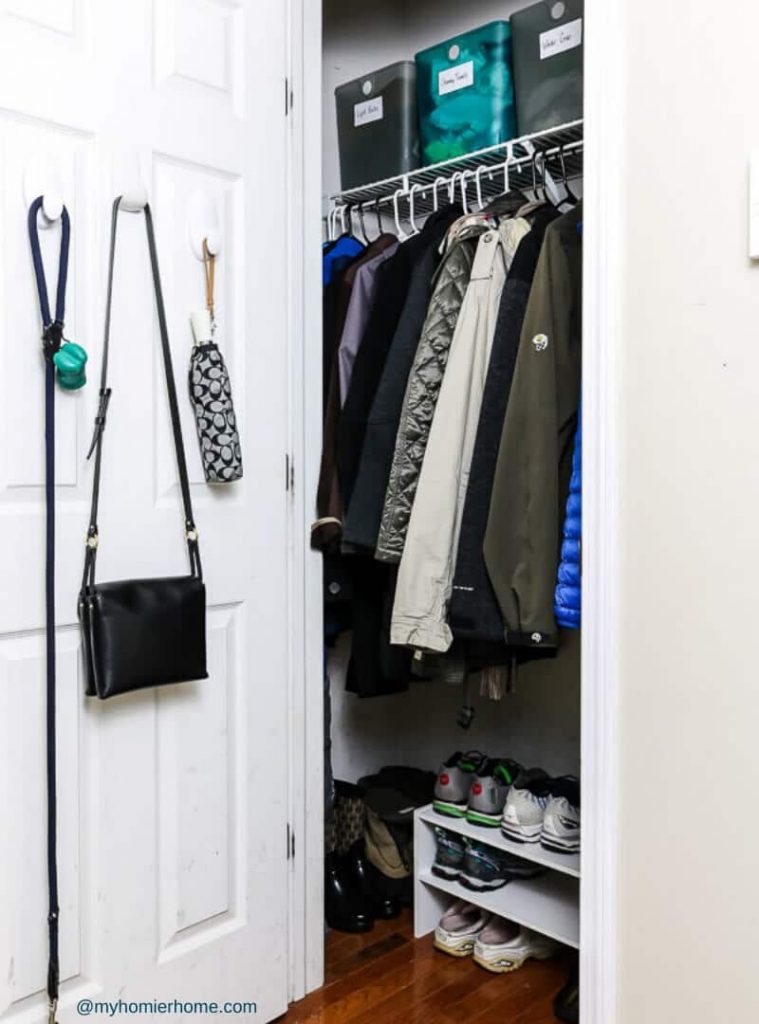
For our coat closet, I made a section for boating items, dog items, dish rags, light bulbs, my purses, our umbrella stash, and then two different piles for my coats and my husband's coats.
Sorting like items is a good way to continue the assessing process of whether or not that group of items goes in this particular space (more on that later).
4. Wipe down and vacuum the space.
Well heck! You've got everything out of there, so use this opportunity to give you space a once over.
Our coat closet was disgusting.
Who knew?
The dirt and grime from shoes over the last four years was intense.
Wiping down the baseboards and vacuuming this little area made it feel better instantly.
Definitely take a few moments to do quick clean up. You'll be glad you did.
5. Decide if you want to tackle the big tasks now or later.
When I was working through my coat closet, it was obvious that this little space needs a coat of paint at the very least.
However, it can be fully functional without the paint job at the moment while allowing me to keep my sanity.
Therefore, I am going to add this big task to my someday/maybe list in my home projects board on Trello.
This is where I house all my project ideas by room and by priority. You can read more about my system here.
If you have more time to tackle some of these big ticket items, then go for it!
This section is all about how much time and energy you have to decluttering and organizing a space versus completely perfecting a space.
In my opinion, sometimes the perfection aspect stops us from making progress, so be sure to get yourself the quick win, whatever that may mean to you and this disaster zone.
6. Decide what should stay or go in this space.
As I took items out and piled similar items together, I realized I had other similar items in other areas of my home that should probably be grouped with the items in this closet.
For me, it was the winter hats, gloves, and scarfs.
I had a whole pile of these strewn about my master closet. So, I went up, grabbed all the winter items and brought them down to the piles I had going for the closet.
Moral of the story, group like items together where they make sense.
Even though all the decluttering and organizing experts suggests focusing on one area at a time, you want to make sure you have all the things that will need to go back into the space ready and waiting before you decide what organizational items you need to house these items.
7. If it doesn't go in this space, decide where it goes.
If not here, where?
If there are things elsewhere that go with the categories you've decided should stay, bring them to this space now before you start putting humpty back together.
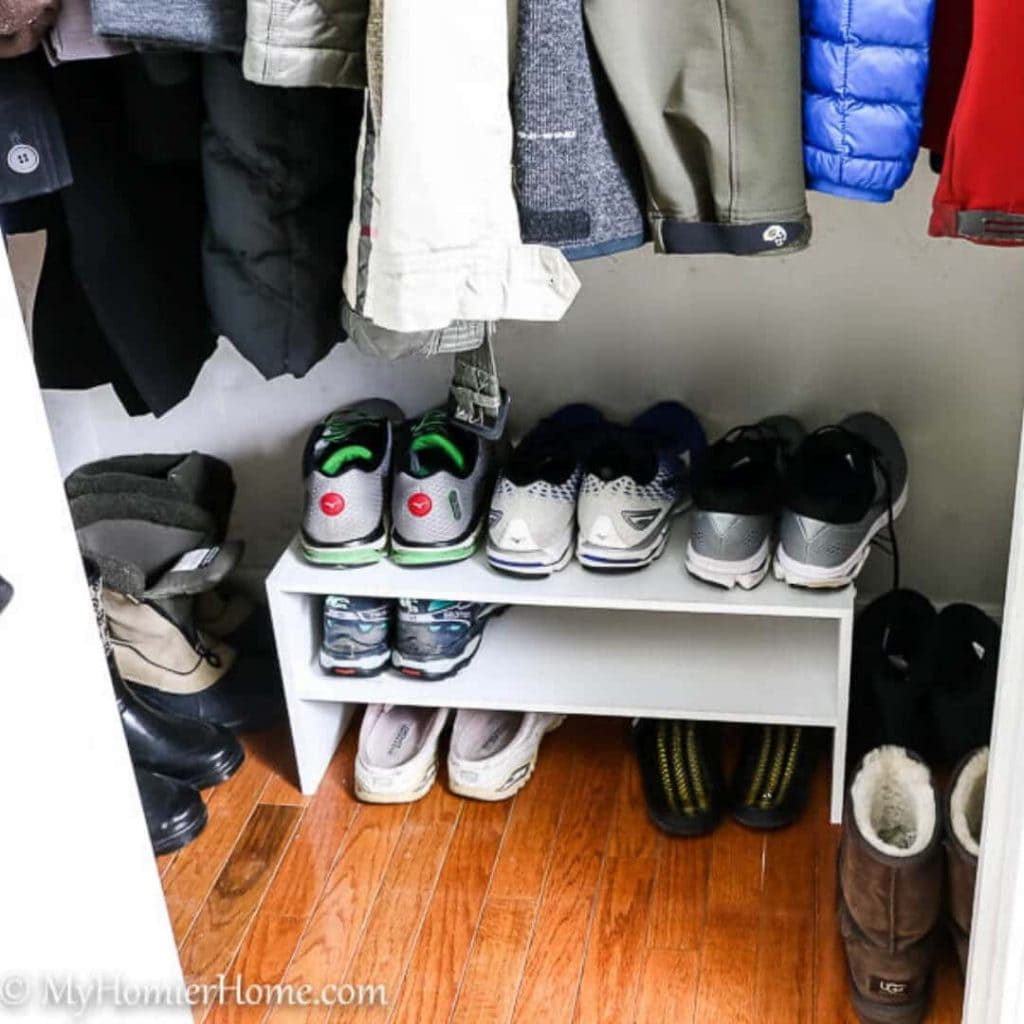
We had a bunch of nonsense pairs of shoes that for sure didn't need to be housed in the coat closet long term.
However, we did keep our boat, workout shoes, and slip-on shoes readily available in this closet.
Just be sure to think through what makes the most sense for your family and your daily habits before deciding if something should stay or go.
8. Assess what type of organizational items you need.
For me, this is usually the expensive part because I love to find super cute and functional organizers for all the rooms.
However, I am in the quick win mode with the baby on the way, so I took more of a practical approach this time.
Let me tell you, to have something done, even though it's not perfect, has totally lifted a weight on my shoulders.
My tip here?
Use organizational bins you already have to put the space back together.
Even if they aren't the prettiest or don't give the perfect aesthetic you're after, if they function appropriately, use them.
On the flip side, if you don't have something that functions appropriately, you have a couple options for the quick win.
One, do some measuring and
Or two, mark a spot in your calendar for the near future to go pick up what you need, but try not to wait longer than a week.
Don't forget to measure now and save it in your phone.
You'll want to measure the length, width, and height of the area you are trying to use to house your items.
9. Put it back together.
Now that you've worked your way through the clutter, it's time to put'er back together!
Before putting anything back, be sure to reference your assessment from step 1.
You want to make sure that you've thought through the reasons for the mess to begin with and try to combat it as you decide how it should go back in to fit your needs.
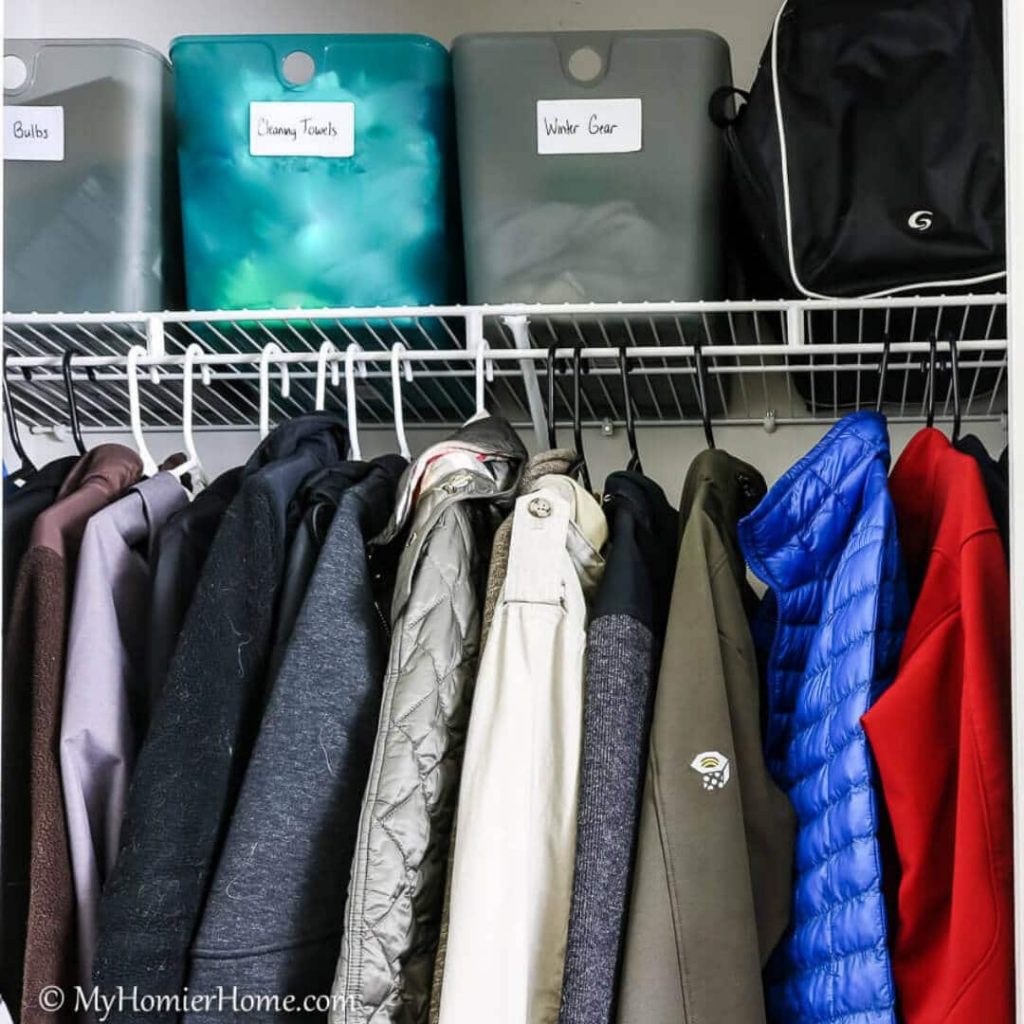
This is the time I like to print pretty labels and make sure everyone who enters this area can see what is supposed to go where, but this time, I was looking for the quick win.
So, I grabbed some pre-cut labels and hand-wrote what was in the bins.
Fast, efficient, and a quick win baby!
Maybe not Pinterest-worthy, but dang it feels good to gain a little more functionality in my life in less than an hour.
I did make sure to color code the hangers since I had enough of each color, white for my coats, black for my husband's… just to get a little more conformity going.
10. Live with it for a few days.
My last tip for you, is to give some time to see how your system works.
Try it for a few days and take notes on what's working and what is not working.
Did the same issues you wrote in step one come back?
If so, what was it that didn't fix the problem?
After taking a moment to consider this, adjust the system as needed.
Chances are, even if there is something still not working quite right, some part of your system will be so much better than what you were working with before.
And since you achieved the quick win, if there are any more issues to come, you'll be able to identify them much easier.
11. Revel in the bliss of a clutter-free, organized space.
As they say, done is better than perfect, so give yourself a pat on the back for getting a little closer to a functional home.
Now you can sit back, relax, and enjoy!
One space down and, well, you know the rest.
Psst… If you are looking for more specific room decluttering tips you can check out these posts from the Quick Win Series:
- Kitchen Desk Organization
- Kitchen Cabinet Organization
- Linen Closet Organization
- Master Closet Decluttering
- Master Closet Organization
- Nursery Closet Storage & Organization
- Pantry Organization




My cousin would like to du-clutter her current house, and that is why she has decided to start looking for a storage facility where her other things will be placed. Thank you for sharing here as well the importance of labeling the items. Well, I also agree with you that it would be smarter to categorize them too. http://www.coffeemovers.com/private-storage