7 Steps to Organizing Under the Bathroom Sink – Once and For All
Learn how to create the perfect system for organizing under the bathroom sink with these 7 easy steps!
Oh, under the bathroom sink… why are you so awkward?
Why is it soooo hard to keep you organized?
These answers may be tough to answer, but today I’m talking about my well thought-out plan to combat the ugly black hole that is under your bathroom sink for maximum use.
Each year right around May, I find myself opening the cabinet under my bathroom sink and wondering… how did I get here? #blackandwhiteforblackholeeffect
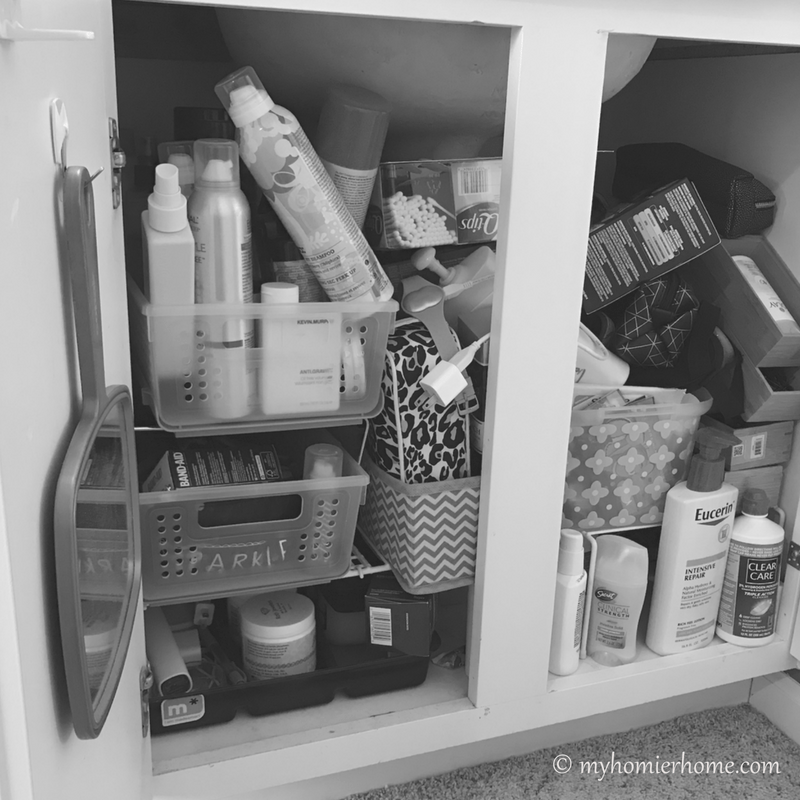
Without a doubt right around this time, I also think, didn't I go through this same issue last year?
The answer is always the same… yes, yes you did.
This year, the idea of constantly reworking the area under the sink dawned on me as a real issue I face in my home.
It made me stop and question, “Why is it that what works at first does not work after a year of use?“
I decided it had to do with four main problems:
- My every day stuff is not placed in a systematic way in which I can take and put back easily.
- I’m housing all kinds of weird nonsense that I haven’t used all year under the sink and trying to “work around it” throughout the year.
- I forget what I have and what I don’t because of the black hole syndrome
- As soon as I need to locate something in a hurry, the placement of things gets jumbled and I end up stuffing things in wherever they can fit.
To me, good systems allow you to repeat the same take-out and put-back method every time with ease and efficiency.
As you can tell from the before picture, nothing here shows a good use of systems.
With my four problem areas in mind, I set out to come up with a long-term solution which led me to 7 steps you can also try to organize under your bathroom sink once and for all.
Here we go!
Table of contents
Disclaimer: This post does include affiliate links for your convenience. This is at NO additional cost to you but earns me a small commission. To read more, check out our disclosure policy.
1. Take everything out.
This is probably the easiest of all the steps and the most obvious, but it deserves its own mention.
By taking everything out, you can see your black-hole-of-a-space with fresh eyes. I also took this opportunity to wipe down the inside of the cabinets.
If you feel so inclined to make this area prettier, don't forget about the old school drawer liners of which could also be used in cabinets.
We forget how often we look into these cabinets and a small visual upgrade can really change our spirits day in and day out.
While you are taking everything out, I would also recommend separating the organizer-type items you may have been using already from the actual items you are going to be organizing.
By doing this, I actually saved myself a trip to the store because I was able to use the organizers I already had, but in a more efficient way. #nomoneynoproblem
(click on any of the images to shop the products)
2. Separate items by type.
Separating by type of item can be done as you empty, too. I did this as its own step because I have an easier time looking at everything at once in order to categorize.
I like to know what I have to be sorting in order to help me make the specific piles.
In case you are stuck, here are some options for the various categories you could use to separate your items:
- Shaving-Related
- Eye-Specific
- Teeth-Specific
- Travel Stuff
- Hair Products
- Hair Items (ponytail holders, bobby pins, etc.)
- Extras (i.e. items you bought in bulk or have for when you run out)
- Feminine Items
- Face Stuff
- Things that don't belong under the sink
- Garbage
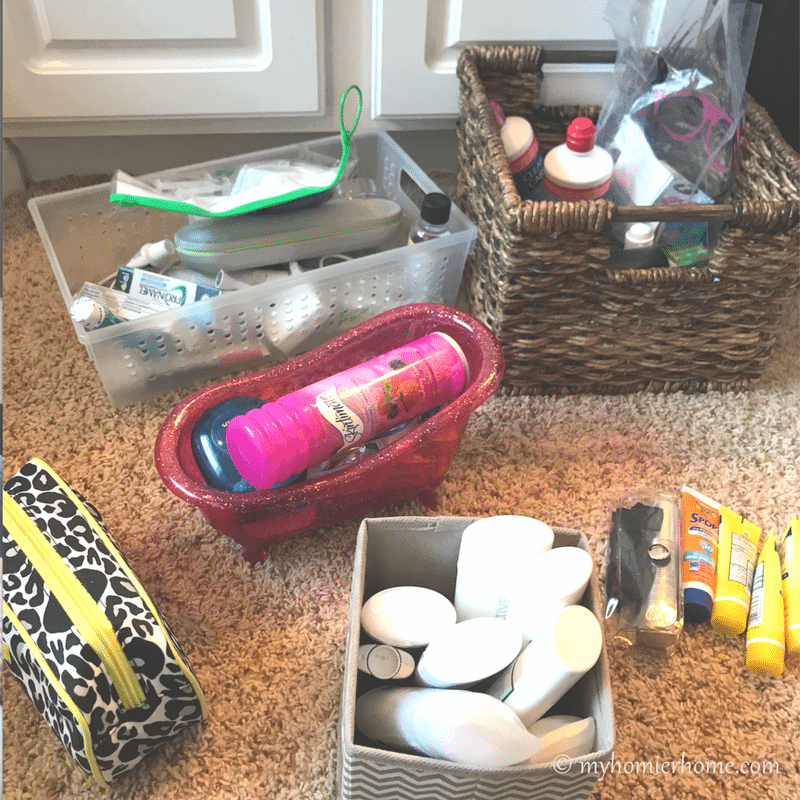
I actually used some of my organizing bins to keep everything together, so I could see what I had a little better.
The picture below does not show everything that was jammed into my cabinet, but these were the main categorized items.
3. If you don't use it, lose it.
I ended up with almost two full tall kitchen garbage bags of items I was either going to throw away or donate.
I had so many jars or tubes of makeup that had long been forgotten taking up space under my cabinet.
The last drop of that mascara tube is definitely beyond use after a year of sitting there, so part with it I must.
Having the decluttering mindset will give your cabinet a better chance of staying issue free over time and allow you to have access to things you actually need throughout the year.
Maybe you're not ready to part with that $40 case of 80 eyeshadows that you bought in hopes to stay looking fresh as you age…
crickets…
But, consider if there is someone you know who could get more use out of it.
You could donate it to a younger cousin or neighbor… just try to be critical of what you allow yourself to house in this space for your own sanity and to keep your new system workable long-term.
4. Consider frequency of use.
As I was assessing the different categories and moved the clutter from step 3 out of the way, I realized I had many different levels of use.
Considering this and my four main problems of why organizing under the sink hadn't worked in the past, I figured it would be a good idea to go within those categories and make some piles related to how often I planned to use such things.
Now, you may end up with a different frequency categorization, but most things I wanted to keep under the sink fell into one of these four categories.
The frequency categories are as follows:
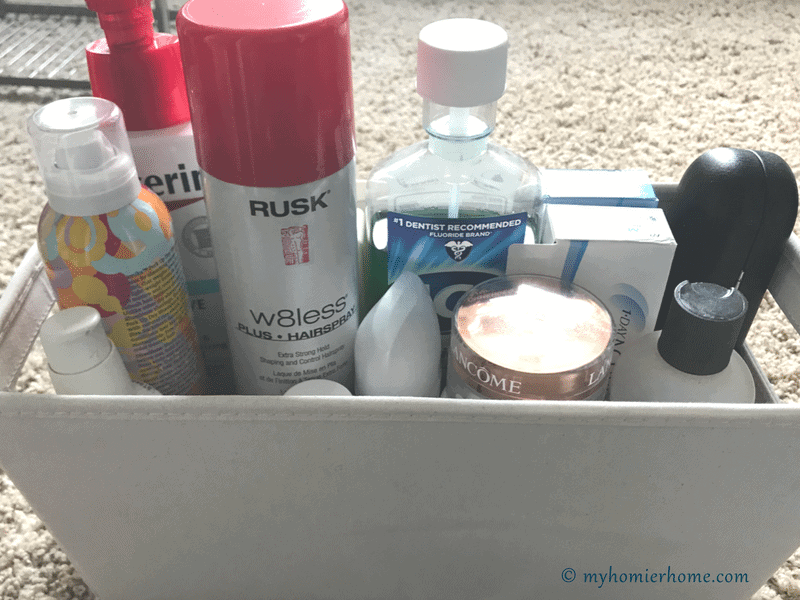
Every Day
I think the every day category is pretty self-explanatory, but this is a group of items I literally use every morning and night like clockwork.
I think when I first did this a year or two ago, I kept similar items together, but never considered how nice it would be to have one “station” of sorts to house these every day items.
This way, I could create a better system for taking out and putting back in my day to day (one of my four main problems).
Grab ‘n Go
You'll notice in the picture above in step 2 that I have a neon yellow and cheetah print bag.
This actually is what I use for my shower items when I travel. As I was taking everything out, I was thinking, why don't I just leave these in here?
That way, I could grab ‘n go instead of spending time considering what I need when I'm in a rush to pack.
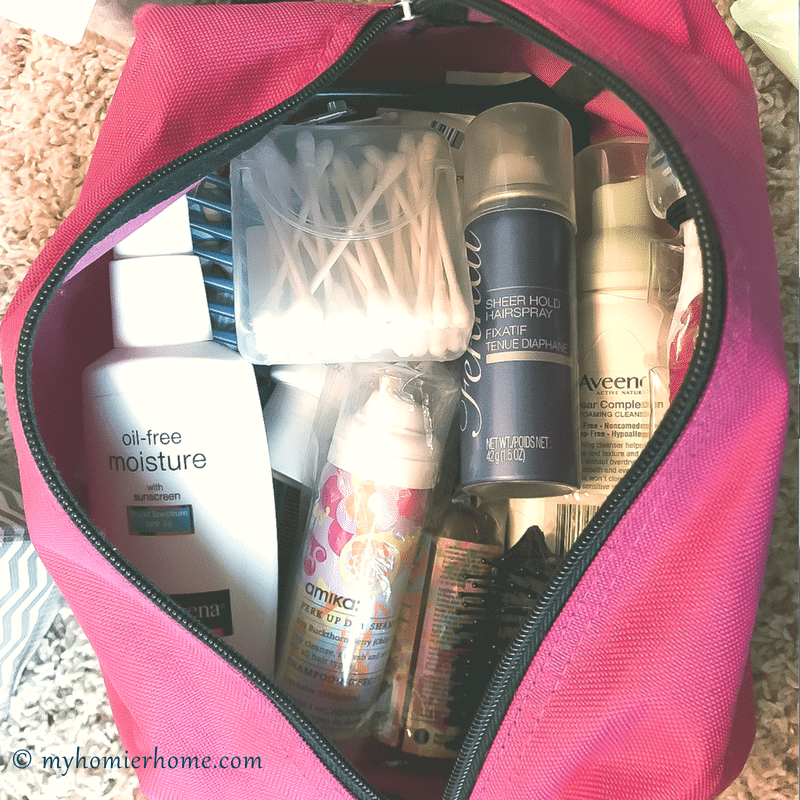
While I was thinking about these shower items, it dawned on me that I could follow this same idea for every other toiletry item for when I travel, too! T
he picture below shows the inside of my items I would need for every day while traveling.
The only item that isn't “plane” compatible is my favorite face wash, but on my list (see step 5) I wrote myself a note for that.
Occassional/Replenishment
I put occasional and replenishment items together because their distinction wasn't very different.
Products that I use to curl my hair occasionally, extra toothpaste for replenishing when I ran out, and bobby pins were still going to be left in a space with their particular category.
This frequency category can have its own levels of use, too.
If an occasional item, like bobby pins, is something that I use every couple of days, I want to make sure they are more easily accessible when I put it back under the cabinet.
Also, the quantity of these different items in their specific category helped me decide which of my existing organizers I could use to access them quickly when needed.
Travel-Size Replenishment
I found myself with a ton of travel-sized items that didn't go necessarily in my grab ‘n go bags, but I wanted to keep handy for when I ran out of something after traveling.
These are items that I won't necessarily need in the front of my cabinet, but will be good to have all in one place when needed.
I separated these from the occasional/replenishment category because they are specific to actual travel as far as being less than the 3 ounces necessary for hopping on a plan.
5. Create an inventory list.
Knowing my forgetful self, I also took a moment to record every item, specifically in my grab ‘n go bags, within a digital list.
This way, when the time comes and I forget what I had placed in there, I won't have to dump it all out and start again.
I use Evernote for these types of lists, but you could easily put a sticky-note or paper list into the bag or even on the inside panel of the cabinet door.
Depending on how deep your cabinet is (and if you think you are someone who will forget what is under the sink), it may be helpful to create a top-view map of where everything is by category and tape it to the inside of the cabinet door as well.
I can see pretty clearly the various areas in my cabinet, but I may add this after using the system awhile.
6. Choose the right organizers.
You may be starting off with no organizers or perhaps the organizers you have are not the greatest.
Maybe you are like me and have organizers from a previous attempt.
Either way, you'll want to consider a few things when choosing your organizers:
- Will it fit under your sink easily?
- Will it house all the items in the specific category?
- Will you need it to have stacking capabilities?
- Will it need a lid?
- Will you need additional shelving to give the organizers height?
- How pretty do you want these organizers/shelves to be?
Considering these questions will help you make smart decisions the first time, so that you do not have to continue to redo this project year in and year out.
In my case, most of what I had was purposeful enough that I didn't need to go out and buy anything else – I was also trying to do this on the cheap.
If I were to take a luxury approach to this project, I would invest in the same type/color of organizer to make the visual of this cabinet prettier from my favorite organizing store, The Container Store.
Because I was trying to not spend money, the mix and match items worked just fine.
7. Create your masterpiece.
Ok, masterpiece may be an overstatement, but your goal is to only put the things that fit your categories and that make the most sense back under your cabinet. B
e critical of how often you'll need to get at the items, where they will fit best for ease of access, and how the system will work logistically.
As long as you consider these factors, the only thing left to do is play with the layout. Here's how mine turned out…
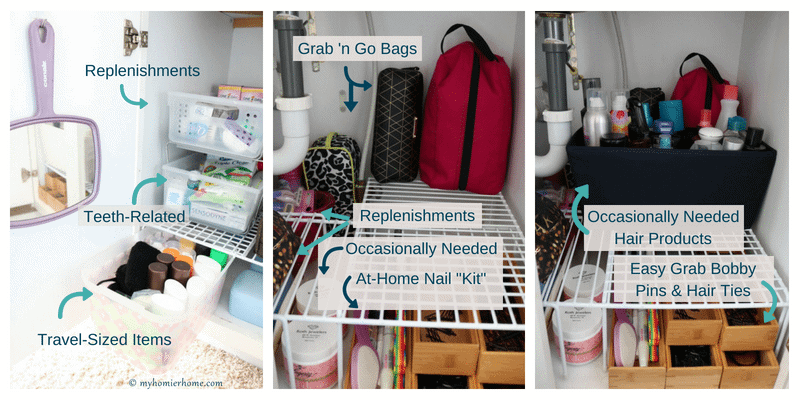
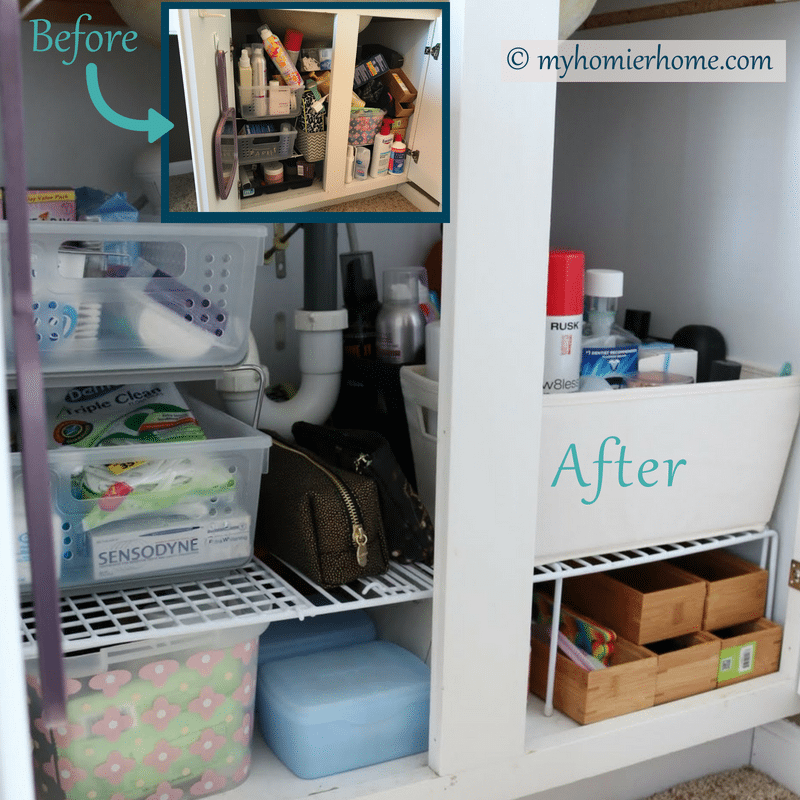
What do you think? Leave a comment below… I would love to know your biggest issues with keeping under the bathroom sink organized!

(Shop all my bathroom organizers by clicking the button above.)



One Comment