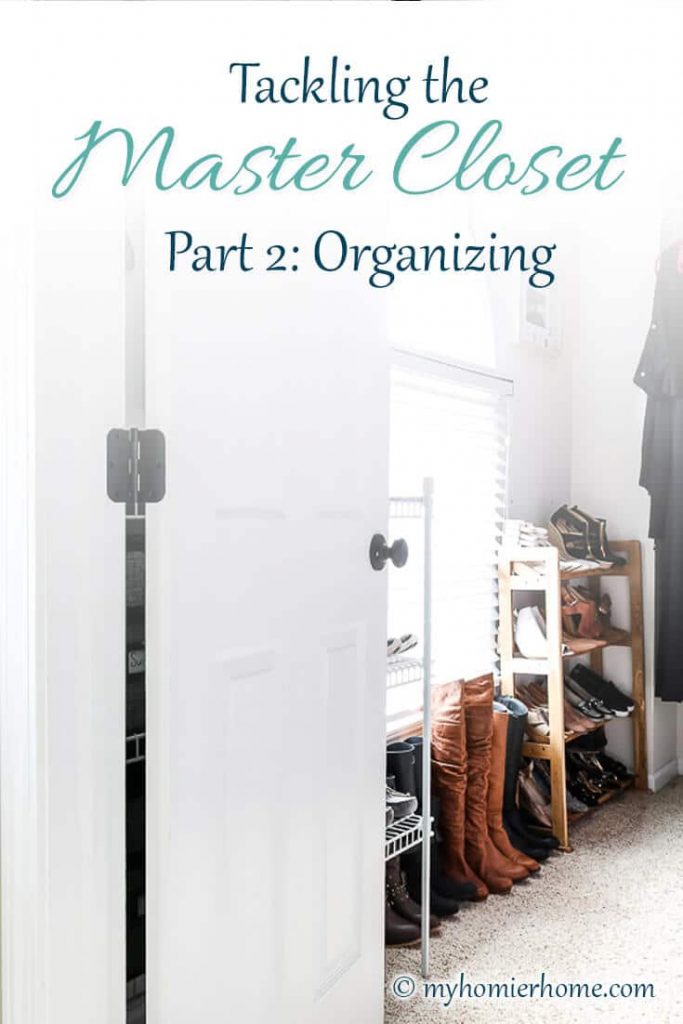
Tackling the Master Closet Part 2: Organizing | Quick Win Series
We decluttered and purged, now it's time to put it back together! Let me walk you through how I organize the master closet.
Aww ya! We are talking about organizing the master closet today!
I am so excited to show you how I put everything back together after the master closet declutter session.
It took awhile to sort through everything, but now that I know what I have, it is time to put this beast back together again!
The tips given below will help you make sure you create a space that works for you and looks pretty too!
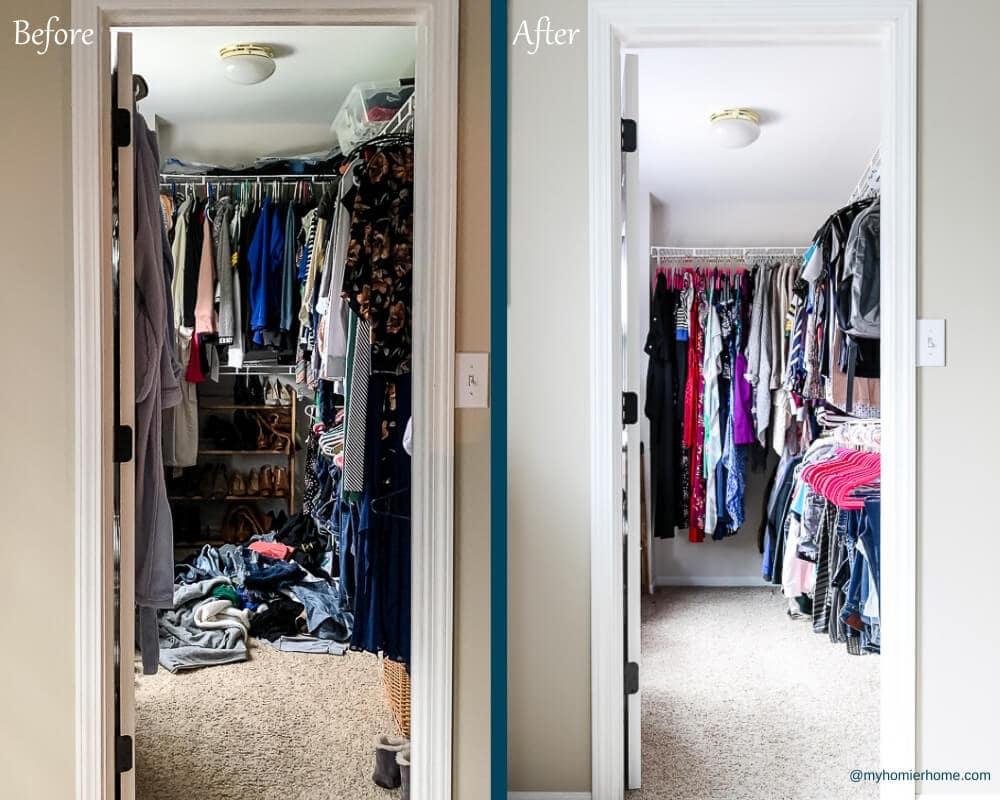
I have all the before and after photos as well as my source list for all the items I purchased at the end of the post.
Let's get to the tips!
Table of contents
- Tip #1: Reference your damage assessment from Part 1: Decluttering
- Tip #2: Decide what would be best suited for your dresser versus hanging in the closet.
- Tip #3: Put items back in the dresser using the Konmari folding method.
- Tip #4: Use matching hangers for all items that will be hung up.
- Tip #5: Sort clothes by type
- Tip #6: Label, label, label
- Tip #7: ROYGBIV it.
- Tip #8: Keep everything off the floor as best you can.
- Tip #9: Order what you need to keep the organization flowing.
- Source List
- Before & After Photos of my Quick Win
Disclaimer: This post does include affiliate links for your convenience. This is at NO additional cost to you but earns me a small commission. To read more, check out our disclosure policy. As an
Tip #1: Reference your damage assessment from Part 1: Decluttering
In part 1 of tackling the master closet, we started by assessing the damage.
This would be a good time to reference this list and review your before photos.
As you start to think of what you want to go where, it's important to keep in mind what didn't work in the way you had it before.
Use this as a guide to help you make decisions on the best layout for your closet.
Once you have reviewed the assessment and mapped a plan, create a list of organizational items you will need to tackle these issues listed in your damage assessment.
You can see what I ordered to make my closet function better in the source list at the end of this post.
Tip #2: Decide what would be best suited for your dresser versus hanging in the closet.
Once I decluttered my piles, I found it easier to start with deciding what would go in the drawers.
I went back and forth on whether or not I should hang workout clothes and t-shirts, but my closet isn't infinitely large, so I chose to keep yoga pants, workout capris, workout shorts, workout shirts (tanks, short-sleeve, and long-sleeve), and graphic t-shirts in my dresser.
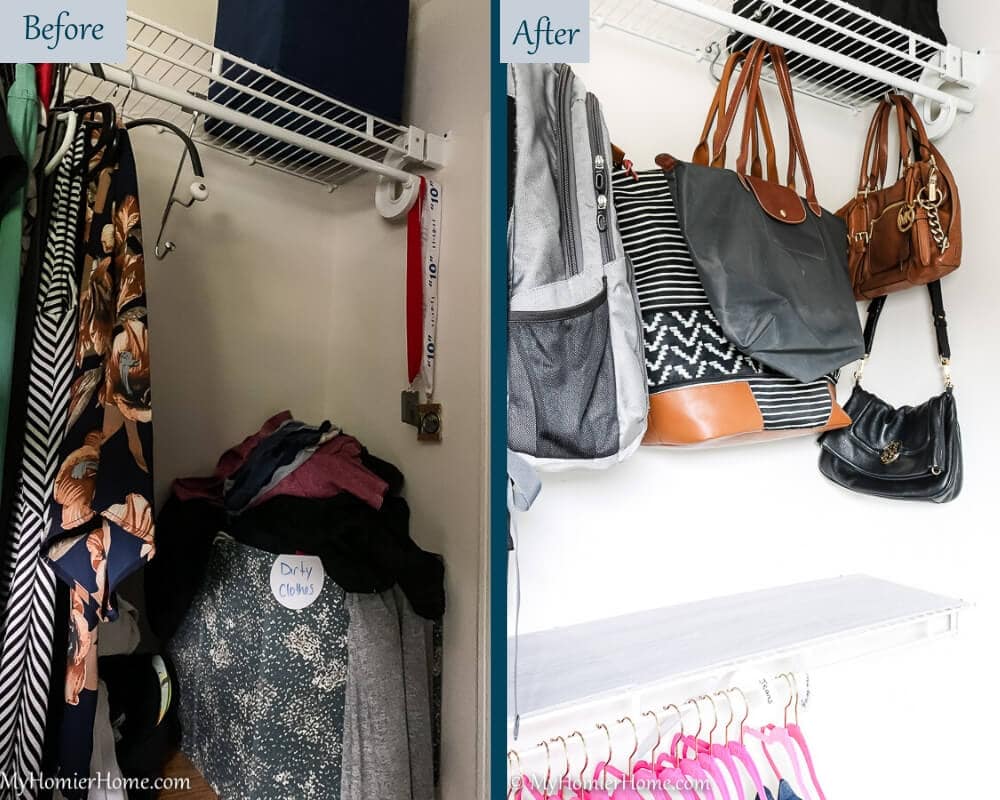
After putting the other items back in the closet (see the tips below), I ended up having room for pajamas, specialty running gear, scarves, and my small purses and clutches in the drawers, too!

Tip #3: Put items back in the dresser using the Konmari folding method.

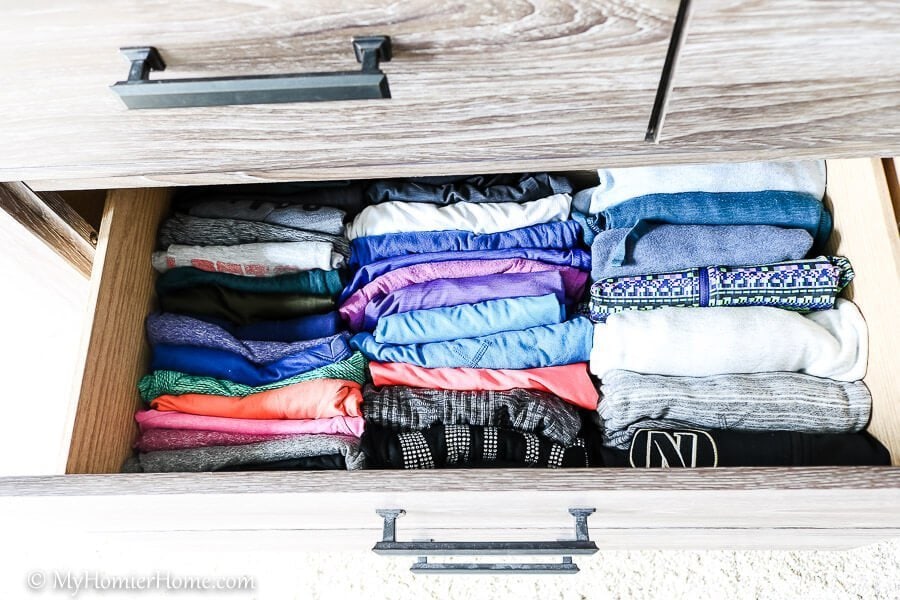
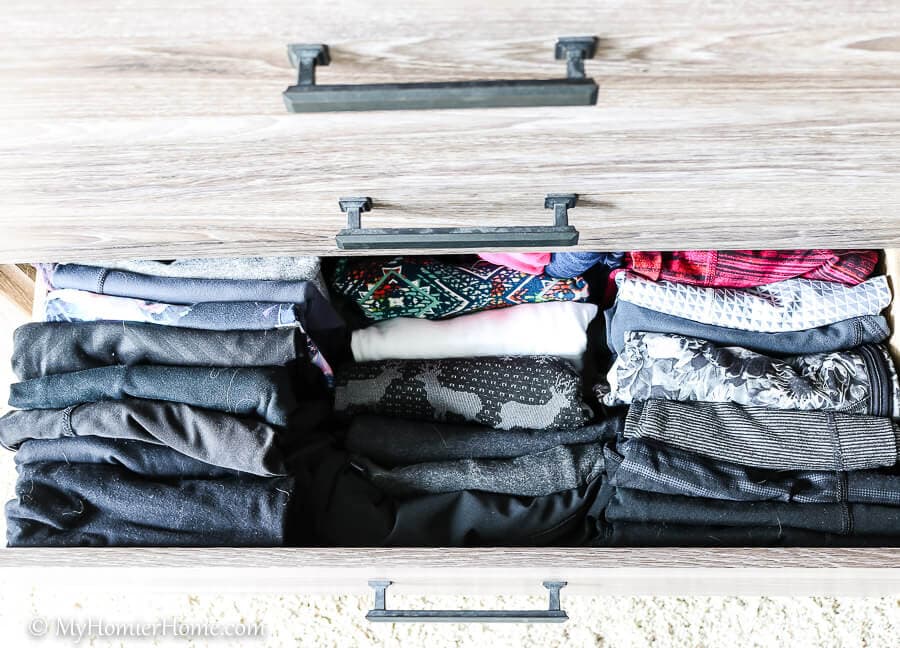
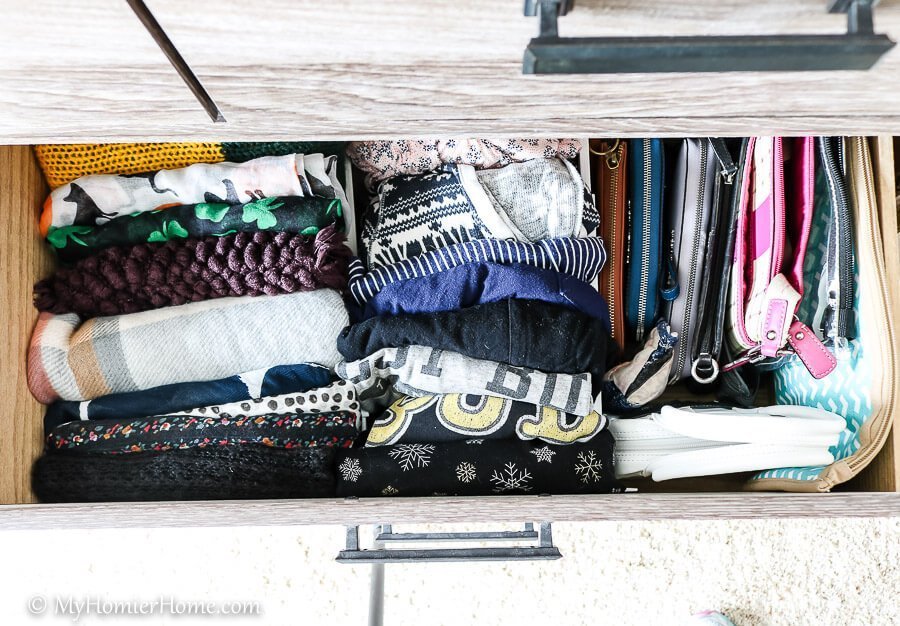
The reason I had so much room left in the drawer after putting all of that stuff back in there was because I followed the KonMari folding method.
I do not know why I haven't been folding like this my whole life, but this gave a totally new and improved view of my clothes in the dresser drawers.
You can see from the photos above how easily I can open the drawer, reach in, and grab exactly what I need in one quick look.
You have to do this for your dresser drawers if you aren't already. It's life changing!
Tip #4: Use matching hangers for all items that will be hung up.
Speaking of life changing, investing in the same hangers for all your clothes is a total must and worth every penny.
Now, you don't have to go fancy with velvet slim hangers and specialty hangers if you aren't ready for that.
However, they do allow you to fit more clothes in your closet and ensure things aren't falling off the hangers as you remove items.
If you are not ready to commit to nice slim hangers, you can always use what you have, but try to get them to all be the same color and type, if possible.
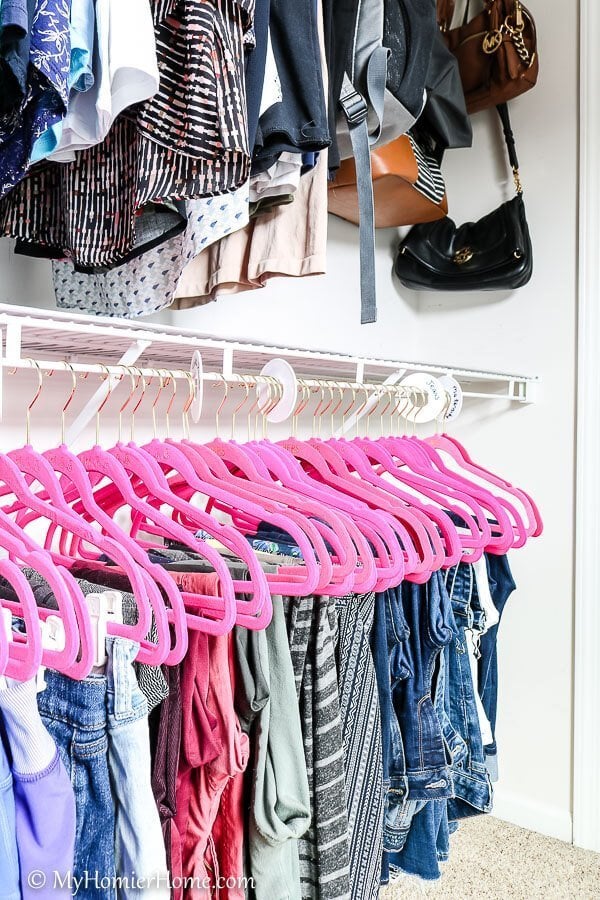
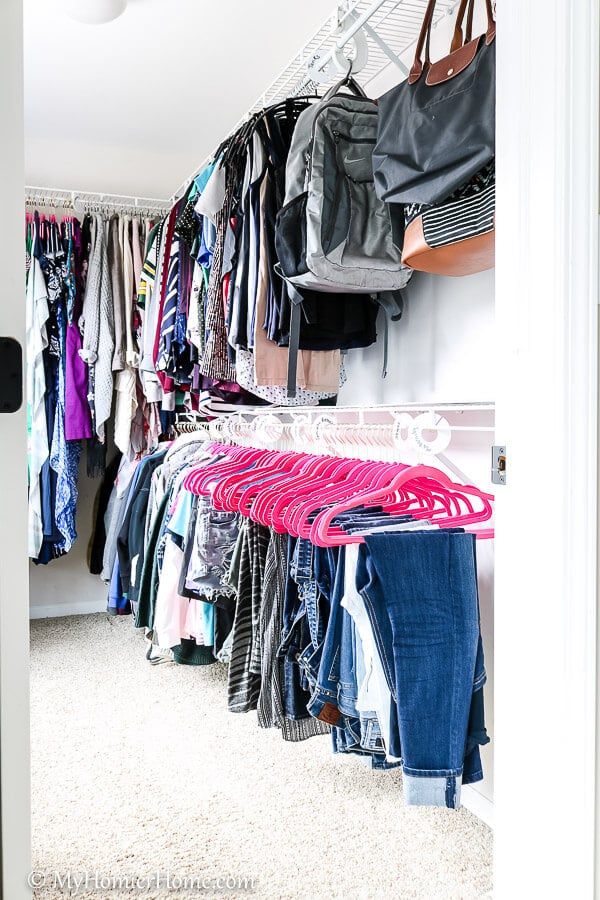
I actually used two different types of hangers on purpose.
I have the pink velvet slim hangers for everything on the bottom rack (bottoms, sweatshirts/hoodies, and even my dresses), but I chose to use my favorite hangers of all time for my shirts and cardigans.
These hangers don't have a loop for pants, but they have a rubber coating over the hanger and are bent so that your clothes never dimple from the hanger.
I'm obsessed. If you have the funds, I highly recommend them (listed in the sources at the end of the post).
Tip #5: Sort clothes by type
When you are ready to start bringing clothes back in to the closet, be sure to keep the piles you made sorted back in the closet, too.
Here are the sections of my closet I created:
- Dresses
- Cardigans
- Green Bay Packers Gear (I have a lot of that)
- Long-Sleeved Tops
- Short-Sleeved Tops
- Tanks
- Vests
- Sweatshirts/Hoodies
- Golf Gear
- Shorts
- Work Pants
- Specialty Bottoms (skirts, non-work/non-jean pants)
- Jeans
- Maternity (for this whole pregnancy phase)
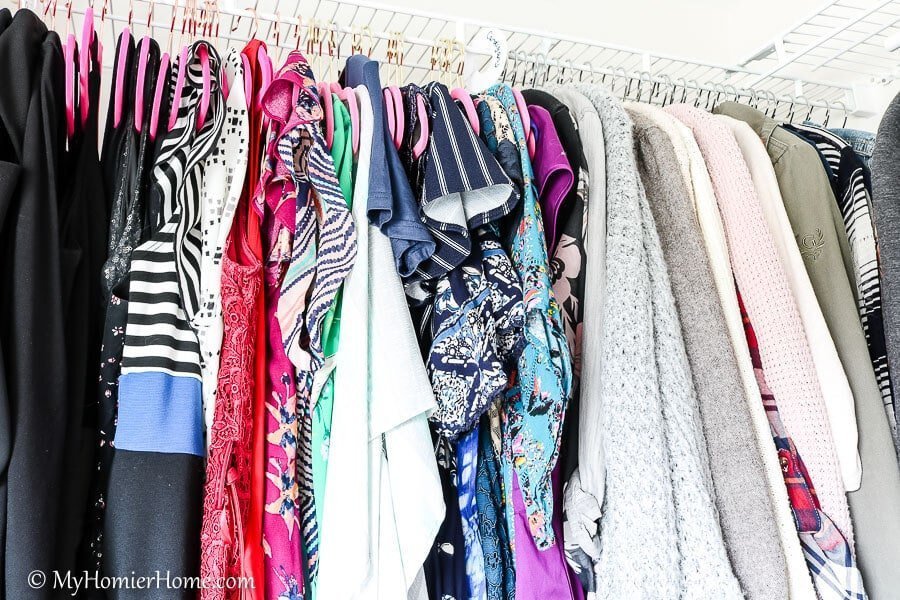
I only had one place for long dresses to hang, so that was a no-brainer, but I wanted the cardigans to hang close to them since those items tend to go together.
Naturally, I had all the different shirts separated on the upper rack.
Then, on the bottom rack, I put my more bulky items like vests and sweatshirts/hoodies along side all my different types of bottoms.
Keeping these items separate has made choosing what to wear one hundred times easier because I only look at the section I need.
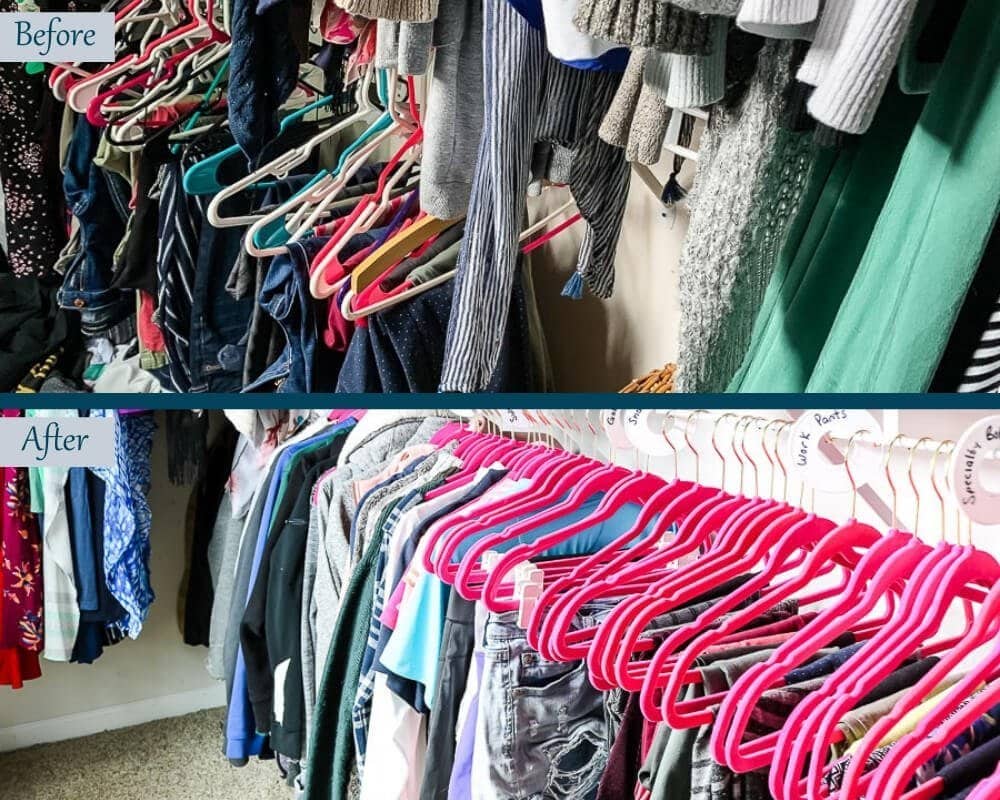
Tip #6: Label, label, label
Once you've decided the categories you are going to use to separate your clothes, add labels!
I used these inexpensive hanger divider labels to make it clear the separation between types.
Not only does this help me stay organized, but if anyone else is ever in need of finding or returning anything in your closet, it will be as clear as day.
Tip #7: ROYGBIV it.

One of my favorite tips I picked up from The Home Edit is to sort each section using the old school ROYGBIV color sorting technique: sort by putting reds first, then oranges, yellows, greens, blues, indigos, and violets in that order.
There is something so pleasing to the eye when thing are sorted in rainbow order.
I did each of the labeled sections in their own ROYGBIV.
This is definitely something I would highly recommend doing.
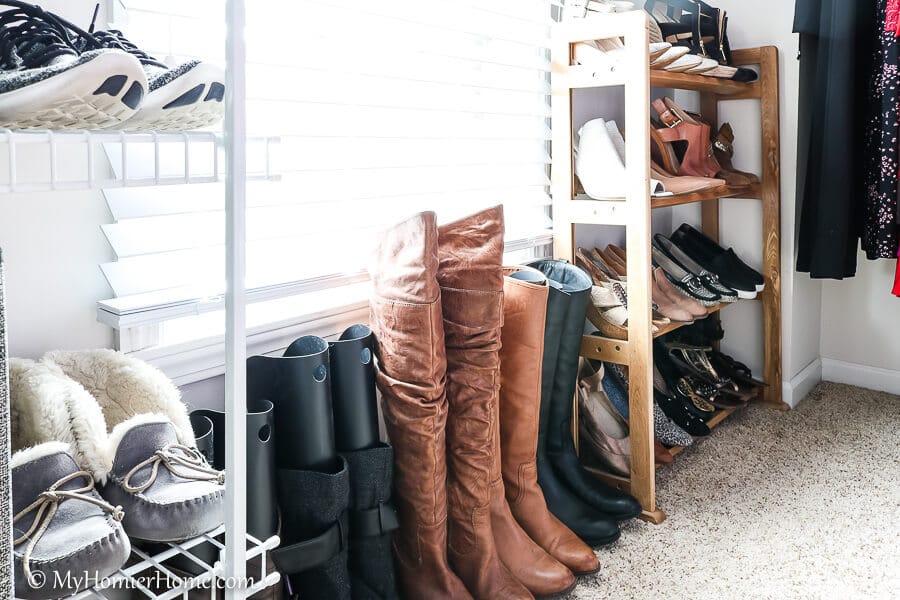
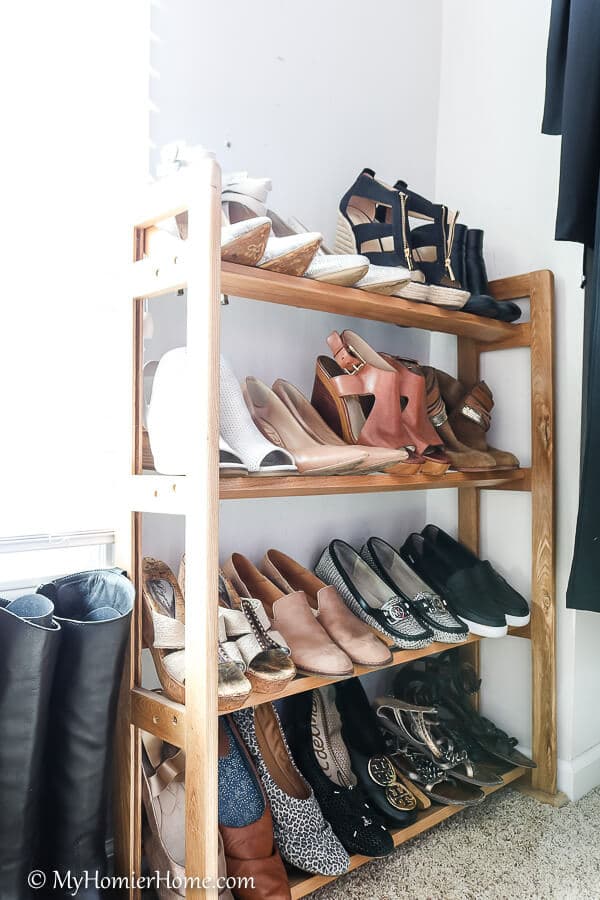
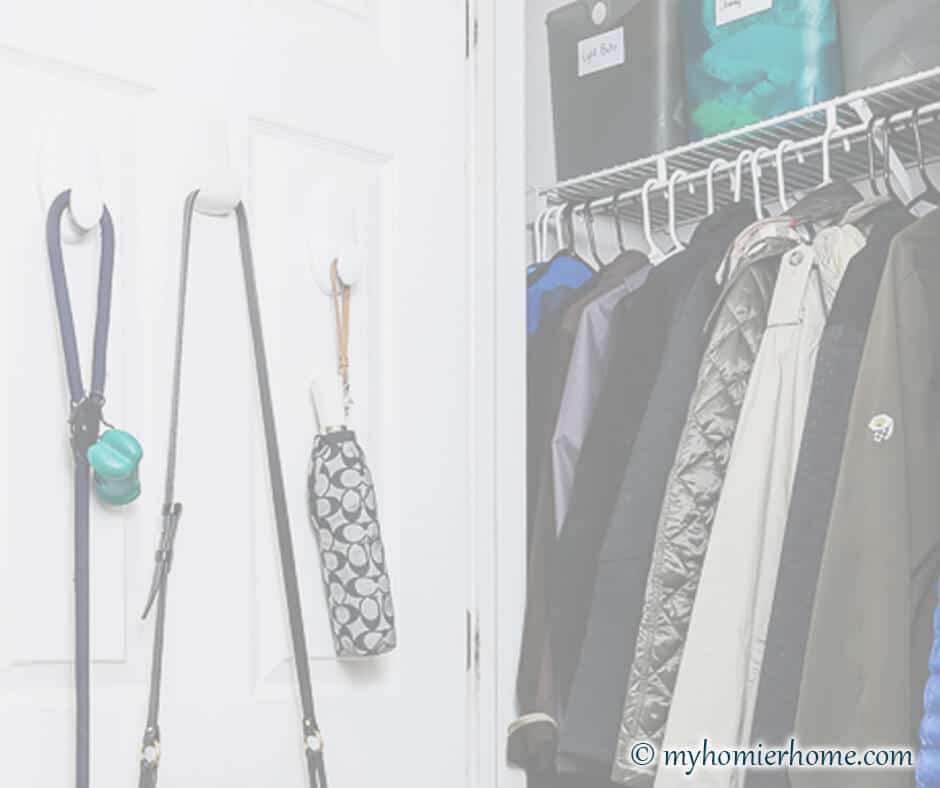
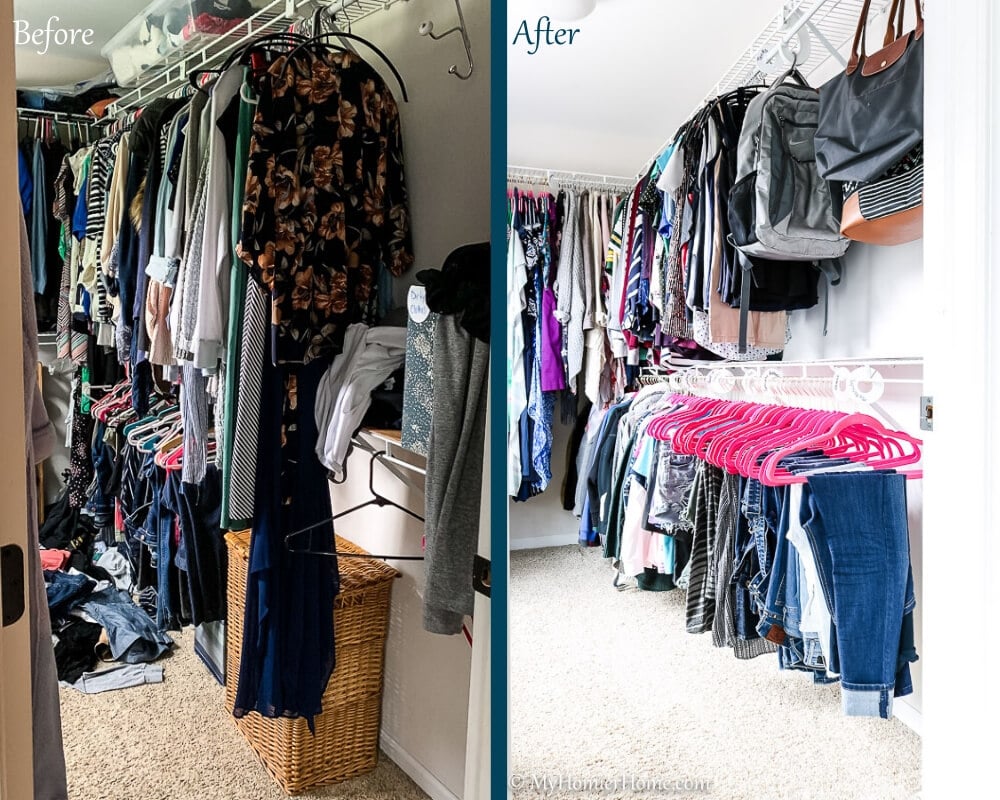
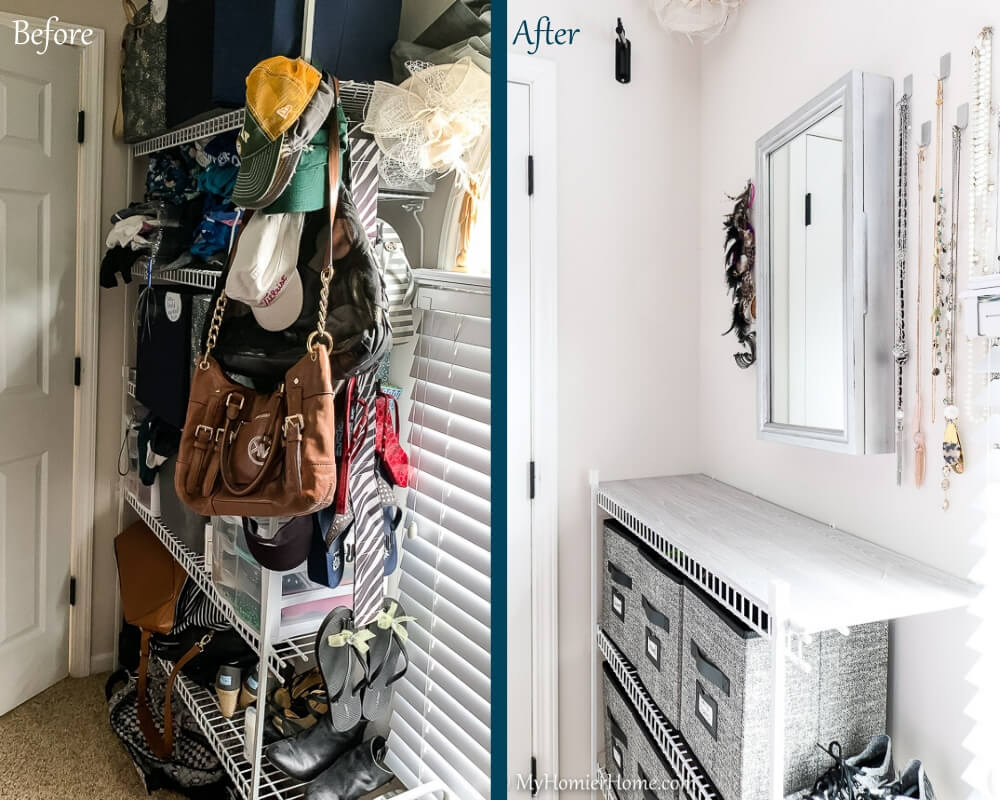
Tip #8: Keep everything off the floor as best you can.
Another handy tip I found in my google research was to try to keep as many things off the ground as possible.
Because of the amount I decluttered, I actually didn't even have anything I needed to house on the ground other than my boots (eventually I will be DIYing a shoe shelf to combat this.
I'll post a link when I've completed it, but from what I've read, it's better to store things above your clothes than it is underneath to help keep the clutter at bay and keep your closet organized.
Tip #9: Order what you need to keep the organization flowing.
Even with the extra organizers I made a pile of as I decluttered my closet, I was still in need of some specific pieces to make my closet function the way I wanted it to.
I do think having the right organizational pieces has really made a difference in being able to keep the closet organized as I use it.
Set yourself a budget and order the things now, so it doesn't get too far away from you and you start creating bad habits because you don't have the right tools.
You can find what I purchased below with affiliate links for your convenience.
Source List
Disclaimer: This post does include affiliate links for your convenience. This is at NO additional cost to you but earns me a small commission. To read more, check out our disclosure policy.

(click on any of the images to shop the products)
Before & After Photos of my Quick Win

And more after photos…