Tackling the Master Closet Part 1: Decluttering | Quick Win Series
Is your closet overflowing? Find out how to declutter the master closet, so you can gain back space, time, and love for your closet.
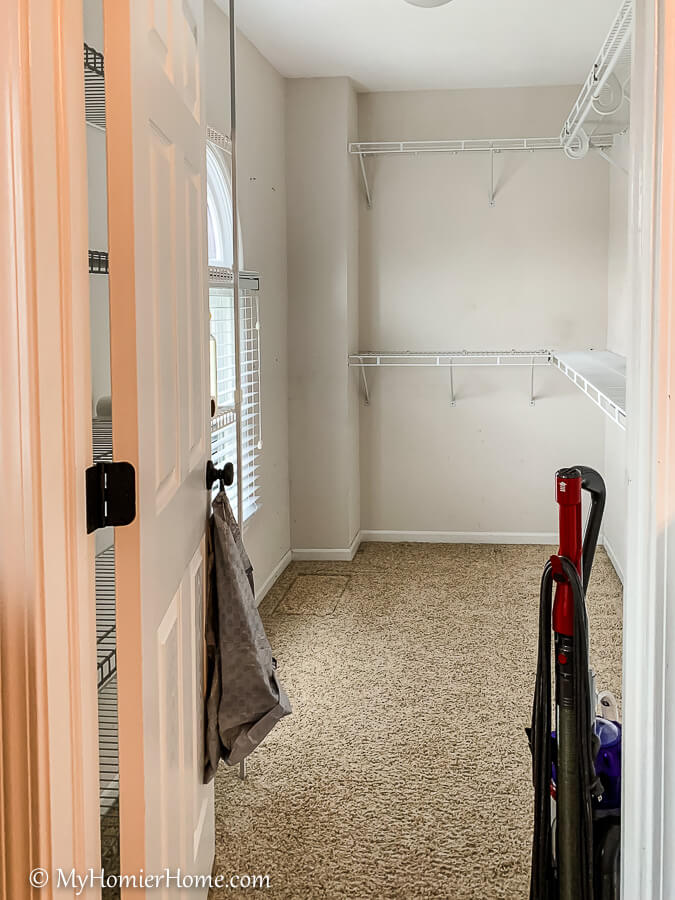
Back again with my ‘Quick Win' Series and I'm tackling the dreaded master closet!
If you missed any of the series, check out all my decluttering and organizing projects.
Today, I am focused on figuring out what the heck is in my master closet and how to sort through it. Then, we'll be ready to tackle how to organize your master closet to put everything back into your closet.
For me, I have the luxury of having my own closet that I don't have to share with the hubs, so this tutorial is based on my own items, but can easily be adapted to a dual person closet.
I will tell you that it is liberating to finally have a closet that functions for my every day life. These tips are not only practical, but will allow you to create a space that works for you.
It will take some time (quick being relative), but it will be well worth it. I promise!
And, if you are wondering why I've filed this under the ‘quick-win' when it took me approximately 15 hours over 3 days to complete, well, that's because I didn't spend time beautifying the walls with new paint, adding the stencil I want to include, or building a glorious shoe rack that I still have on the docket.
No, but I did make this space function and feel a thousand times better.
So my advice is to take the quick win and schedule the fun stuff for later.
On to the tips…
Table of contents
- Tip 1: Take before photos.
- Tip 2: Assess the damage and write down your needs.
- Tip 3: Consider taking everything out of your dresser drawers at the same time.
- Tip 4: As you remove all items from the closet, sort as you go into ‘like' piles.
- Tip 5: Wipe down the walls, shelves, & Vacuum.
- Tip 6: Purge each pile one by one.
Disclaimer: This post does include affiliate links for your convenience. This is at NO additional cost to you but earns me a small commission. To read more, check out our disclosure policy. As an
Tip 1: Take before photos.
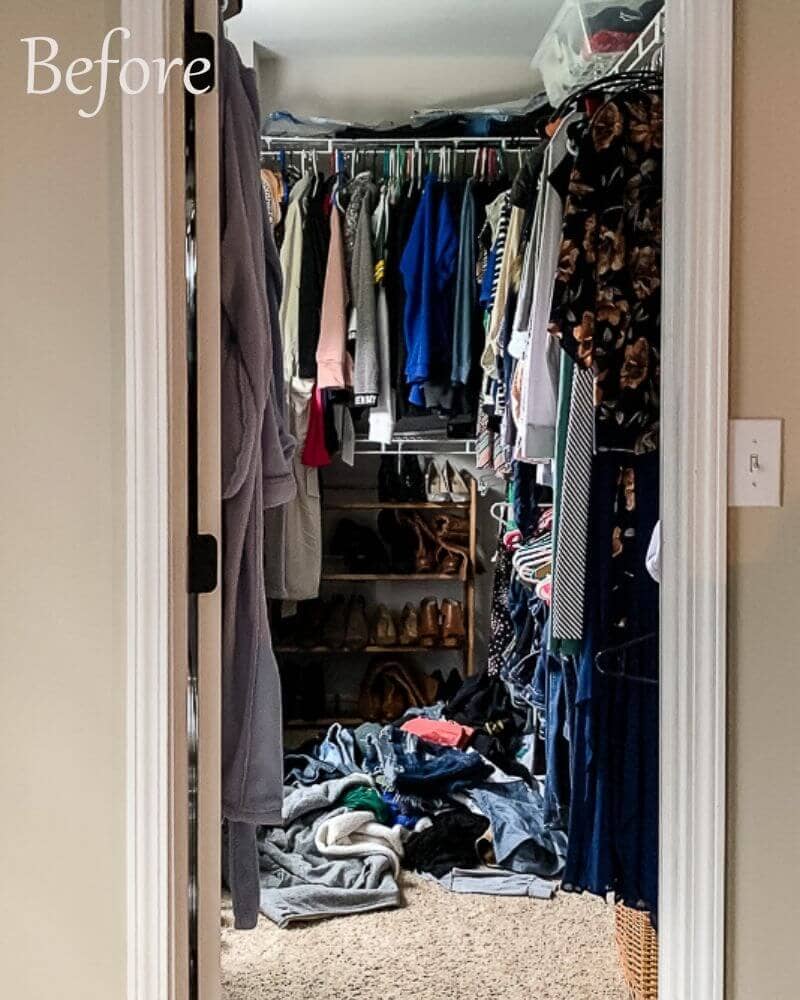
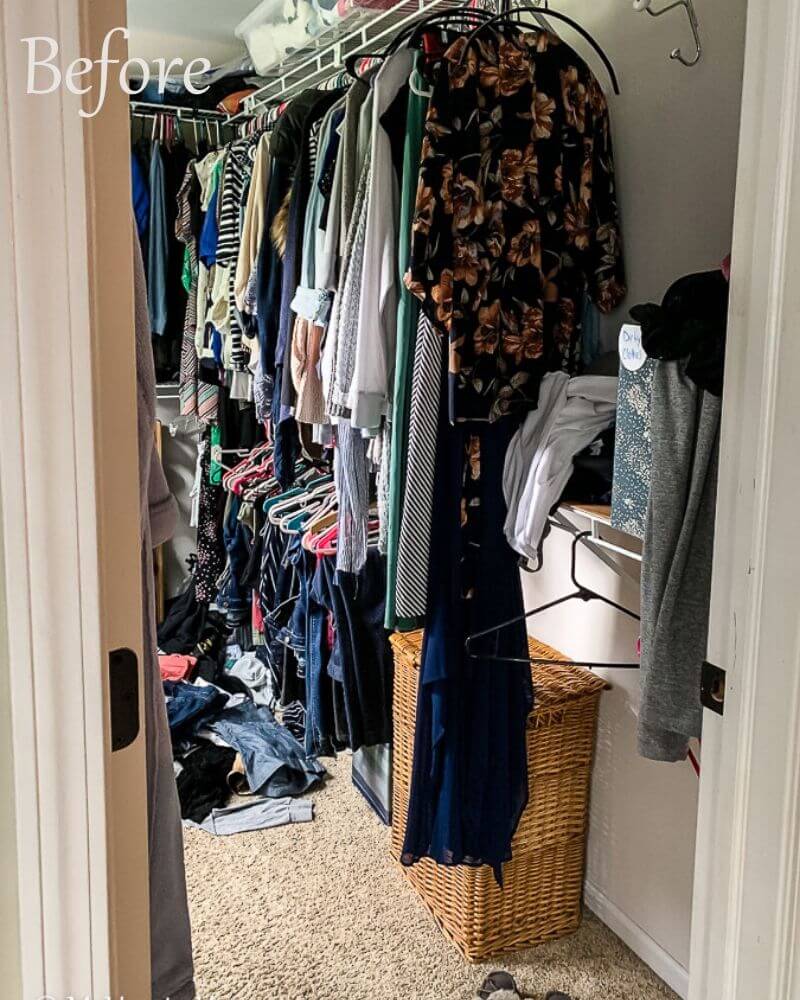
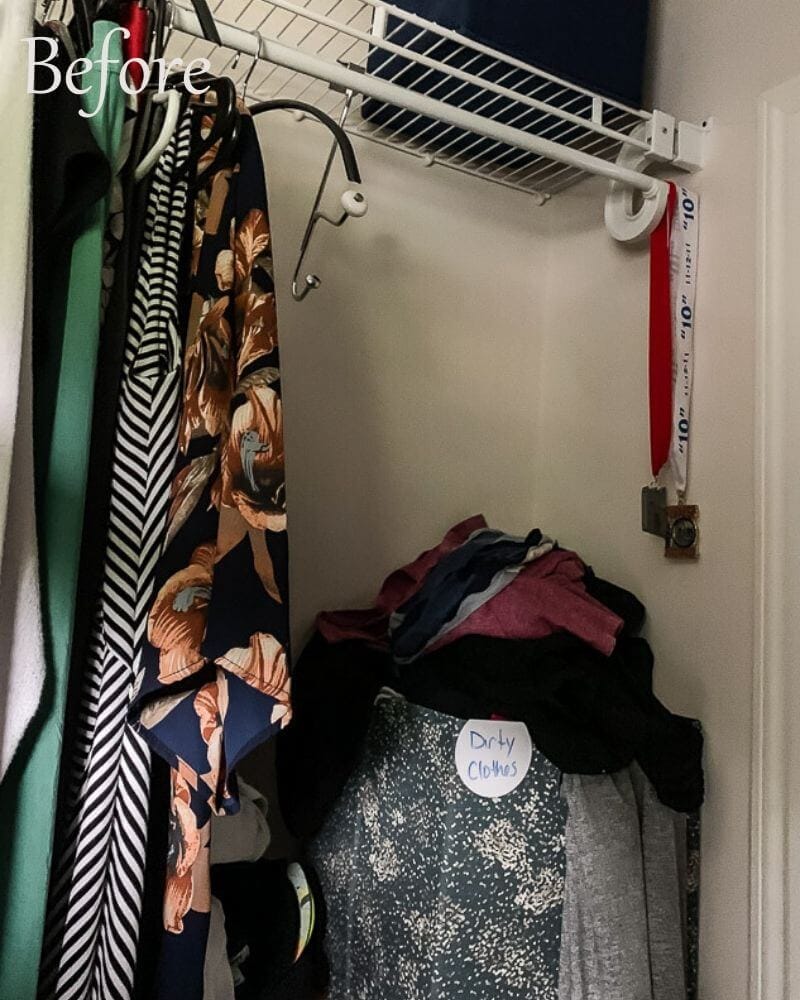
You will want to remind yourself what this beast looked like before you put it all back together and what you accomplished, so snap a few before photos before you start tearing things out.
I love a good before and after, so below are my before photos – a beast of an area once you see it removed from this space.
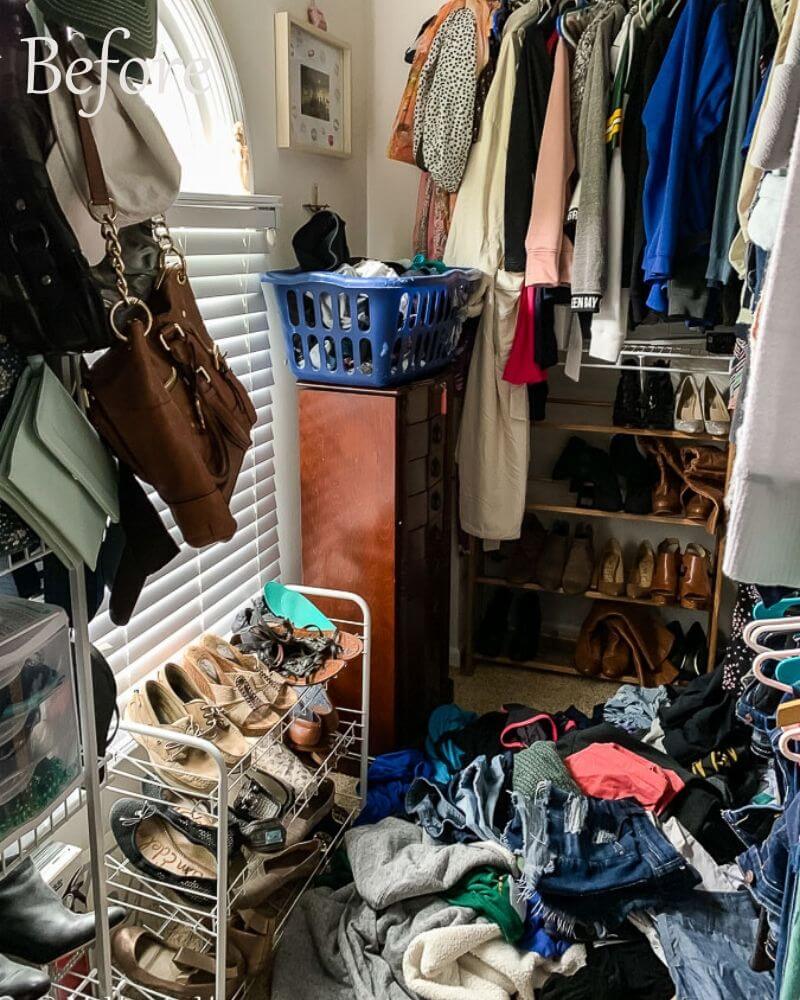
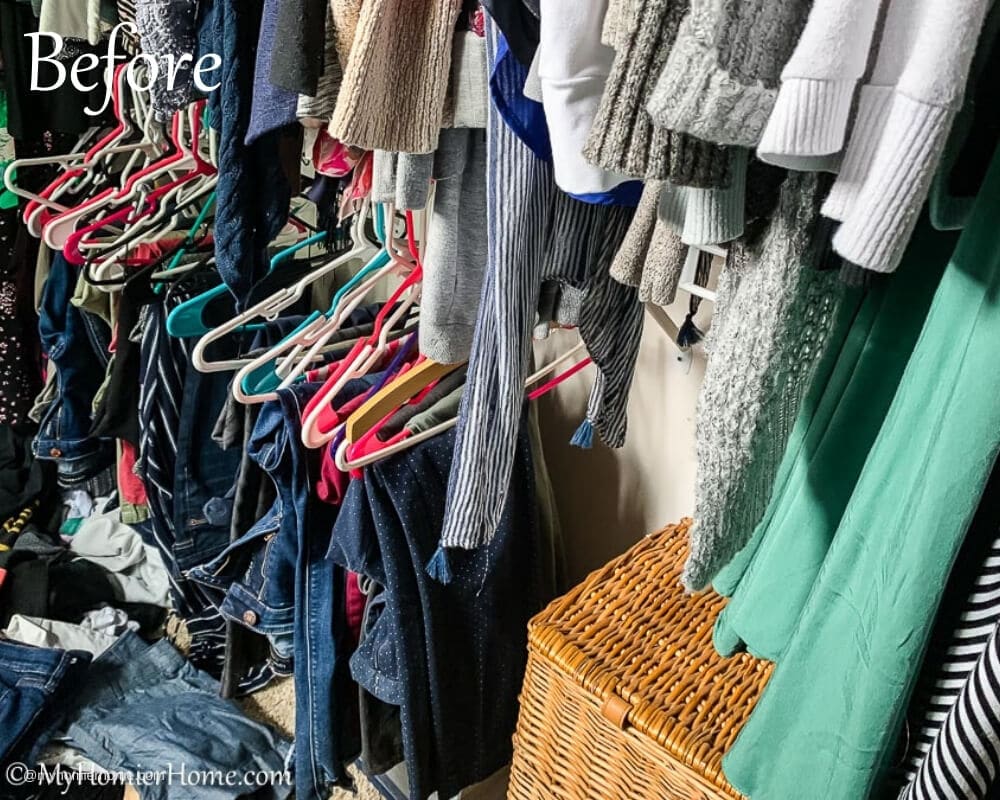
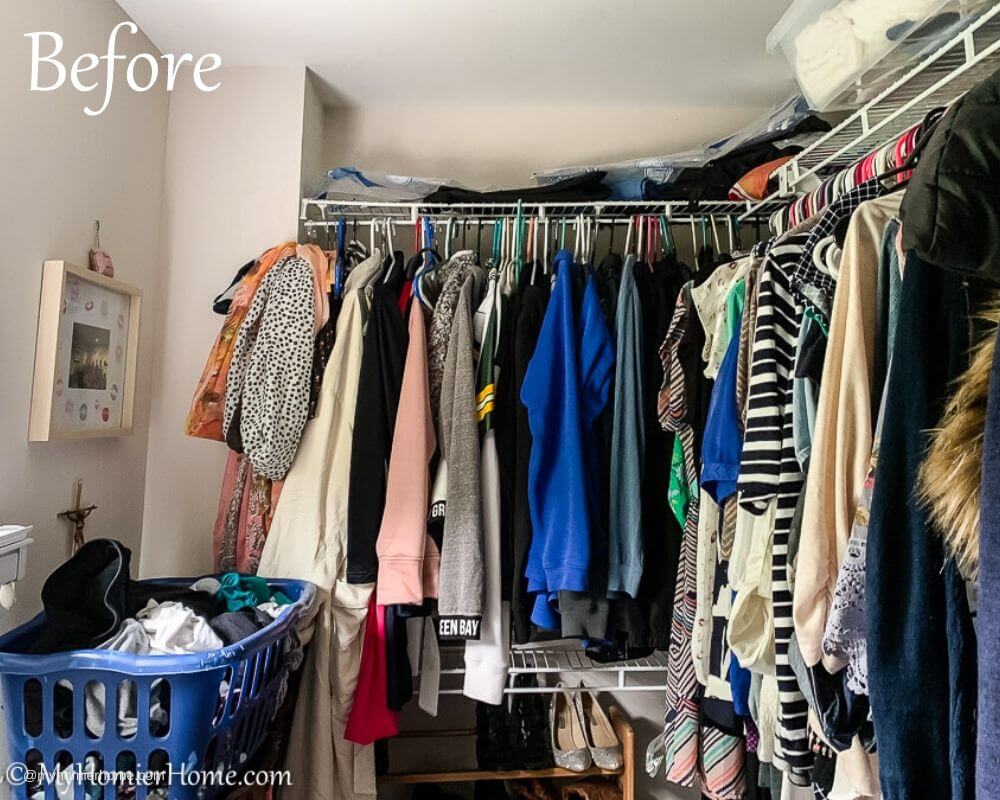
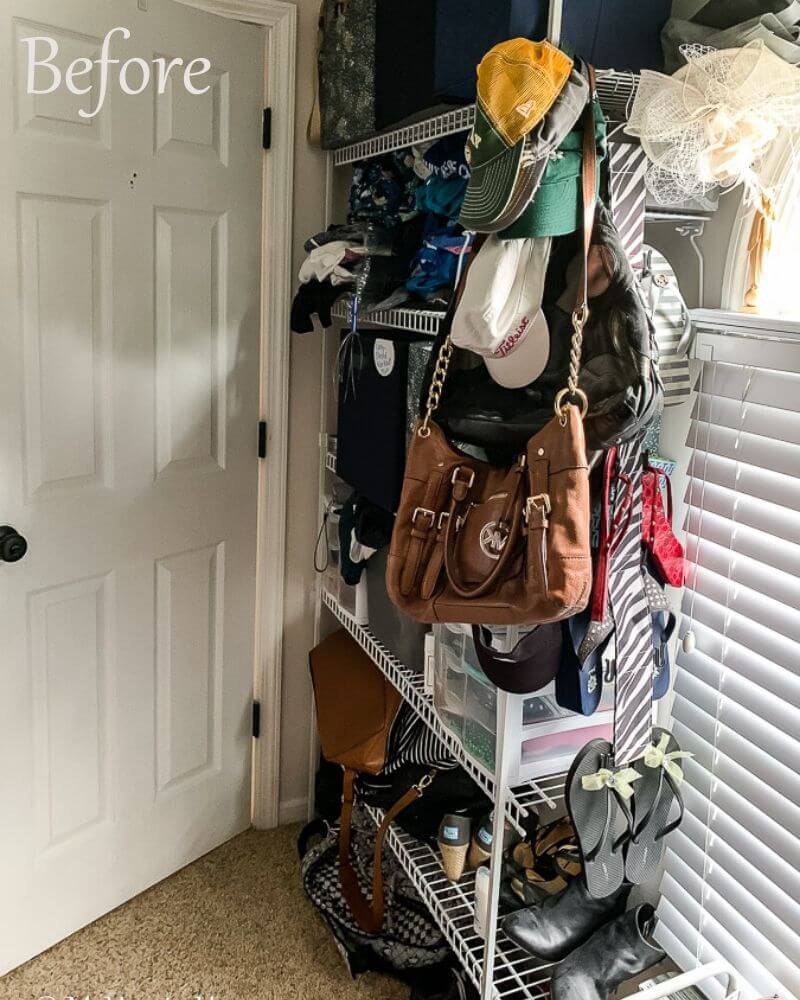
Tip 2: Assess the damage and write down your needs.
When I first decided to improve my life by fixing up this closet, it stemmed from my frustration on not being able to find things or have a specific place for things I wanted to be able to do in here.
And, it was crazy messy, which is not me at all.
I'm a super organized, neat person, but as the hubs says, all of us organized, neat people have that one area of a disarray.
This was mine.
The points of frustration that I needed to tackle included the following:
- A designated spot for my cozy clothes I switch in to every day when I get home from work
- A designated spot to hang 5 days of clothes
- I like to choose my outfits for the week on Sunday.
- A place to hang long dresses
- They were in the guest closet until I brought them over here for this decluttering session.
- A better setup for my jewelry
- The stand-alone jewelry box was taking up valuable space in here and wasn't organizing my jewelry how I wanted because I couldn't tell what I had.
- A drawer like setup to house some of my miscellaneous closet items
- Currently my swimsuits and coverups were stuffed in a small drawer in our bathroom
- A designated spot for all my shoes to fit appropriately
- Easy to see separation of types of clothes hanging in the closet
- I want to be able to easily put back what I take out rather than stacking it up in the front like I normally do.
- A designated spot for hats and purses/bags that could be easily seen to grab-n-go.
For your closet decluttering session, think about what the problem areas are that need to be addressed.
This is going to be individual to you and how you use your closet.
Take the time to really think about this as you use it before you take it apart. It will help to reference your before photos, too.
This step will make sure you get the right organization when you put your items back in the closet.
Tip 3: Consider taking everything out of your dresser drawers at the same time.
I have four dresser drawers that I can never find anything in.
Much like the closet, I wasn't sure I needed any of this or if it would be better suited hung up versus in the drawers.
Rather than tackle that separately, I decided to add these items to the purge session.
I also included the swim stuff I had in the bathroom and the dresses I had stored in another closet.
I would highly recommend putting any and all things related to clothing of yours in to the mix for this process.
This will make sure you take it into account when mapping out how you want to organize it.
Tip 4: As you remove all items from the closet, sort as you go into ‘like' piles.
The sheer amount of stuff that came out of this small space was incredible.
You'll never know how much you have until you see it all laid out in your bedroom.
Seeing all of this like what you see in the photos below made me really want to purge.
What the heck was all of this?! So crazy!
But, it was really good to separate it as I took it out because if you just started throwing stuff around to get it out of the closet, you'll have a giant mess and no motivation to reach the finish line.
At least this was some organized chaos. For your reference, I labeled the organized chaos in the pictures below.
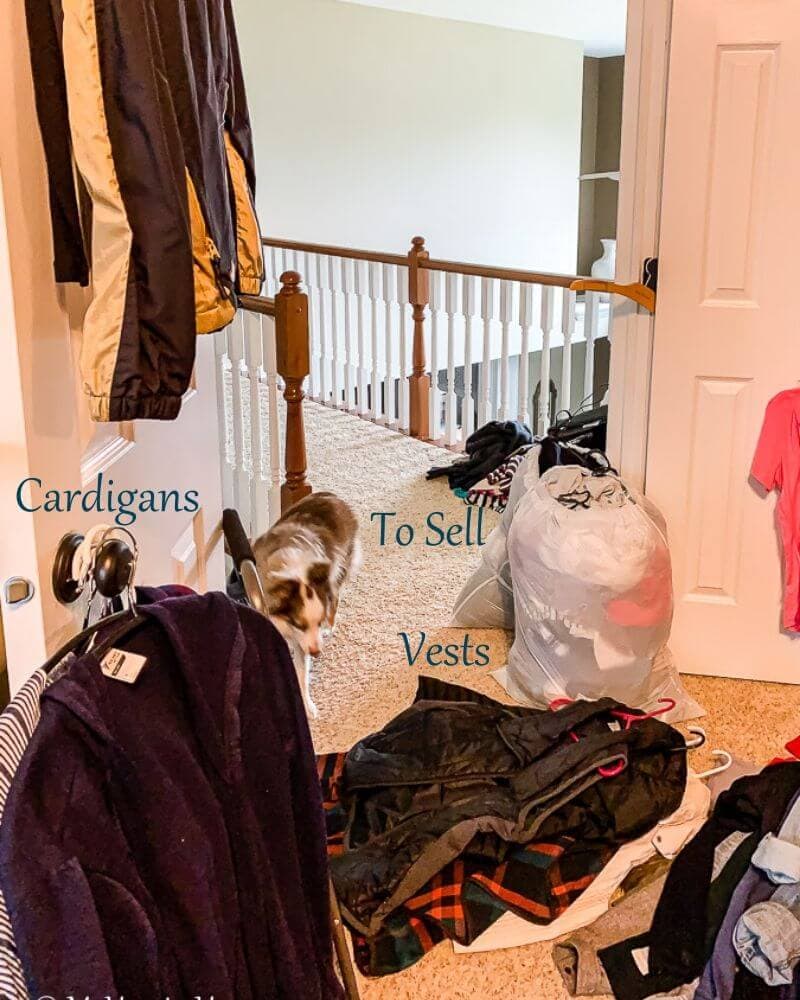

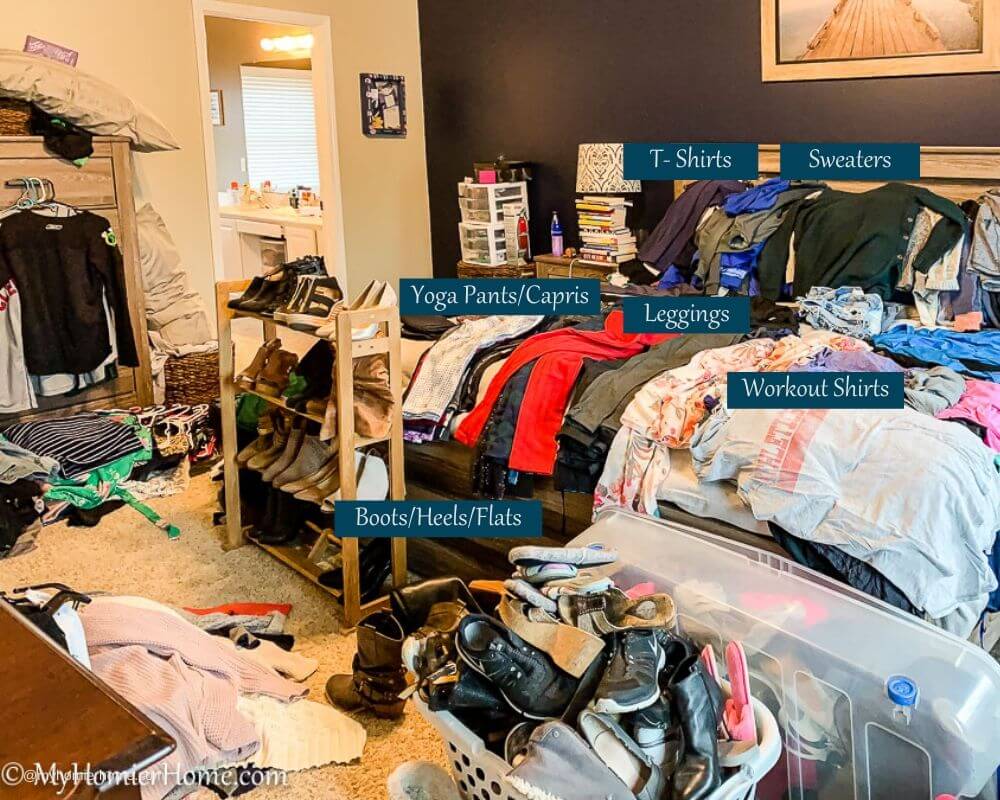
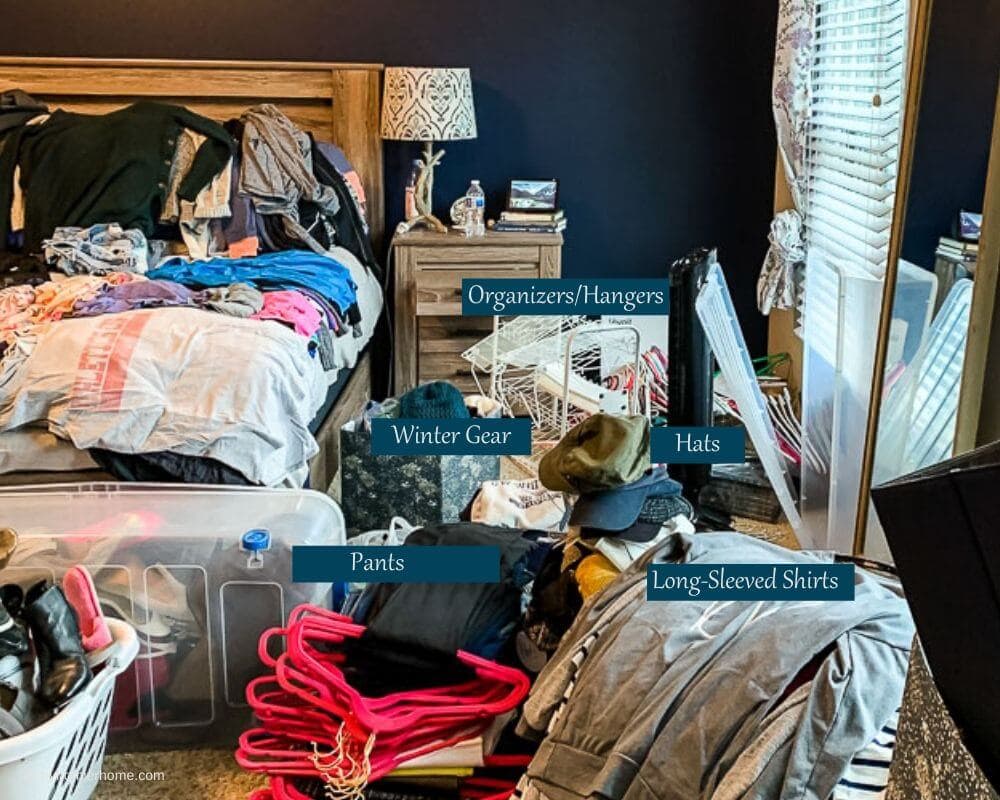
As you can see from the organized chaos, this was quite an undertaking for me and hasn't been done in at least four years.
The purging session will be the longest part of this process, but you can do it!
Choose to do this when you are in a no-nonsense mood and are ready to be clutter free.
It will help you part with the things that really don't belong taking up space in your closet.
See more on purging in tip #6.
Tip 5: Wipe down the walls, shelves, & Vacuum.

There is nothing quite like an empty space that has just been cleaned.
This is an absolute must in my opinion to give yourself a clean slate.
And, how often do you thoroughly clean the areas of your closet on a year-to-year basis anyway?
I know I don't, so this is a great time to give it a good, deep clean once over.
Tip 6: Purge each pile one by one.
Before getting started with your purge, you should set up an area for the following categories:
- Giveaway
- Sell
- Garbage
- Holiday Specific/Costumes
- These items I plan to find another home for that isn't my closet – probably a bin in our storage area.
- Organizers
- I set these aside to help me with the organization process in part 2.
- Keepsake/Sentimental
- I plan to keep these in our storage area as well with my other memorabilia items.
The order to begin your purging session
This is the order I started my purging session in and I think it really helped to start small and work my way up to the bigger things.
Take your time and follow the questions underneath this section to help you decide what to keep and what to purge.
1. Start with what is sure to go back and the easiest to tackle. For me, that was:
- Jeans
- Work Pants
- Shorts
- Skirts
- Dresses/Rompers
2. Next, I worked through various shirt piles:
- Short-sleeved shirts
- No-sleeved shirts/tanks
- Long-sleeved shirts
- I had a separate pile of t-shirts from my dresser drawers that I left until later.
3. After the shirts had been purged, I went through:
- Sweaters
- Cardigans
- Jerseys/fan
- Golf attire
4. Once I had gone through all the clothes that had been hung up and purged them, I went through what was in my drawers:
- Yoga pants
- Capri workout pants
- Leggings
- T-shirts
- Workout shirts/tanks
- School gear
- Sleepwear
- Hoodies
- Undies/Bras
5. The last pieces I purged where:
- Robes (why do I have so many robes…)
- Hats
- Scarves
- Winter gear
- Holiday specific attire
- Shoes
- Flats, then heels, then sandals, then boots
- Bags/purses
- Jewelry
- Books (yes, I had books in my closet… who knows)
- Miscellaneous (this was my pile of weird nonsense I didn't know what to do with while making piles)
6. I also had a pile of organizers I had taken out, but I saved these until I got to the organization phase to see what I could reuse.
Some questions to ask yourself while purging
1. Does it fit?
If you think you'll save it for when you're skinnier or something on those lines, just remember, you always want to go shopping after losing weight, so you most likely won't want this stuff at that time.
2. When have you worn it last?
If it's been over a year, purge it.
3. How often do you plan to wear it?
Some stuff you need to keep around, like dress options for weddings, but some stuff, like your going out shirts from your 20s may not need to be hanging around.
4. Is it damaged?
Be realistic. Are you going to fix it in the next week? Is it stained and only worn underneath a sweater or something? If so, purge it!
5. Is it part of a set?
For some jewelry, I only wear it with a certain outfit, but I wanted to keep it because it works perfectly for that outfit.
6. Does this fit your vibe now?
I had so many pieces in my closet that fit my 20s vibe, but I'm long past that, so I needed to purge them to have more of a grown up wardrobe.
7. Do I feel good wearing this?
Is it uncomfortable? Unflattering? I wasn't able to try things on because of the whole 32 weeks pregnant thing, but I could remember what these pieces feel like. If you choose not to wear them for reasons of it being uncomfortable or unflattering, part with it. It doesn't matter how much money you once spent on it if you're never going to wear it.
8. Am I keeping this for sentimental reasons?
If so, consider storing/housing these types of items elsewhere or taking a picture and adding it to a photo album instead.
My mom said she has saved every bridesmaid dress she ever had to wear… ever.
This is the time to ask yourself, “For what purpose?”
Take a good picture, share the sentiment with those people who made you wear this stuff, and part with it.
It's not going to come back in style (if it does, you'll buy the new version or go to Good Will) and you aren't going to get it altered and wear it to another wedding… you just aren't.
I digress…
In the spirit of all things purging, check out my purging success below:
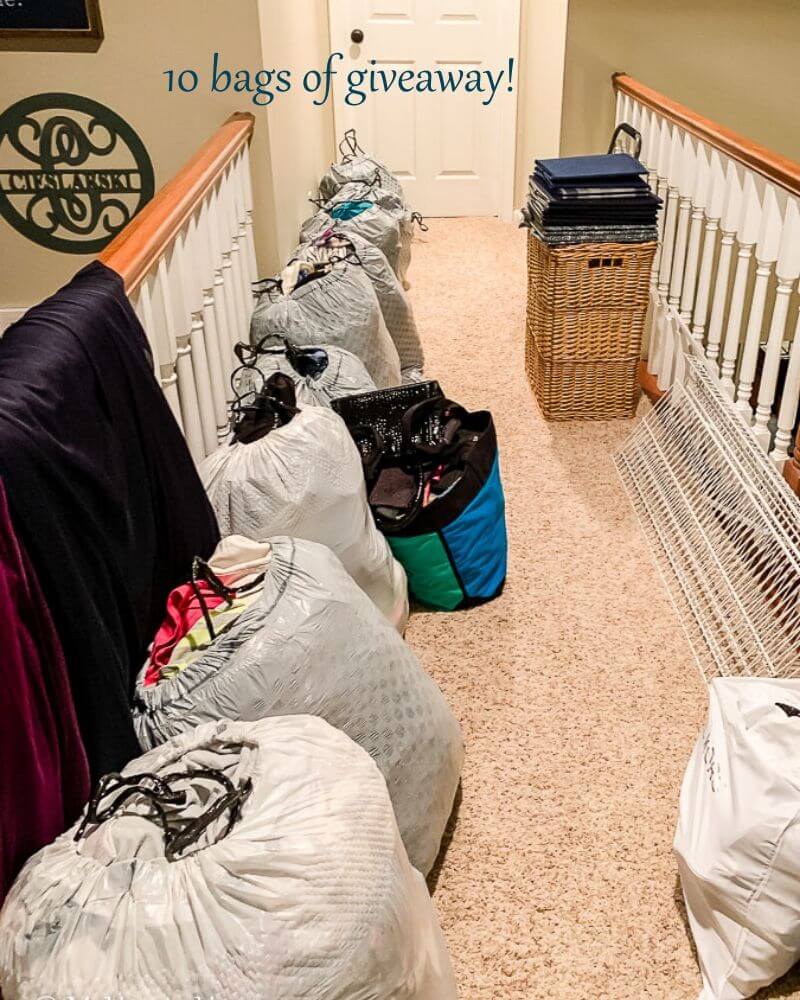
Oh boy!
You read that right, I had ten bags of giveaway when I was done purging all my piles.
This did not even include the two bags of items I am going to try and sell and the two other garbage bags filled with actual things I'm throwing out… two full bags!
I was housing garbage! Eww.
This purging process is no joke and will get better if you schedule this in every 6 months or every year, but if this is your first time in a while, like me, set aside a full day to just sort and purge.
Once you've completed the decluttering session, it's time to put all the stuff you're keeping back in an organized fashion in your master closet.
You can read the full post on how to organize the master closet and check out the fun after photos.

