
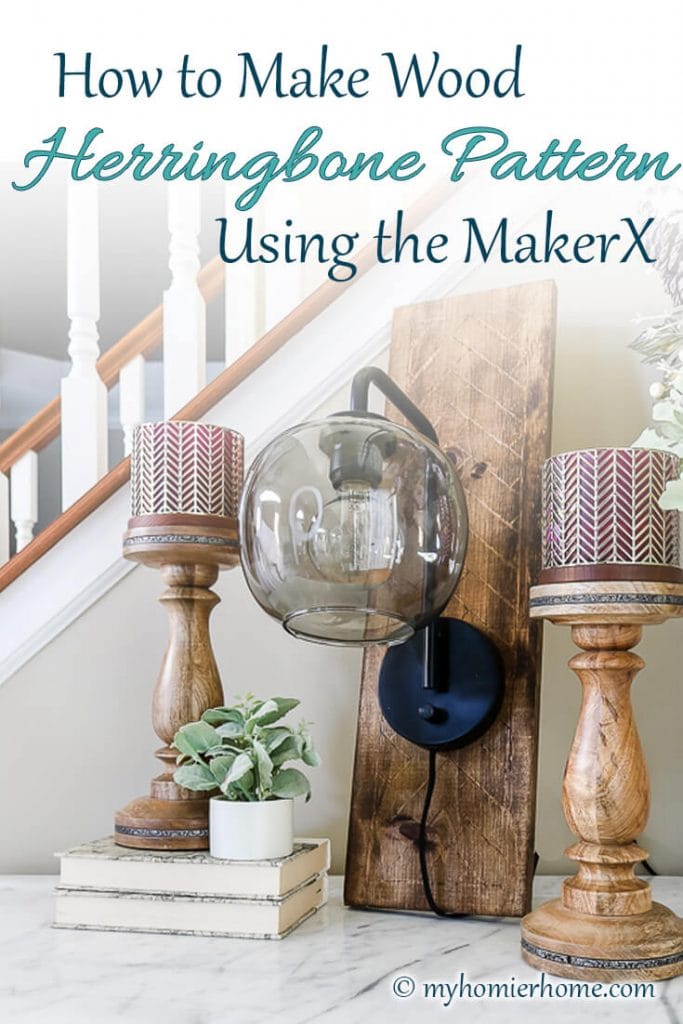
How to Make Wood Herringbone Pattern using MakerX
Learn how to use the MakerX tool to etch and wood burn a herringbone pattern into your wood art with ease, so you can have a professional look – the inexpensive and easy way
Herringbone patterns are my favorite, so today I’m going to show you how to etch and burn a herringbone pattern into a piece of wood. I am using this wood art as a backing for my front room sconce.
Because why hang a sconce the boring way when you could create a piece of wood art to accompany it, right? I've love wood DIYs so much! I've created a DIY countertop, a wood statement ceiling, and recently a DIY Christmas wood sign. My favorite one so far is definitely this one.
Here’s exactly how I created the wood herringbone pattern using the MakerX tool by Worx tools.
Disclaimer: This post was sponsored by Worx Tools. All opinions are my own.
Table of contents
Disclaimer: This post does include affiliate links for your convenience. This is at NO additional cost to you but earns me a small commission. To read more, check out our disclosure policy. As an
1. Gather your materials
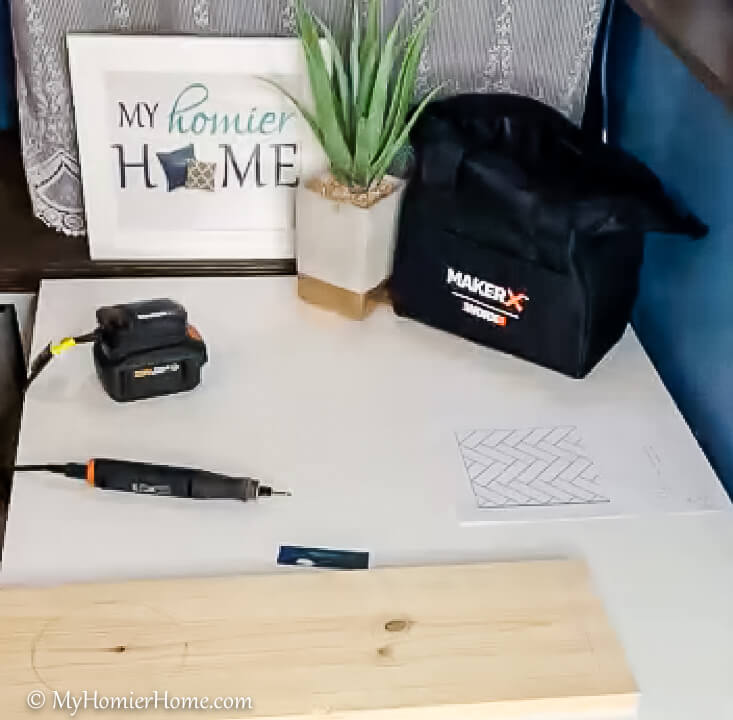
What you will need for this project is the following:
- Wood piece cut to size
- I used a 1×8 board 25” long
- Pencil
- Rectangle piece of cardstock (or thicker paper) cut to a size of your liking for your pattern
- I used a 1-¼” x3-¾” rectangle
- MakerX rotary tool
- MakerX Wood & Metal Crafter tool

2. Prepare your tools

If you are new to the wood crafting world, like me, this is the perfect tool to get you started.
The benefits are endless, but most importantly it is portable and super easy to use. Both the rotary tool and the wood & metal crafter tool use the same base. You can change them out by swapping the tool from the base unit shown above.
To begin using this tool, make sure to charge the batteries ahead of time and choose the appropriate head for your tool.
For this project, I used the rotary tool with the HSS cutter head shown above. I also printed out a generic herringbone pattern, so I could match the pattern.
To get proportional rectangles, I cut down a business card about 1-¼” wide. I used a business card because it was a good length already and it was thicker. Any thick rectangle will work fit to the size you want.
I would also recommend practicing on a scrap piece of wood so you can get a feel for the tool before you start.
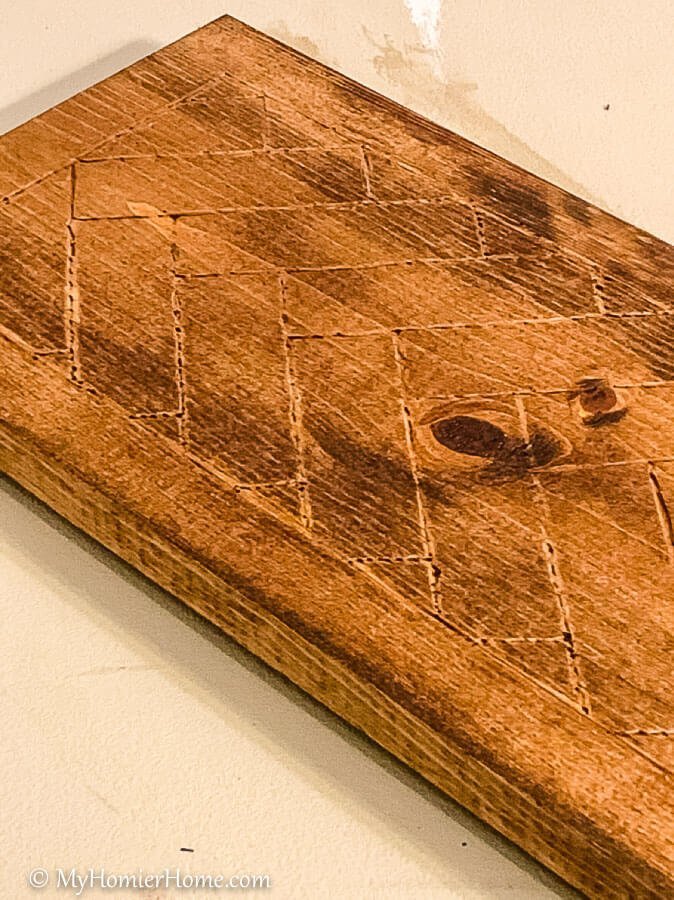
3. Map out your herringbone pattern on the wood

Before I drew my herringbone pattern, I decided I wanted a border around my pattern rather than having it go to the edges of my wood piece. So if you would like to do the same, draw a box about 1-inch from the edges around the whole piece of wood.
Once I had my outer border, I marked the middle of the top border line. This is where I’m going to line up the first rectangle.
To make a perfect right angle, I took the same measurement that gave me the middle of the top line and marked it on the right and left border lines as well.
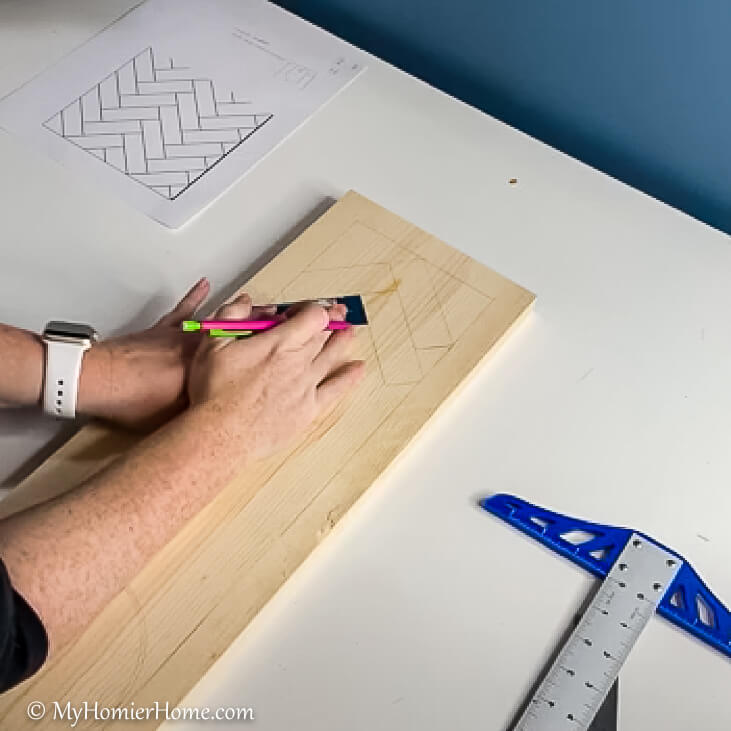
Line up the point of the first rectangle at the center and the other side of the rectangle at the right side mark you made.
Draw a line in pencil around the whole rectangle.
Alternate the rectangles lining up the top of the next one with the left side and bottom of the rectangle above it (see picture above).
Continue your pattern all the way down. If you plan to put this behind a sconce like I did, I would mark the circle where the sconce will go too.
After you have all the full rectangles, go back and continue the pattern for the areas that have gaps.
4. Use the MakerX rotary tool to etch over your traced pattern

The bit that I used is the one that has a head with a ridge underneath it as you can see in the picture above.
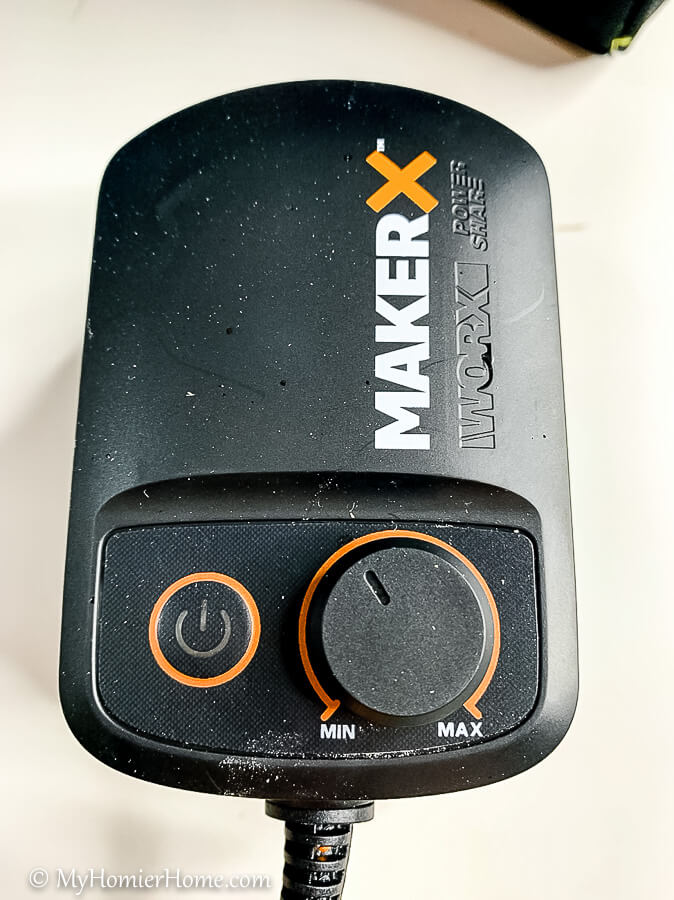
Before you start etching the pattern, move the dial to minimum. Then, hit the power button and adjust the dial to just under medium. Make sure you are holding the tool in your hand before turning it on.
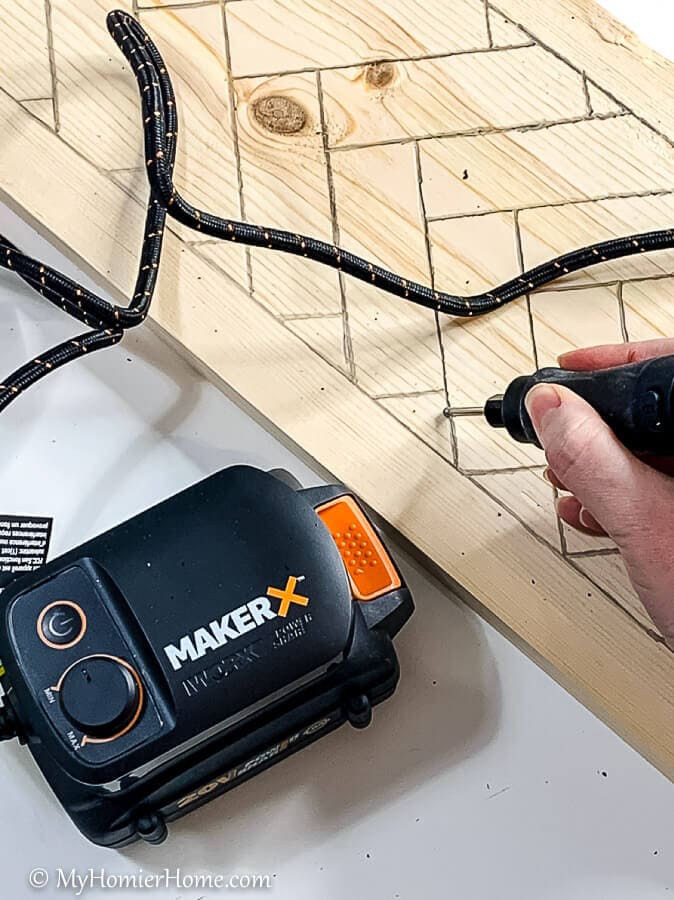
As you trace over the pattern, use enough pressure to make contact, but less than you think. You want the tool to do the work for you, so don’t force it.
I would start with light pressure and then go back over it to make the pattern deeper.
If you find the wood to be making your tool jump, adjust the dial and practice again on a scrap piece of wood.
I found that for the particular wood I was using that if I was spinning the tool too low or too high, it didn’t run smoothly, especially in the angled lines that weren’t with the grain. Once you find the speed sweet spot, it’ll make your marks like a dream.
5. Use the MakerX wood & metal crafter tool to burn the wood herringbone pattern

This is an optional step, but it was so easy to do and made the darkness I wanted in the pattern after I stained it.
I switched the two tools by just unplugging the rotary tool and plugging in the crafter tool. I seriously love how easy the MakerX is to use – quick and simple. My kinda tool!
For the crafter tool settings, I used the highest setting at 900 degrees and just went over the pattern I had etched.
The smoother you make your etched lines with the rotary tool, the smoother the crafter tool does its job.
I think it looks pretty good without any stain! But, alas, I did stain it.
6. Stain, hang, and enjoy!

Before staining, lightly sand the top and use a sticky cloth to grab any dust. Choose your stain, and use a rag to wipe the stain on.
I started with dark walnut and then added jacobean the second round.
Once it was dry, I added two sawtooth hooks to the back, screwed the sconce into the wood like I would do if it was on the wall, and hung it on the wall.
What do you think of the final product?
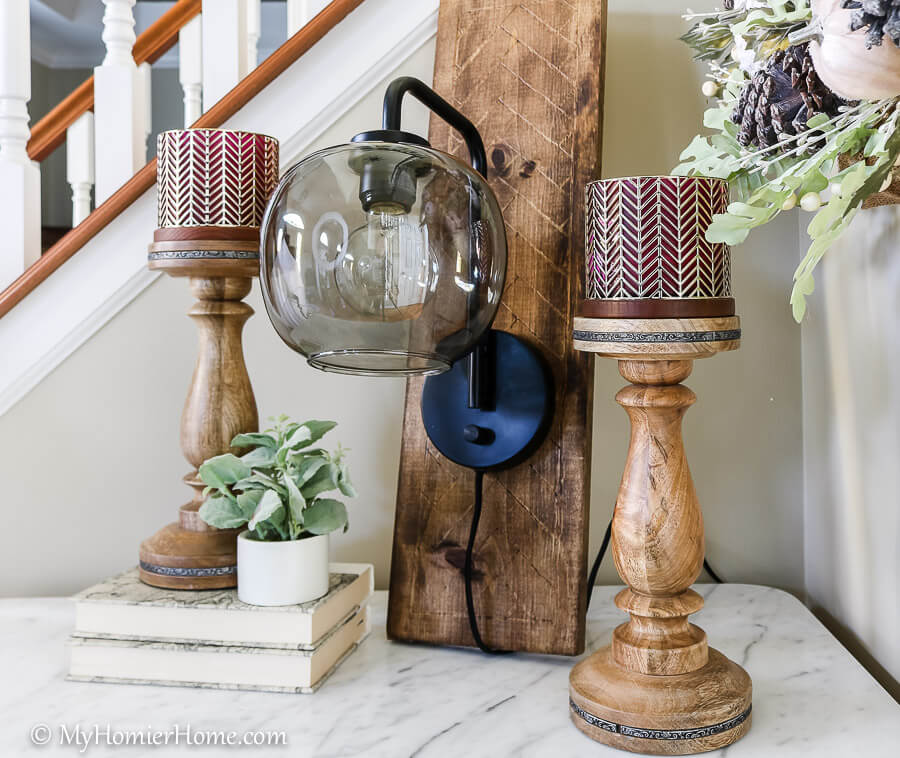


How awesome is this?! I am also a huge herringbone pattern fan. What a fun tool to use!
I know right!?! And I love how portable it is and compact. Makes for some fun creativity!
Love how your piece turned out! And the stains you used are gorgeous!
Love this simple and impactful DIY, Christin. The rich wood tone work in all decor styles!!
It turned out so beautiful! What a great idea!
Herringbone pattern is one of my faves! What a fun use for this rotary tool.
This came out so pretty! And what a great tool!
What a fun post. It is making me want to get my wood burning tool out and create something too. Thanks!!
This is very cool. Thanks for sharing.
I didn’t know how to make a herringbone pattern but you make it look so easy. Definitely pinned this one.