My Four Phase System for How to Design a Room
Lacking confidence on the best place to start in the room makeover process? Learn my four phase system for how to design a room from dream to done.
For those that know me, they understand my love of planning and effective systems.
I crave it so much… mostly because I'm a self-proclaimed scatter-brain. If I don't get my thoughts and ideas out of my head, I will never remember anything and rarely accomplish anything.
After taking a 5-month hiatus from home projects when my second baby was born, I felt a little paralyzed to get started on anything.
Would I have the time? The energy? The right vision?
The goal was to tackle our 3-car garage since it no longer functioned with all the kid items we've accumulated, but I was struggling to get started.
All of this fear kept running around in my head.
After a deep breath and a second of alone time, I remembered my system for creating all the rooms I now love so much and this time, I decided to write it down.
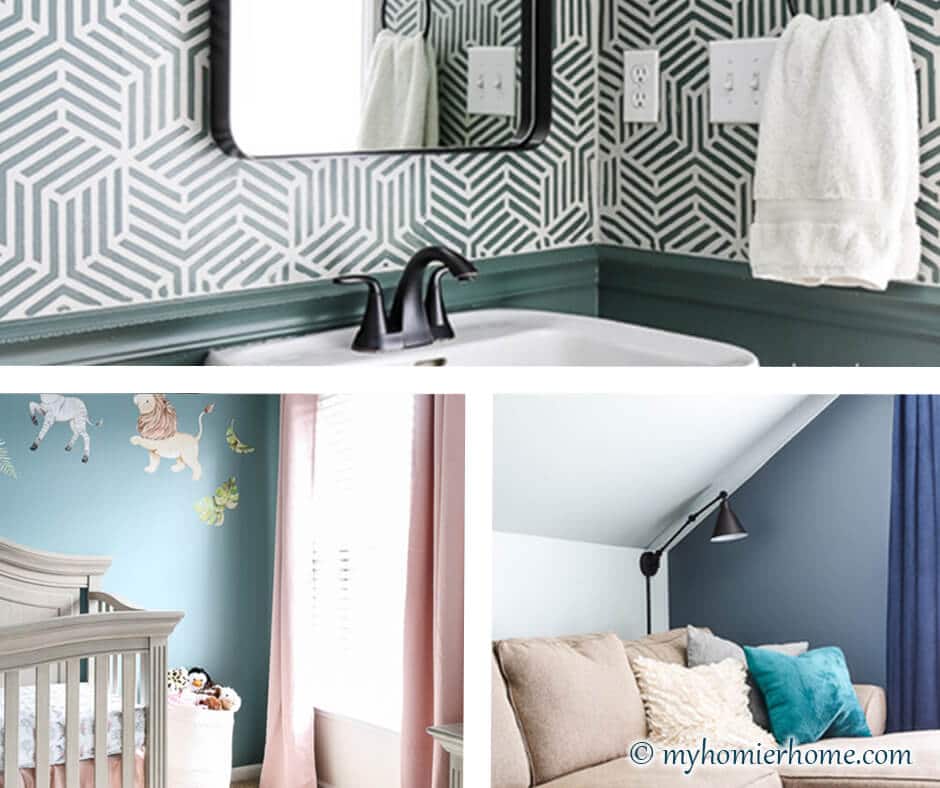
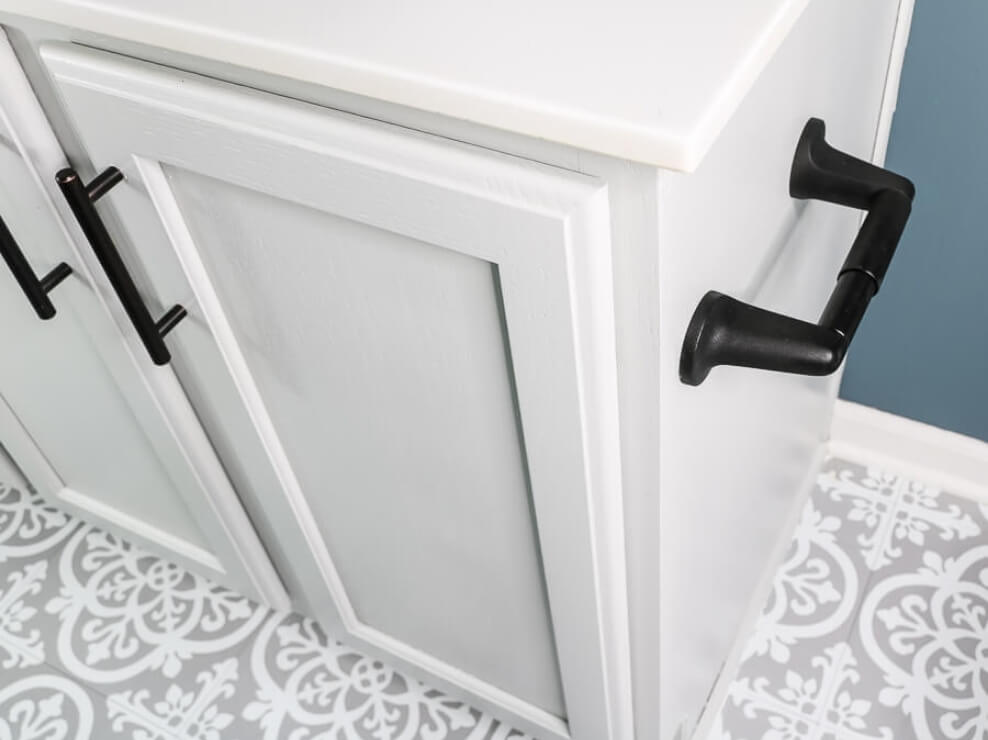
I used this system for almost every room in our home that I've updated, including our outdoor living room, guest room, kitchen, home office, powder room, and so many more.
Having a system to follow and knowing what order to tackle each home project really helps keep the mind at ease.
@myhomierhome
If you've been stuck in dream world, wishing you had a better plan to makeover your next room, this is the post for you.
No more decision paralysis.
Let's get going on making those dreams you have for your home a reality, one step at a time.
Oh, and before I get to the goods, if you want to see this process firsthand, I'll be sharing my garage dream-to-done system in real-time over on Instagram starting in June (and always saved to a highlight bubble). Come cheer me on!
Now let's talk through the dreamer to done system.
Table of contents
Disclaimer: This post does include affiliate links for your convenience. This is at NO additional cost to you but earns me a small commission. To read more, check out our disclosure policy. As an
What is Confident Decorating®?
Let's start by talking about my covet system, the Confident Decorating® framework.
I had been using this system for years without giving it a formal name until I had the ‘vid a few years ago and was finally able to breakdown the process in a way that is as memorable as it is actionable.
In short, the Confident Decorating® process is my systematic way to decorate any room in your home to fit your unique style using the home you live in.
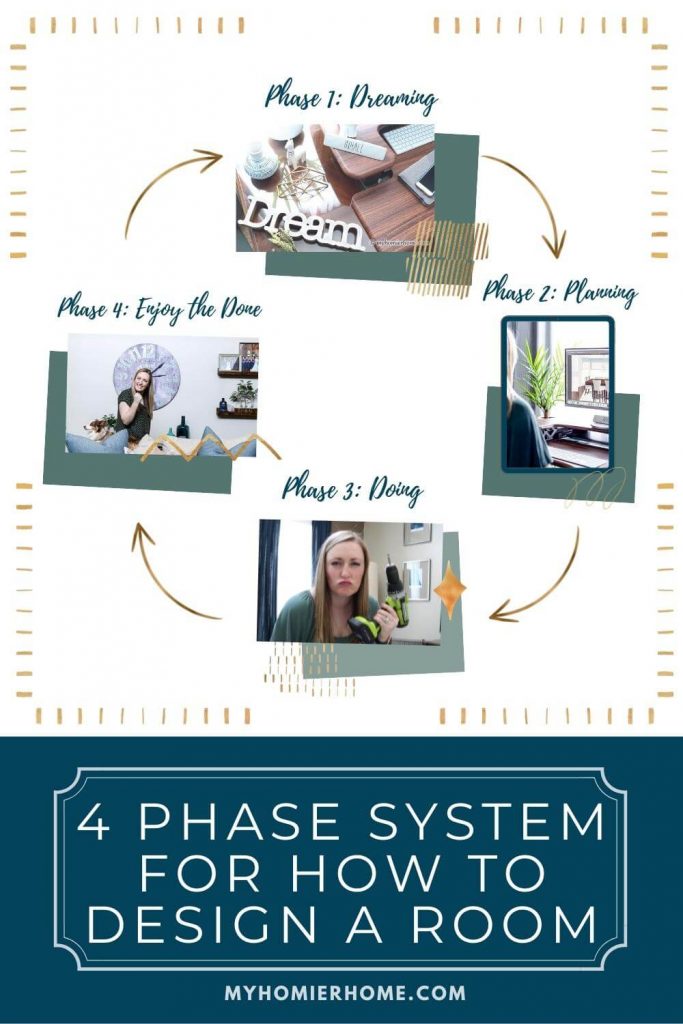
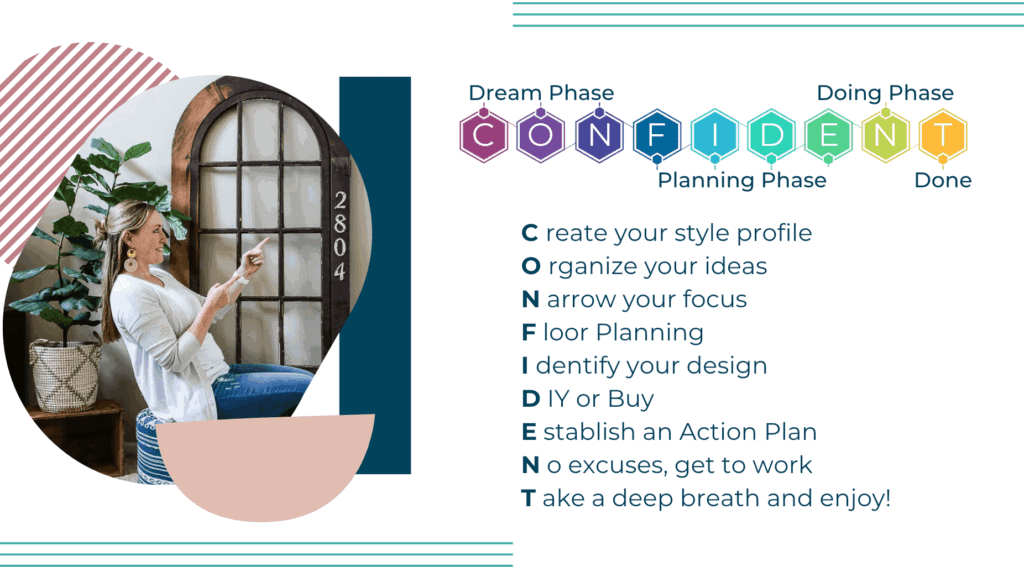
My decorating method is broken into four phases, with each letter of the word CONFIDENT representing an action step inside each phase.
The first phase is the Dream phase, this includes the first 3 letters of the word CONFIDENT.
The C represents Creating Your 1-Page Style Profile. This is my secret weapon to making decorating decisions SO much easier. I walk homeowners through this process in the Style Shift Challenge twice/year, but if you want to get a headstart and stay in the know for when I'm hosting the next one, grab access to the Style Shift Starter audio series.
The next step of the dream phase is to organize your ideas – this is what I teach in my Dream Home Idea Vault workshop. This is a great step if you aren't sure which room or project to start next.
Then, you'll want to narrow your focus to one room before jumping into the planning phase.
The planning phase involves making sure you have the right layout and the right-sized furniture, which is the F – floor and space planning.
A cohesive design is the next piece of the planning phase and the I – identify your design and then determine your budget plan on whether or not you should D – DIY, buy, or hire out and then, E – establishing your action plan.
The doing phase is obviously where you N – no excuses, get to work and the final done phase is where you'll T – take a deep breath and FINALLY unwind and enjoy it.
This is what I teach inside my Confident Decorating® program because this is the process that works. Now let's breakdown these phases a little more.
The Dreaming Phase

The dreaming phase is the quintessential first step of any home project and room design.
You want to make sure that you've considered your needs, wants, feels and function of the space when it's done.
The dreaming phase is always fun, but if you spend too much time there, you run the risk of developing negative emotions around what others have and what you don't.
So yes, you do have to gather inspiration, determine your style and color preferences as well as consider your budget.
But once you've captured these items, explored Pinterest and Instagram for a week, don't linger too long (even if you're trying to save money) and move on to phase 2.
If you're a home dreamer, who wants a plan so you can do and actually get *ish done, get on the waitlist for my next Dreamer-to-Doer Masterclass below.
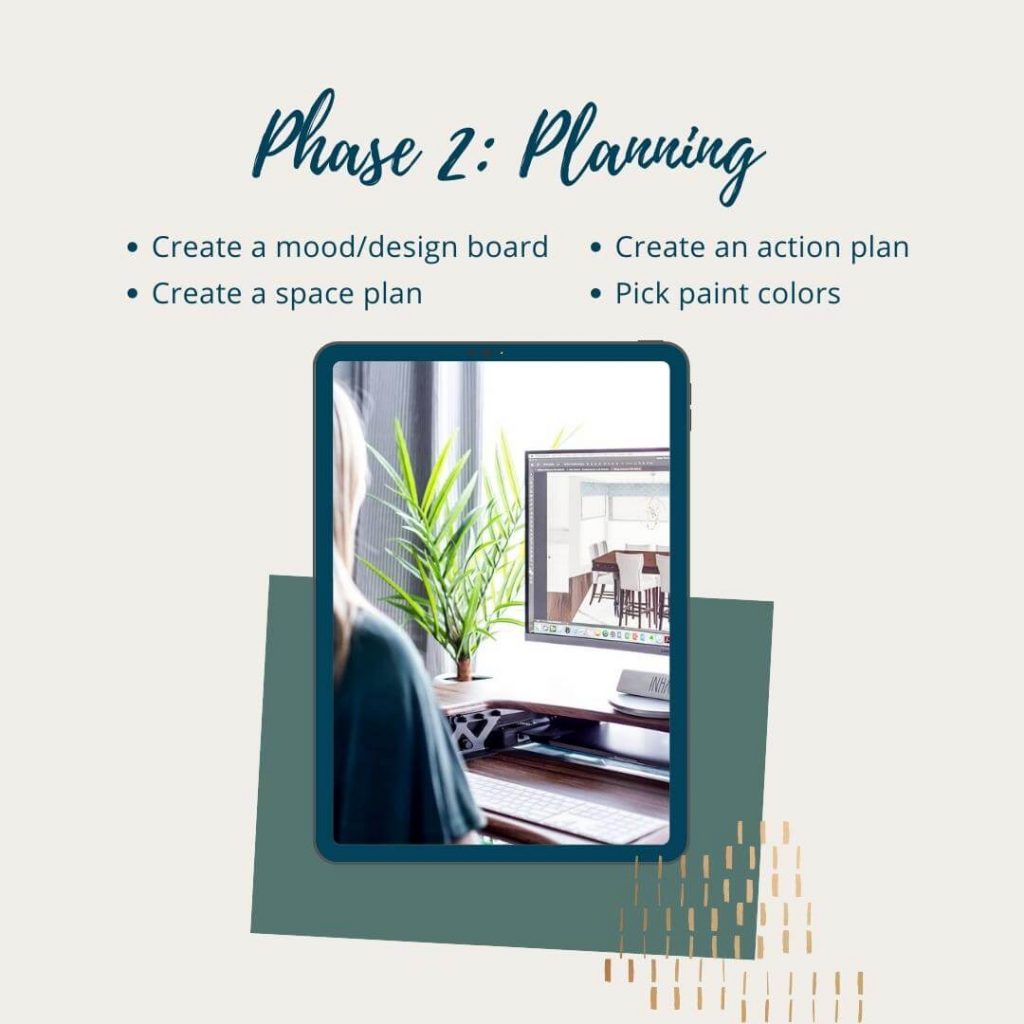
The Planning Phase
Ah, phase two… my comfort zone.
I love having a good plan to execute. Once I've done my dreaming to determine the important parts of what I need and want to happen, I move on to actually seeing everything together from my research.
I usually start by sketching out a floor plan of the room in an overhead view to determine what kind of space I have and what I'm going to be able to fit in each of the sections I want to have in the room.
This requires some measuring of your space ahead of time before you can get an accurate picture.
When making your space plan, you want to be as accurate with your measurements as you can on the actual room. This will help you make sure when you buy the items you found in your research later, they'll actually fit where you think they should.
If you don't have a specific computer program to make your sketch, grid paper will work best (or hiring me 🙂)

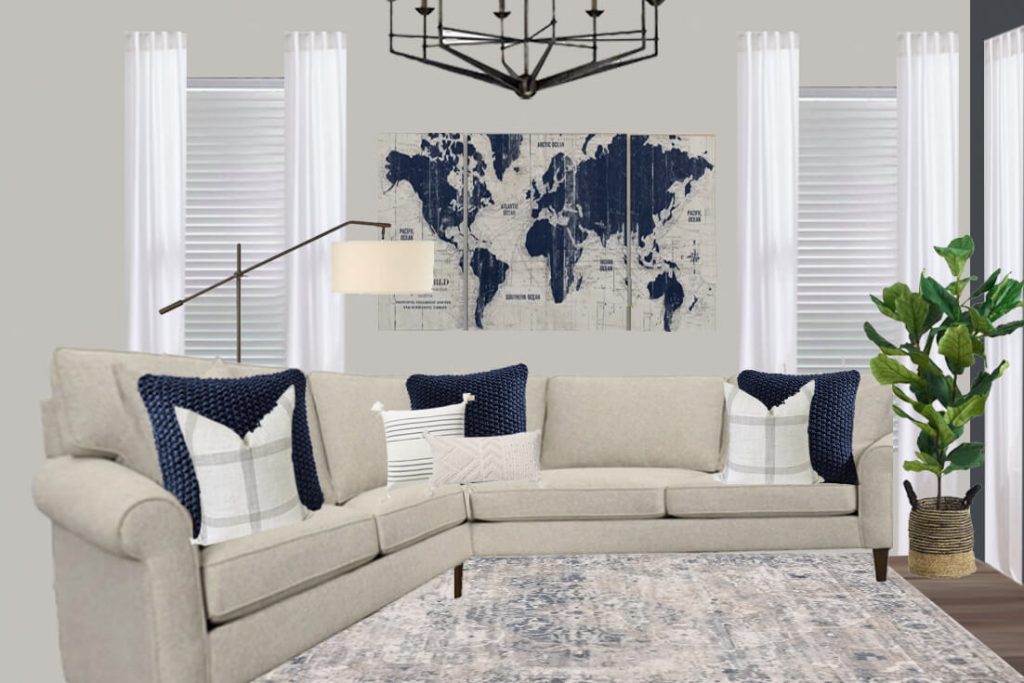
Once you get an aerial view idea of what the room will look like, it's time to make your design/mood board.
I use Photoshop to create my design boards, but you can use the free version of Canva or even Microsoft Word, too.
Now the space plan and design board steps can be interchangeable, but I like to at least have a sketch of the room as a whole and then reference it as I put things in my design board and continue my research.
The goal of a design board is to actually see the items you're going to use in your space before you purchase anything.
For adding in DIY project items into my design boards, I usually find something via a Google search that's similar in order to give me an idea what it will look like when I'm done.
Once I get the vision in my design board and in my head, I set out to find paint colors to add to my design board.
If you struggle to find paint colors, I highly suggest checking out Clare paint.
They have great descriptions on what it will look like, the have stickers you can order to test them without having to buy a full gallon of paint, and the colors are ALWAYS amazing!
You can see some of the rooms I've painted with their paint here.
And the last step of the planning phase is to create your action plan.
This is part of what I do for clients, so they have a step-by-step plan of attack to follow.
Think about the order you'll want to accomplish each part of the project and make a checklist.
This can change as you go through the project, but it at least will give you a little direction to get going.
The Get it Done Phase
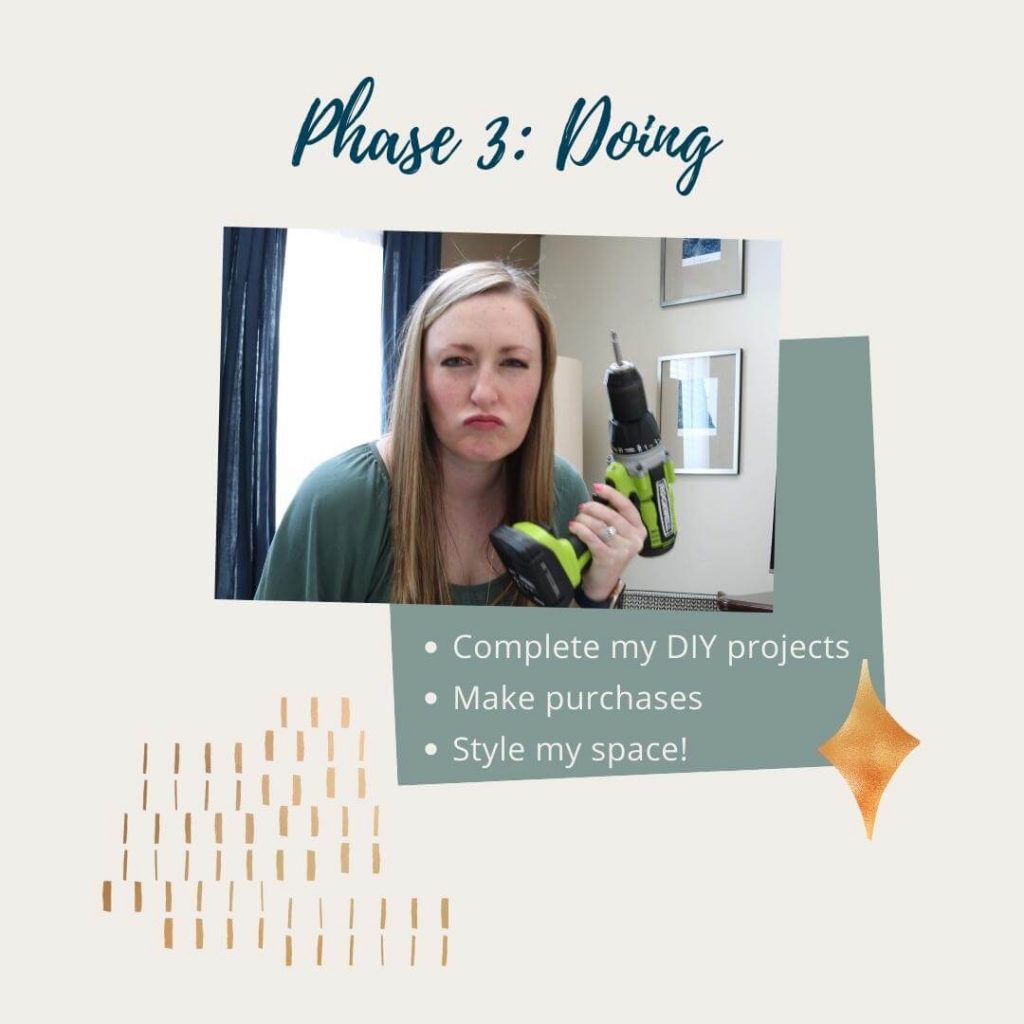
Once you have an action plan, it's all about setting aside the time to complete each piece of the puzzle.
As the saying goes, good design takes time, however, taking action is an important piece to progress.
Don't be afraid to change up your plan as you go, but also try not to get stuck in the planning phase, which can definitely bring about the procrastination vibes.
And if you're stuck on where to start an action plan, decluttering, cleaning, and/or organizing is always a great place to start.
For my garage, the goal is to figure out the various sections of the room, organize everything into groups, hang ceiling and wall organizers for obvious items, and then go from there with what I think I'll need next.
You don't have to have full foresight into a project, but you do want at least 3-4 steps to your action plan to get you moving in the right direction.
One action step at a time, my friend – this is the key to moving from planning to done.
And as many of us planners know, if you don't have scheduled in the calendar, you're probably not going to get it done, so grab a buddy and make a date of it.
The Enjoy Phase
When you finish a room makeover, don't forget to schedule in a break to actually enjoy the fruits of your labor.
Often times, especially when we have so many rooms that need our attention, we feel like we need to jump right into the next project.
If you're feeling like you need to move on quickly, I encourage you to take the next week or two or more to enjoy the space you worked so hard to create.
And if you need to keep the momentum going, spend a some time back in the dreaming phase for this room and…
- Write down any dream projects you didn't get to that you want to incorporate later,
- Consider what kind of seasonal updates you can add in now that your space is updated,
- Think about ways you and your family can continue to make memories in this new space,
- Celebrate your WIN with some cocktails, board games, or some sweet dance moves,
- And as always, share your before and after with me over on Instagram!
This step is by far one of the most important steps to keeping the inevitable home improvement fun and flowing.
Frequently Asked Questions
First you want to determine your needs, wants, and the feel and function you desire. Then you want to begin your research, so you know how much to save for and/or what you're willing to save by DIYing or splurge on for your room. Once you have done a bit of research, create a mood/design board, a space plan, and at least 3-4 steps of your action plan. Put the time in your calendar and get to work. Once you've reached your goals for this room project, take time to celebrate your win and enjoy the space before jumping into the next one.
I spend some time dreaming about what I want, need, and how I can make it function better. Then I create a space plan using measurements of my room to get an idea of what I can realistically fit in there. Then, I create a design board using what I find in my research. I figure out what items I'm going to DIY and about how much it will cost. Then, I get to work using a loose action plan I create to keep me progressing through my project. I adjust as needed during the ‘doing' phase and when I'm to a place I feel good about, I enjoy the fruits of my labor. Then, it's back to the dreaming phase, then planning phase, then doing phase until the next project is done!