
DIY Home Office Accent Wall: How to Paint a Color Block Wall
Tired of boring home office walls? Try out this easy DIY home office accent wall idea to uplift your office vibes.
*I received compensation to complete this project for using Frogtape products. All opinions, projects and ideas are based on my own experience.*
Who loves a good accent wall? Ya, me too!!
I have been scheming up ways to get a better zoom backdrop in my office for a while now, but the true inspiration came when I fell in love with an awesome rug from West Elm (keep reading to see which one).
In all honesty, I tried to make that rug fit in four different rooms in my house, but it didn't seem to fit in the way I wanted.
So, being an independent, you-can't-tell-me-no, type of person, I started to think outside the box.
And man oh man am I happy I did.
I can't wait to share with you how I took the pattern of a rug and created a DIY home office accent wall using color blocking with paint and Frogtape painter's tape.
Let's get started!
Table of contents
- The Before
- The Inspiration
- Materials
- Steps to Complete
- Use your multi-surface Frogtape to outline the space.
- Patch any holes inside your frame.
- Write down the measurements of each section and the painting order.
- Start outlining your “one” sections with Frogtape.
- Paint your “one” sections.
- After 24 hours, paint your “two” sections adding delicate frogtape where needed.
- Repeat for each of the section groups.
- Add texture, if desired.
- The After!
- Want to watch the video for this post?
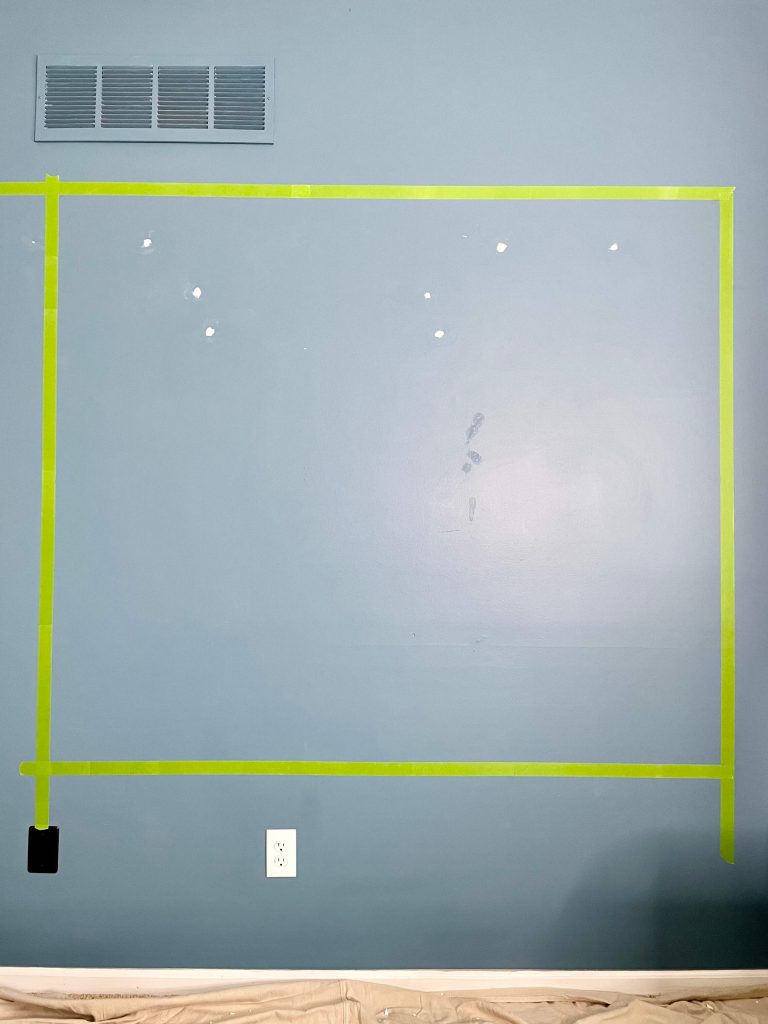
The Before
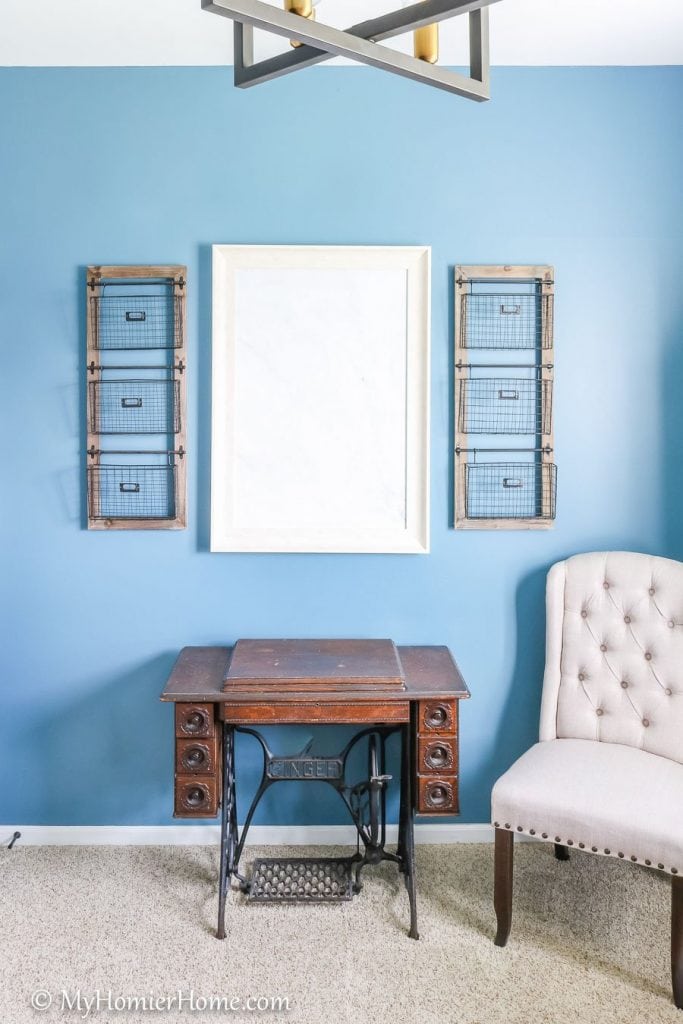
This the side wall in my home office before tackling this DIY home office accent wall project.
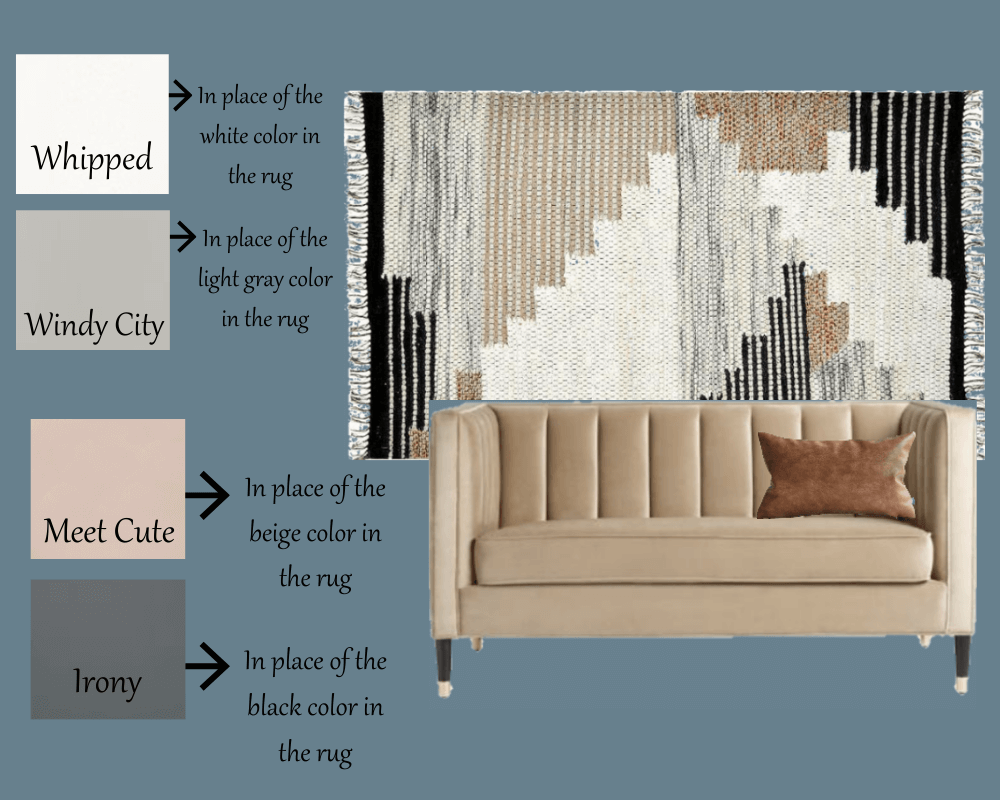
The Inspiration
First things first, you have to pinpoint your inspo. As I said before, mine was this rug you see below.
Then you want to get an idea board going with how you're going to transform your inspiration (aka this rug) into your accent wall masterpiece.
Once I figured out exactly how I was going to map the colors, I needed to actually do some measuring.
When it comes to any kind of wall art, including things like gallery walls, it's always a good idea to get the grid paper out and map your measurements.
For all wall art like this, I like to fill about two-thirds of the overall space I'm working with – that's how I determined the placement of this DIY acrylic frames and the placement of this stairway gallery wall.
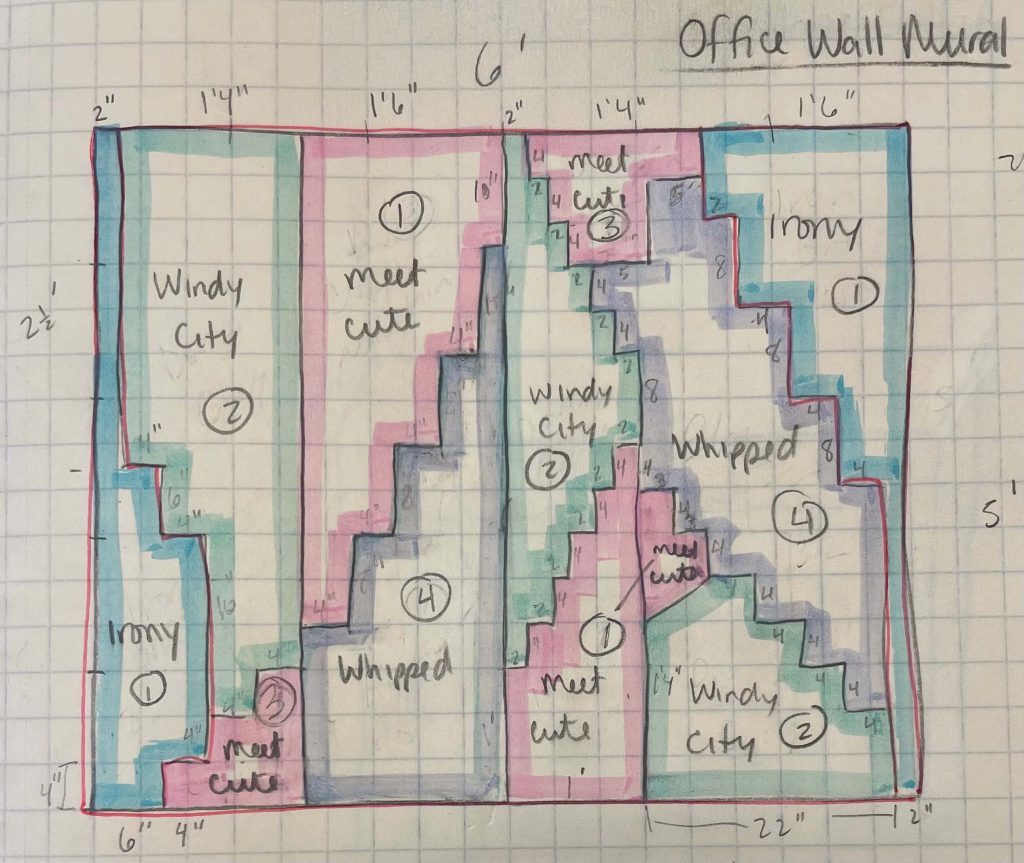
So for this particular color blocking accent wall, I determined that I wanted to make this rug mural fill a 6 foot by 5 foot area.
Each square in my grid paper map above is 4 inches, so 3 squares make a foot.
Materials

Once you have an idea of how you're going to map it out on the wall, grab all your materials with the list below, with the most important being your Frogtape.
- Multi-Surface Frogtape
- Delicate Surface Frogtape
- X-acto Knife
- Laser Level
- Ruler
- Plastic Credit Card-Sized Piece
- Step Stool
- Paint (I used Irony, Windy City, Meet Cute, and Whipped by Clare paint)
Steps to Complete
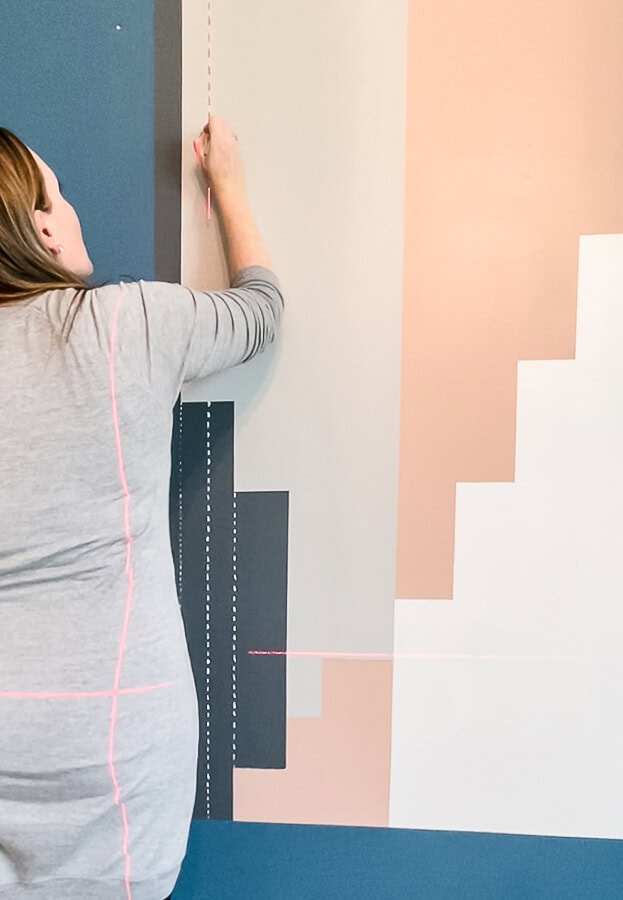
Use your multi-surface Frogtape to outline the space.
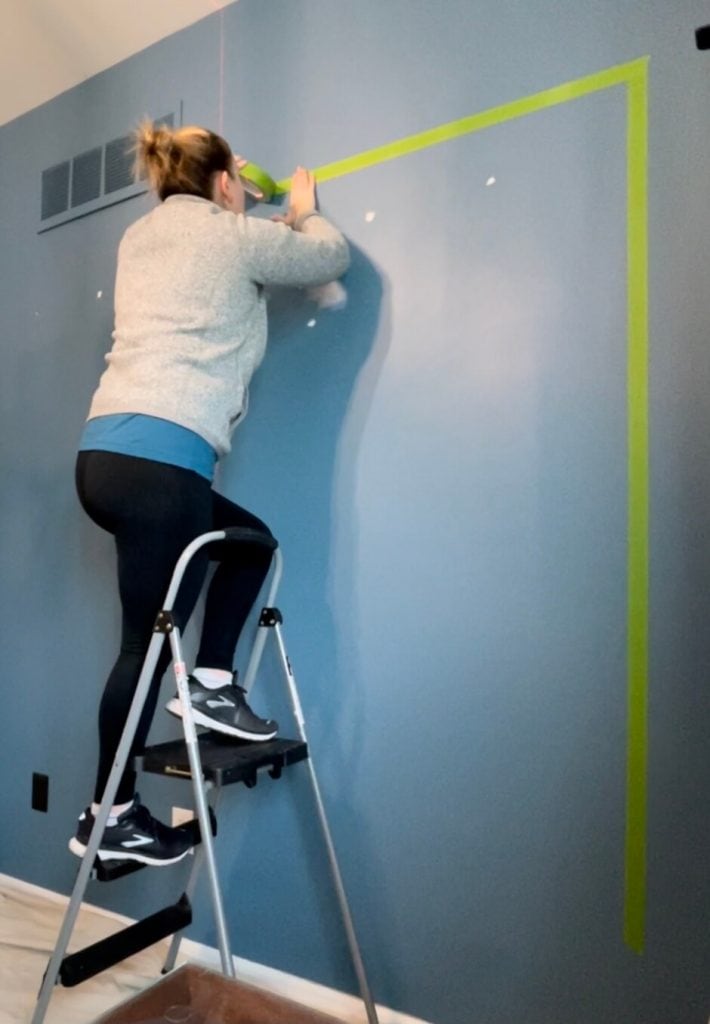
I used my laser level and my measuring tape to get the outline of the 6 foot by 5 foot mural on the wall.
Note: Make sure you measure from inside the Frogtape from one side to the other. If you put the tape on the inside of your measurements, you'll be cutting off the section by as much as the width of the tape.
Patch any holes inside your frame.
I used some spackle I had lying around and a putty knife to fill in some of the holes from what we had hanging here before.
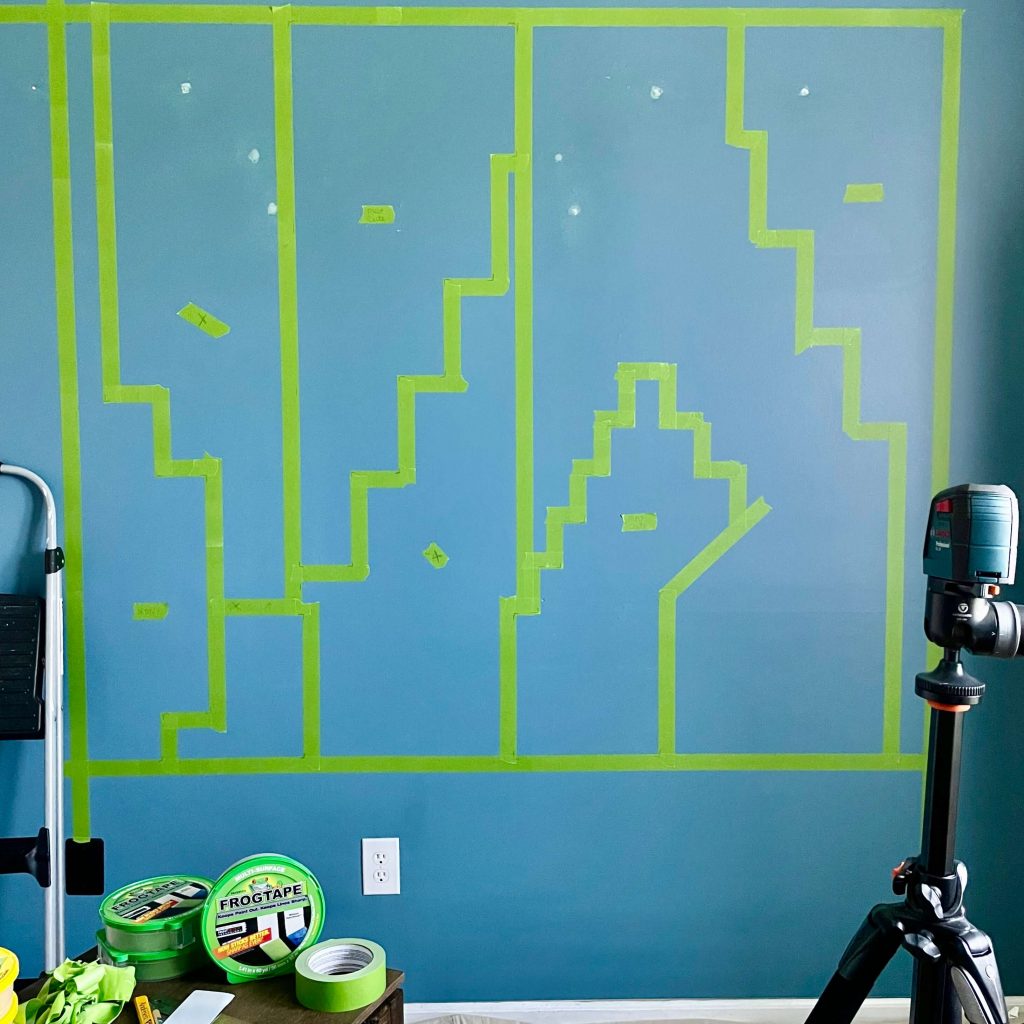
Write down the measurements of each section and the painting order.
You can see on my grid paper above that I actually wrote down the exact measurements from what I had mapped out originally.
This will come in handy as you start to transfer the design from paper onto the wall.
I also marked which sections I could paint at one time (see the 1, 2, 3, 4 numbers circled above).
This was so I could outline those pieces of the design first, second, etc. and keep the Frogtape on the correct side of the outline to not cut into my measurements.
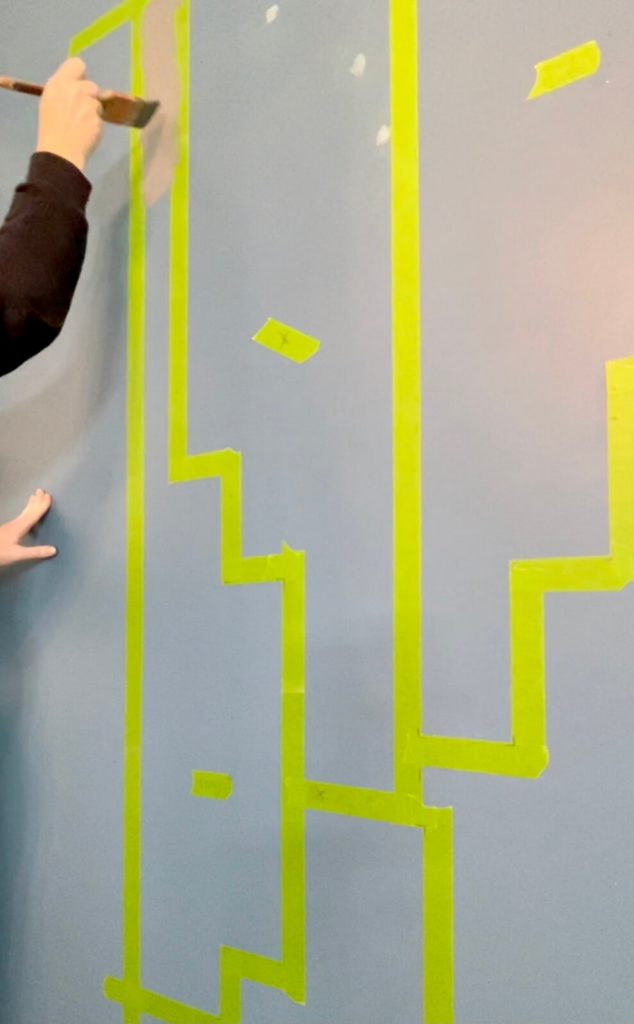
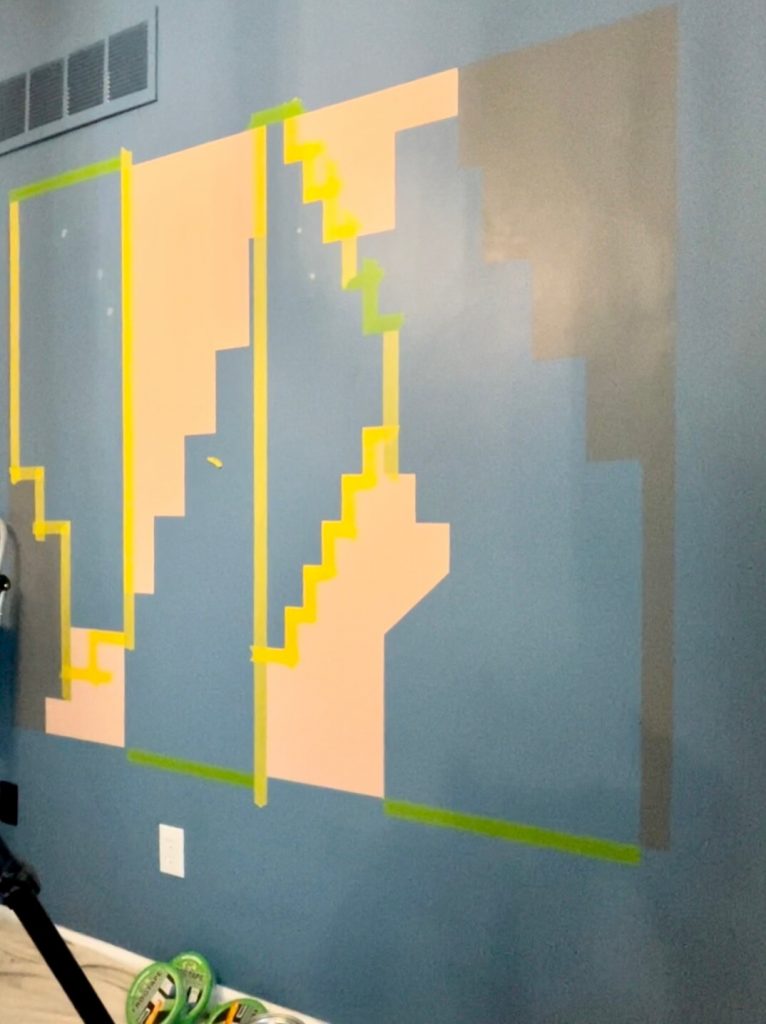
Start outlining your “one” sections with Frogtape.
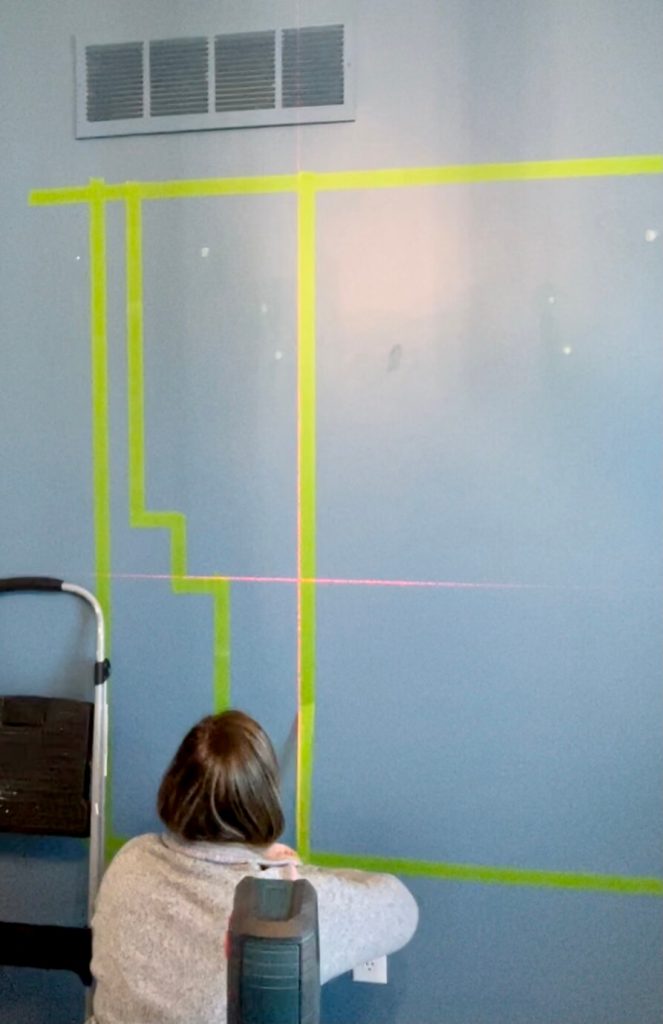
Every space that I have labeled as a “one” on my grid paper is getting sectioned off at this point.
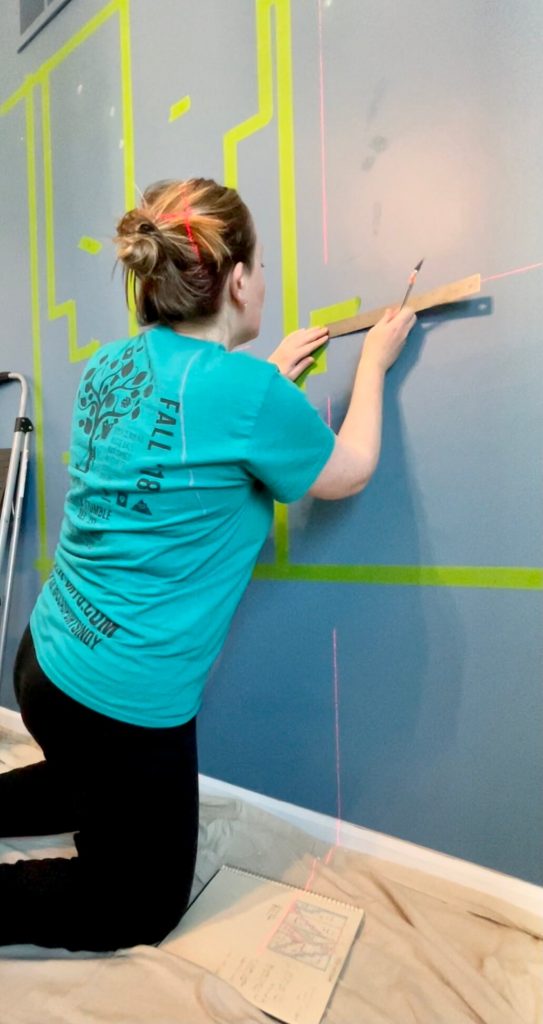
When it came to the specific lengths of each piece, I used my 12-inch ruler or measuring tape if the section was longer than 12 inches and marked the line on the Frogtape.
Note: Don't forget you are measuring on the inside of the “one” sections for this. You want to leave the measurements for what is shown to be painted.
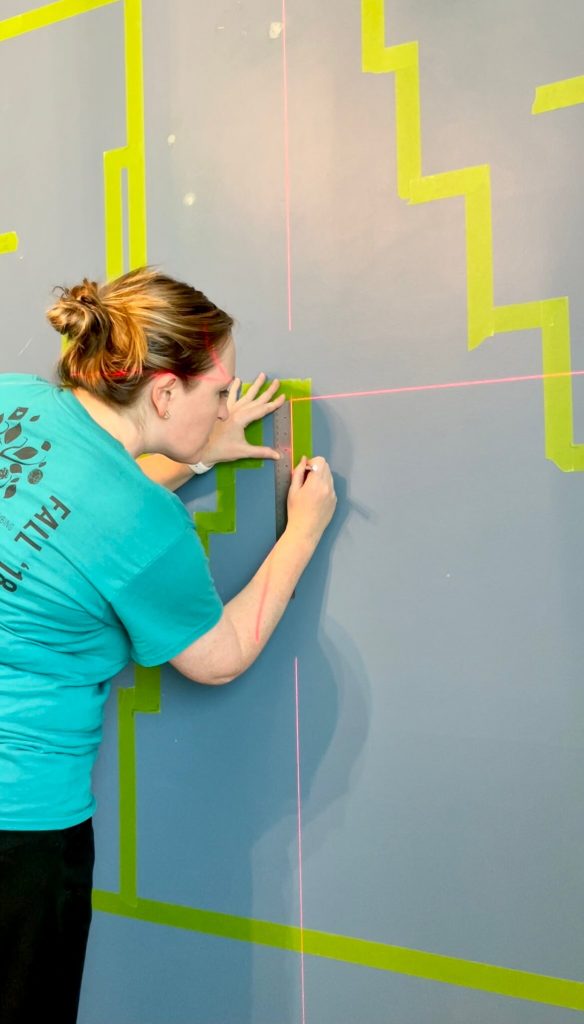
Then, use your X-acto knife to make a straight cut at that measurement line.
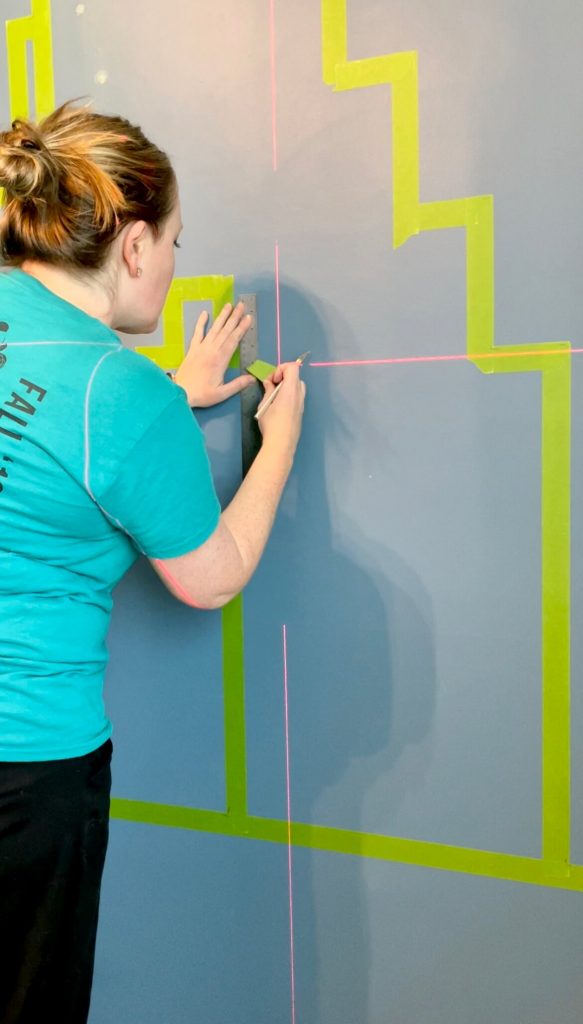
I left the ruler their to pull the tape off evenly, but it comes off pretty seamlessly.
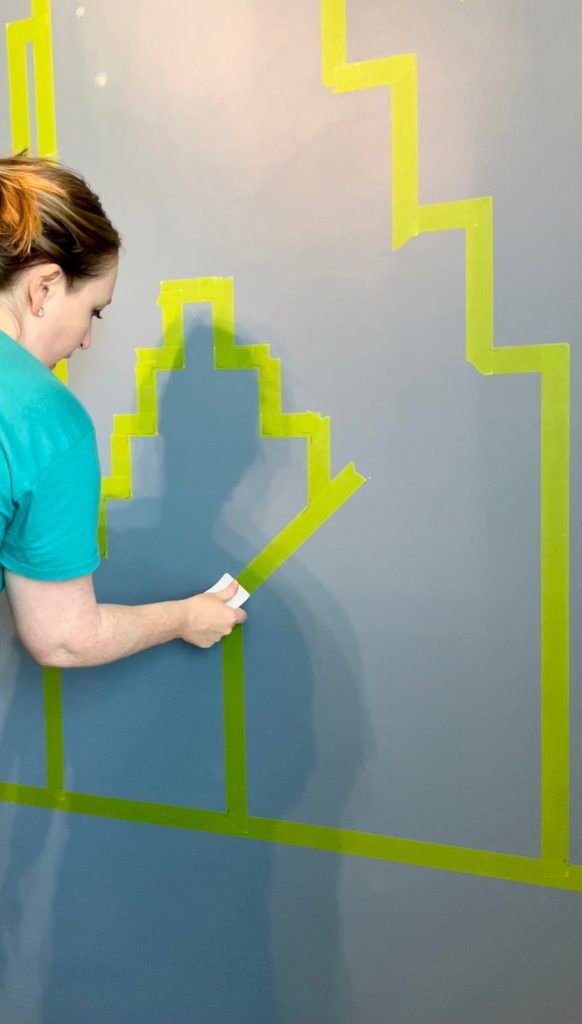
One step you don't want to skip is using your plastic credit card sized piece to smooth out the Frogtape to eliminate any bubbles.
I also made sure to label each section so I knew which sections to paint.
You can see I was able to section of both the “one” spots and the “two” spots at the same time without too much interference with each other.
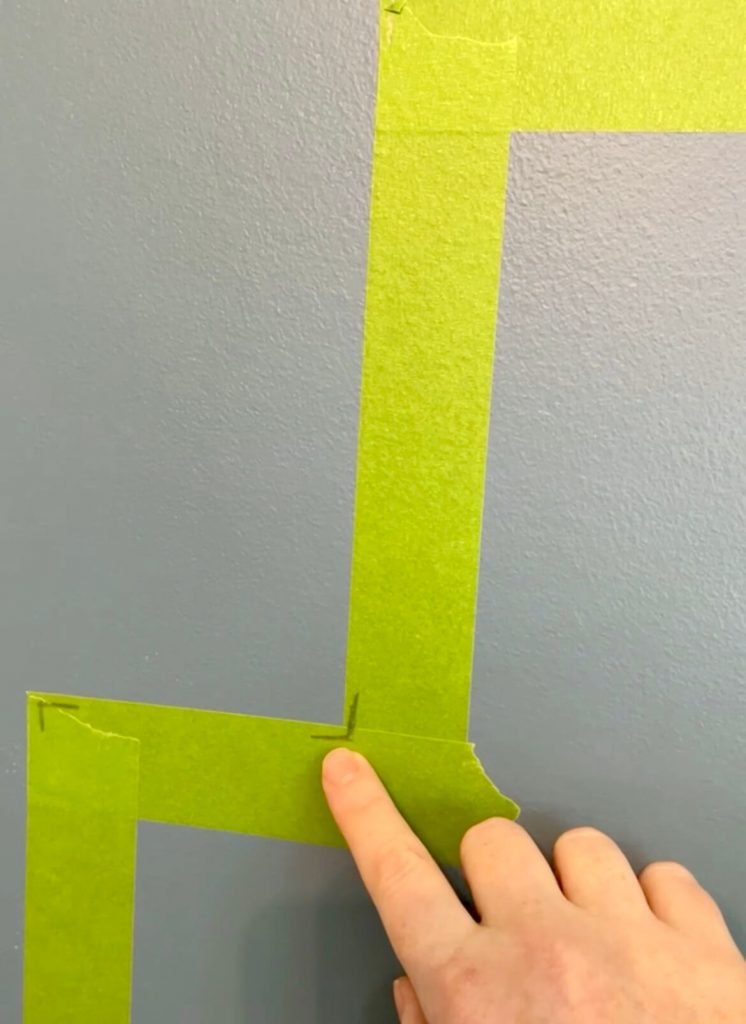
It was also helpful to mark with a straight pencil line on the Frogtape which side was the inside area to be painted, too.
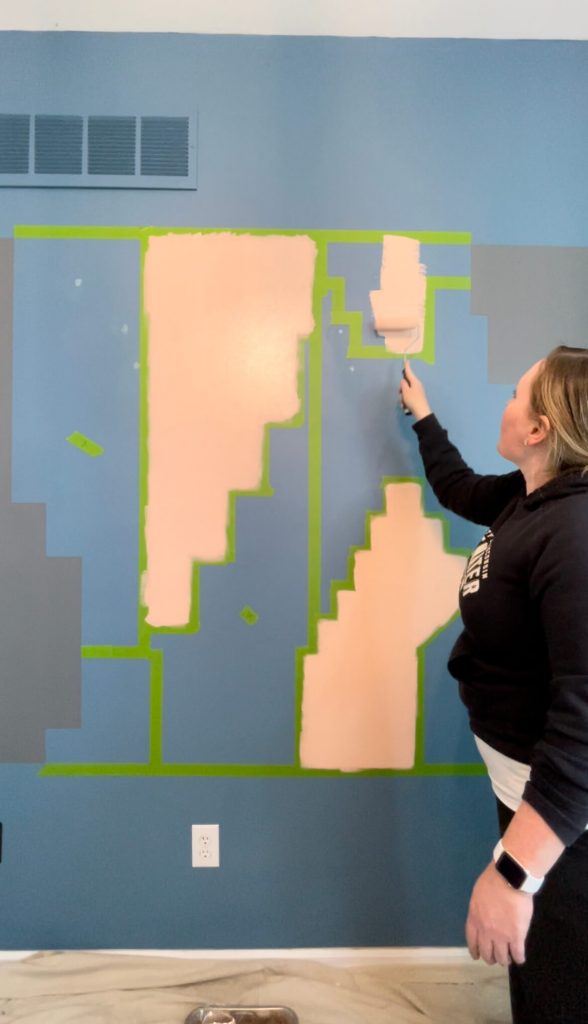
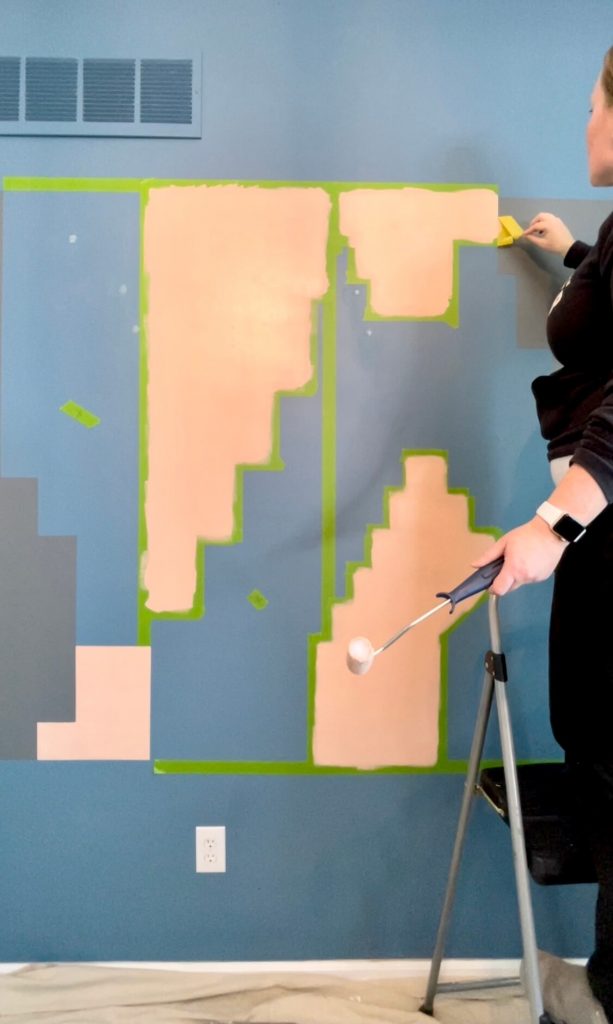
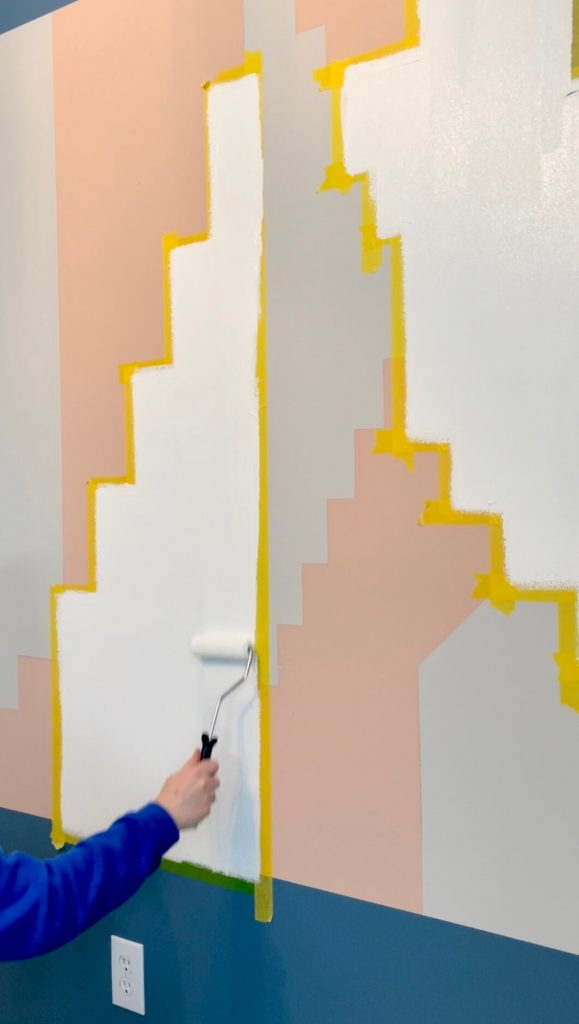
Paint your “one” sections.
Once it was all taped off, I started by painting my “one” sections with the first paint color.
The paint I used had pretty good coverage, so I didn't do two coats, but I did paint one section, move to the next, and then come back to the first section to roll over it one more time.
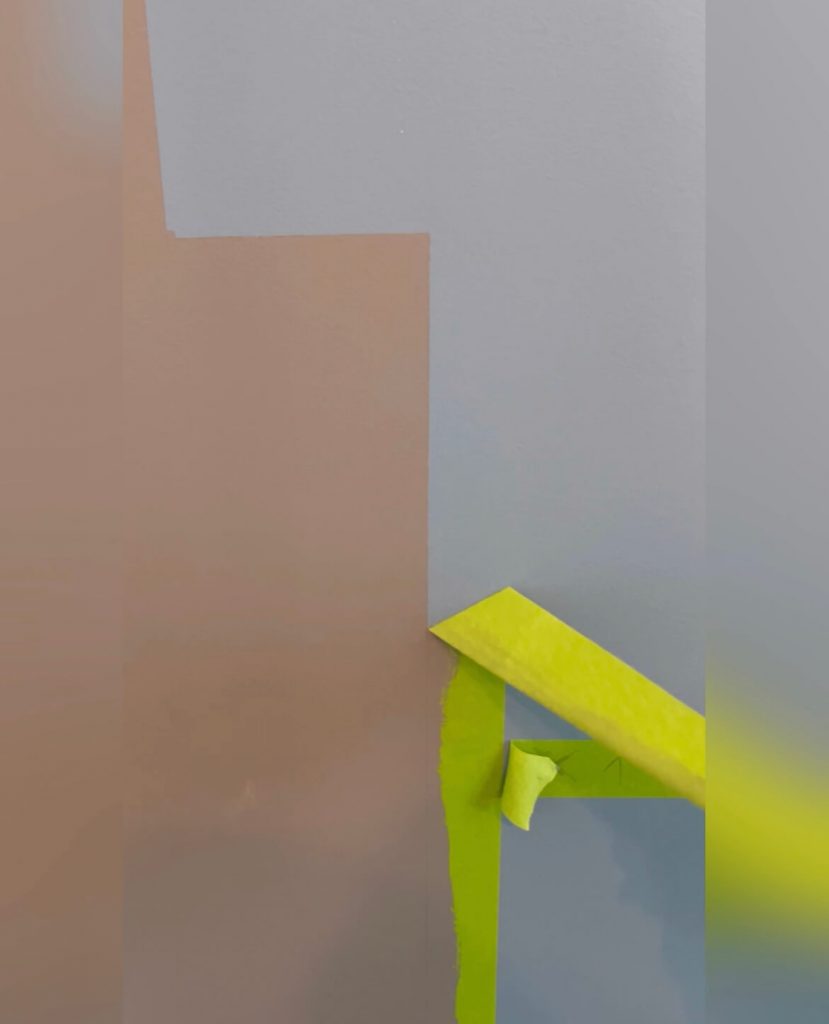
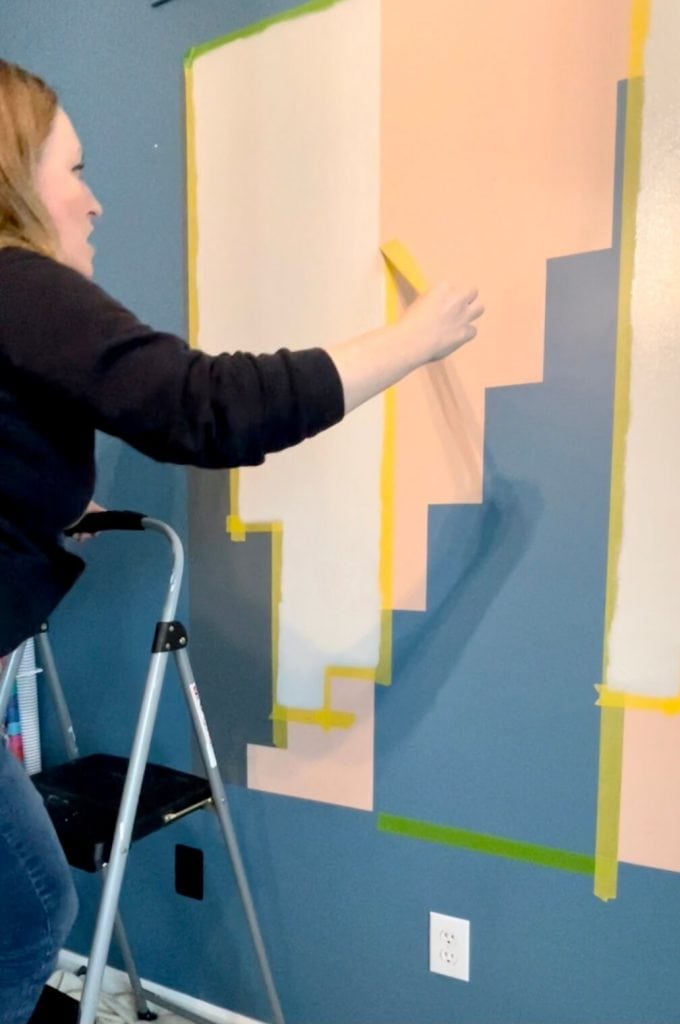
A few tips when using Frogtape when you're at the painting part is to paint over the top of the tape slightly to seal the glue underneath.
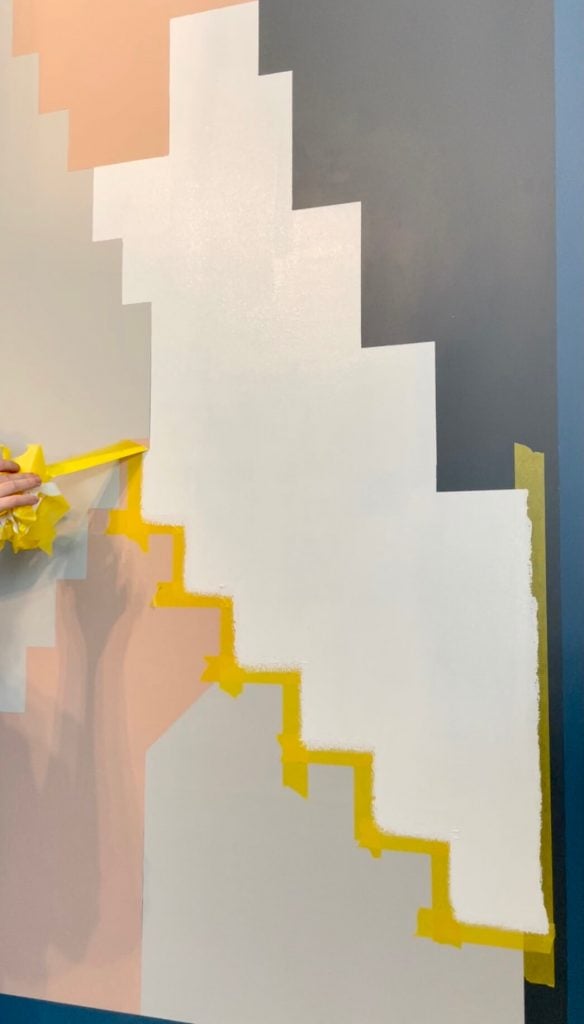
Then, you also want to remove the tape while the paint is still wet to make sure it doesn't dry together.
After 24 hours, paint your “two” sections adding delicate frogtape where needed.
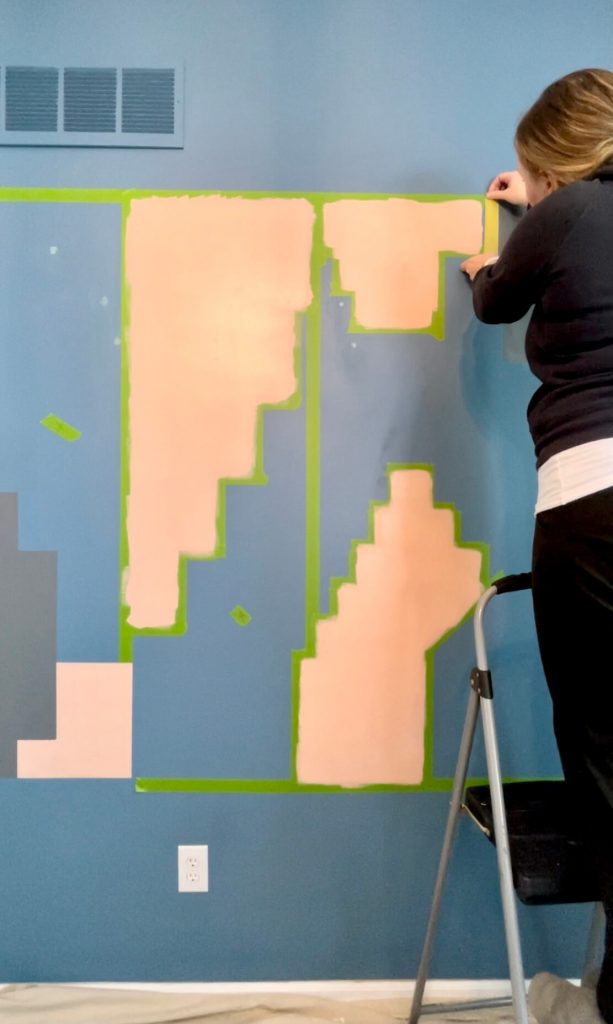
Repeat for each of the section groups.
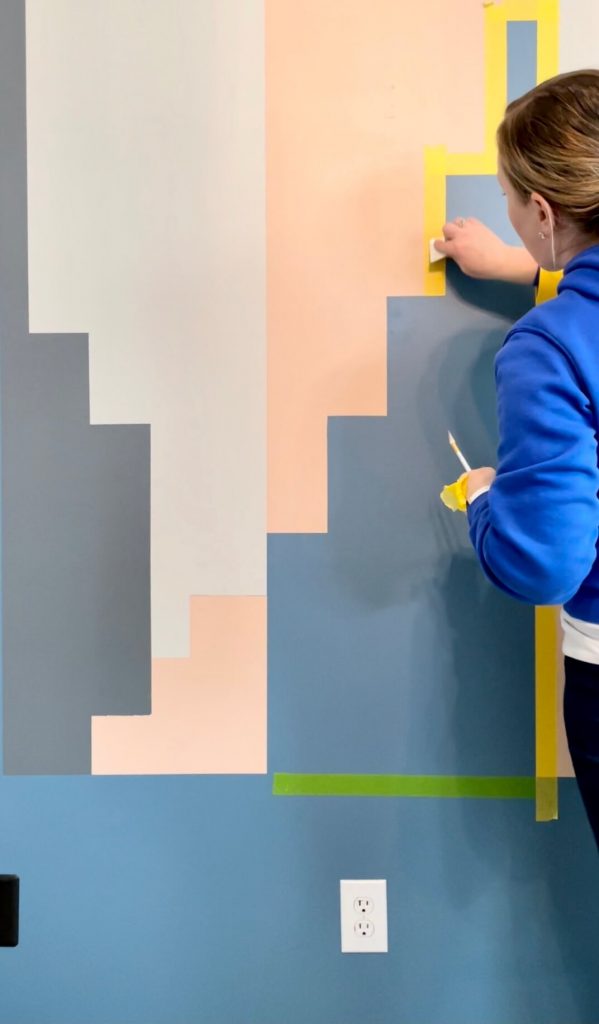
Add texture, if desired.
You could easily leave this color blocked without the texture, but being that I was modeling this off of a rug, I wanted to give it some dimension.
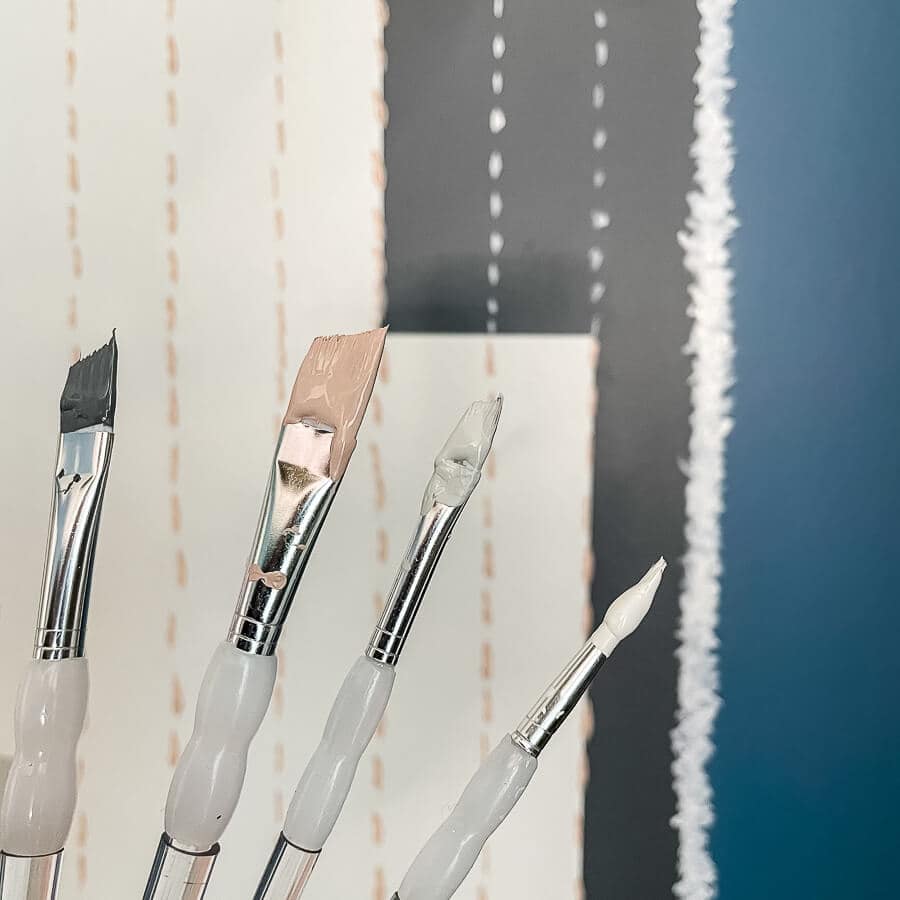
I used just a small paint brush you would use for regular art and my laser level to make a dotted line.
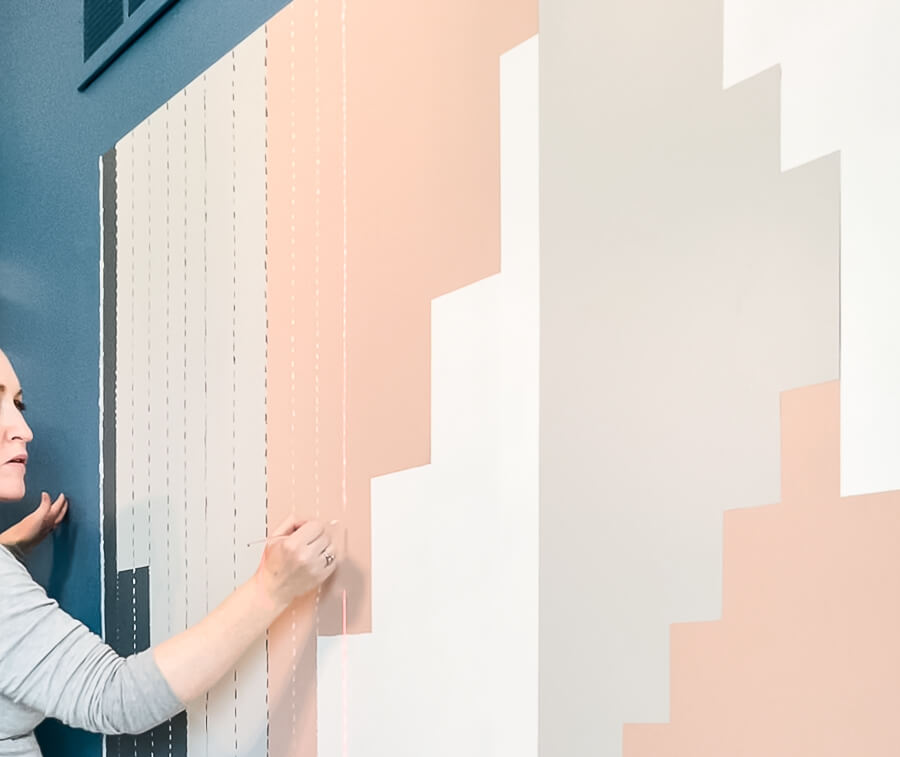
I alternated the colors in each color block much like the rug did with its fibers.
I would highly suggest choosing which colors to alternate before getting going on.
The After!
Now the moment you've been waiting for… THE BIG REVEAL!!
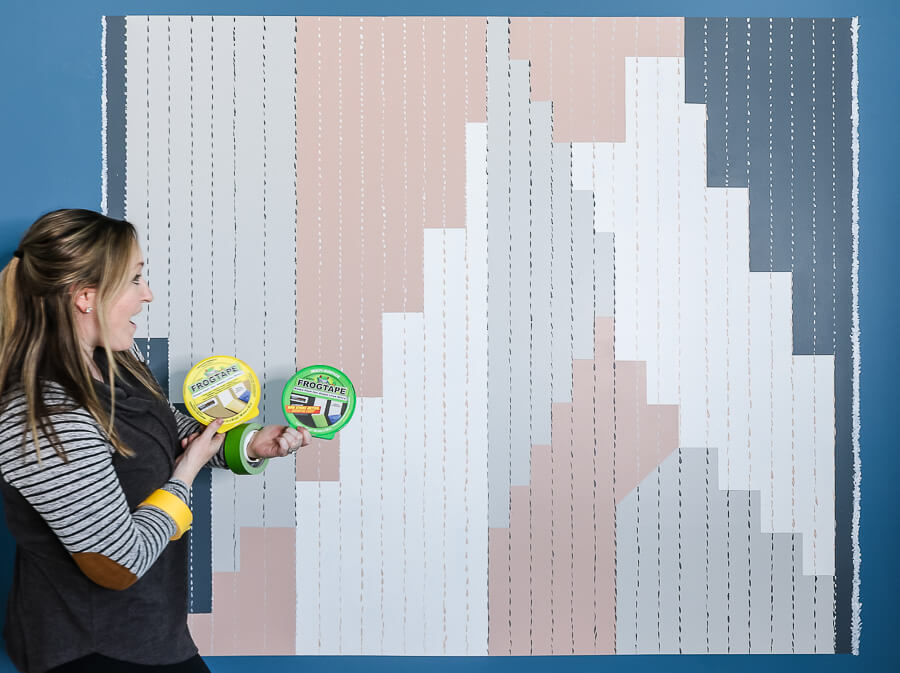
If you want straight lines, Frogtape is where it's at!
I went into this thinking it was going to be time consuming and sort of hard.
Turns out it was probably one of the easier projects I've completed this year thanks to Frogtape!
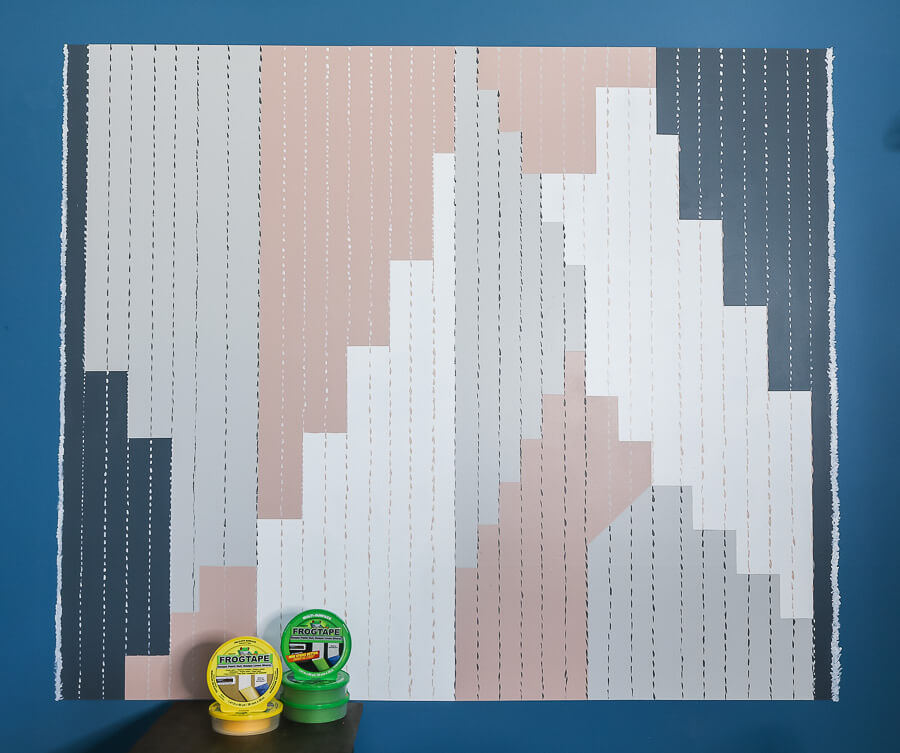
Now all that's left for this DIY home office accent wall is to style my office to make this my video chat background.
Drop a comment below and let me know what you think!
Frequently Asked Questions
When you are laying the Frogtape on your wall, do your best to not pull too hard and stretch the tape. Once it is on the wall, use a plastic credit card-sized piece to remove any bubbles. Then, when applying your paint, roll right over the top of the Frogtape to activate the seal.
In my experience, Frogtape is the only one that has never let me down. No paint bleed and easy application and removal.
I used the delicate surface Frogtape for the sections that were painted in the last 24 hours. The multi-surface Frogtape is great for any wall that has been painted for a while.
Ya it does! It still has the activating ingredient, so as long as you follow the technique mentioned in this post, you'll be good to go for any surface!
No, no! It is best to take the Frogtape off while the paint is still wet, so they don't dry together and pull the paint when you remove it.
Want to watch the video for this post?
You're in luck!
I saved my entire tutorial in a highlight bubble on my Instagram page. Head over to my profile and look for the circle that says “Office Mural.”
And be sure to follow me for more Frogtape projects, too!


This turned out awesome! I love the dashed lines … I’ve always heard good things about frog tape.
Thank you! Yes, Frogtape is where it’s at… made this project stress-free!
Whoa! How cool! You worked so crazy hard on this. I love it. Also, I’m a HUGE fan of FrogTape too – nothing better than it 🙂
I know right? It’s the best painter’s tape ever! Thank you 🙂
This turned out amazing! What a cool backdrop you’re going to have now.
Totally, Jen!! Thank you!
It looks so good! That was such a creative idea!!! What a statement!
Thanks Danielle!! It needed a little something in this room lol
Frog Tape for the WIN! I love love love how this turned out and a great step by step tutorial!
Such a creative focal wall idea! Great post, the instructions are so easy to follow.
Aww thank you!! Now you’ll have to try it out!
You are so creative! I love your design and it turned out perfectly. What a great update for your office.
Thanks Paula!! Yes, it needed some pizzazz!!
This is an amazing project! I love everything about it…the colors, the design…so so cool!!
Thanks Jennifer!! I’m so glad!
I love the wall! I’ve never used FrogTape…maybe it’s time to check them out!
Totally!! Frogtape works sooo good!
Initially, when I first saw the photo, I thought you had nailed pieces of wood to the wall. It looks amazing. Such good straight lines (something I struggle with). I love it. Thanks for sharing.
Wow, tis turned out great! Very cool way to reinterpret the rug.
Thanks!! It came to me a in a dream lol
What an amazing project. Great step by step tutorial.
Thanks Jennifer!! Now you’ll have to try one too!
Seriously such a cool Idea and it turned out great!
Doing this now – although not as elaborate. Question, how to measure where I want my block. Measuring from end of wall, to end of wall doesn’t align with the furniture placement. For instance, if I measure the block 2′ from the wall edge on both sides, it is slightly off set from my lv. room alignment. Can I align the block to my lv.room space and not the wall space? Thanks for the inspiration!!
Thanks for the question Kimberly!! I would suggest aligning it to the furniture piece that it’ll be surrounding. Mine is not centered on the whole wall, just centered between the two furniture pieces and then I plan to put my couch centered to the artwork. You’ll have to let me know how it goes!!