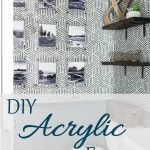
DIY Acrylic Frames | How to Make & Hang Your 3D Art
Looking for a way to jazz up your wall art? Try making your own DIY acrylic frames for personalized 3D artwork. This post will walk you through exactly how I made these in my home.
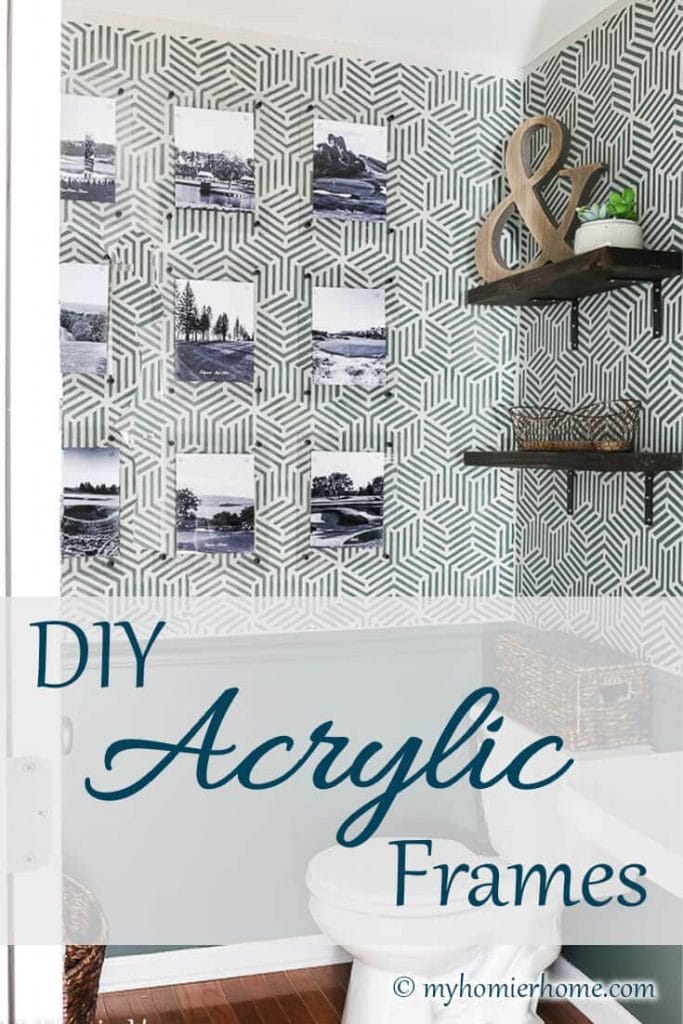
If you are looking for a custom way to frame your pictures or artwork to make it stand out from the wall, these DIY acrylic frames are the perfect thing.
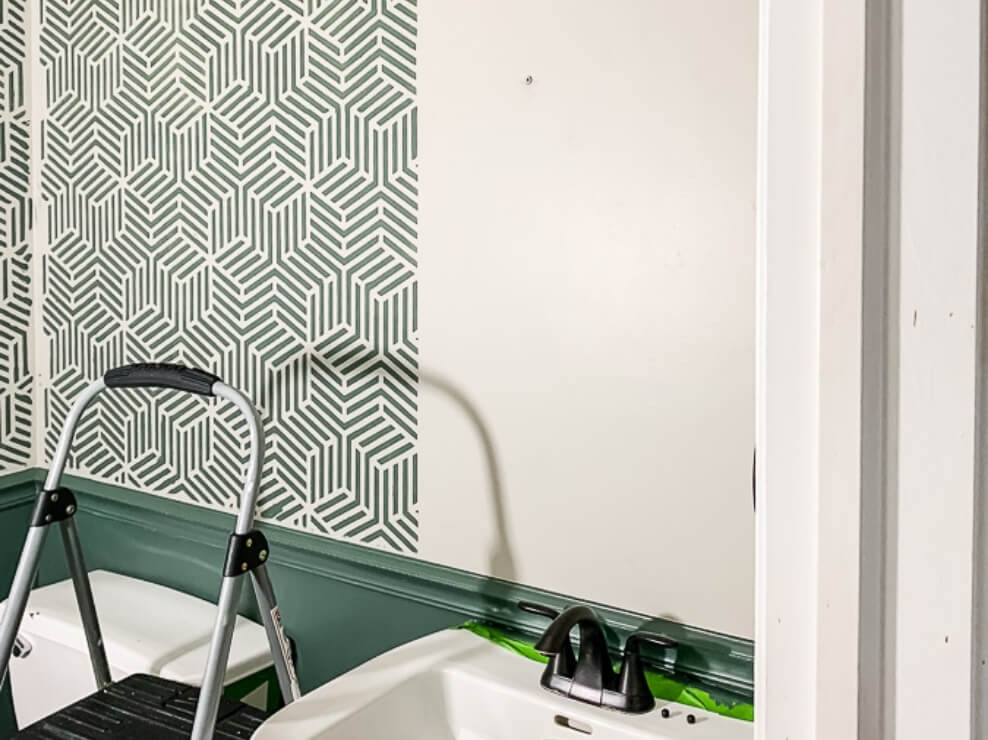
I landed on these frames because I needed a little something to add a little extra pizzazz to my bathroom wall.
We decided to incorporate my husband's love of golf into the mix by printing pictures he took of PGA golf courses he's played in black and white.
I love when art is a conversation piece, so this was the perfect addition to the bathroom wall.
To make it truly stand out, I made these DIY acrylic frames for each of the pictures.
Here are the steps I took…
Table of contents
- 1. Gather your materials.
- 2. Tape each side of each corner.
- 3. Mark where you want to drill your holes.
- 4. Drill your holes.
- 5. Use your glue dots to secure your pictures to the frame.
- 6. Mark the whole on the wall where you plan to hang it.
- 7. Use your punch tool to mark the whole on the wall.
- 8. Drill your holes in the wall.
- 9. Screw the standoffs into the wall.
- 10. Attach your frame to the standoffs.
- 11. Revel in the finished product!
Disclaimer: This post does include affiliate links for your convenience. This is at NO additional cost to you but earns me a small commission. To read more, check out our disclosure policy. As an
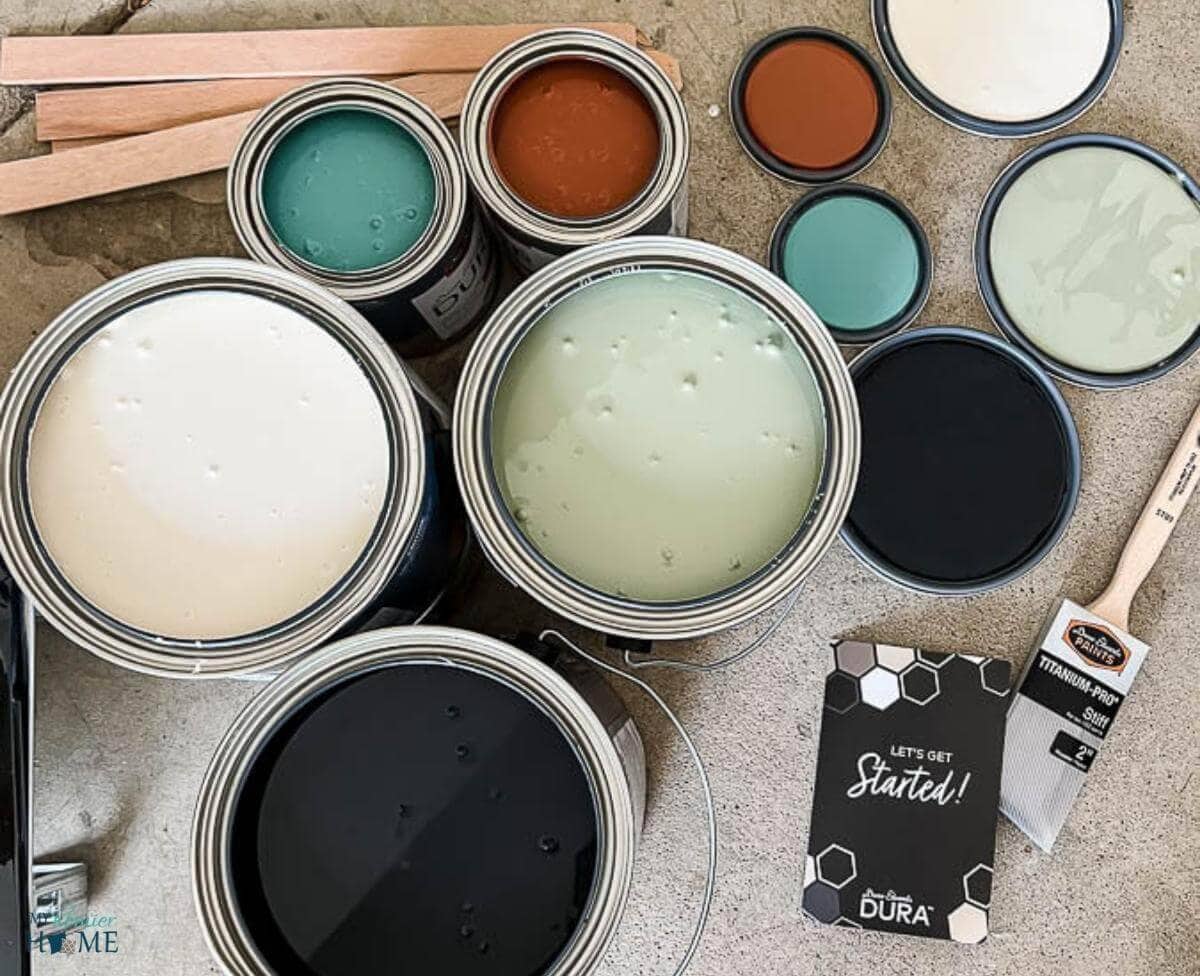
1. Gather your materials.
First things first, gather all your materials. All sources for everything I used are linked below. I also included a list with links of what we used to hang the frames, too.
FOR MAKING the DIY Acrylic FRAMES:
- Plexiglass/Acrylic Sheets
- Standoffs
- Glue Dots
- Piece of Lined Paper
- Drill
- Drill Bits (one for the size of the opening of your standoffs and one for the screw for the wall)
- Painter's Tape
- Ruler
- Marking Tool (I used a Sharpie)
FOR hanging the DIY Acrylic FRAMES:
2. Tape each side of each corner.
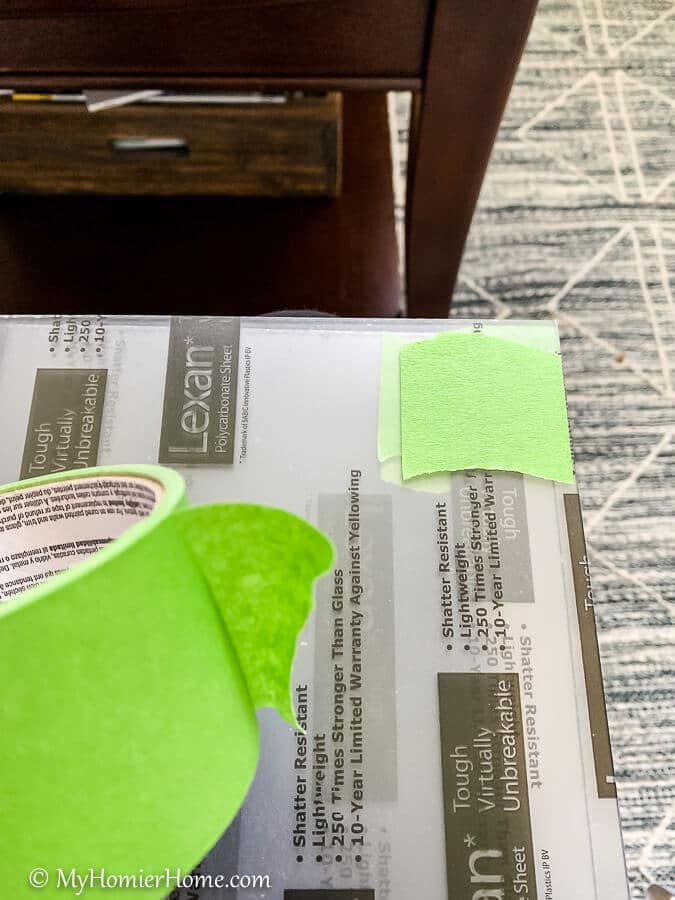
Plexiglass/acrylic is very delicate.
Because of this, you have to be very careful when you are drilling the holes.
Placing a piece of painter's tape on either side where you plan to drill your hole will help keep the acrylic sheet from breaking or cracking when you drill.
I also kept the protective cover on each side of the piece, too.

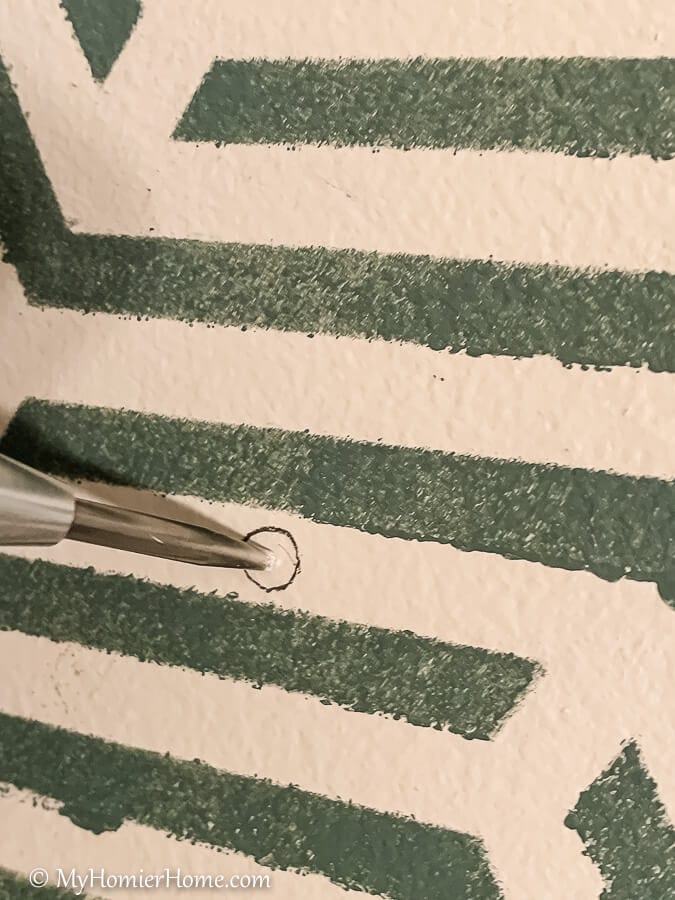
3. Mark where you want to drill your holes.
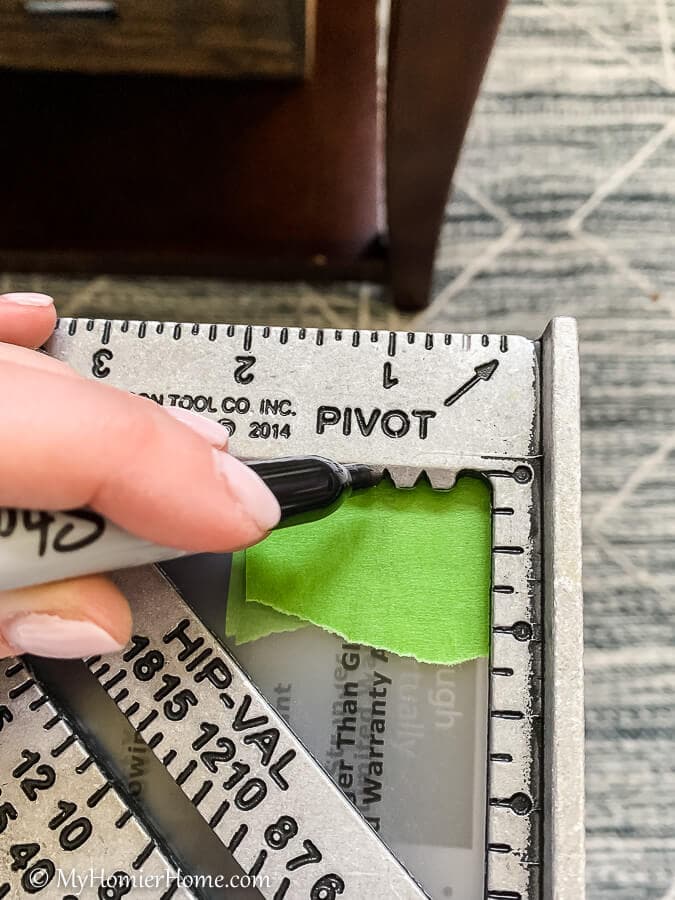
Once you have placed the painter's tape on all four sides (or however many places you plan to drill a hole), you can place a mark of where you want to drill your hole.
I drilled my holes 1″ in from each edge as you can see from the picture above.
4. Drill your holes.
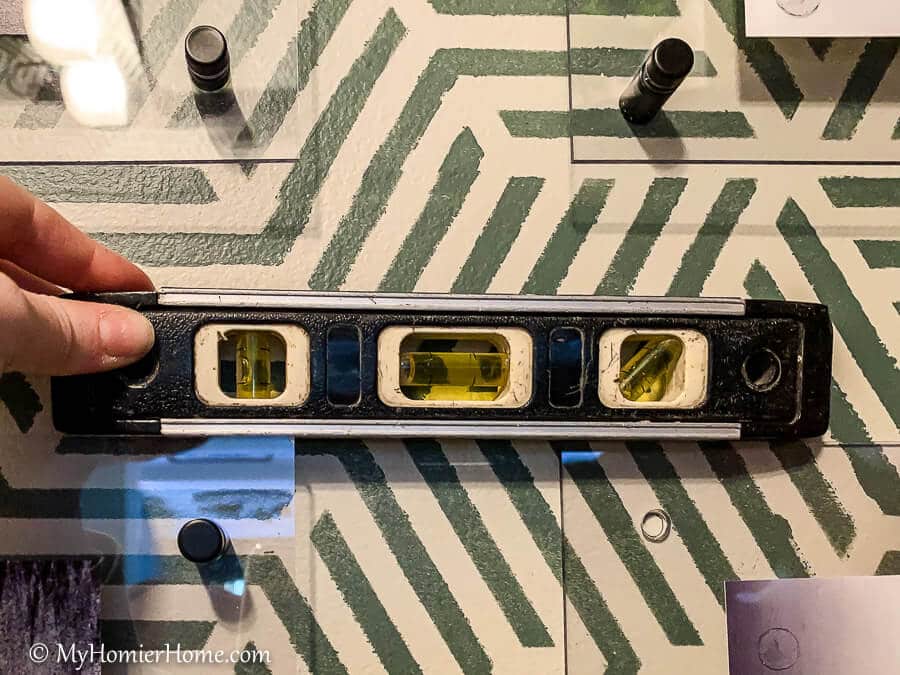
Before actually drilling, double and triple check that your marks are level both horizontally and vertically.
You'll want to have these level for when you hang them.
The drill bit you choose should be big enough to allow the standoff to fit within the hole.
I would do a test run on a piece of scrap material to make sure it is big enough.
Once you are certain that the marking are level and the bit is big enough, you want to begin drilling.
Here is a good video to follow if you would like a demonstration on how to drill through acrylic.
You want to use about half power when you are drilling.
Slow and steady. If you go to fast, the acrylic will crack, so take your time.
As you drill you should see spirals of the acrylic slowly being removed.
Repeat the drilling for each hole you need.
5. Use your glue dots to secure your pictures to the frame.
Once your holes are created, you can add your photo to the piece of acrylic/frame.
The key here is to again, make sure your picture is level before you completely secure it to the frame.
The glue dots are very sticky and don't allow for a lot of wiggle room, so it may be a good idea to line up a piece of lined paper behind the frame to help you line the edges of your picture.
Whatever trick works for you to make sure the picture gets glued to the frame level will do.
6. Mark the whole on the wall where you plan to hang it.
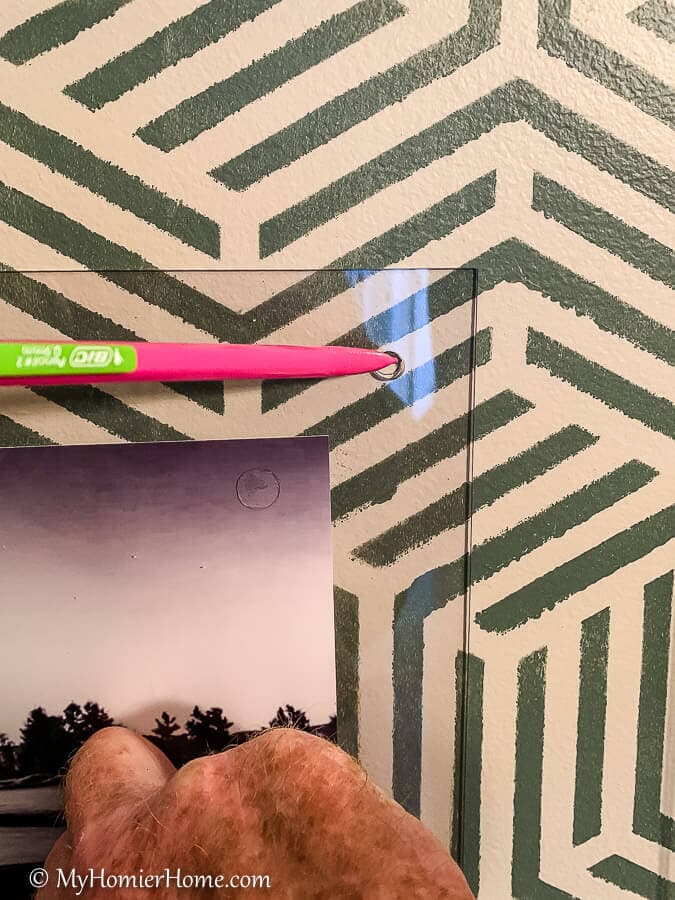
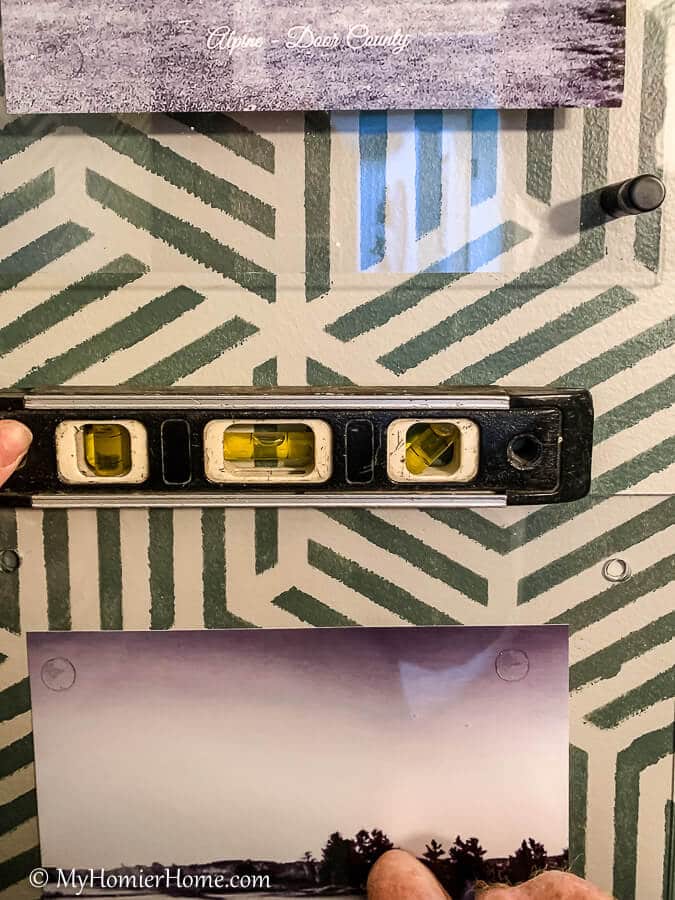
As you begin to hang, mark your holes on the wall, but make sure your frame is level.
If you measured correctly in the step before drilling, the holes on your frame should already be level.
If you are hanging more than one frame like I did, make sure each frame is level in your grid, too.
7. Use your punch tool to mark the whole on the wall.
I love this tool so much because it gets your hole started and allows your drill to stay in place when you begin drilling.
If you don't have one, I highly recommend it!
8. Drill your holes in the wall.
Be sure to use a bit that fits the screws that came along with your standoffs.
This will most likely be a smaller bit than the one you used on the frames.
I also used a stud finder to see if I needed drywall anchors, but because these frames are not that heavy, you could probably do without them.
9. Screw the standoffs into the wall.
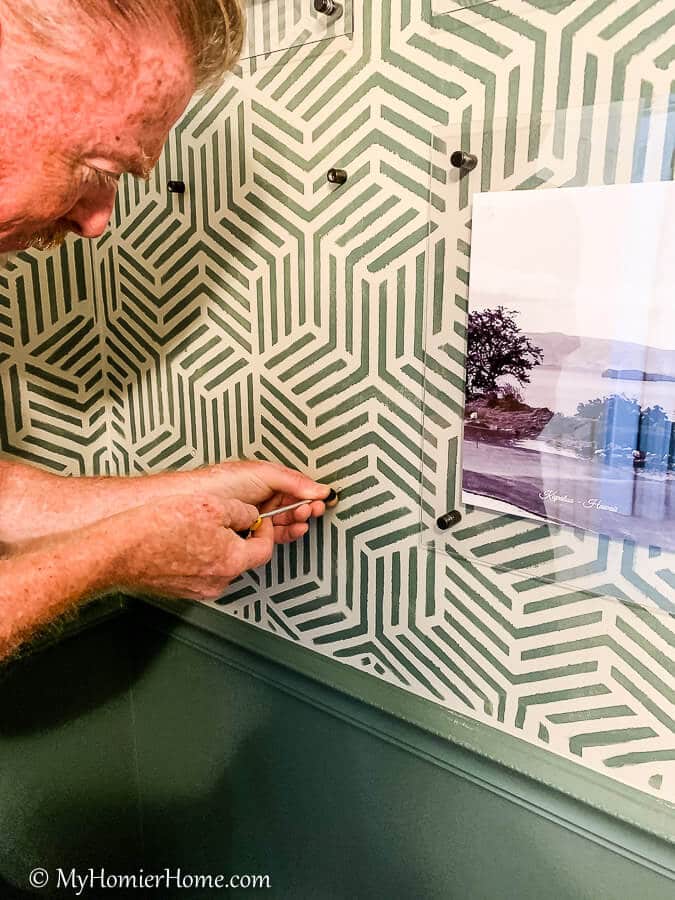
Once you purchase your standoffs, you'll see how they work.
In order for the picture to “stand off” the wall, you have to secure the standoff with the provided screw before attaching the picture to the standoffs.
As you can see from the picture, making sure everything is level and measured correctly is super important.
10. Attach your frame to the standoffs.
Once you've attached the standoffs, it's time to attach the pictures!
Line up the standoffs with your drilled holes and secure the standoffs.
If all goes well, everything will line up appropriately and be ready to go!
If you are like my dad and I, you'll come across at least one that doesn't line up perfectly.
For this, we cheated a little bit and secured the standoff to the frame and used a glue dot to secure it to the wall, so it didn't move.
We only had to do this for two corners of two frames, but don't worry if you mess up one… We've been there!
11. Revel in the finished product!
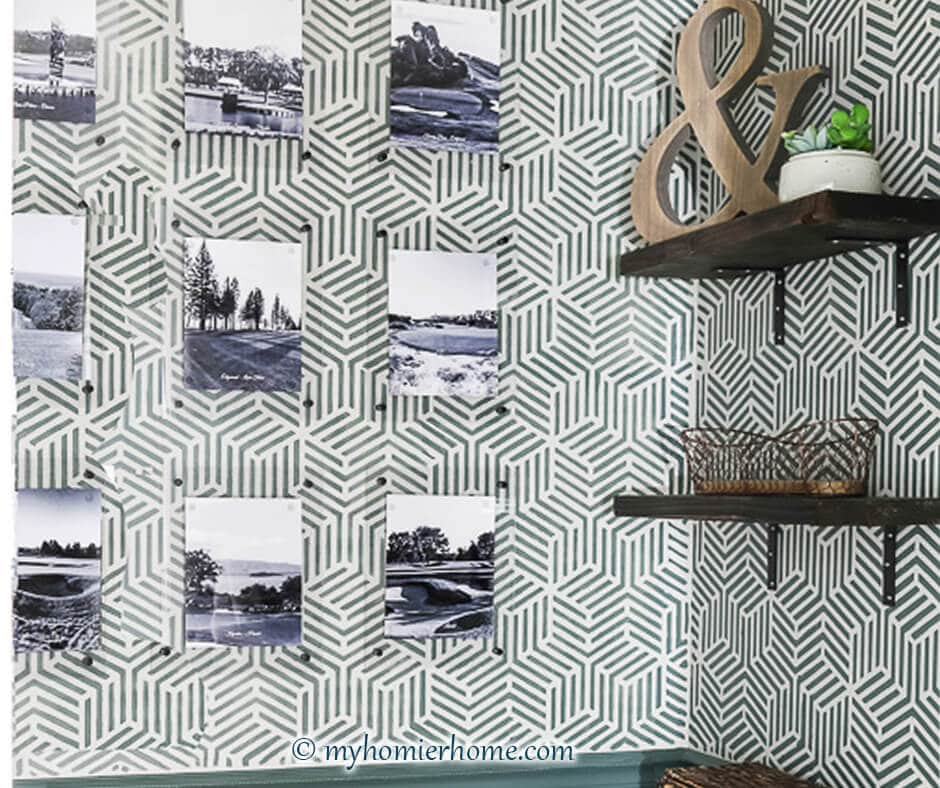
Now it's time to enjoy your work!
We did a grid of 9 total pictures which was a big undertaking with all the measuring, but I'm in love with how it turned out.
Let me know in the comments what you think of the finished product!