Cozy & Rustic Living Room Refresh | ORC Week 5
It's week 5!! One week until the big reveal! Check out what's left on my list to finish creating the Cozy & Rustic Living Room Refresh!
Week 1 | Week 2 | Week 3 | Week 4 | Week 5 | Week 6
Is crying allowed in the One Room Challenge?
I feel so close, yet so far away. It has been seriously one of the busiest weeks of my life.
Everything and anything that could get scheduled, did.
However, I did manage to cross-off two things on my to do list. Now… racing to the finish!
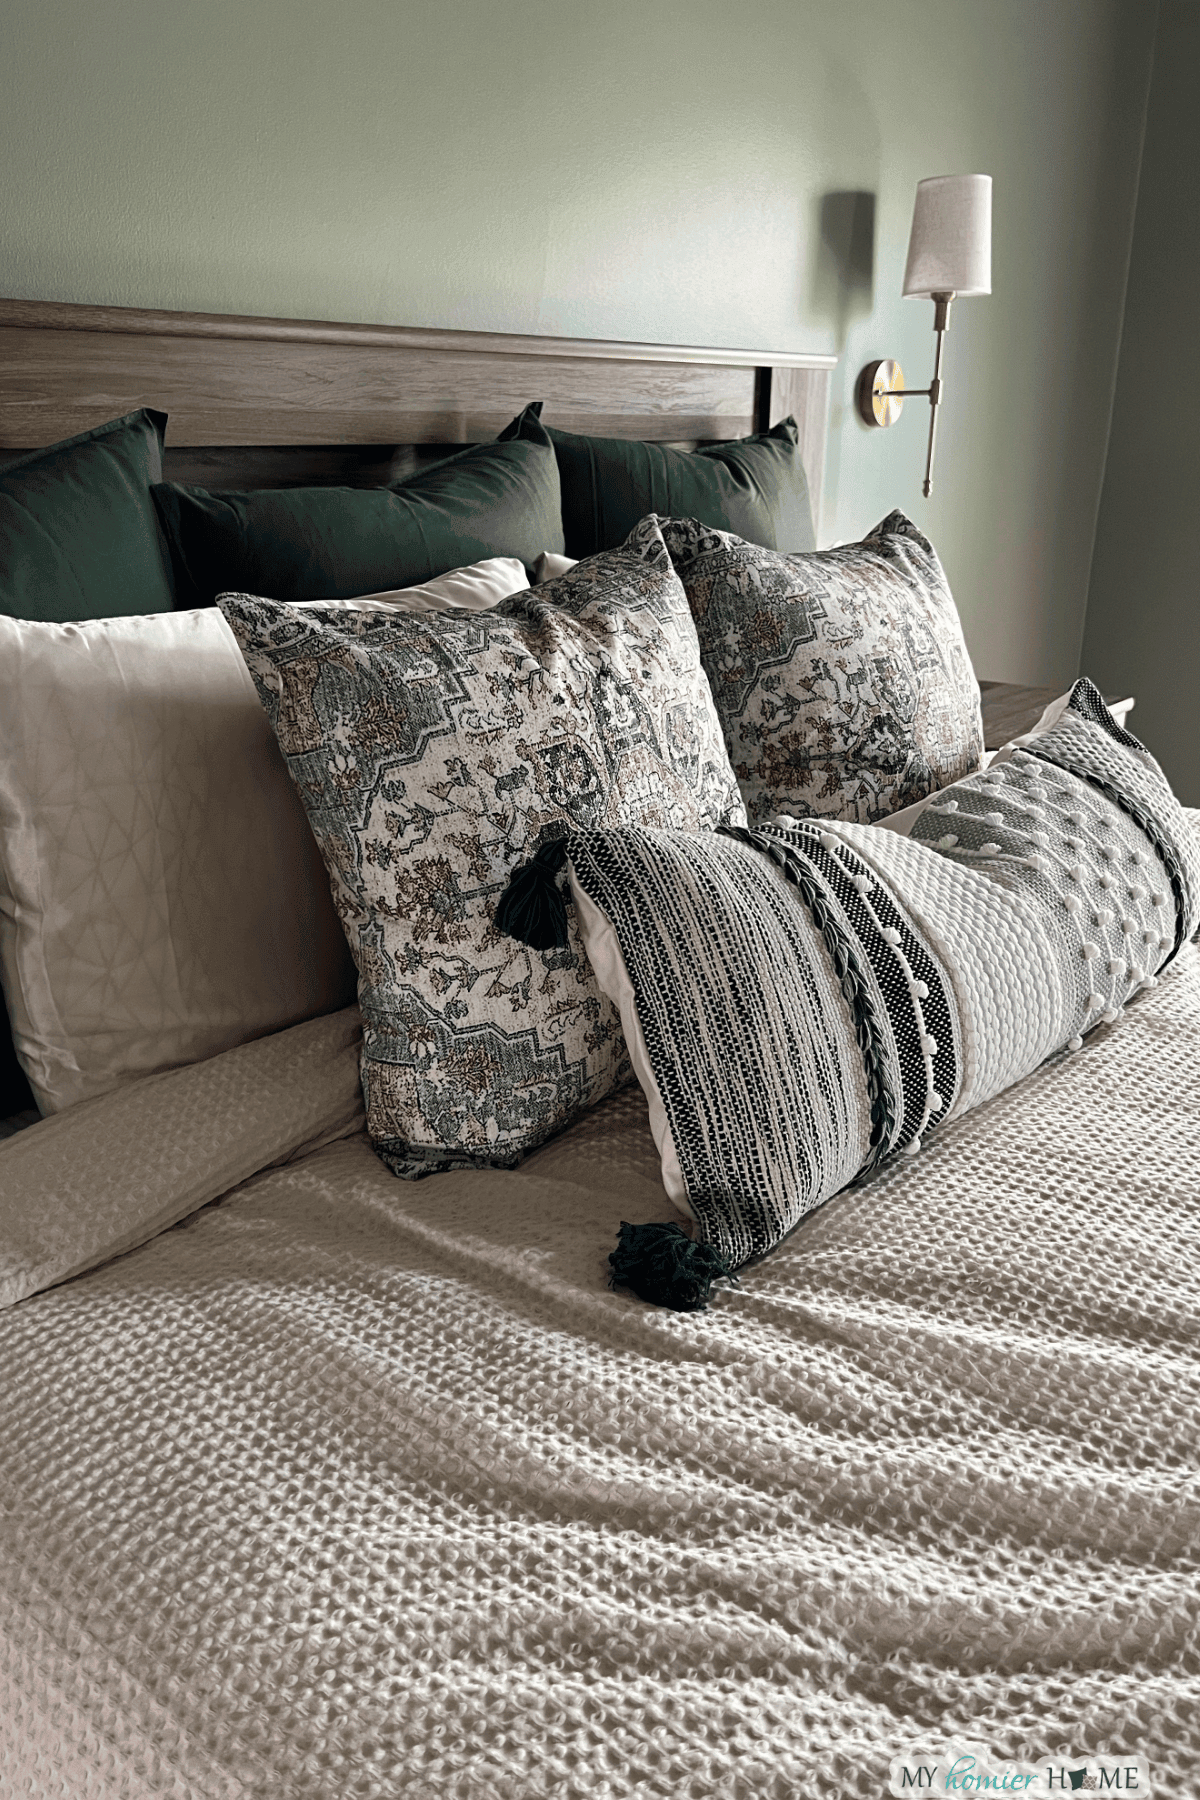
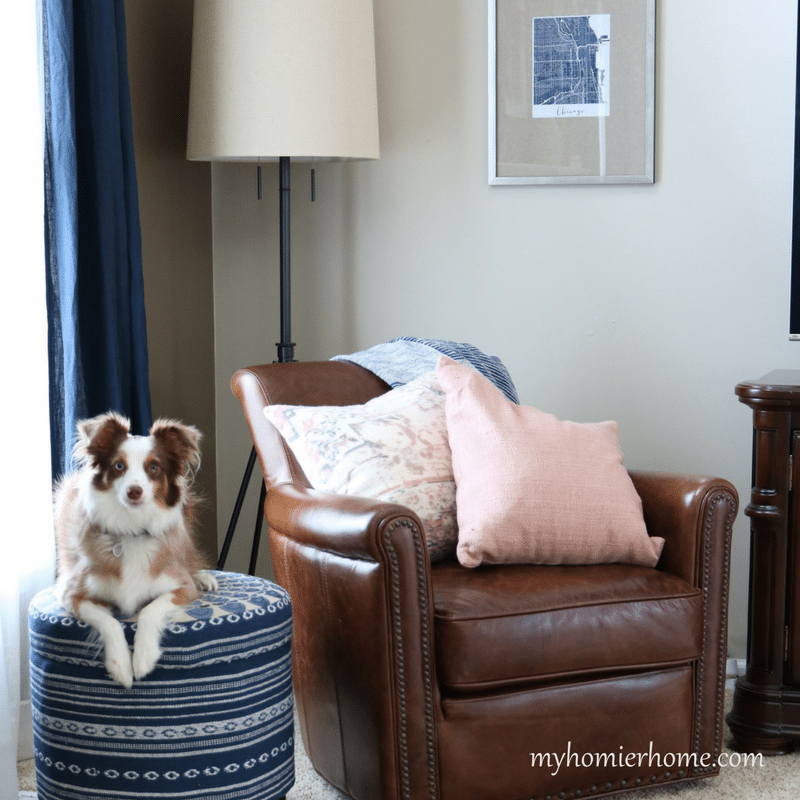
I did not included any pictures of the shelves yet, but the picture above is a preview of the lamp/chair area I also finished this week.
The big reveal next week will include all kinds of pictures, so be sure to check back next week.
If you are new to this living room refresh, check out the previous weeks at the top of this post.
Last week, I had the task of re-staining the shelves, deciding what to put in the frames of my gallery wall, and buying lamps.
I am happy to say that I successfully completed the re-staining and hanging of the infamous shelves.
They are finally up on the wall, but have not yet been styled.
I thought the staining would be a big deal, but after talking to the paint guy at Home Depot, it was a breeze.
The supplies I used for the re-staining project were:
- 220 Grit sanding block
- Minwax Jacobean Stain
- Minwax Polycrylic Top Coat in Matte
- Wiping clothes
- Rubber gloves
I started by setting up a work table in my garage, so that I could keep my work stating ventilated and leave it up during the process.
On the first day, I hand-sanded the shelf with the sanding block to rough it up a bit and get the finishing coat off the top of the shelf.
After that, I applied a coat of stain with the wiping clothes while wearing rubber gloves. The directions said to let it sit for 4-6 hours, but I let it sit overnight.
It only took me about 15-20 minutes for all that the first day.
The second day, I applied another coat of stain, but let this one sit for about 15 minutes before wiping the excess off.
On the third day, I applied the Polycrylic Top Coat, let it sit for a few hours, and then applied a second coat. By the fourth day, they were ready to hang.
The day I went to hang the shelves, I realized I had purchased a way-too-advanced laser level, so I ran to home depot to switch it out for one I found in some reviews.
I also grabbed a better stud finder because I did not want to go through the same mess as I did for the gallery wall.
Here is what I bought: a Bosch Laser Level and a Stud Detector.
These two items are worth their weight in gold.
Why I didn't think to purchase this stuff for the gallery wall, I'll never know.
I already had a camera tripod and the Bosch laser level screwed right into the base of it allowing me to adjust the height on the wall.
It is also self-leveling which made everything even better.
Only mishap I had was I forgot to use the stud finder on the second shelf and accidentally hit the stud, but with a little ingenuity and experience from the gallery wall fun, I made it work.
In addition to hanging the shelves, my lamp also came in! I'm in love. It looks absolutely gorgeous in the space.
Since the chair won't be in until June (ugh), I'm thinking of leaving the other Pottery Barn chair I brought in from our front room in there for the time being.
Also, I found a guy on etsy to create my custom maps, but I waited too long and they most likely will not come in on time (double ugh).
My solution for this was to print the proof for now and put it in all of the frames to at least get a gauge for what it is supposed to look like. Oh yeah!
And I ordered some sage colored pillow covers for the pillows in the basket on the hearth, but not sure if they will come in on time either, but they are ordered.
That's what I get for procrastinating, but I'm super excited none-the-less.
Now this week, I'm going to have to kick it into gear. I need to finish the other end table which means I still need to find another lamp and style it pretty.
I need to complete the hearth, but I still need to find some lanterns I like. I need to style the shelves and the console table on the wedding wall and other miscellaneous things… going to be a rough week.
Official to-do list update:
- Order leather chair from Pottery Barn that I’ve been eyeing
- Style tray next to where the chair will go – Still debating if I'm going to use the tray I have here
- New: Re-stain the floating shelves
- Hang floating shelves on wedding/side wall
- Style shelves on wedding/side wall
-
Change out birch sticks for greenery - Create gallery wall of some sort around TV
Find patterned throw pillows- Find cozy throw blankets
-
Find an area rug to bring the cozy area together Find tall “reading” lamps for the two corners or sconce lighting- Find lamp for end table
- Find a console table lamp
- Move existing floor lighting up to the ledge
- Appropriately hang the focal clock
- Hang the valley picture
Possibly find peel and stick backsplash for around the fireplace– Didn't do for this project, but check out the update here- Find patterned fabric to cover books
- Find good way to organize decor magazines
- Style the mantel
- Style the hearth
- Style the end tables (1 down, 1 to go)
- Style the console table
- Style the coffee table
- Miscellaneous perfecting
Fix Gallery Wall around TVFind a company who will print weird city maps in navy print.
I'm heading shopping Friday and Saturday this week and then a mad dash to Thursday.
I still plan to have a full source list with my big reveal next week… send me some good juju!!
Next week is it!
If you haven't already, check out the week 5 updates on the projects the 16 featured designers are working on as well as the guest participants' week 5 updates.
Until next week my friend, wish me luck!