
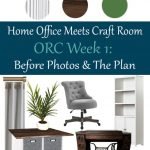
Home Office Meets Craft Room: The Plan & Before Photos
Looking for home office craft room inspiration? Check out my plans for my home office makeover along with before photos!
Oh my gosh! It’s One Room Challenge time!!
The Spring 2019 One Room Challenge starts today!
This is my favorite time of the Fall & Spring seasons!

If you haven’t heard of the One Room Challenge, it is a 6 week challenge where featured designers and bloggers alike join together to cheer each other on in finishing their one room.
It’s always exciting, but at the same time a little nerve racking.
This is only my second time participating, but I will say the time crunch makes you really zero in on your plan and make it a reality.
I cannot wait to show you the beast of a room I’m attacking…. Ekkk!!!
- Week 1: The Plan & Before Photos
- Week 2: Planning My Home Office with IKEA Furniture + My Room Color Choice
- Week 3: DIY Office Countertops + My Elfa Gift Wrapping Organizer
- Week 4: DIY Pinboard, Craft Tool Organization + Accessory Choices
- Week 5: 5 Tips for Choosing Office Lighting
- Week 6: The Reveal | Before & After
Before I show you the phases of this room, I want to remind you of an episode of Friends.
Remember the one where Chandler tries to break into Monica’s locked closet?
When he gets in, it’s junk floor to ceiling… Well, this is my Monica’s closet.
I have very few places like this particular space in my home, but man oh man, this one's a doozy.
So, in the spirit of vulnerability, I want to bare all secrets…. dun dun dunnnnnnnnn!
Table of contents
Before Part 1: The First Try
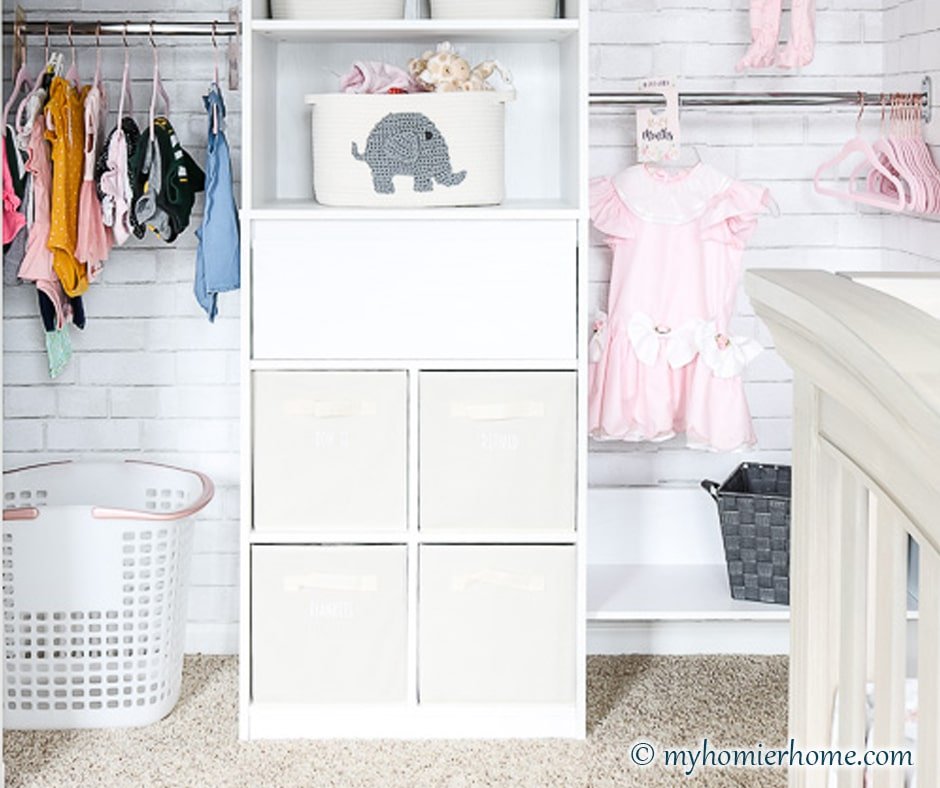
This was the second room I tackled in our home when we first moved in (the first was our laundry room).
Back in our first house, I stored all my craft supplies in a closet in our “home office.” It was such a small room that I could never find the space to actually do any of my projects.
Therefore, I would constantly bring all my stuff out to the dining room in order to spread out.
As my fellow crafters know, a good project never gets finished in a day.
After a week or so of all my stuff sprawled out, my husband would get tired of the mess and I would put it all back in its rightful spot, project done or not.
When we moved into our new house, there was a dedicated room the previous owners had used for their home office.
It had an adjoining closet outside of the room and made a perfect space to set up my crafting shop.
Many of the items shown in the before picture below where directly transferred from our first house to this one.
My home office/craft room started as pretty hodge-podge, but it worked for a little while.
I had a dedicated craft table, a place to display my crafting tools, and a separate desk to do any computer work. I was so proud of myself!
Of course, rooms need to be lived in… Here’s what it looked like when I first finished it way back in 2015.

Before Part 2: The Lived in Version
Learning from failure is a common theme at the school I teach, which I believe is a great way to improve yourself in all facets.
Simply put, my first craft room attempt did not stand the test of time… super failure.
As my life and blog started to grow, the simple home office/craft room did not seem to cut it. Below are some pictures of the same set up as above, but actually lived in. #nojudgement

Please note, I’m feeling a bit vulnerable sharing these photos with you, but I think it makes it abundantly clear that this room needs to be dealt with. I know it can be soooooo much better.
A while back, I decided on a weekend to declutter the whole room you saw above.
It was a Saturday morning and it was time to clear it out to see what I had.
The goal was to put everything in to similar piles and then get rid of what I didn’t need.
Then, I would figure out what kind of organization I needed to make this room function properly.
Easier said than done… Who knew this small room housed so much stuff!!

When I had taken everything out, I felt defeated because it was already late in the day and I had no more energy.
Not only had I just made a mess in four other rooms of my home, but I had no idea where to even begin.
I had random decor, loose craft tools, papers upon papers, and lot's of weird junk I collected over the years.
I’m pretty sure their were tears involved, but nonetheless, I attempted to declutter.
I think I got rid of about three garbage bags full of stuff.
Once I felt there was nothing more to throw away or put somewhere else, I started putting things back in and ended up putting it wherever it made sense to get me through until I was ready again.
It definitely decluttered a lot of the items, but it was obvious it wasn't going to function properly… and it was still hideous!
Even though I ended up with the pictures below, I feel like I’ve learned so much in the process that I’m certain this round will be that much better.

I’m not sure you can tell from the above pictures, but we decided to get rid of the original desk because I knew I wanted to get a new one.
This was definitely a mistake because I left myself without a desk.
I didn’t have money to buy one, but I needed one… Enter the folding table with a table cover… Good times.
My Plan to Create Beauty & Function
Up until a few weeks ago, I had no idea which room I was going to attempt for the One Room Challenge.
Then, I got lucky!
I found an executive desk on our neighborhood Facebook marketplace for $150!!
This desk was the perfect size, color, and price!
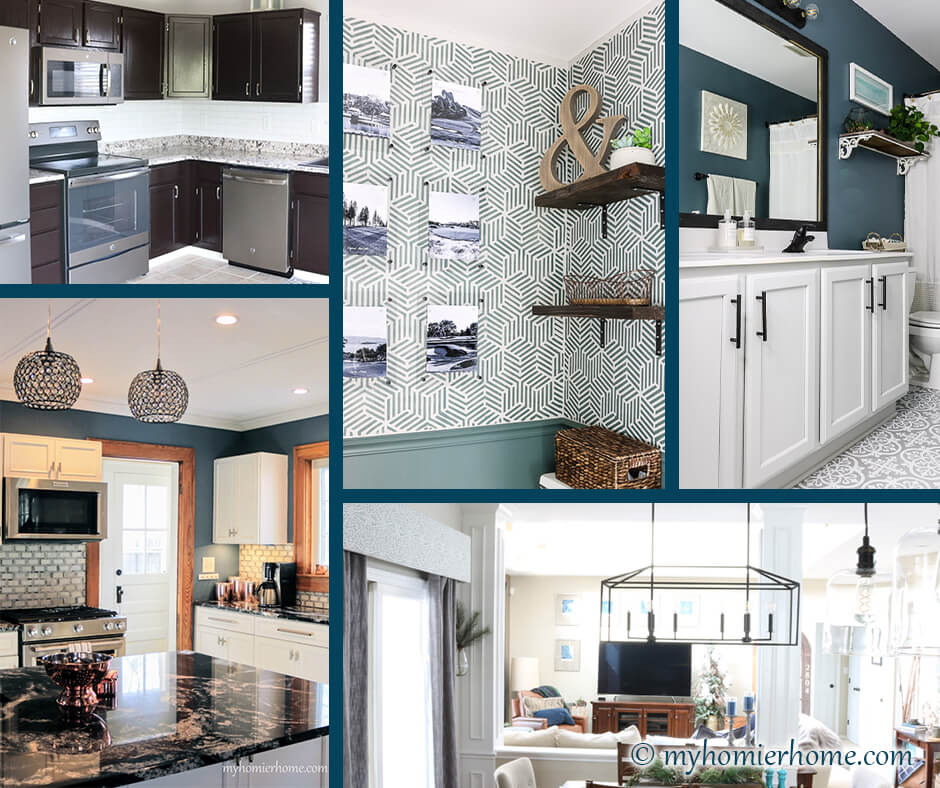
I’ve been dreaming of all the ways to make this room better and now I’m excited to present to you my long awaited Home Office Meets Craft Room Makeover Plan!

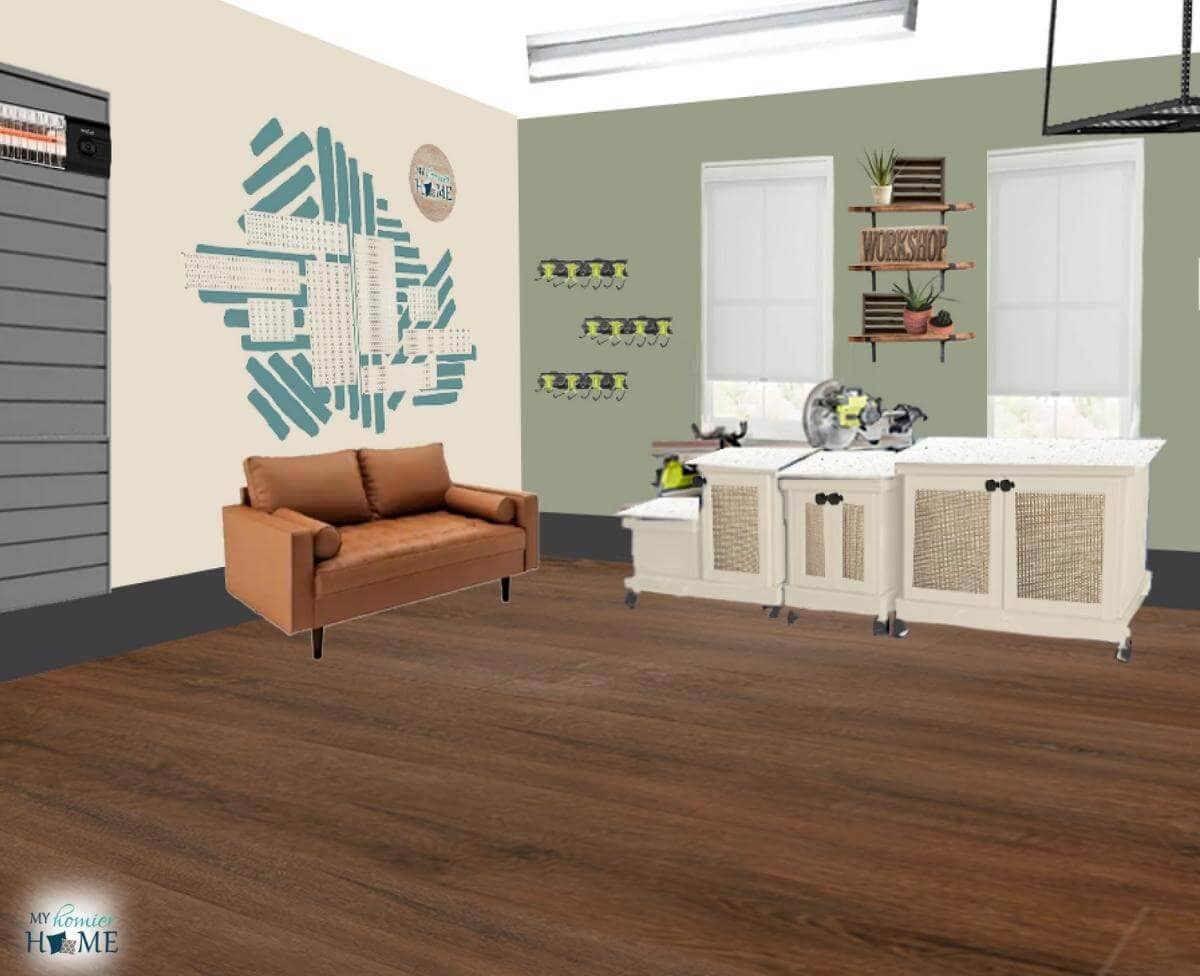
Vision for the room
I want this room to be an organized workspace that I feel like I can buckle down and get work done.
I want it to be motivating to let my creative juices flow.
I don't want to look at it and see mess or distractions from actually completing my creative work.
I want it to feel productive, quiet, creative, and organized.
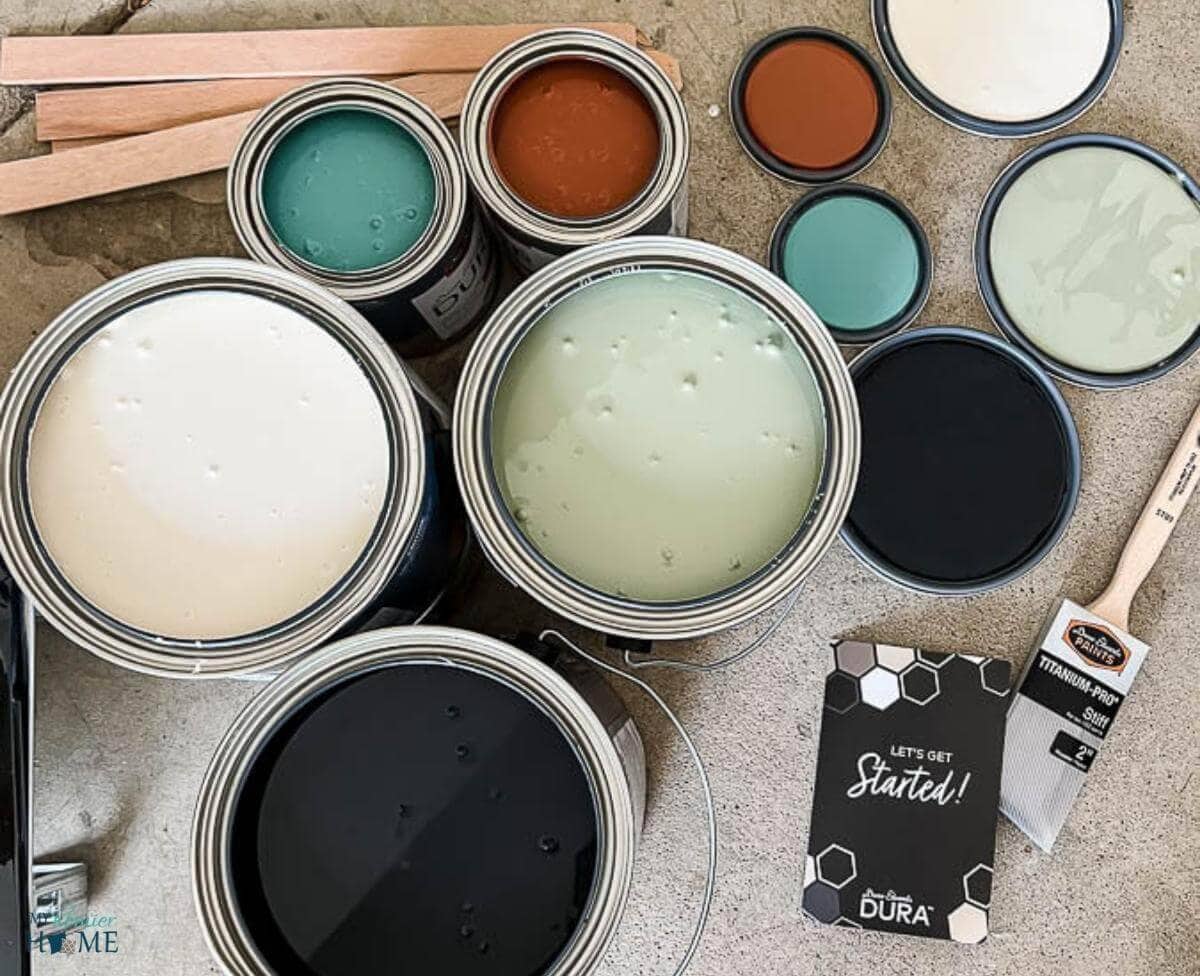
Color Scheme
- White
- Light Gray
- Blue
- Dark Wood
- Greenery
- Touch of Pink
- Touch of Soft Gold
Room Floor Plan

Functionality Needed
- Dedicated space for crafting
- Craft tool organization
- Hidden miscellaneous storage
- Paint supply storage
- Photography equipment storage
- Binder storage
- Book storage
- Tools storage
- Prettier filing cabinet
- Sewing table
- Sewing storage
- Wrapping paper and ribbon storage
- Inbox for incoming mail and to-do's
- Vision board area
- White board area for notes
- Place for Chris’s lure making kits
- Place for the printer, out of the way
To-Do List
- Choose Paint
- Buy Paint
- Clear the room
- Paint the room
- Research & Purchase IKEA items
- Bookshelf with cabinet doors to fit the depth of a binder
- Filing cabinet
- Photography equipment storage
- Legs for craft table
- Sewing storage
- Countertop to go over my IKEA Kallax shelves
- White cabinet doors for IKEA Kallax shelves
- Build the IKEA furniture
- Buy new canvas drawer cubes for IKEA Kallax shelves
- Buy new drapes
- Take down blinds
- Hang drapes and sheers
- Clean up antique sewing table
- Buy a bigger garbage can
- Research office lighting
- Hang new office lighting
- Research statement ceilings
- Change the ceiling
- Cover existing pin board with fabric
- Find wall organization
- Hang new white board
- Organize desk drawers
- Buy new desk chair
- Buy new lamp
- Find organizer for gift wrapping
- Purchase accessories for desk and shelf
I’m sure this to-do list will begin to grow as I work through this room, but this is my starting point.
For the next 5 weeks be sure to follow along on my progress on instagram, but more importantly, go check out all the other great plans from my fellow challengers of the One Room Challenge.
Everyone always has such wonderful ideas and the inspiration is endless.
Have you ever completed a room in 6-weeks or done a home office/craft room makeover? If you have any tips, I would love to hear them! Leave a comment below!


Busy bee! You will love it after the 6 week trek. Here is a door organizer from the Container Store for your gift wrap https://kelleynan.com/gift-wrap-organization-closet-throw-pillow-storage-solutions/. Scroll down to see it on her site.BTW I don’t know how she can live in such a tidy white house-to me it’s not even aspirational, I would need ladies in waiting to live like her.
IKEA has inexpensive desk chairs AND sheepskins. They make a great combo.
Here is some more free advice?, you did ask. Keep the blinds, gives you more options for lighting control/ privacy. Keep them all the way up until you want them.
Have fun!
Oh my gosh! Y.E.S. I follow her as well! I have seen this… This is definitely what I’m going to use! Thanks so much for the tips! I have been at IKEA checking things out so much lately ?. There stuff is so affordable! Thanks for the tip on the blinds! I will definitely keep that in mind! Thanks again!
I am working on an office / craft room for the ORC as well! My room was packed full of stuff too! lol It had become the catch all room! Cleaning it out is taking a bit of time but I am almost there! I really like your design plan and am looking forward to seeing your room come together!
The catch all room is the worst! My decluttering process was ridiculous too! I’m so glad I have a home office makeover buddy in this challenge! We will have to check in with each other!