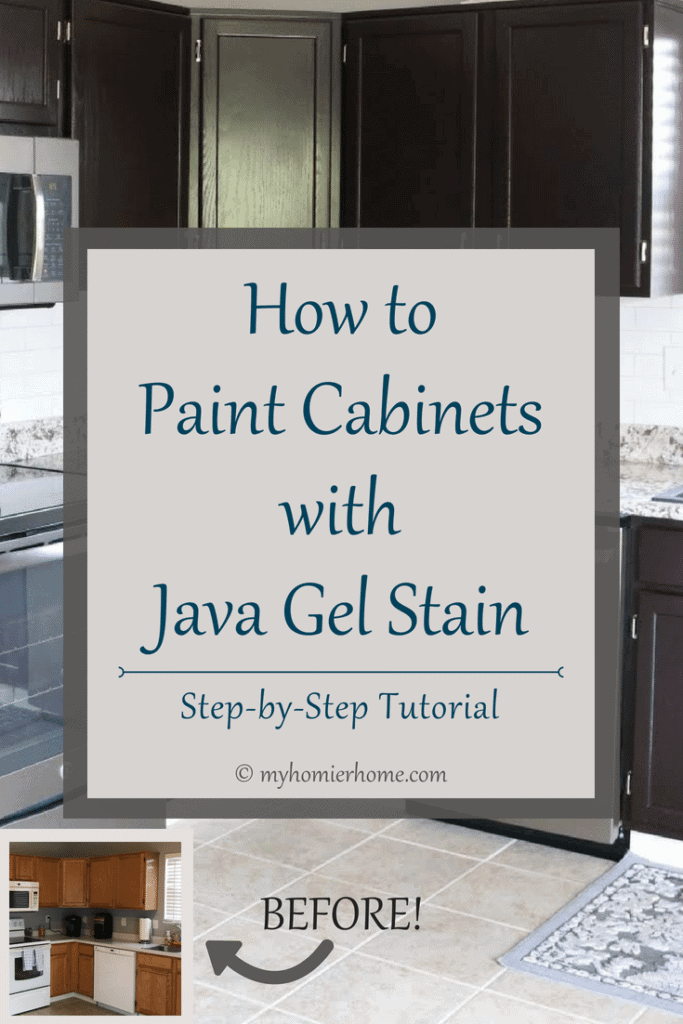
How to Paint Cabinets with Java Gel Stain
Looking to upgrade your out-dated cabinets? Follow this tutorial for how to apply java gel to your cabinets for a beautiful wood-stained look.
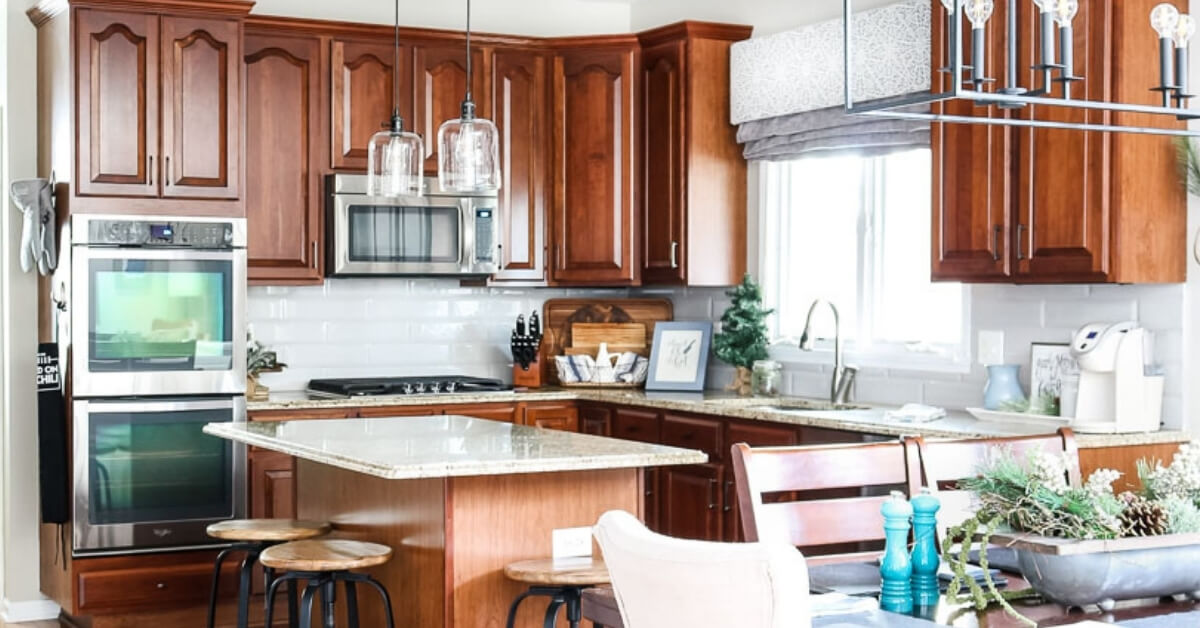
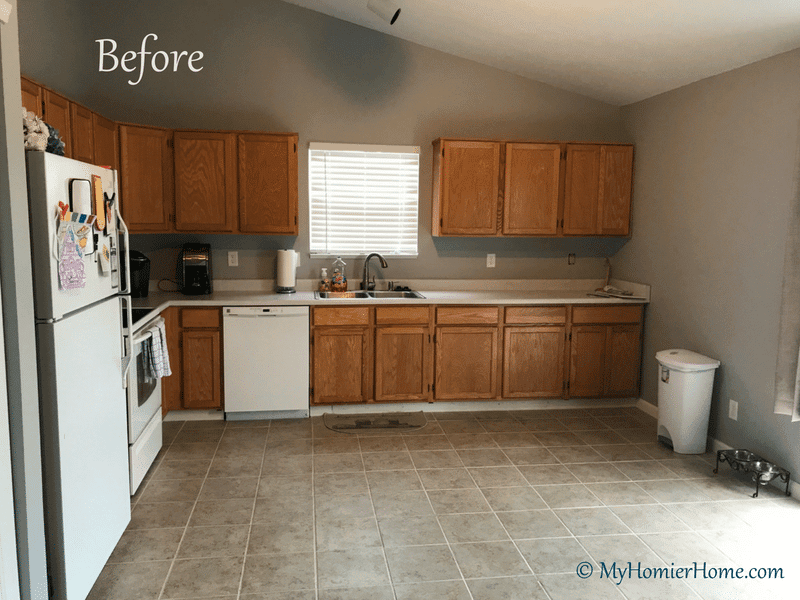
My friend, Heather, recently renovated her kitchen on a budget and was looking for ways to cut the cost.
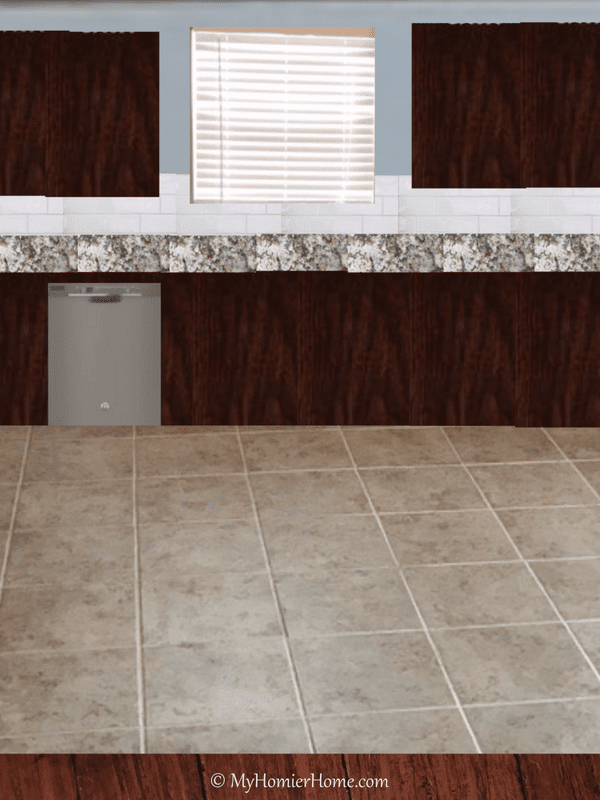
Before getting started, I created a 3D visualization board (shown below) for her in order to see what the kitchen was going to look like when it was done.
Seeing her choices in visual form definitely helped solidify the decision to paint her cabinets.
Table of contents
Kitchen Mood Board
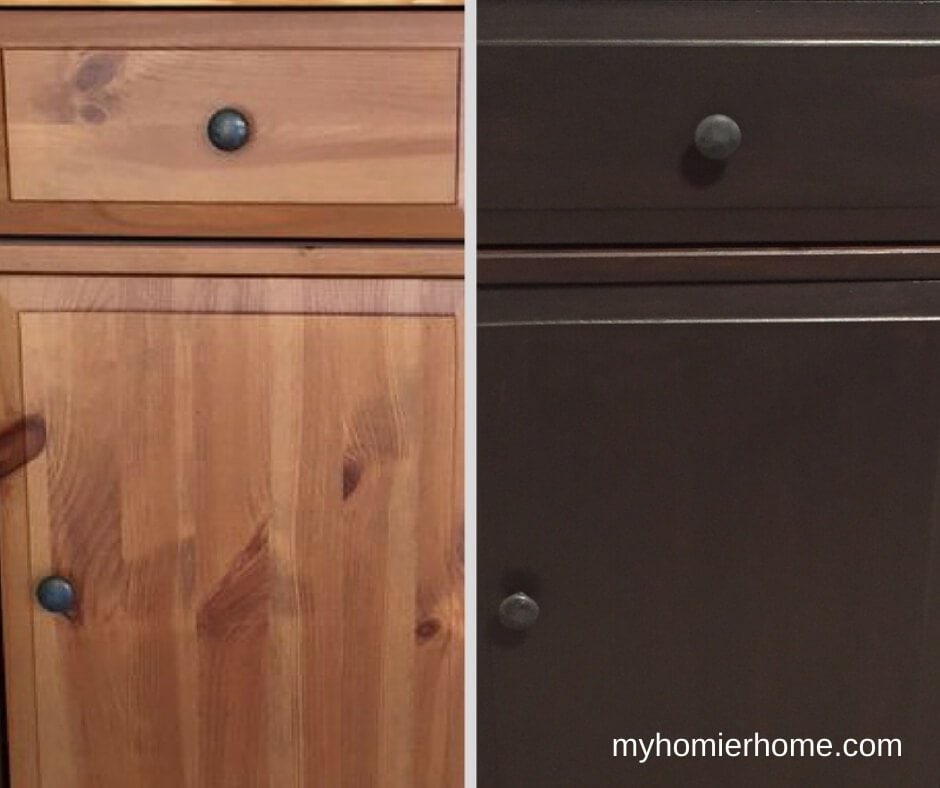
After helping her decide on dark versus light cabinets, I did some research on the best method to painting cabinets and found information on Java gel.
Java gel seemed to be the best way to get a stained look without having to do a ton of sanding or hire a professional.
When her kitchen was complete, I sat down with her to have her describe in detail the process of painting her cabinets with the Java gel.
Disclaimer: This post does include affiliate links for your convenience. This is at NO additional cost to you, but earns me a small commission. To read more, check out our disclosure policy.
Materials
Notes: Project time is about 3 weeks (see tips at the end for how to speed up the process) and she used 2 cans of the stain for 15 cabinets in a kitchen about 14'x17′

(click on any of the images to shop the products)
Instructions
- Start by taking the cabinets off the hinges and lightly sanding with 80 grit sandpaper. She lightly sanded all sides of her cabinets. Some people leave the inside cabinets alone, but she did all sides.
- After lightly sanding the cabinets, take a mixture of equal parts mineral water and water to clean the cabinets. Mineral water is amazing. She had a lot of grease and stains on her cabinets that you couldn’t see, but came right off with the mixture.
- Let the cabinets dry for 48 hours. The drying time for he cabinets was longer because of the time of year she completed her project. See more in the tips at the end of this post.
- Use a paint brush to apply a layer of gel stain. It states to use a cloth, but instead of a cloth, she used a brush because the cloth was too messy and made it harder to apply the stain evenly.
- Wait 48 hours before applying the next coat. Again, depending on the time of year, you may not need to wait as long.
- Lightly sand with the 220-grit sanding block. Sand very lightly to get the access off, but be careful not to go too hard or you will need to add more gel stain and start all over again.
- Repeat steps 4 through 6 for the second coat.
- If needed, repeat steps 4 through 6 for a third coat. Heather applied two coats instead of three because she reached the desired color by the end of the second coat.
- Apply the General Finishes brand top coat with a sponge brush. She suggests taking your time with the finish coat because it goes on clear and drys white if you put too much on. Less is more. Also, going in one long stroke was better than going back and forth.
- After 48 hours, lightly sand with the 220-grit sanding block.
- Apply the second layer of the top coat.
- Sit back and relax!
Tips for the Project
Tip 1
Do this in the spring or summer!!!! Heather did the staining during late fall/winter which hurt the drying time.
However, the plus side is the stain does not have a strong smell, so she could bring some of the cabinets inside to finish when it started to get colder out.
She warned me though to make sure people knew to be VERY careful because the gel stain is very difficult to remove from unwanted areas.
Tip 2
Prepare to allow yourself plenty of time to complete your project.
Depending on the time of year, it could take you three weeks as it did for Heather or less, but still allow yourself a week or two at least.
Tip 3
Buy the baby tripods in the painting section to have places to set your cabinets on to dry.
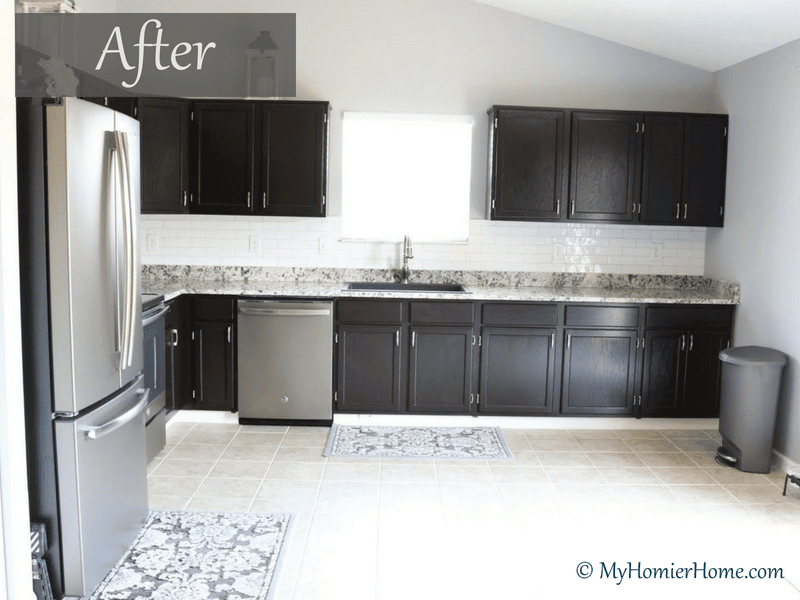
When all was complete, Heather said, “The best part was seeing it all come together.
Going into the project with the visual tool helped me get excited that my hard work was going to pay off in completing the cabinets myself.
I'm so happy with the result and it saved me a ton of money!”
Who doesn't love saving money, right? Do you have any oak cabinets you want to Java gel yourself?
I would love to hear how your project goes with a comment below. Happy staining!!