8 Ways to Use your Best Decorating Asset
Looking to decorate your a room? Don't forget about your best decorating asset to help you save time and energy.
A few years back, the hubby and I had found our dream home.
Once all the dust had settled and we were officially moved in, I found myself contemplating all the potential this home could offer us.
Potential being the operative word.
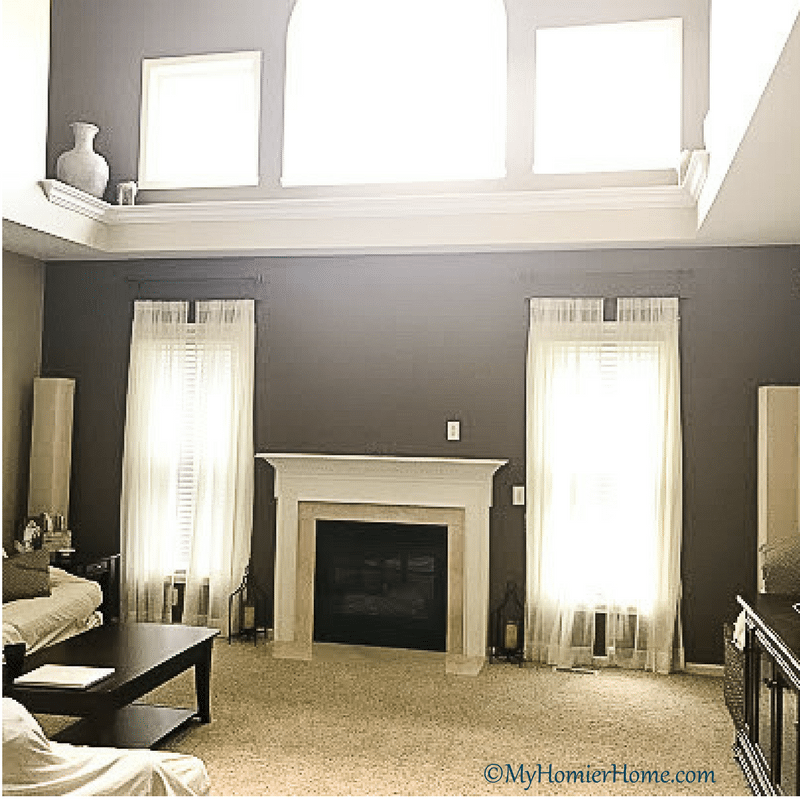
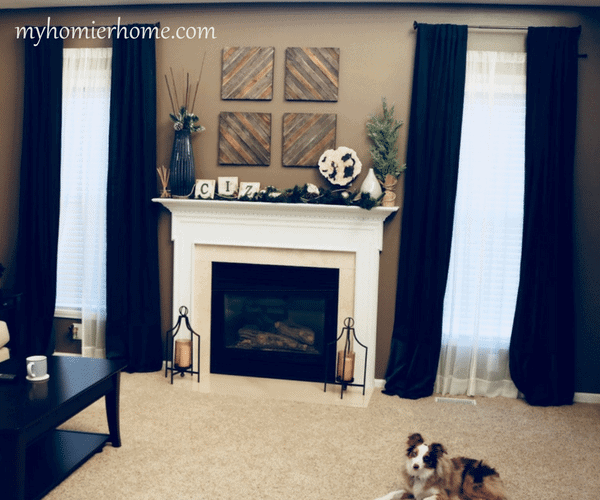
The previous owners were obsessed with the colors for Indiana University… crimson and cream… which are great for tailgating attire, but not for my living room… or my bathroom… or my kitchen… or the guest room.
To say I was overwhelmed and stuck, staring at red everywhere, was an understatement.
If I only knew then what I know now…
Table of contents
- The Journey
- The Asset
- Steps for Maximizing your Decor Asset's Help
- 1. Bring in measurements of the area.
- 2. Bring in a well-lit photo of the space.
- 3. Limit yourself to one area at a time
- 4. Be ready to describe the vibe.
- 5. Have a color direction
- 6. Take a picture of any items you want to incorporate
- 7. Ask styling questions
- 8. If you don't like a piece they pulled, tell them.
The Journey
Paint color was one beast to tackle (more on this in a later post), but actually decorating all the blank walls was its own challenge.
With little to no inspiration from the previous owner's style and a small base for what I had purchased from our first home, I set out to learn all I could on what it would take to make these rooms come together.
I read books and blogs. I bounced ideas around with family, friends, and the hubby.
I once spent $400 at Hobby Lobby just to try some stuff out because I had no idea what may or may not look good in my house (I do not recommend this by the way… case in point, the time when I did not know my husband received alerts on purchases over $300… “But I didn't reaalllllyyyy spend $400 because most of this is going to be returned right away, you see?”… whoops!)
Little did I know, I did not have to go through all of this anguish.
So, to save you the trouble, here is your best decorating asset and how to utilize it to the fullest.
The Asset
The professional designers that work at your favorite decor stores!
Why you should use this asset…
Well, because they are excited to help you and use their talents to solve your decor woes.
When it comes to decor stores, we all have our favorites that fit our budget and personality (Mine is West Elm. They totally seem to get my whole rustic meets elegant vibe.), but did you know that most of these stores have designers on staff?
And the stores that do not have a certified designer still, at the very least, have people who take a real interest in home decor, so their idea on a cohesive look is somewhat refined.
The other great thing about these employees/designers is that they are surrounded by the products in the store daily, so they usually have a mental inventory of the stuff you may have missed as you browsed.
So, pick their brain, ask questions, and let them work their magic.
Oh yeah, and it is free!!
Steps for Maximizing your Decor Asset's Help
1. Bring in measurements of the area.
Knowing if an item will fit is key to building the look in store – a look that will actually feel good in your home.
Some stuff they won't be able to show you directly, like some wall art, but they have a pretty good scope of the online inventory too.
Decisions for them, and you, will become a lot easier if you can rule out things that are too big or too small right away.
Knowing the measurements will also help the designer know how many items to combine together for the space.
Because of their trained eye, they can gauge pretty well how many small, medium, and/or large items will look the best for your space.
2. Bring in a well-lit photo of the space.
As you've probably already guessed, bringing in a photo will help the designer get a window into your home or room's vibe.
Make sure you are taking the picture when the lighting is good, so the designer gets an actual read on the colors you have going in there.
If there are other walls or items in the room that are not part of the area you are working on, but help give the vibe of the room, bring those too.
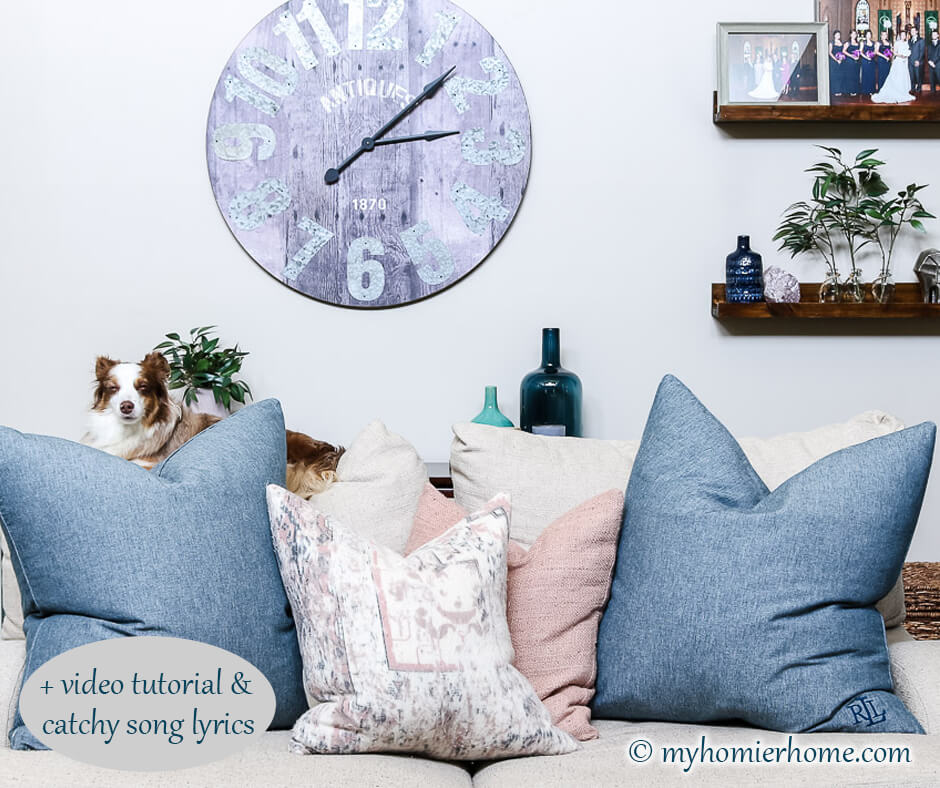
For instance, I have this antique door in my living room that is the focal point, so I made sure to bring a photo of that in as well (remember to limit yourself to one vignette like we discussed in the pre-shopping checklist post found here).
3. Limit yourself to one area at a time
Giving the designer too many spaces to think about will be overwhelming for you and them. If they are any good, they will automatically guide you to choose your top priority project any way.
Remember, separate trips for separate areas is the only way to get the creative juices in focus (i.e. fireplace mantel, gallery wall for the stairwell, and finding a centerpiece for your dining table would each be their own trip to the store).
If you are like me, you will try to maximize your trip to the store by looking for any and everything you may need, but I urge you to hault this behavior.
You want you and your decor asset to be focused on the one task at hand to make sure it is the perfect set up.
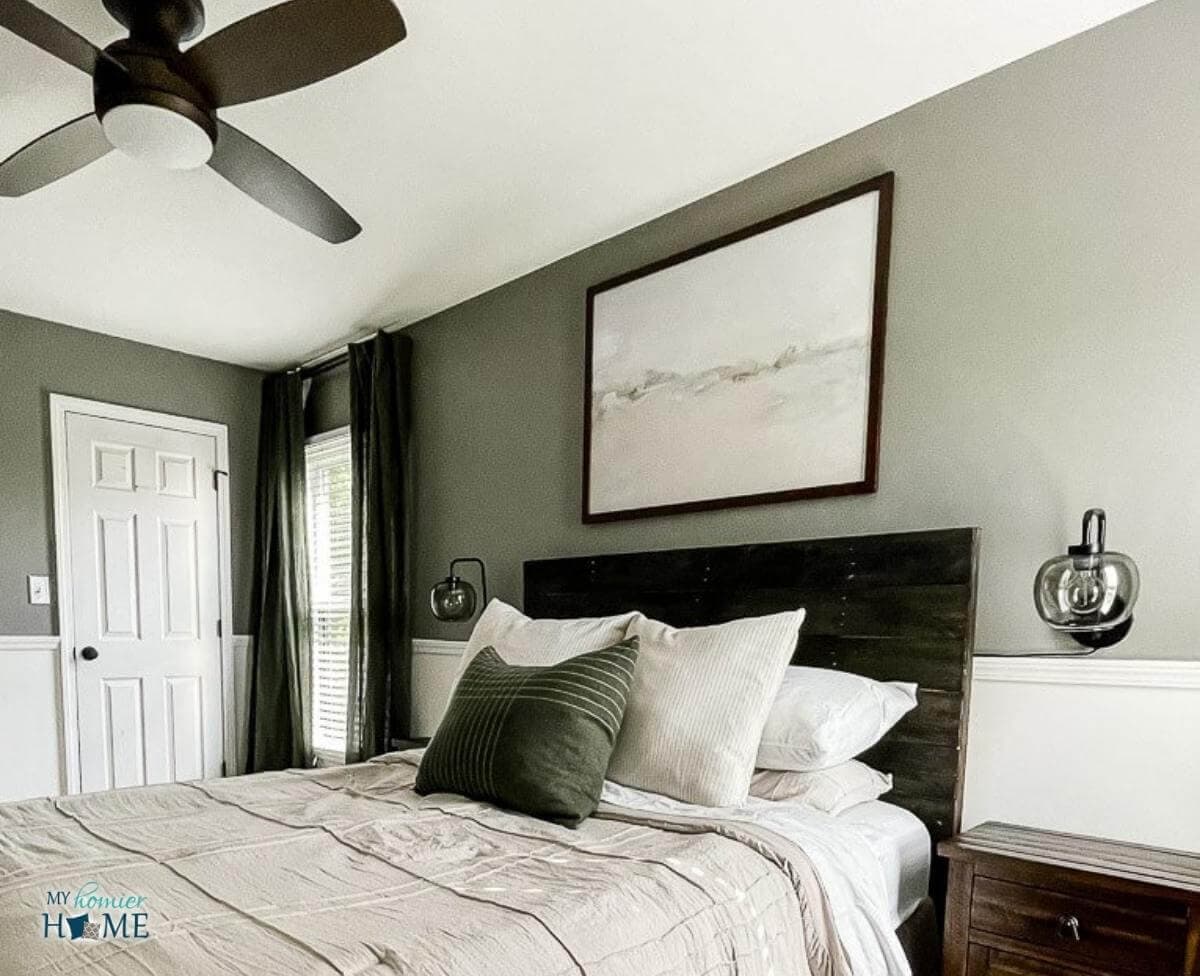
4. Be ready to describe the vibe.
Have an idea of how to describe the “vibe” in this room that either you want or already exists.
No technical “style” terms needed, but a description will definitely help guide their eye.
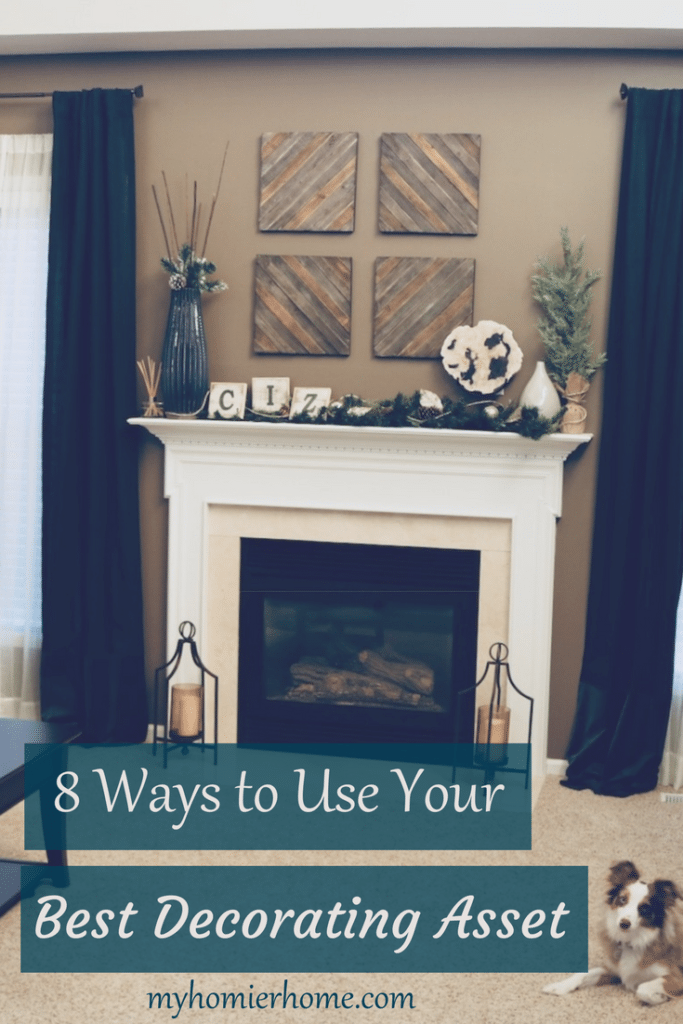
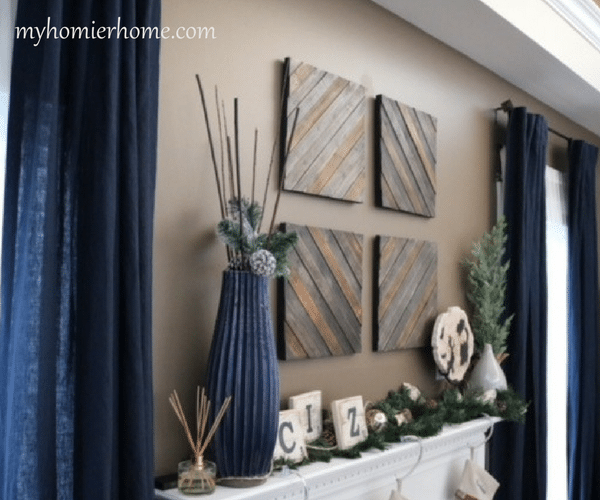
For my fireplace mantel in my living room, I went in with the above-mentioned items and described my vibe as “rustic elegance.”
Now, none of my pictures or descriptions were super technical, but it definitely described the look and feel I wanted to achieve for the designer to hone in.
If you want to get a more defined vibe, or at least find inspiration to help you create your look, creating a Pinterest board is a great option to show the designer.
Don't have time to create your own? Check out my Home Styling board.
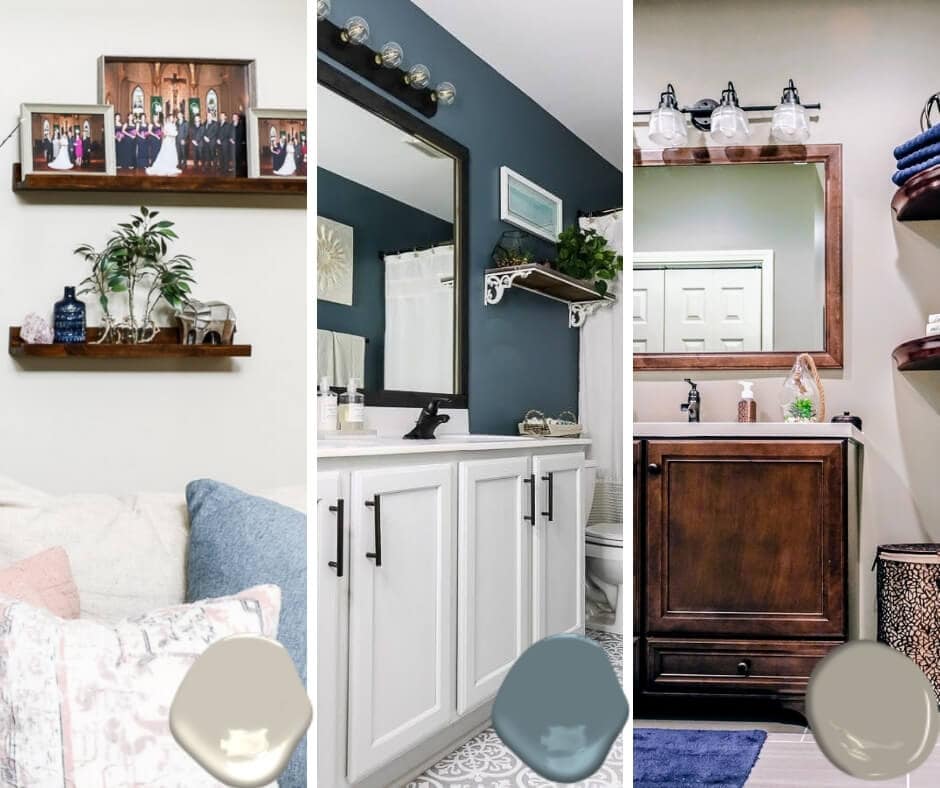
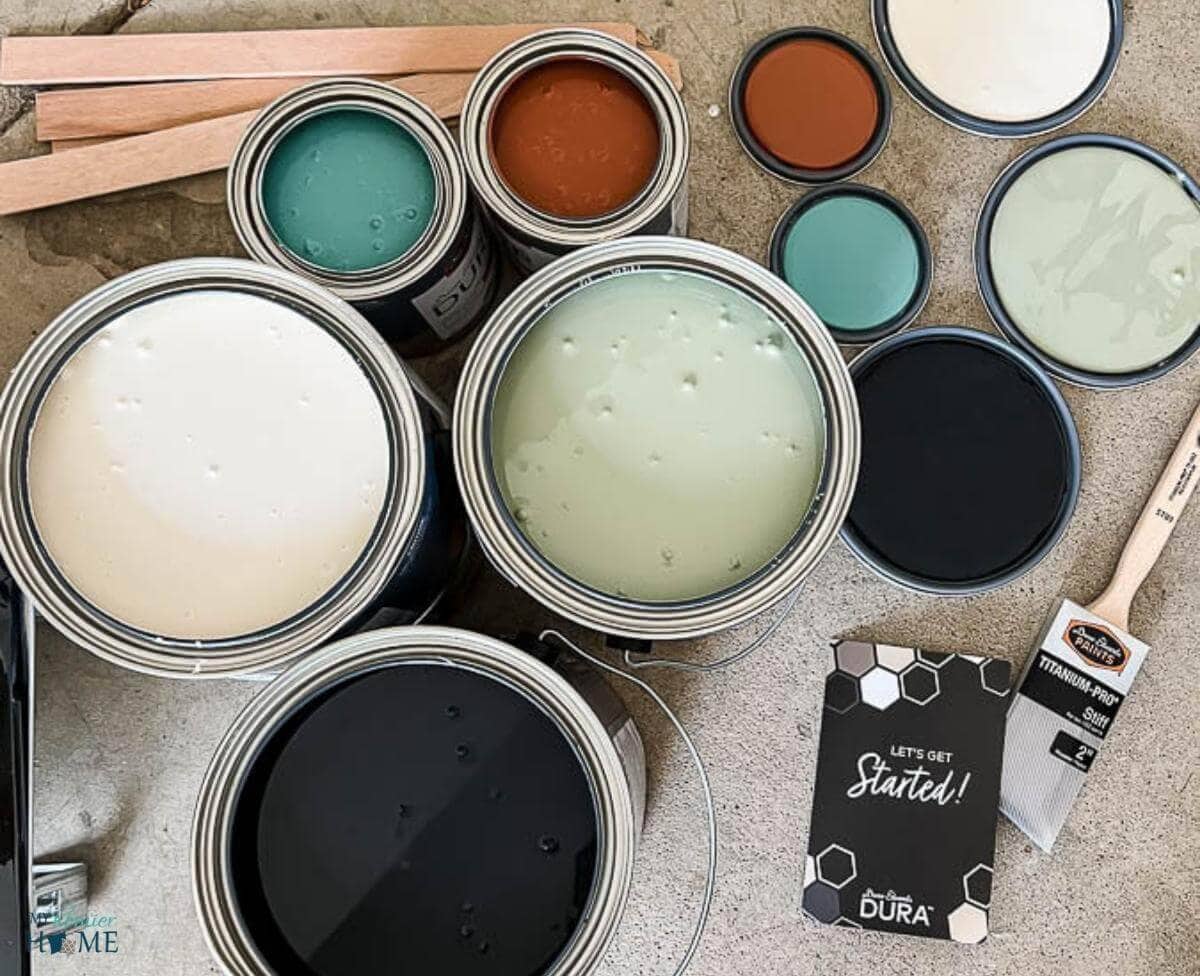
5. Have a color direction
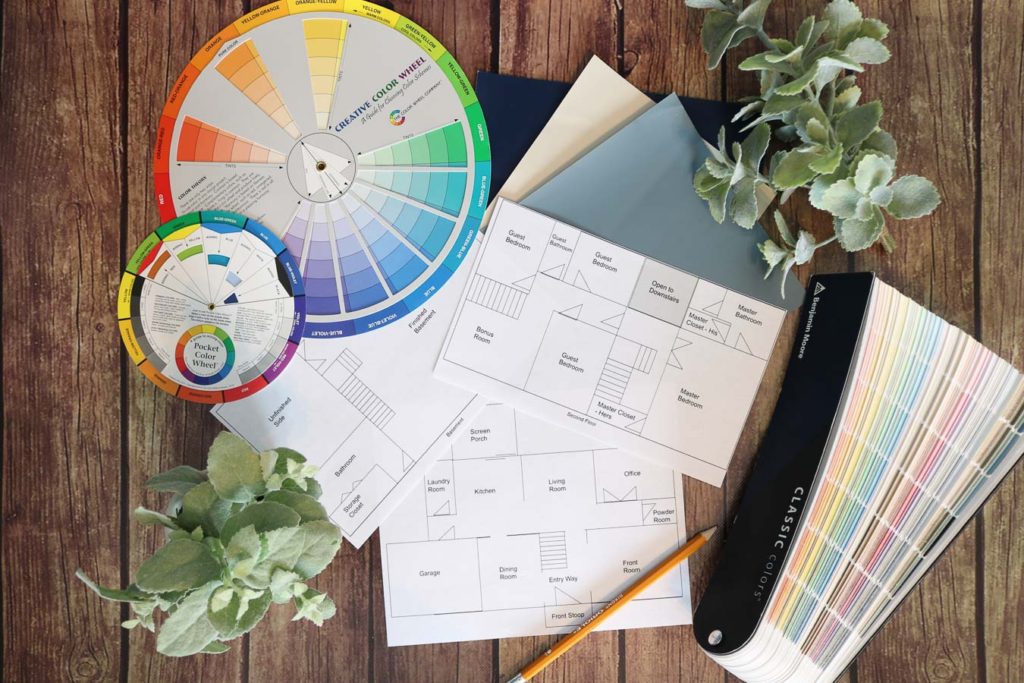
Before rushing out to complete your decorating task, make sure you have sat down and deciphered the general color scheme of the space, especially the absolutely not colors.
For example, I was desperately trying to de-redify my home, so I knew that I wanted nothing on the warm side of the color wheel.
I read somewhere once when in doubt for home color choices, look in your closet. I do not know how true this is for everyone, but it definitely worked for me.
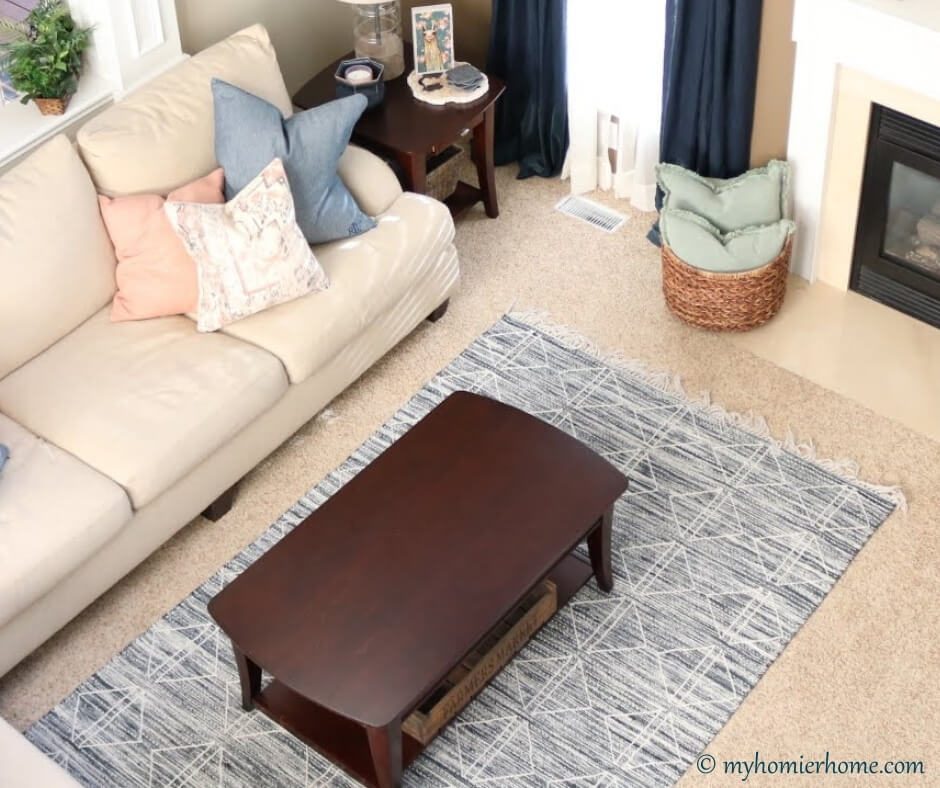
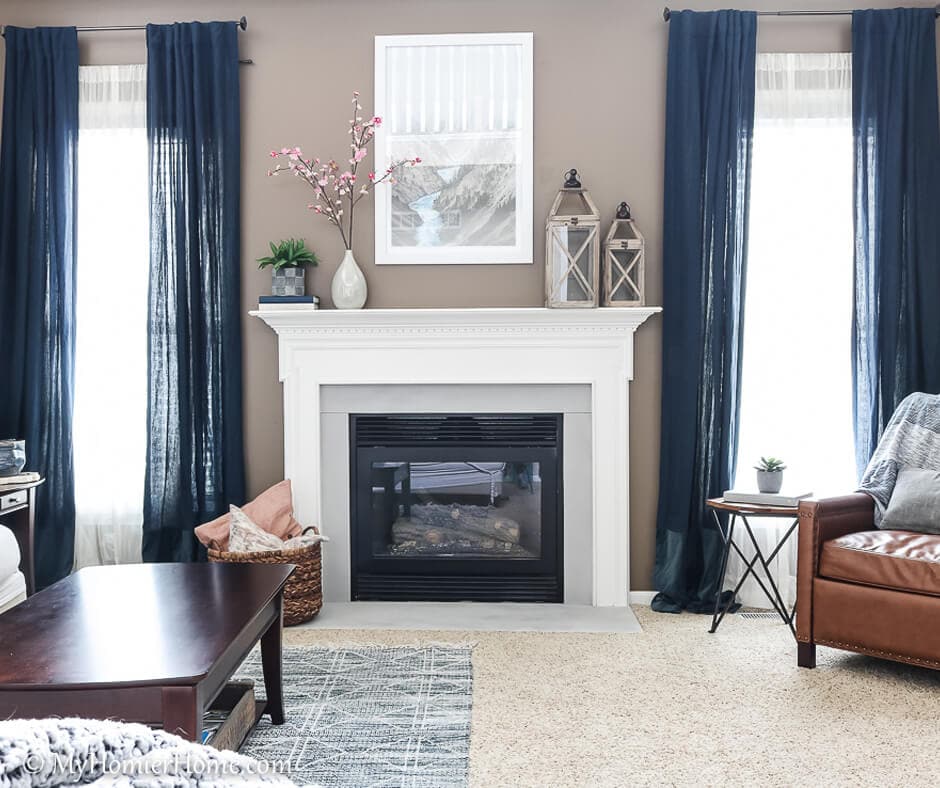
Since my favorite color to wear is navy, I chose this lovely shade as my main color for the living room. A main color idea is a must, but also having one or two accent colors couldn't hurt either.
The decor asset/designer will greatly appreciate what colors to avoid and/or incorporate.
Anything you can do to take out the guessing for the decor helper is going to make the experience much smoother.
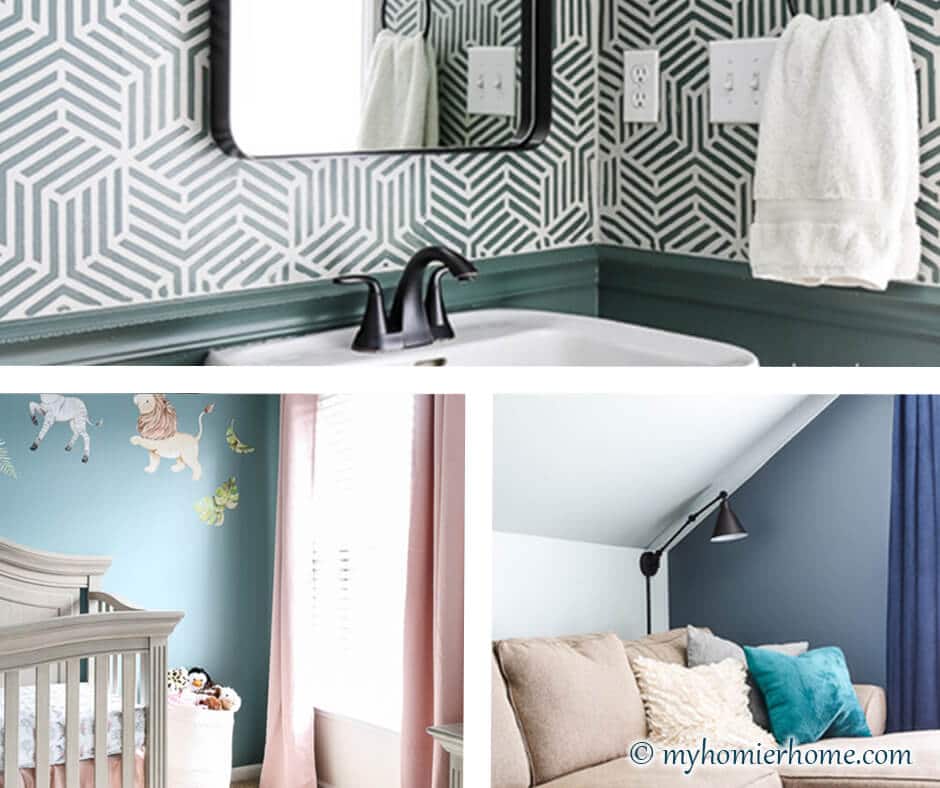
With my navy, I decided I wanted to incorporate natural greenery – not necessarily a color, but definitely something my designer could work with.
6. Take a picture of any items you want to incorporate
If there is something special that you must have incorporated in the space, make sure to have those pictures on hand as well. When I went in to finish my mantel, I knew I wanted to incorporate our CIZ scrabble tiles.

Now, I did check with the fella who helped me to see if he thought they could be incorporated on the mantel. Because he agreed, it was easier for him to put something together having seen the piece that already existed on the mantel.
Had he not agreed and depending on how attached I was to that item going in that space, I would have asked for his opinion on how to incorporate it.
7. Ask styling questions
Once I gave the vision, colors, and picture of my space and what I was trying to accomplish, my decor asset took about 5-10 minutes to browse the store in search of what would work for me.
When he brought it back, I wanted to make sure I knew the best way to arrange the pieces because my mantel was not very deep.
I really liked the layered look, but it was almost impossible with the shallowness of the mantel ledge.
We set up a mock depth on one of the tables and began to play around with the arrangement.
As he arranged, I made comments and inputs and he adjusted as necessary while also giving me some good tips for when I went home.
The picture above has the items he came up with plus a few I added for the winter season.
8. If you don't like a piece they pulled, tell them.
Last, but not least, don't be afraid to tell the truth. In my experience, each decor enthusiast has been truly a nice person and had enjoyed every minute of play time they got to spend with me.
They are there to guide you in making your decisions and create the best look for your home, but you are still the one going to have to look at it day in and day out, so it should feel right.
Some gentle ways to give feedback would include things such as, “I like this, but don't love it” or “This piece is gorgeous, but not really my style overall.”
What ever you say or do, just remember, it's your money and your house, so be honest and share the feedback.
Alright, now it's your turn… Have you tried using your best decor asset?
If so, let me know where you went and your experience. If you haven't, do you have any reservations about this decorating method?