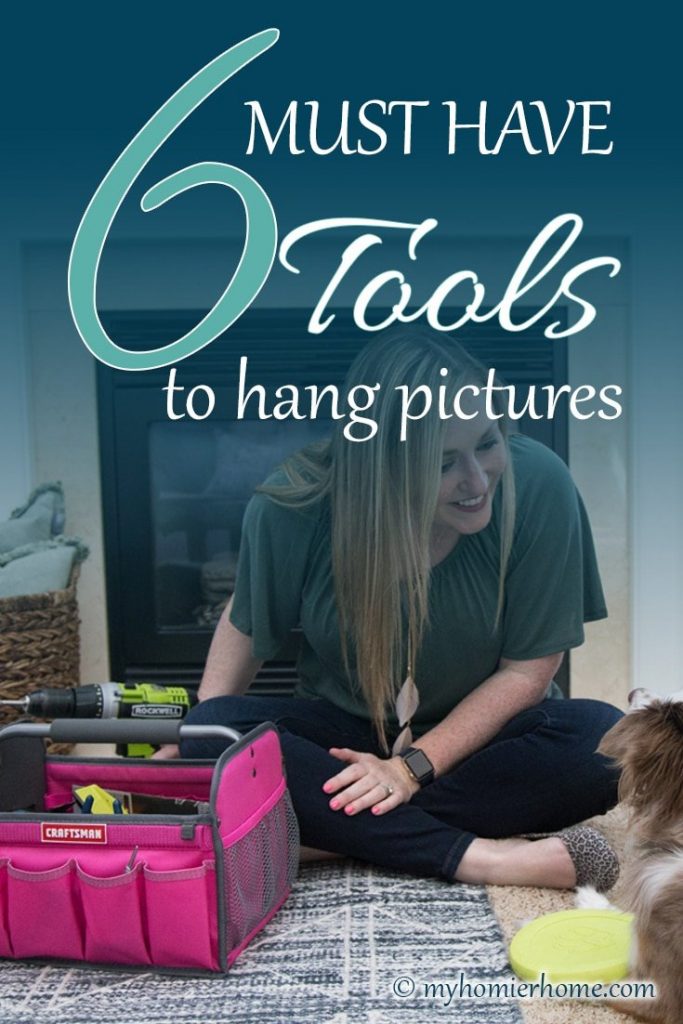
6 Must Have Tools for Hanging Pictures
Got crooked frames? With these must have tools, you will be hanging all kinds of things like a pro!
Ah yes, hanging pictures…. One of those things we all encounter in our lives, but no one tells you how to do the easy way.
I have hung so many pictures in our home… crooked.
Maybe it’s because I’m always in a hurry to remove bare walls from my life, but I was a hopeless picture hanger for a long time.
That is… until I finally purchased the right tools!
I know have all of these tools on hand and ready to go whenever I need to hang something.
Let me tell you, I would be crookedly lost without them.
Table of contents
Disclaimer: This post does include affiliate links for your convenience. This is at NO additional cost to you but earns me a small commission. To read more, check out our disclosure policy. As an
1. Self-Leveling Laser Level

(click on any of the images to shop the products)
This tool is my ultimate number one!
I have tried the cheaper versions of laser levels that suction to the wall, but there was too much room for error with the little bubble I had to align.
The fact that this laser is self-leveling makes every job so much easier and more accurate.
It is a little bit of an investment if you’re in penny pinching mode, but it will pay for itself over and over again.
An absolute must in my book.
2. Automatic Center Hole Punch
(click on any of the images to shop the products)
Have you ever tried to screw something in the wall and it slips or moves around while you are trying to start it?
This tool helps that! It also helps when you need to drill a hole for one of those anchor dudad's, too!
I have used this tool so much more than I ever thought I would!
Instead of always trying to hold my tool in place to start a hole, I use this little punch tool and viola!
A definite must for simplifying the hanging process and super inexpensive, too!.
3. 18-Volt Drill
(click on any of the images to shop the products)
If you don't already have a drill, this is the one I have and love.
The drill itself is inexpensive, but with the battery and charger it is a little more.
If you already have Ryobi products, then you can use the same charging equipment, so you can opt for the version of this that does not include the charger.
I spent majority of my beginning hanging days with just a standard screw driver.
Then, I upgraded to a tiny drill, but I needed more power!
This 18-volt drill definitely does the trick every time.
4. Drill Bit Set
(click on any of the images to shop the products)
You may already have this in your toolbox.
Just in case, if you are upgrading to a drill for your hanging projects, you will need a drill bit set.
These are really helpful for when you need to create a starting hole for an anchor or to ensure your screw goes in the direction you want it to.
Bonus tip: When choosing a drill bit for your project, take the screw you are going to use and hold the bit to the stem of the screw.
The bit should be slightly smaller than the screw's stem width.
5. Box of Screws & Anchors
(click on any of the images to shop the products)
Most frames and shelves come with their own screws and anchors.
If you are buying a piece of wall art though, it may not.
Either way, it is always a good idea to have extra screws and anchors on hand.
There are usually two different versions you can buy.
Some give you options with plastic anchors for when you can't drill in to a stud. Some give you an option for metal anchors.
I have a hard time with some plastic anchors because certain types sometimes are too flimsy and break or bend when I put them in the wall.
The metal ones will never do that, but they do make a more permanent hole if you need to move the picture somewhere else.
6. Painter's Tape
(click on any of the images to shop the products)
Have you used this trick yet?
Painter's tape is perfect for getting the exact measurements between two anchors without having to do a ton of measuring.
This is super helpful when you need to put multiple screws in the wall to hang your item.
You can see an example when I hung my DIY pinboard.
This is definitely a time saver.
The Order I use These Tools to Hang Pictures and Wall Art
STEP 1: Set up your laser level at the height you want.
Don't forget to make sure you account for the difference in height from the anchors to the top of your picture/wall art.
STEP 2: Place the painter's tape on the back of your picture/wall art. Mark the holes.
I also like to mark the center of the picture on the tape, so I can line up the vertical line of my laser level as well.
STEP 3: Transfer the painter's tape to the wall.
Be sure to line up the holes with the horizontal line of your laser level.
STEP 4: Use the punch tool to mark your holes on the wall.
The punch tool makes a little dimple in the wall to help you start the screw.
STEP 5: Drill a starter hole with your drill and drill bit, if necessary.
You may not need to do this if you are using an anchor that only requires a screwdriver.
STEP 6: Screw in your anchor and screws.
If you are drilling into a stud, you will not need an anchor.
STEP 7: Hang your picture or wall art!
Bask in the glory of a straight hanging masterpiece.
I hope this helps you hang your pictures and wall art with ease!
The only thing I haven't found yet is a good stud finder to recommend, but I'll keep you posted!
If you have one you really like, leave me a comment below!