10 Steps to Starting a Kitchen Remodel for Success
Feeling overwhelmed at the thought of remodeling your kitchen? Here are 10 steps to kitchen remodel success.
Feeling overwhelmed at the thought of remodeling your kitchen?
Other than the obvious demolition and recreation, there is much to say about the middle pieces of remodeling a kitchen.
Her biggest problem?
Dark cabinets or light cabinets? White or off-white? Mix of each?
Basically, her and her husband couldn't get their ideas to come together without seeing it first which made for decision paralysis.
Because they were all over the place in what they possibly wanted, they tended to end up on different ends of the spectrum in discussing the details.
With so many decisions to be made, she came to me for help.
In my quest to figure out what would work for her and her husband, I fell upon some questions that are crucial to the end result.
The following is the process we went through to grab a hold of the design she (and her husband) would love for their kitchen.
Table of contents
- Step 1: FInd your inspiration.
- Step 2: Empty your mind completely.
- Step 3: Create a must-have list
- Step 4: Create a hard-no list.
- Step 5: Label your permanent features.
- Step 6: Decision time.
- Step 7: Create a “bank”
- Step 8: Create a mood board
- Step 9: Buy samples.
- Step 10: Order up!
- Before & After Photos of this Kitchen Remodel
Step 1: FInd your inspiration.
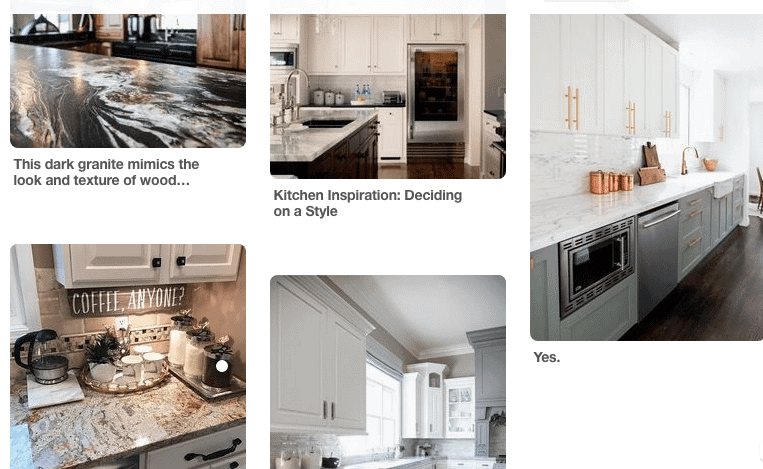
Getting organized is key for a successful kitchen remodel
You don't really know what you like until you see it. Being able to identify with pictures of kitchens that you both absolutely love is essential to articulating what you hope your kitchen to look like.
My only warning here with inspirational photos is this… Be careful.
Do you love the kitchen in the picture because it is beautiful or because that kitchen is bigger than yours?
Depending on the size of your kitchen, some schemes may work better than others, but try to assess why you love the inspirational picture as you save them.
Now, on the otherhand, I recommend going nuts with kitchen pictures!
Starting a Pinterest board to collect them is great option because you can write comments directly on the pictures you are saving.
If you want to kick it old school, using a word document to collect photos you find online is also a great option. The more you collect, the more repetition you will start to see to help narrow down your vision.
Only allow yourself a week or two (depending on how much time you have before you start) to gather all your inspiration.
It can be easy to get stuck in dreamland with the plethora of awe-inspiring photos out there. In addition, make sure to keep all your inspiration in the same place, so you can see it easily at one time with a scroll of your mouse.
Step 2: Empty your mind completely.

When I say empty, I mean literally empty.
Take some time to sit down and write any and all things you have been thinking related to your kitchen no matter how random it may seem.
It will be helpful to do this together with anyone else who is involved in choosing the kitchen finishes.
The act of getting everything out of your head and on to paper or in a digital program (my favorite is Trello for these types of things… see more on organizing with Trello here) is eyeopening as to what needs and wants the family has in regards to the functionality of the kitchen.
Knowing what everyone expects to see makes it easier to make decisions on what to incorporate and what to skip.
Step 3: Create a must-have list
This may seem silly at first because you are probably thinking to yourself, “well, duh, I must have a sink, refrigerator, stove, etc.”, but there is more to it than just the essentials.
Do you have pets? Maybe you want to incorporate something specifically for their needs.
Maybe you really want an island for cooking work space, but your husband was thinking he'd rather have a kitchen table instead.
This is the time where you can negotiate your must-have's and get more of the design settled.
As you create this list, don't forget to include finishes must-haves.
For instance, maybe you are really into the black stainless steel versus the regular stainless steel appliances – that would be a good thing to write in your must-have's.
Perhaps you are someone who wants all the appliances to match… this is an important thing to note because as of the time I'm writing this post, black stainless steel sinks are not available.
Knowing this could alter your plan if this is a truly important piece for you.
If you do not ever create the list and you begin purchasing items in increments, you could end up with a design issue as your project moves forward because of the limitations on certain items.
Hence, creating a must-have list is step 3 in my process of remodeling.
Step 4: Create a hard-no list.
On the same lines as the must-have list, the hard-no list is an important one.
If you are in love with gray-themed kitchens, but your husband absolutely hates them, then pushing for a gray-themed kitchen is probably not in the cards.
Knowing that this is a hard-no of his, you could limit your search to something that allows you both to reach a compromise.
Knowing what you do not want or like is just as important as knowing what you do.
In fact, I find myself having an easier time creating the hard-no list than the must-have list (similar to when my husband asks where I want to go out to dinner… well I know I don't want to go there… much easier)
Step 5: Label your permanent features.
Permanent features are one of the hardest things to work with, especially if its something you are unsure about.
When I say permanent features, I mean items like flooring, wall color, appliances, etc. Basically, anything that you either already changed or are not willing to change would be considered permanent.
My suggestions is before you go and buy anything (i.e. appliances, hardware, faucets), get an overall picture of the vision as a whole, including your permanent features, in order to make sure you incorporate those in the design.
What is likely to happen when you shop without an overall vision is you will have found, let's say, cabinets you love, but now you have the wrong sink or that design would work better with different appliances.
If the goal is to make a cohesive look at the end, get the full vision first, preferably, in a picture you can carry around before making any purchases (more on this in step 8).
This starts by identifying what is permanent and what still needs to be changed.
Step 6: Decision time.
This seems to be the hardest part of the whole process. There are many decisions to be made.
Are you leaning towards funky, cool back-splashes? More subdued countertops or floors? Dark or light cabinets? Dark or light paint colors?
Of course, answers to all of these questions must be answered before you can finalize a design plan.
After working with my friend to come up with her design, I can tell you that there is no wrong answer because it all depends on your design style and your family's vision.
For instance, she definitely has more of an eclectic taste, so she was drawn to more fun back-splashes, countertops, and floors.
The only problem with making all three of those pieces funky and unique is that all of those together would be way too busy, so she had to choose which piece would be more eclectic over the others.
Remember, a fun focal piece to showcase your personality is wonderful, just make sure when you put it all together it doesn't look like a hot mess of pattern overload.
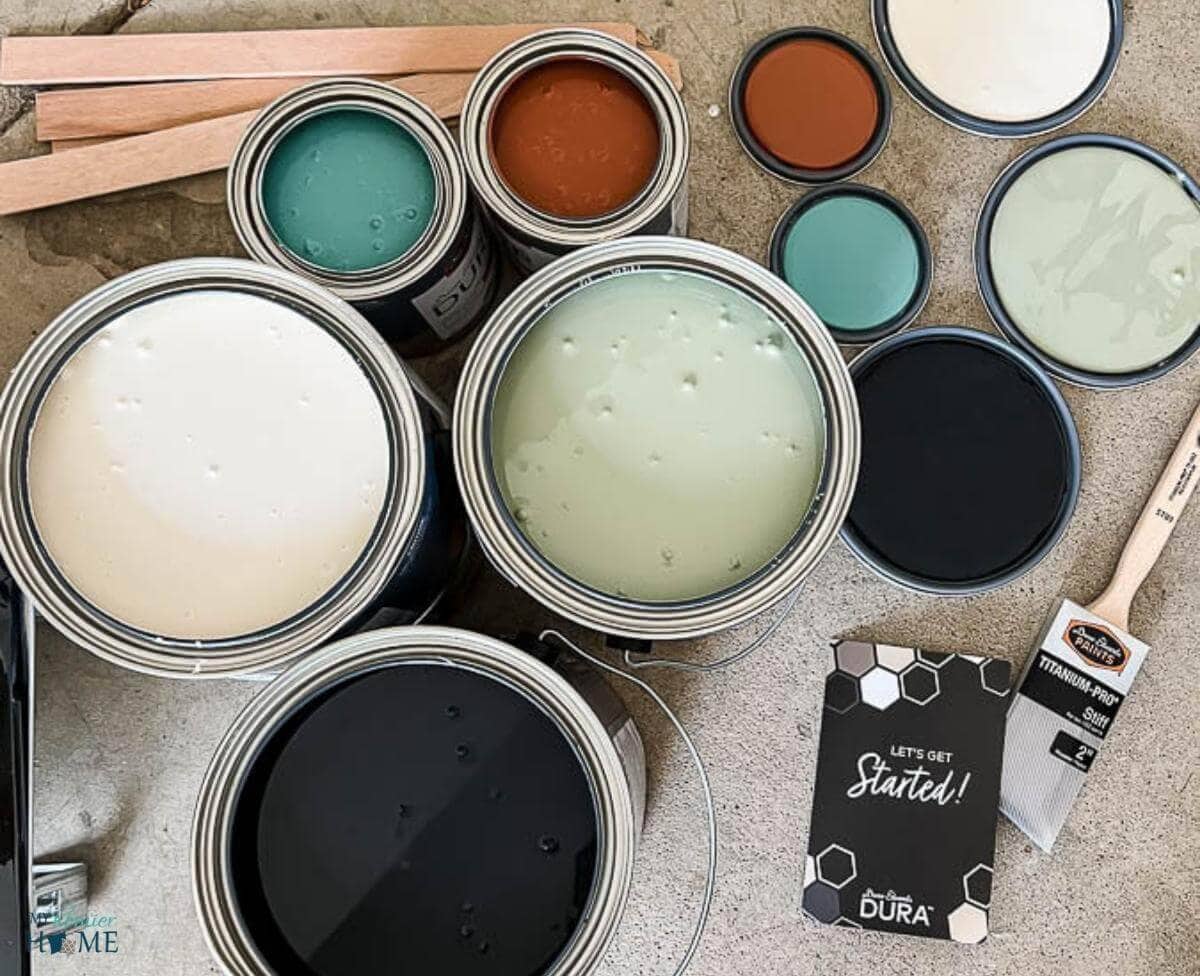
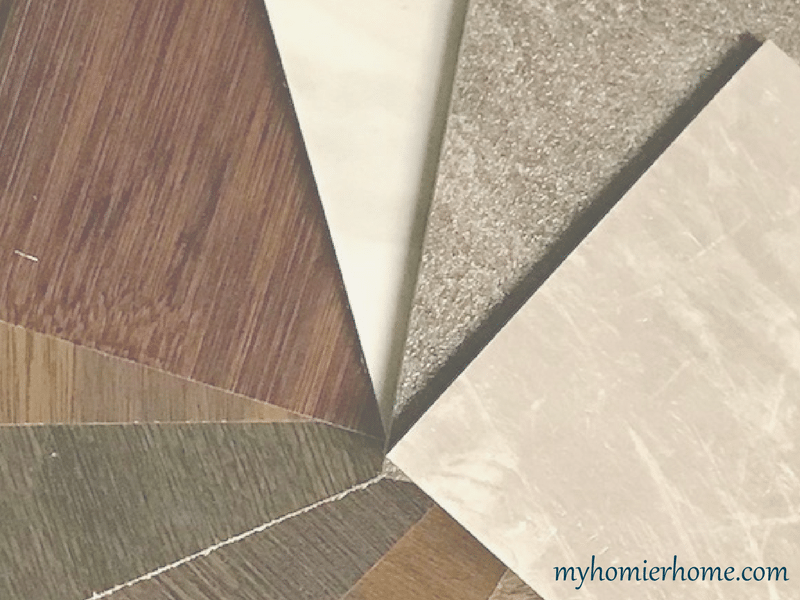
Step 7: Create a “bank”

After completing the steps above for my friend's kitchen remodel, I began searching for items that fit her style from the places she was actually going to purchase the items.
The above picture is a snapshot of a few of the different things we were considering for her kitchen.
This step is an important transition from the inspiration pictures to what you can actually find at the stores you will be shopping.
I did most of this on-line so I could copy the images into my document (I just used a word document for this, but Trello would also be a great option because you can store pictures in the cards, too).
The key here is to keep everything organized.
I used the following topics to keep track of the various items she was going to need to make decisions on and purchase in her kitchen:
- Cabinets
- Walls
- Trim
- Island
- Counters
- Backsplash
- Floor
- Hardware & Hinges
- Appliances
- Light Fixtures
- Doors
- Chairs/Tables
An important part of this step is to make absolutely sure as you are copying images into your document that you also copy the URL that you found the item. This will make going back later much easier.
The purpose of this bank of items is to have a place to pull from when you go to do the next step… the mood board.
This is also helpful if you are having trouble deciding between light or dark cabinets, light or dark floors, etc. because you can try out different combinations when you transfer over to the mood board.
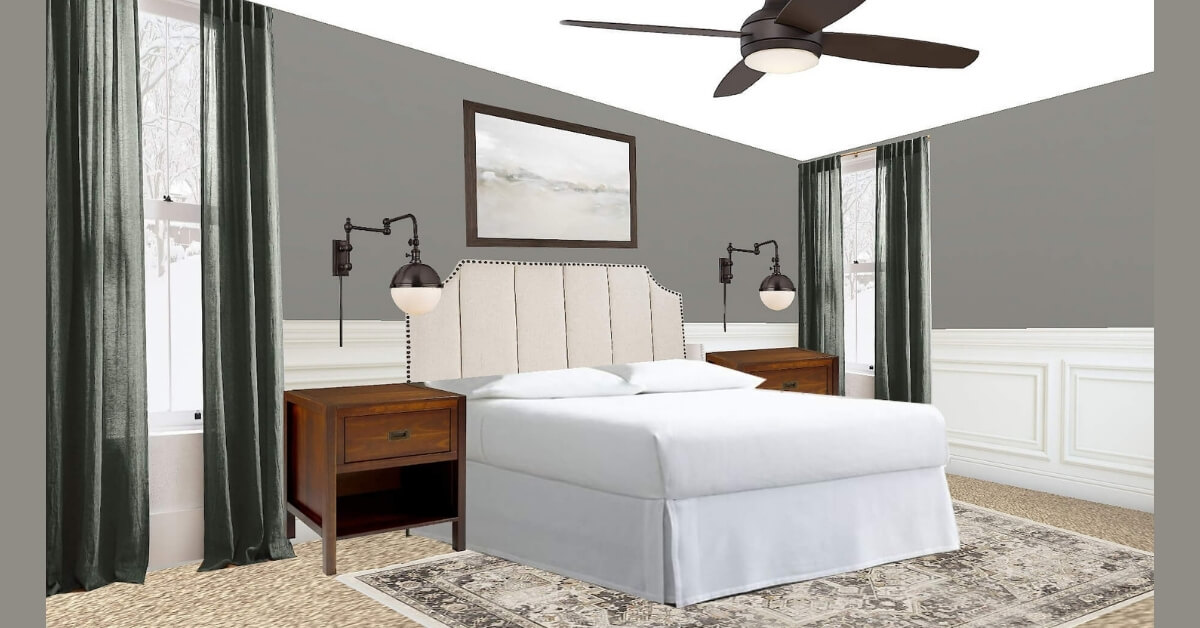
Step 8: Create a mood board
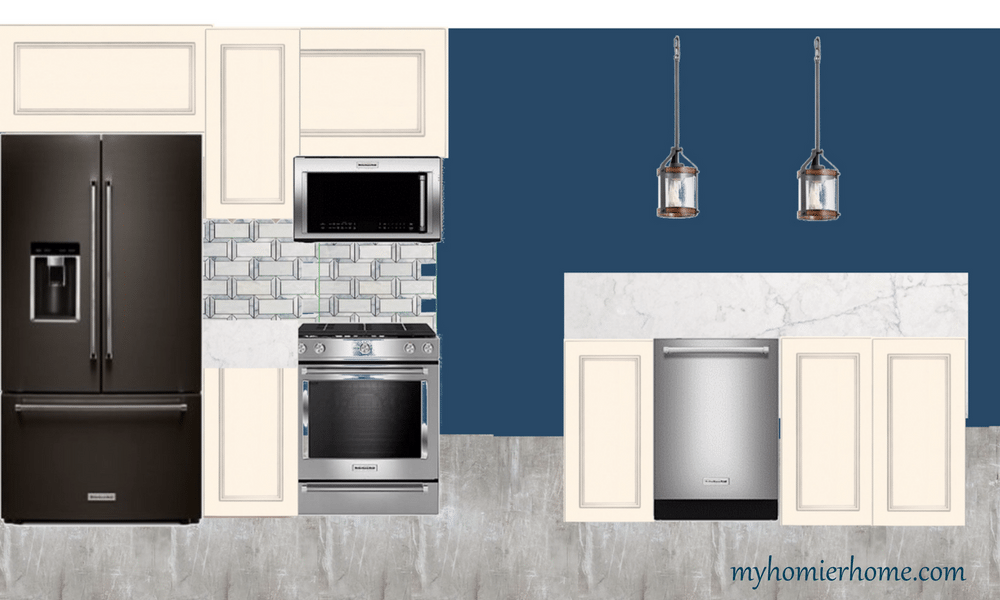
Creating a mood board is the most important step of all.
This is the time where you actually get to see what your kitchen is going to look like before you buy anything.
Being able to see everything together in the shape of your kitchen is truly the most helpful tool to make sure your decisions are going to be right and not regrettable.
You have the option to follow my tutorial on how to create a mood board or have me do it for you with my “Try it On” Design Board service.
The goal here is to get a visualization of your space and the items in which you would like to incorporate.
The picture above is the mood board my friend landed on after going through a few drafts.
Step 9: Buy samples.
Buying samples is the best way to truly see what an item will look like in your individual home because you can see what they will look like in your space with your specific lighting.
If you feel like it is too expensive or impractical to purchase the samples of everything you want, I would recommend going into the store, if available, and scoping out the options there, too.
Taking pictures of the items in store may also help you add to your mood board, but make sure the lighting is good enough to represent what you see in person with what shows up on your camera.
When comparing samples in your home, make sure to lay them the way they will be installed.
For instance, countertops will be installed horizontally while backsplash and cabinets will be installed vertically.
Making sure to lay them the correct way will ensure you are getting to see how the lighting will hit those materials in their actual way.
Step 10: Order up!
Once you have confirmed your choices, it is time to seal the deal by ordering your items and scheduling installations.
Many stores, such as Lowes, Home Depot, and Best Buy, are very helpful in scheduling installations in a timely fashion.
To make sure everything aligns, be sure to add dates to your calendar as you go, especially if you plan to work with different stores.
The process may seem stressful at times, but try to enjoy the journey.
The more time you spend planning and revising your remodel ahead of time, the more you will bask in your remodeling glory later.
And if you need help crafting your vision, contact me. I would be more than happy to help!
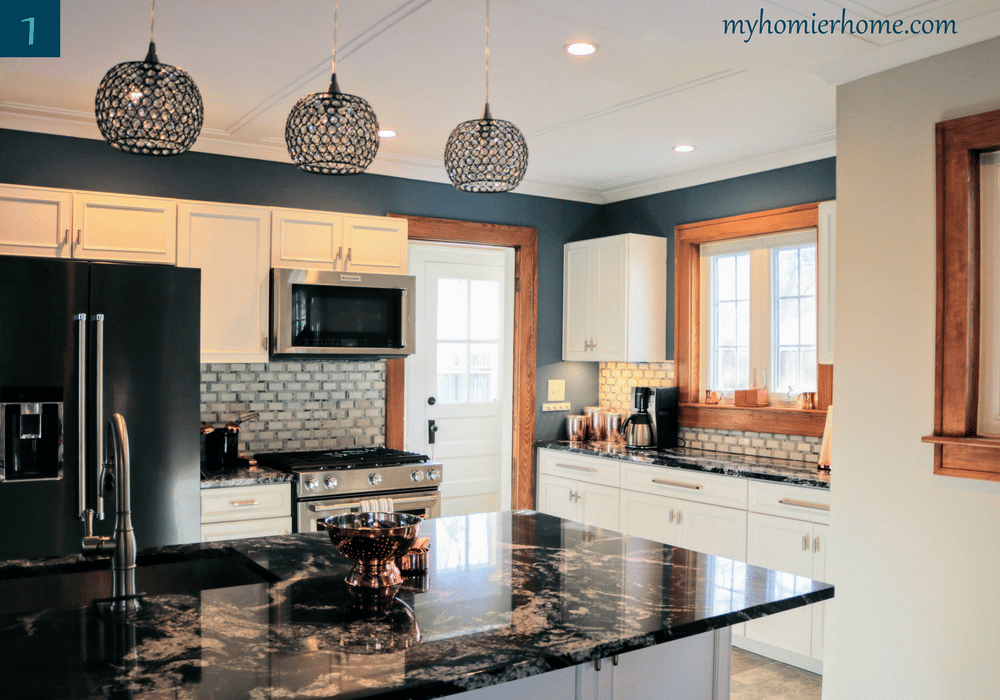
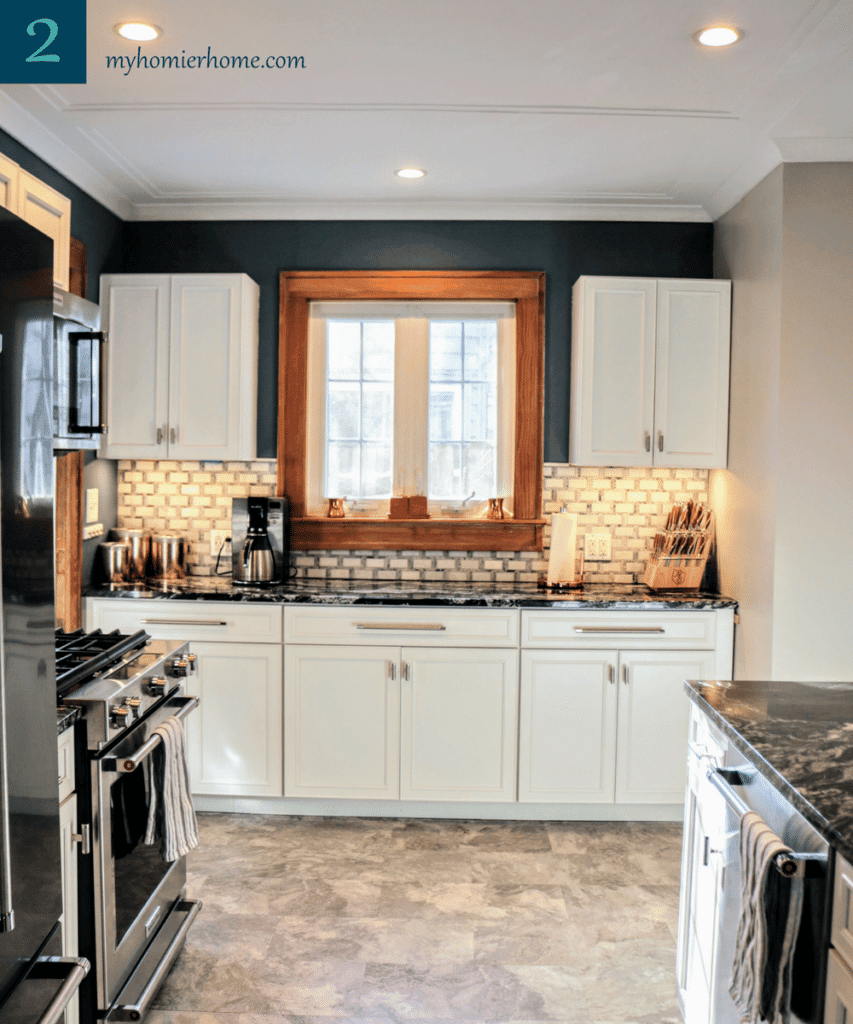
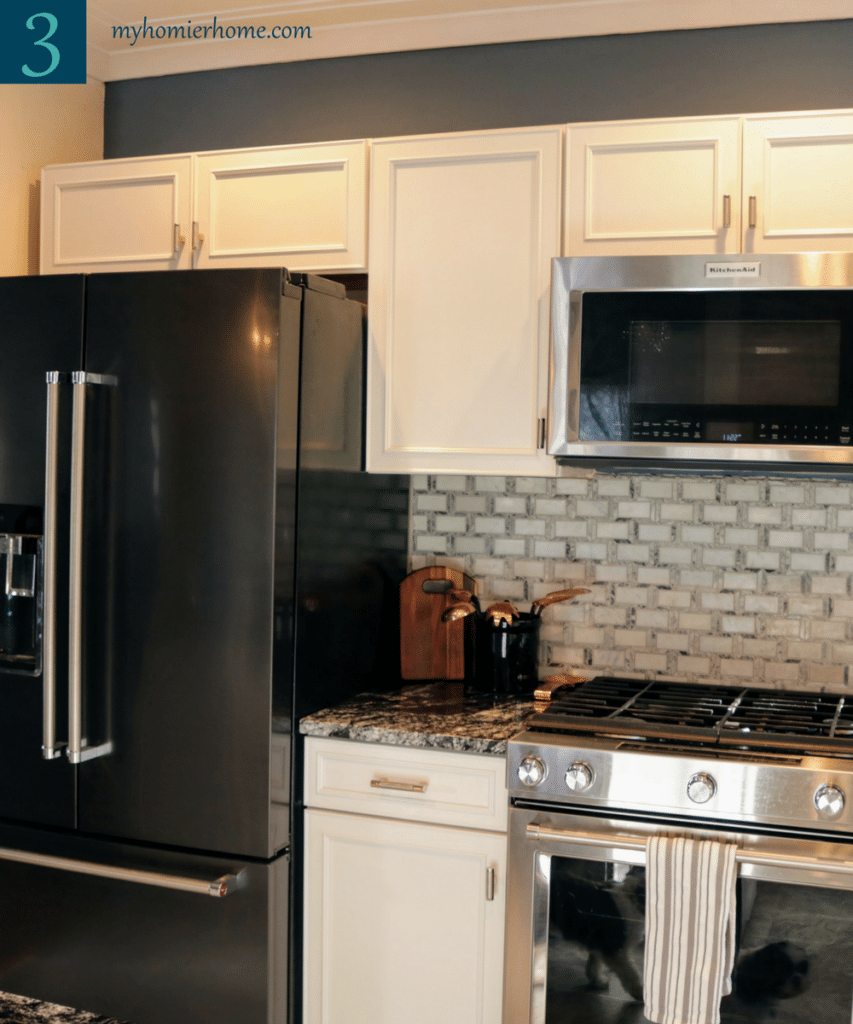
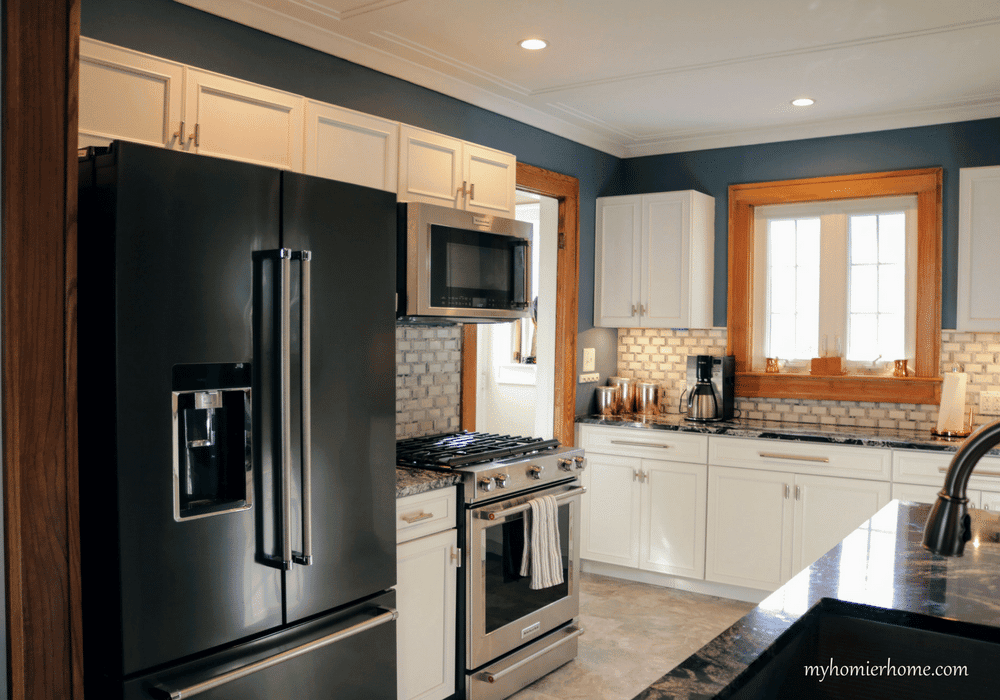
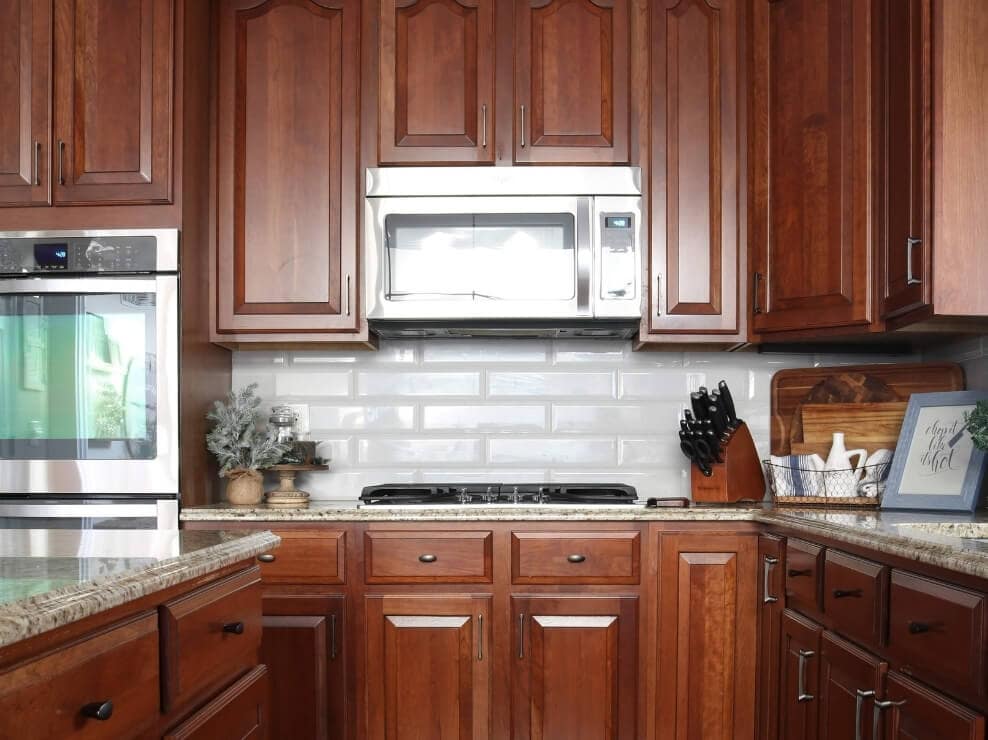
Before & After Photos of this Kitchen Remodel
Now for the big reveal of my first-ever client's kitchen remodel!
Before
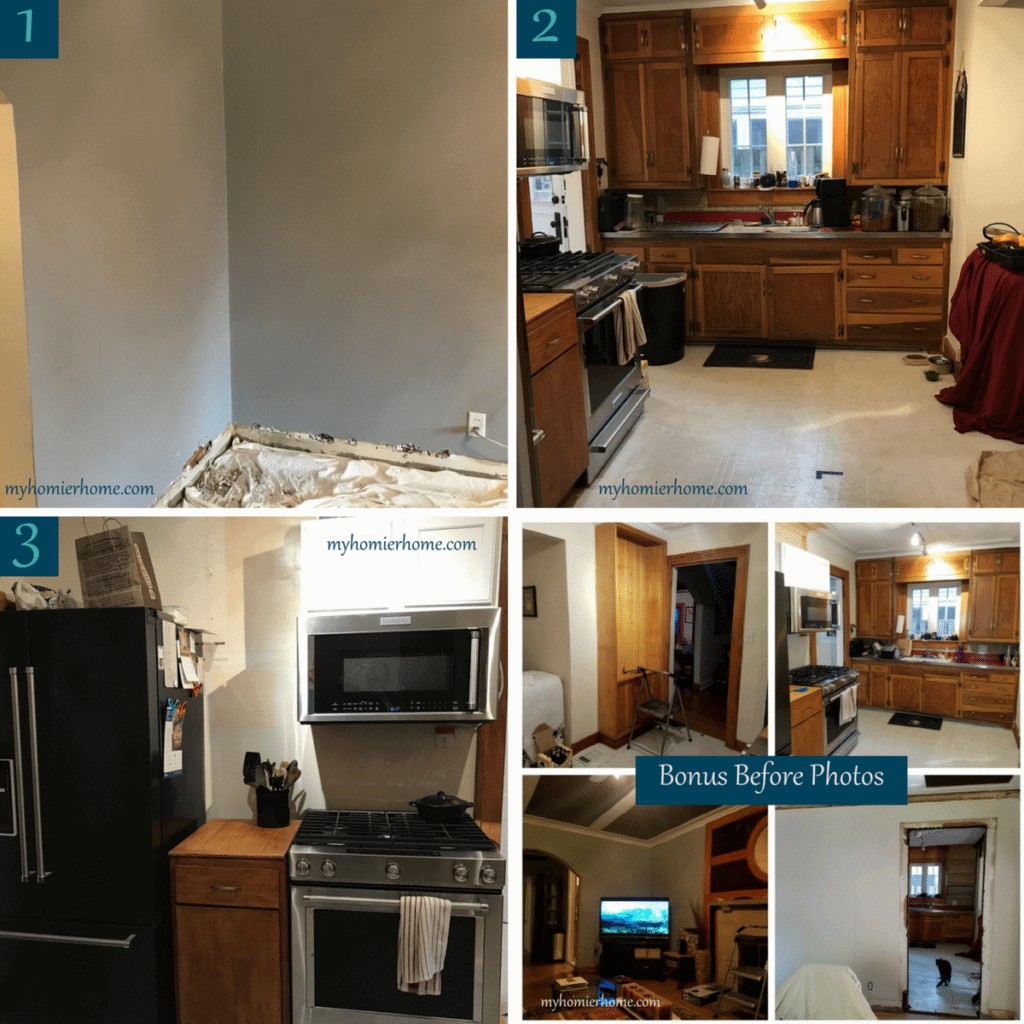
After