
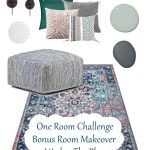
Bonus Room Makeover Before Photos & Mood Board
I'm completing our four-years-ignored bonus room! Check out my plans for a bonus room makeover to make it an all-ages fun space.
The fall One Room Challenge is upon us! For those that don't know, the One Room Challenge is a 6-week blogger challenge in which you work to complete one full room within the six weeks.
To gather maximum inspiration, check out all those participating (their are so many amazing rooms) right here.
This season I will be making over our four-years-ignored bonus room.
We decided on this room because we are pretty sure we will be spending a lot more time in there with the new baby on the way (due April 4th)
*air-five!*
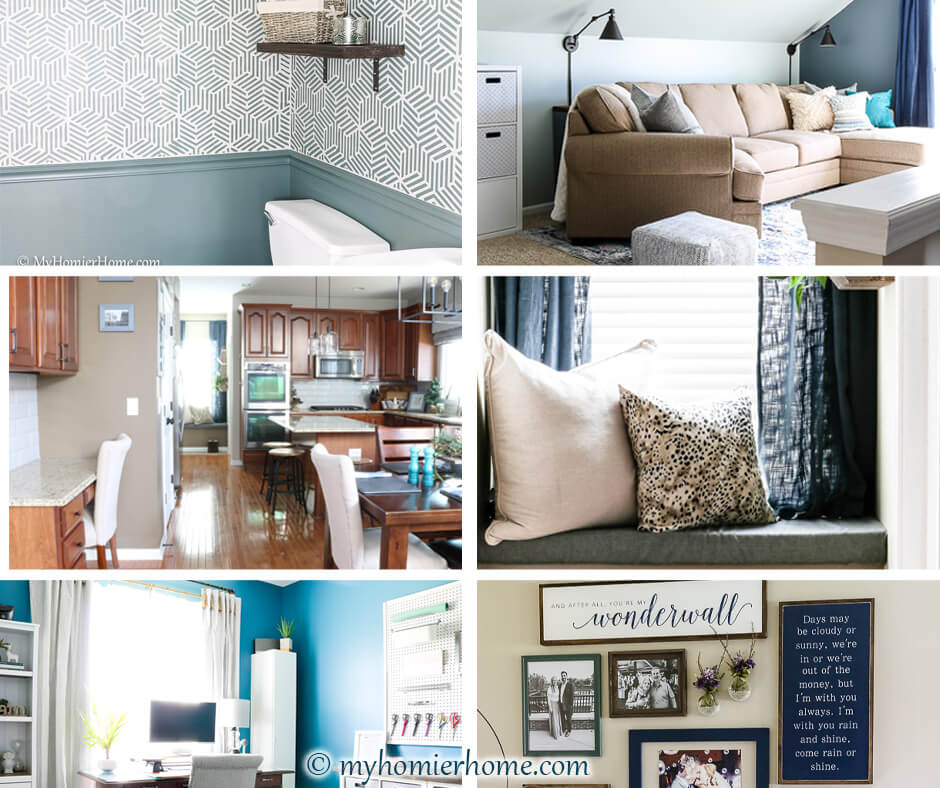
If you are new to my ORC makeovers, be sure to check out my One Room Challenge Living Room and One Room Challenge Office from prior seasons.
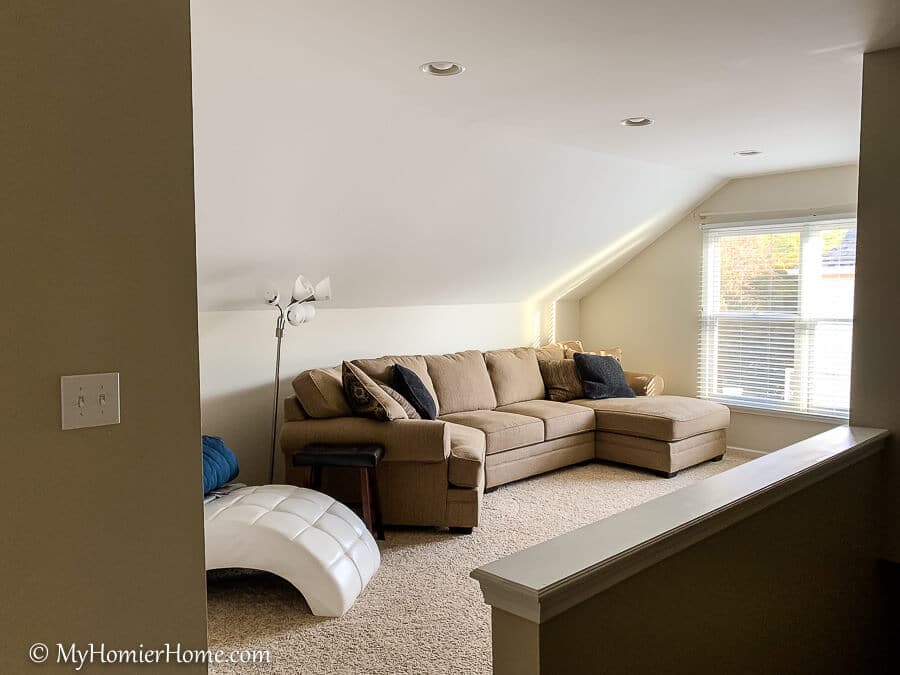
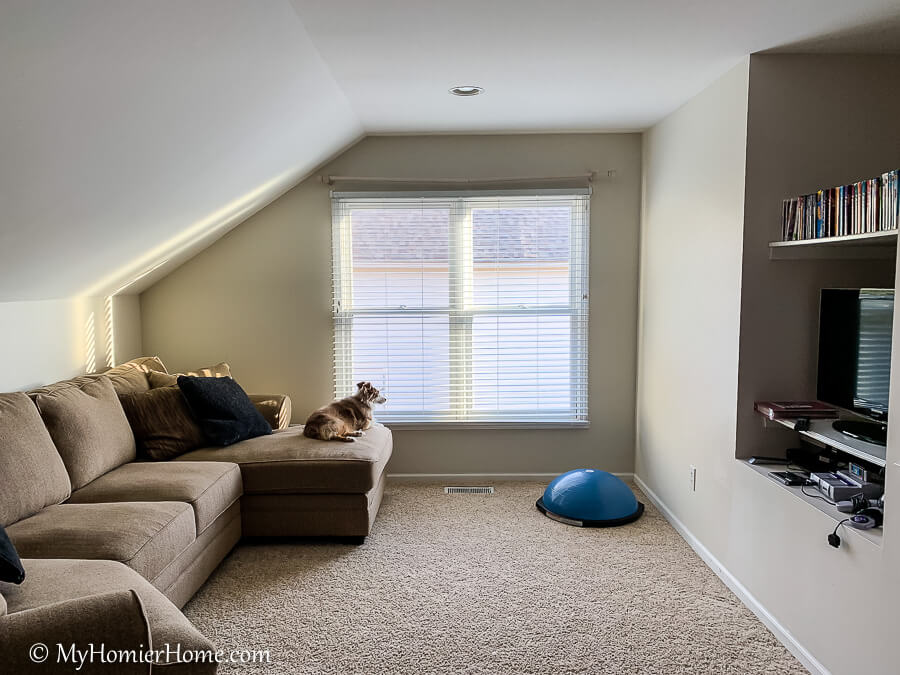
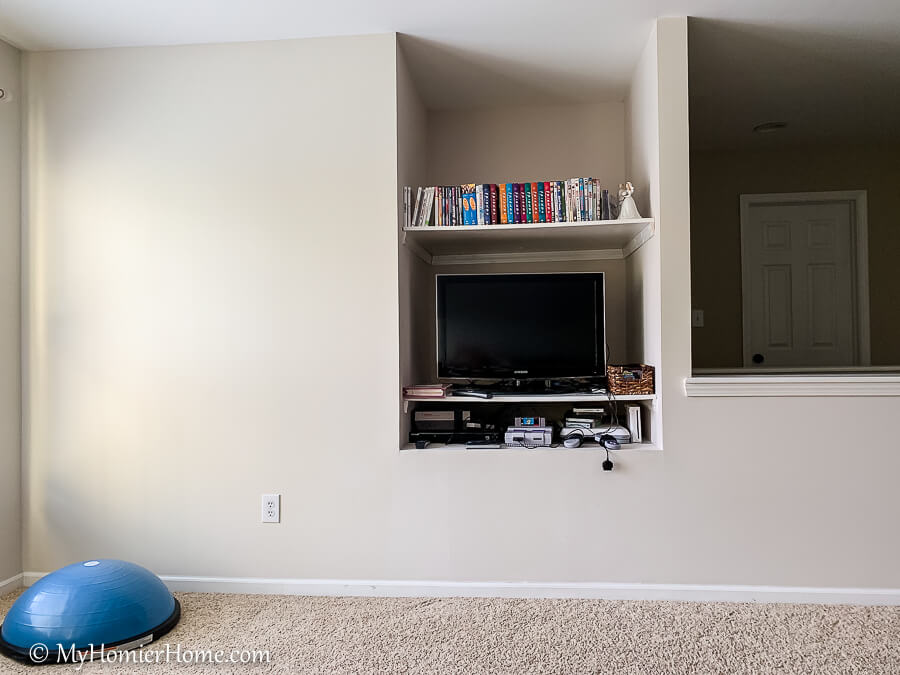
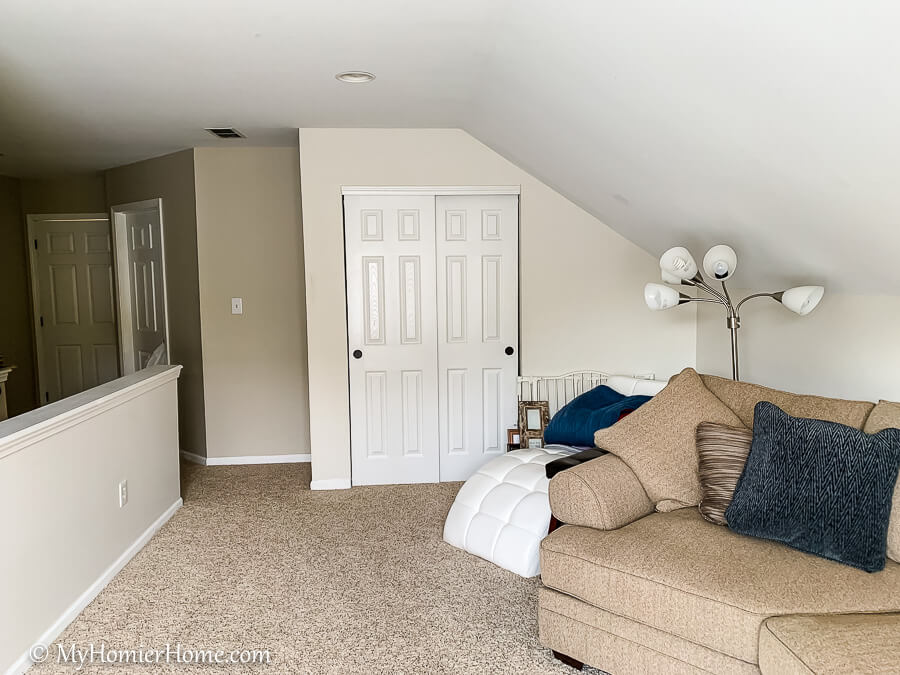
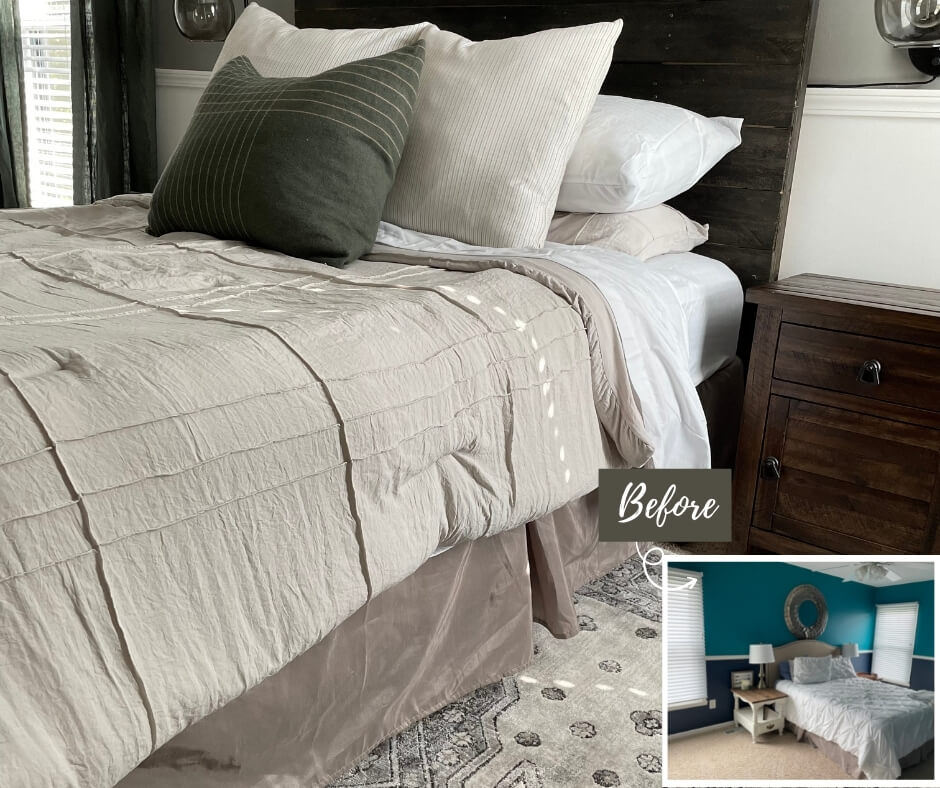
So we can all experience the transformation together, let's take a look at the before photos…
Disclaimer: This post does include affiliate links for your convenience. This is at NO additional cost to you but earns me a small commission. To read more, check out our disclosure policy. As an
Before

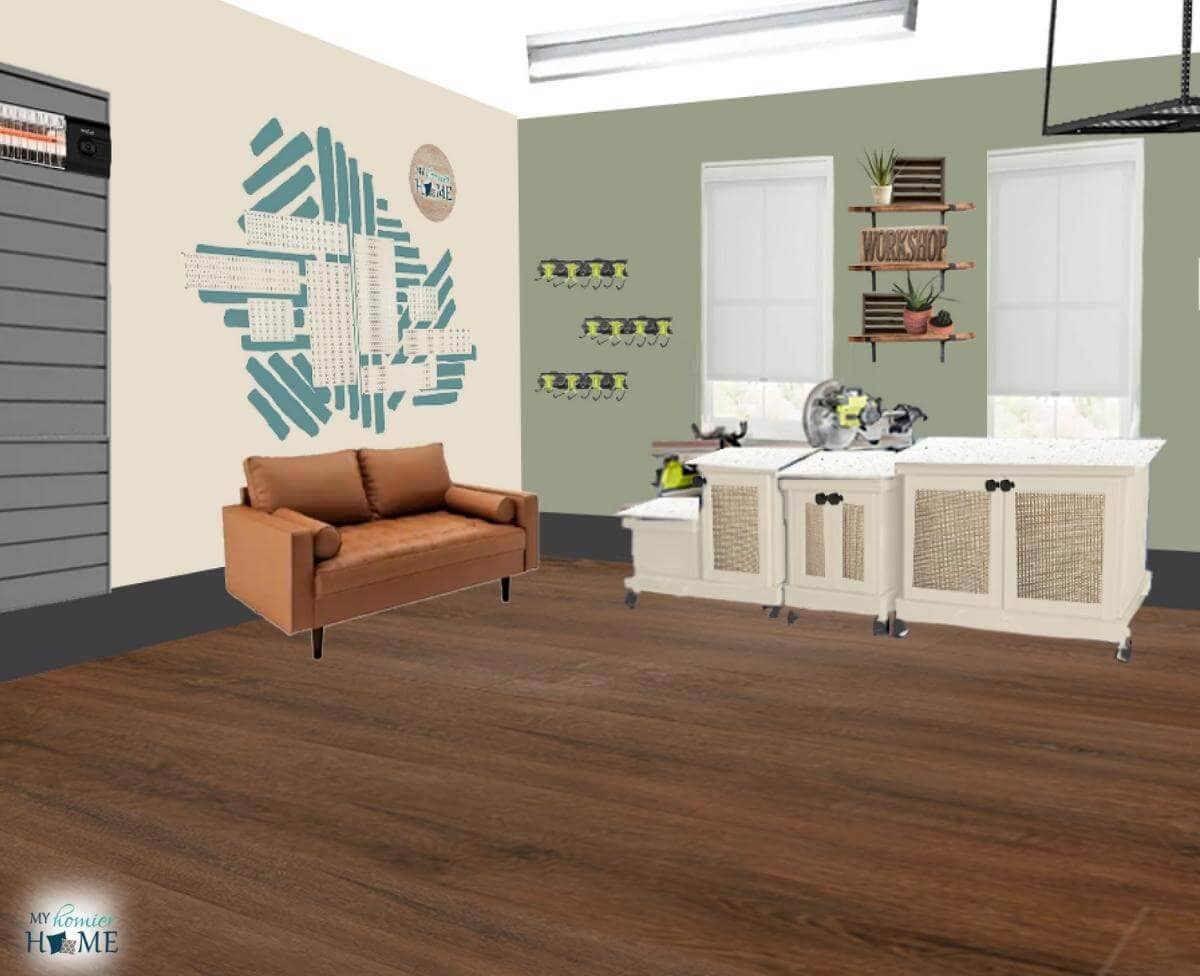
The Plan
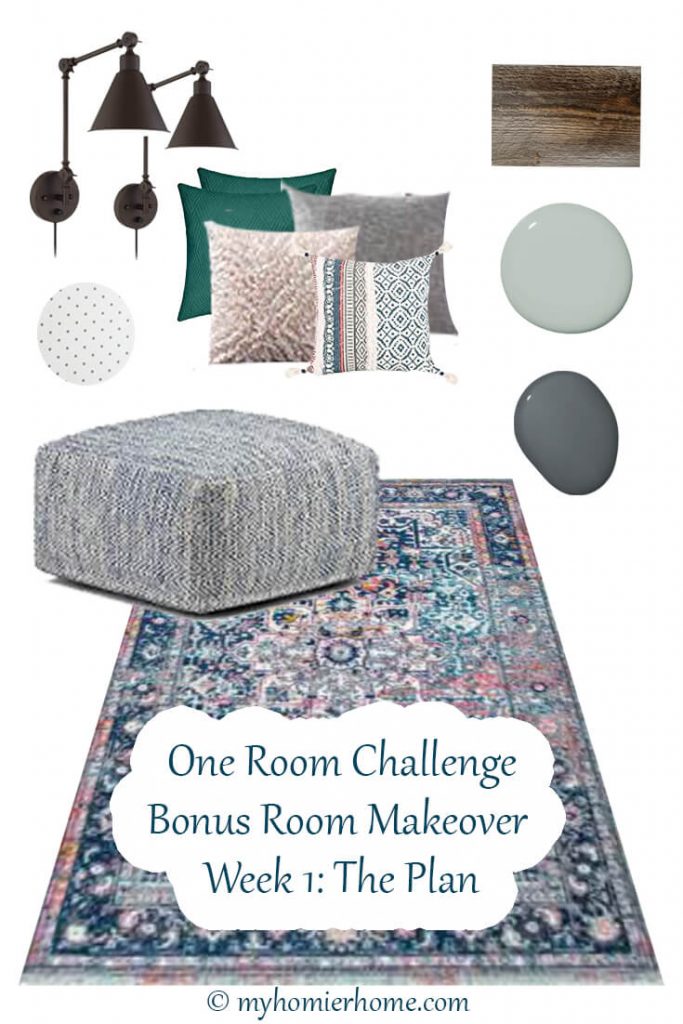
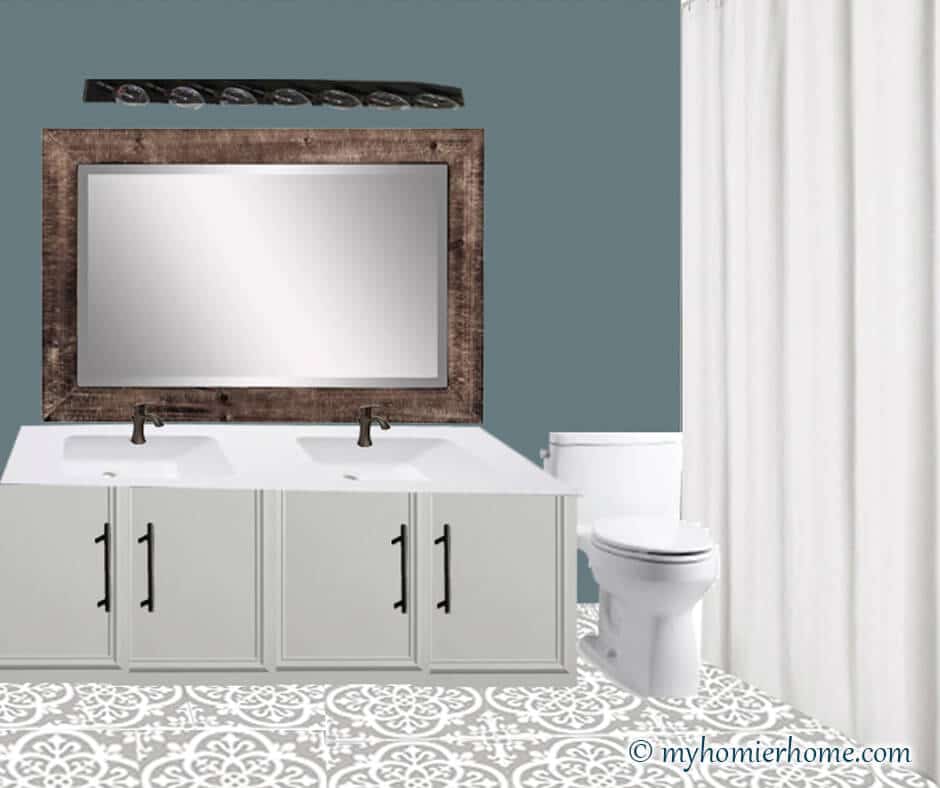
The color scheme for this room is going to be a mix of colors with bluish-gray walls, oil-rubbed bronze fixtures, and a wood accent wall.
I am also planning to paint the inside of the open closet and the reading nook in a dark color.
ALL THE FEELS & FUNCTION
In my pursuing a homier home series, I shared my system for making a cohesive plan for your home as well as each room.
One of the steps is to decide what feels and functions are necessary for that particular space.
So, the plan for this room is to create a space that takes into account the following:
THE FUNCTION
- Toy Storage
- TV and Video Game Area
- Reading Nook
- Durable to Grubby, Messy Children
- Danger-Free for Kids
- Craft Storage Area
- Mini-Fridge/Snack Station
THE FEELS
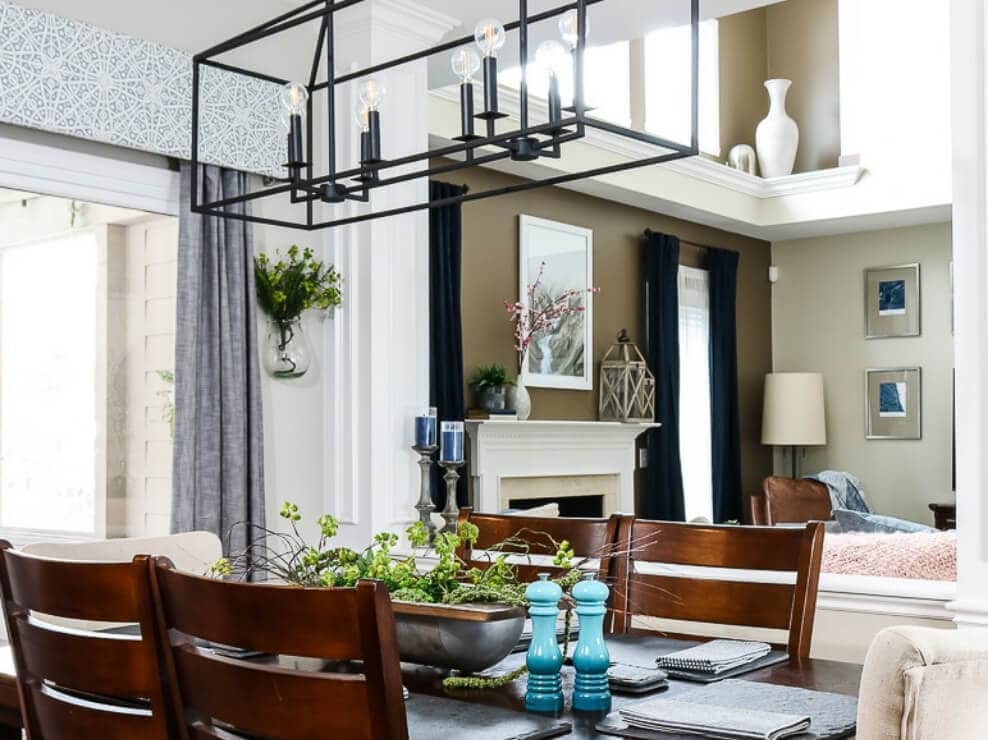
Currently, we use this room as a pseudo living room for guests.
We have a couch and cable television, but soon this room will also serve the purpose of housing toys and playtime.
Therefore, I want this room to feel fun and playful, but still feel appropriate for adult guests to utilize, too.
The goal here is to merge all of these feels into a warm, inviting space for all ages.
I'm new to the whole kid side of life, so hopefully these feels will come off in the final product.
FLOOR PLAN
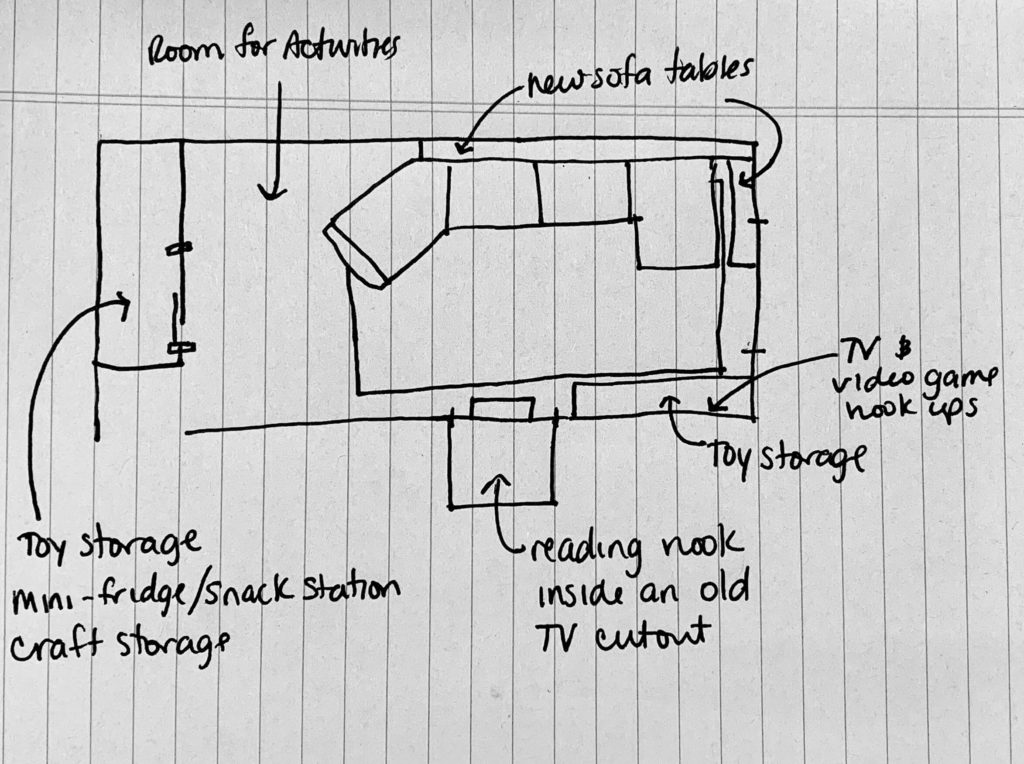
Above is the layout of the room and my plan for where everything is going to go.
This is a very rough sketch, but it definitely helps visualize the full scope of what I plan to do.
As you can see, there are three main areas I'll be focused on to make my feels and functions come to life.
Before I go, here is my list for the next six weeks on what I hope to accomplish before the big reveal on November 7th! Wish me luck!
TO-DO LIST
MAIN ROOM
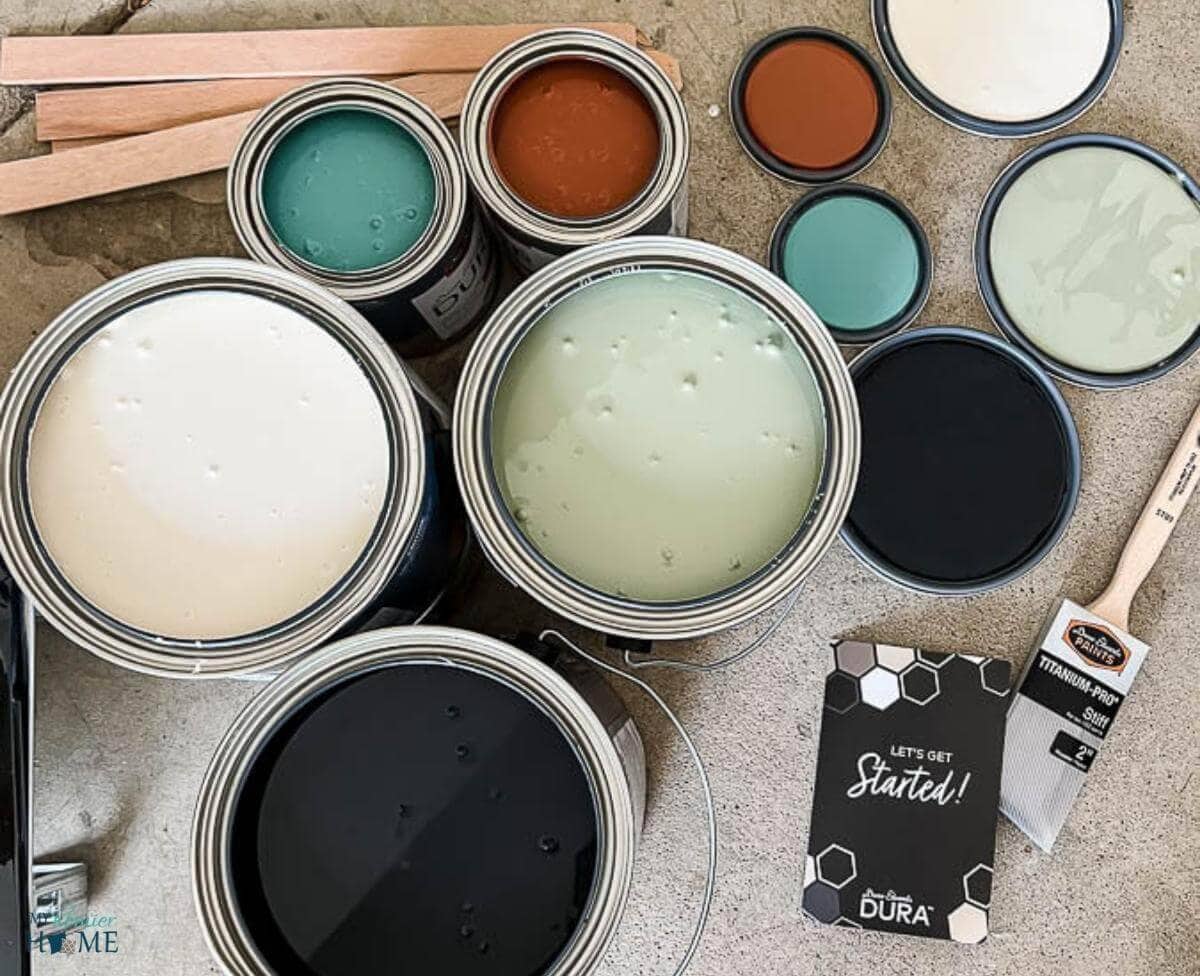
- Paint the room
- Purchase Stikwood
- Hang Stikwood wall
- DIY behind-the-sofa table & side table
- Call electrician to move cable box hook up & plug
- Buy new:
- Rug
- Drapes
- Curtain rod
- TV & mount
- IKEA storage
- Artwork for entry
- Throw pillows & blanket
READING NOOK
- Paint nook
- Make cushion
- Buy new:
- Step to get into nook
- Light fixture(s)
- Book holders for wall
- Cushion/Fabric for seat
- Pillows
CLOSET
- Remove closet doors
- Paint inside of closet
- Stain and install DIY countertop
- Stain and install shelving
- Paint & cut to size the pegboard
- Buy new:
- Mini Fridge
- Storage cubbies for underneath counter
- Lighting

Disclaimer: This post does include affiliate links for your convenience. This is at NO additional cost to you but earns me a small commission. To read more, check out our disclosure policy.


I can’t wait to see how this turns out! I LOVE that rug and have been looking for a space in my house for it, so I can’t wait to see how you use it!!
Thanks!! I found it on Amazon! I’m hoping it gives the jolt of color I am looking for in that room. Painting is next and then I get to dive into the fun stuff!
It looks great, can’t wait to see it!
Thanks! I’m eager to get it done and relax! 🙂