
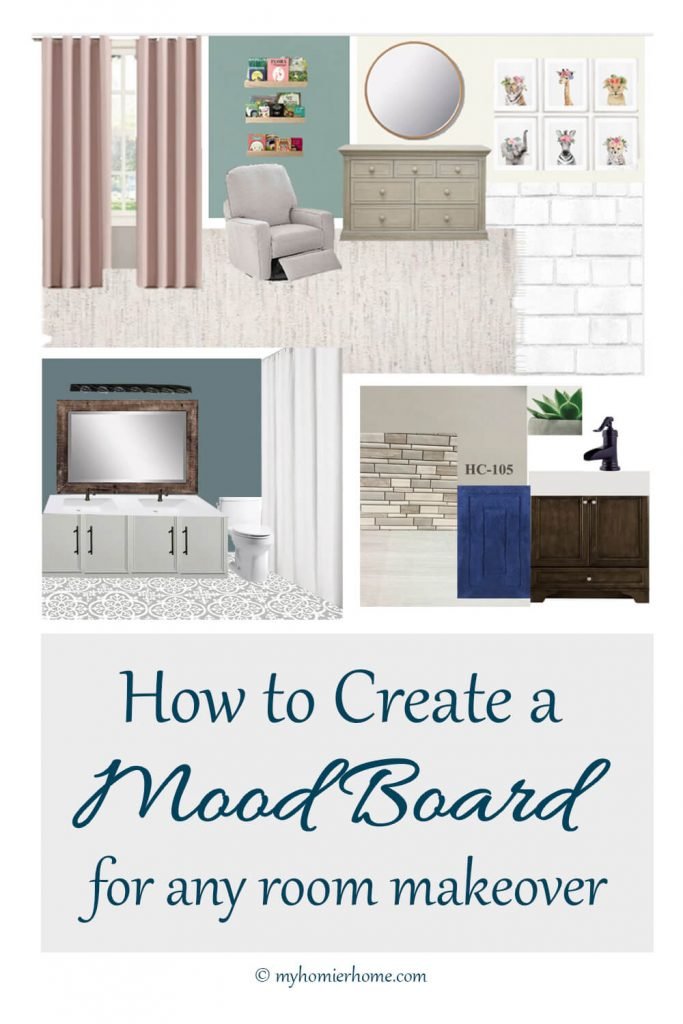
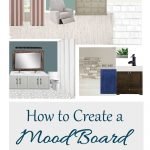
How to Create a Mood Board for a Room Makeover
Want to make sure everything goes together for your next room makeover? This tutorial will show you how to create a mood board for any room for free!
Have you ever decided you're going to tackle a room makeover, whether it be your kitchen, a bedroom, or any other room, and second guess your design decisions? Ya, me too!
The good news is you do not have to second guess yourself any more. It's time you knew what the pros do and I'm going to show you how to do for free. Let's create a mood board for your next room makeover.
Table of contents
Disclaimer: This post does include affiliate links for your convenience. This is at NO additional cost to you but earns me a small commission. To read more, check out our disclosure policy. As an
What is a mood board & why should I care?
A mood board is a visual tool where you compile images to convey an overall design idea.
There are two types of mood boards you can create for interior design.
One type is where you put together actual items you want in your space on a 2D board. This can be done via magazine clippings or digitally.
The second type is where you compile inspirational photos and colors to create more of a vision board.
My preference is to combine all of these together to include colors, textures, actual items, and inspirational photos if it fits my idea.
Today, I'll be showing you the basics on how to create a mood board with any of these items, but more focused on items you want to purchase.
So, why go through all the trouble?
Well, there is a reason that designers do this. Not only does it help convey their idea to others, but it also solidifies their idea for themselves.
Creating a mood board gives you a way to take the guess work out of your room makeover vision.
Not only that, but because it gives you a more true-to-the-room visual representation, it will save you tons of time and money.
No more buyers remorse.
No more buy-return-buy-return agony. It allows you to end that time-suck cycle.
I can't tell you how many times I fell in love with something, put it in a mood board, and then realized no way was that going to work in that space.
Mood boards help you make better designs and put the fun back into room makeovers.
is their a difference between a mood board and a design board?
You may or may not have heard mood board and design board used interchangeably.
They are almost the same except for one key difference.
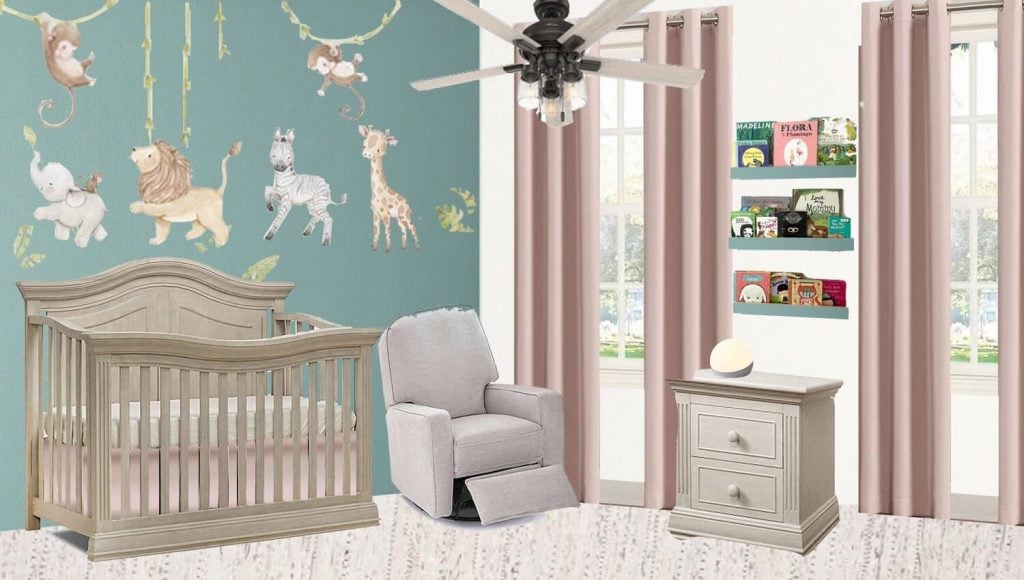
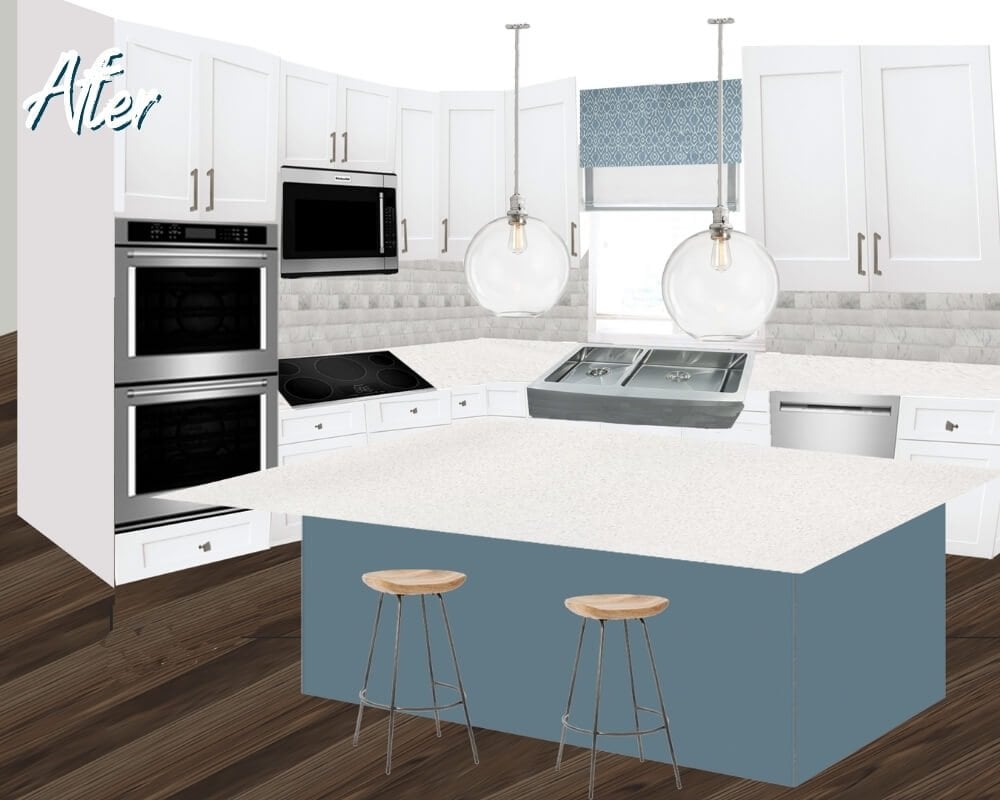
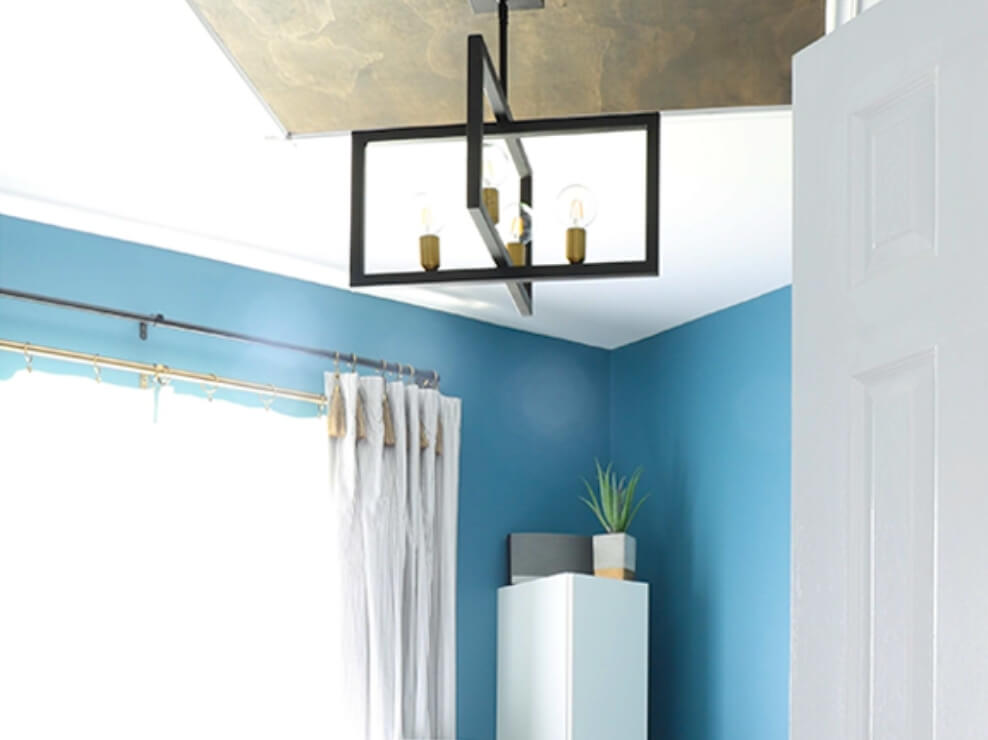
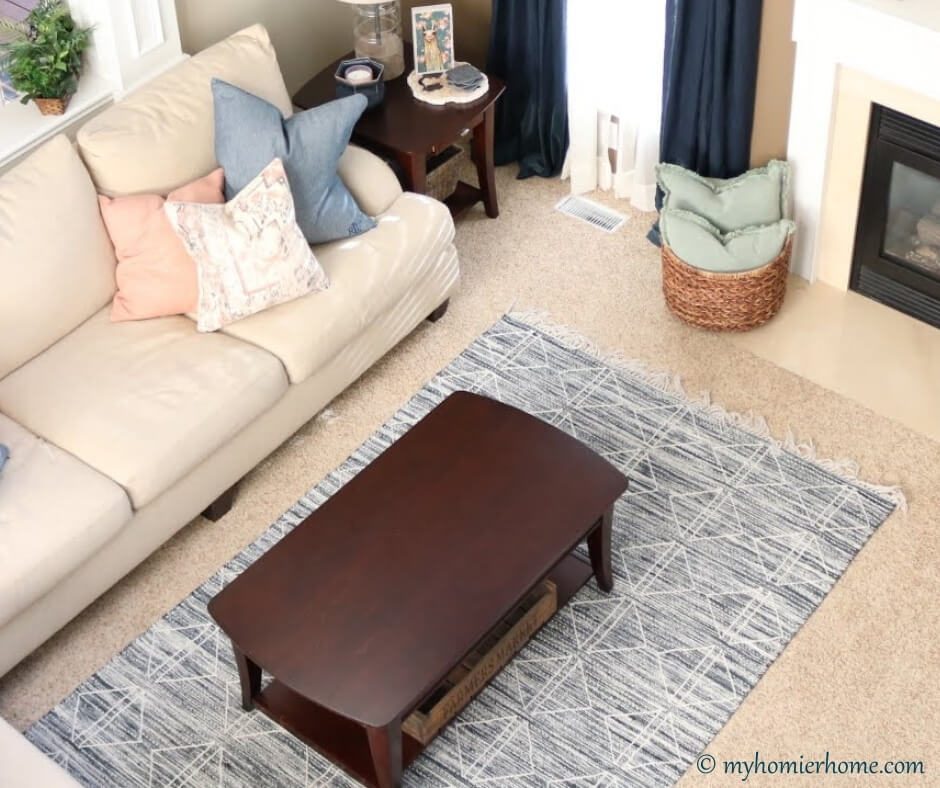
In the photo above, you can see that this mood board looks like it has walls and a floor and that the furniture is actually in the room. This would be called a design board.
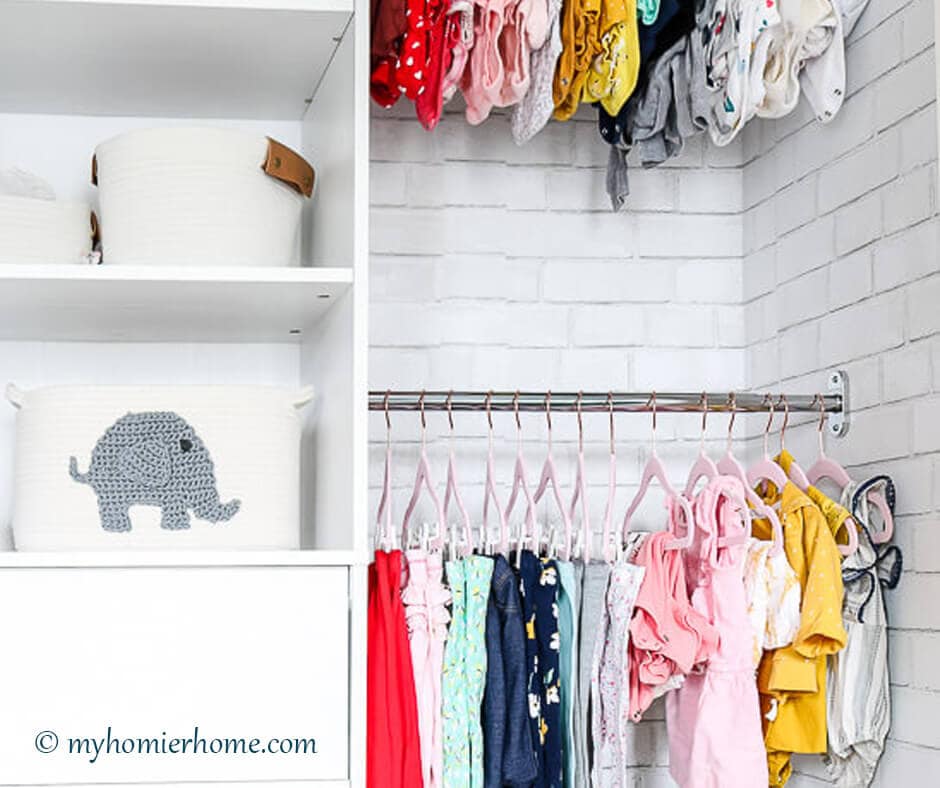
A design board actually takes the items and puts them in your actual room to give it a more 3D look. You can see how this design board translated into a real room with our baby girl nursery reveal.
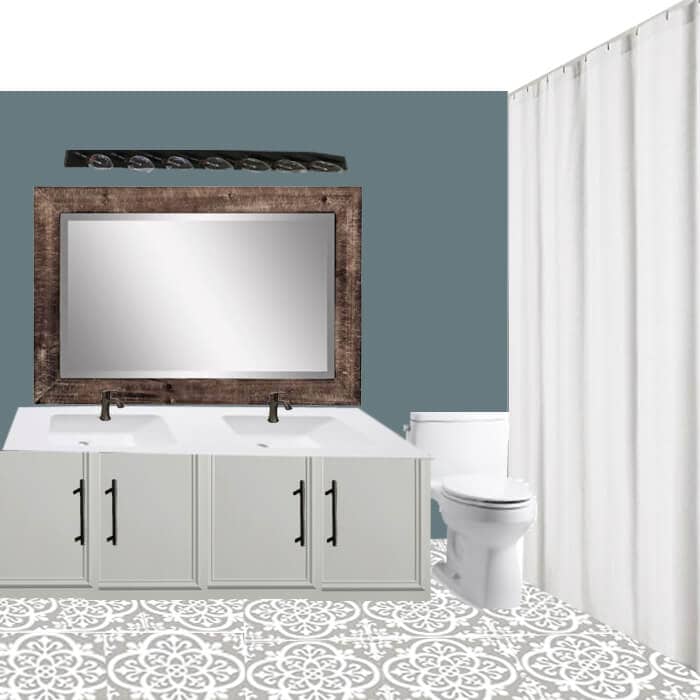
Or how the picture below translated into our budget guest bathroom reveal (all this for under $100).
And not to add too much fun into the mix, but there is also something called a 3D rendering.
That's what you see on the HGTV design shows where they give a 3D model of the room or house and digitally walk you through it from all angles.
We're not going into that today, but if ever you're working with a designer, it's nice to know the difference in lingo.
What goes on a mood board?
For easy reference, here are the types of things you may want to include in your mood board.
- Paint colors (either new or existing in the room)
- Color in general
- Furniture
- Flooring
- Lighting
- Curtains
- Decor accents
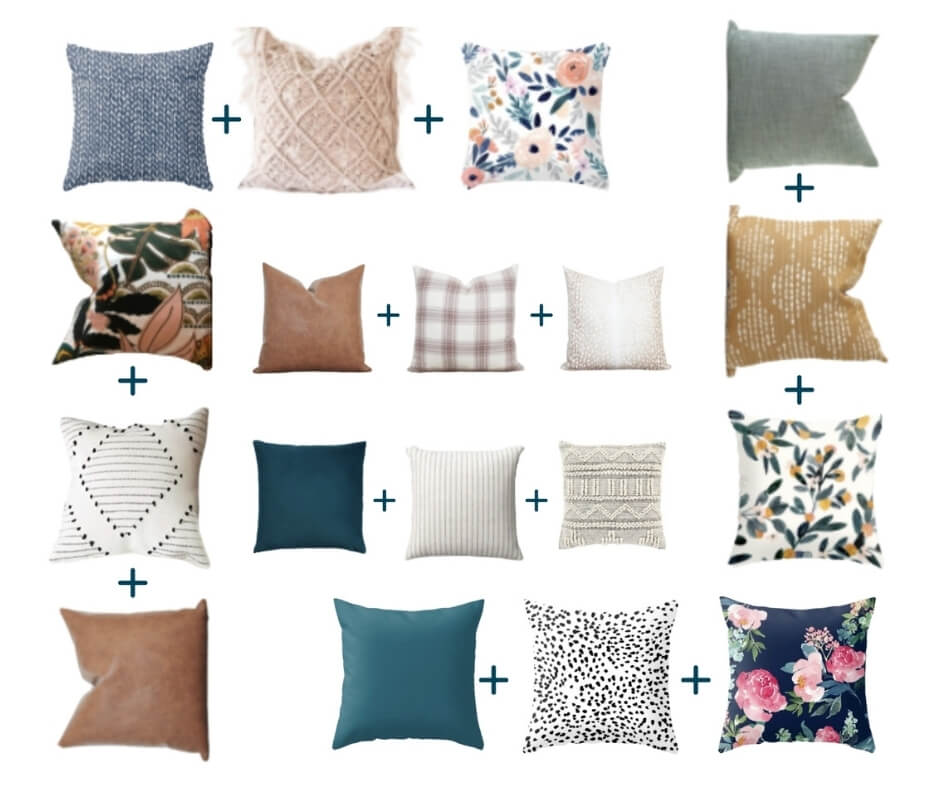
- Texture or pattern you want to incorporate
- Inspirational photos from Pinterest or Instagram
- Or anything else that helps you convey your vibe.
The goal of the mood board is to create a cohesive vibe and make sure it all visually goes well together.
If you're someone who struggles to narrow down their style or vibe, I have a comprehensive guide called the Decorator's Playbook that will help you get clear on exactly what decisions you need to make and how to make them to create your own style guide to use throughout your home and room makeovers.
It gets rave reviews, so definitely worth checking out if that sounds like you.
Or I have a free quick start guide that will give you the steps to take before creating your mood board.

What program should I use and how do I create the mood board?
Now let's get into the meat and potatoes of this lesson!
One of the top questions is always, “How do you actually create the mood board and what program should I use?”
Girl, I gotchu!
There are a couple programs you can use.
If you want something ultra simple, you can create a Pinterest board. The only issue with using Pinterest is that you cannot move the images around or customize it in any way.
I like to gather ideas with Pinterest, but I don't like to create my mood boards with it.
If you want to customize your mood board a little more, you can use the free version of Canva.
This program allows you to upload any images and arrangement however you want. The only downfall here is that you cannot remove the background of an image unless you move up to the paid version.
So, what would I recommend?
If you want to create legit awesome mood boards for actual free, my recommendation is PowerPoint.
PowerPoint has the ability to do exactly what the paid version of Canva does. You can remove the background of images, layer images in front or behind each other, and resize them all really easily.
I'm going to show you how you can create a mood board for free using PowerPoint in the steps below.
1. List items you need to source.
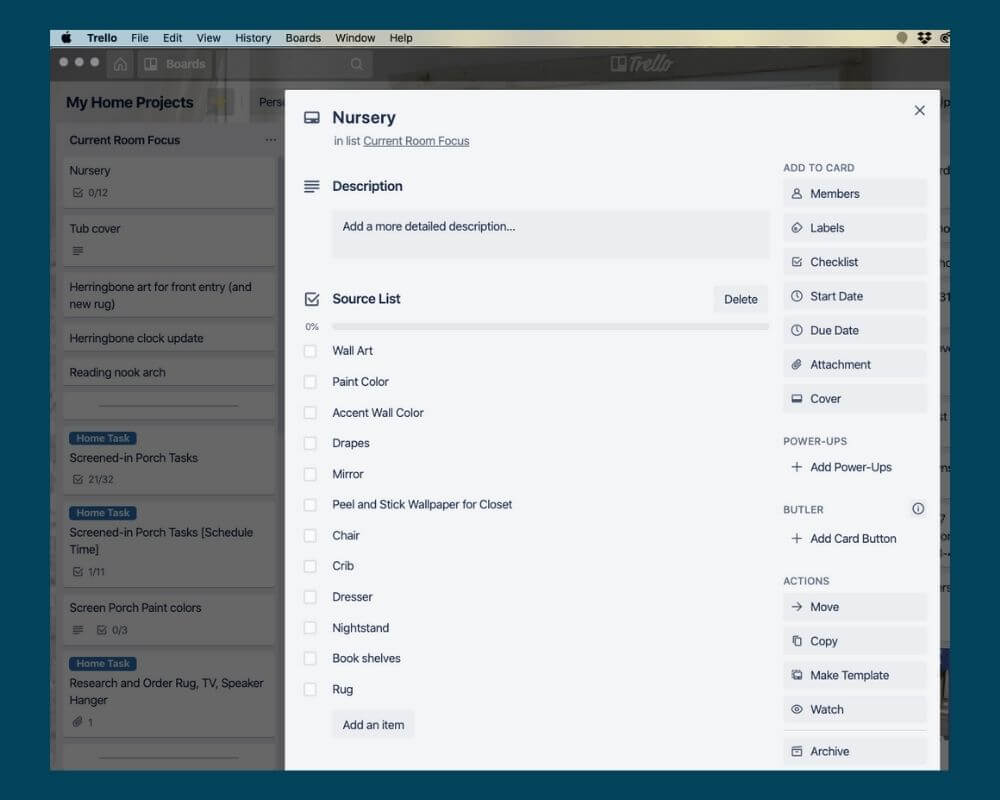
Before you can get to the actual PowerPoint portion, you have to do two things. The first is create a source list of things you want to update for your room makeover.
I'm using my nursery as an example.
You may also want to consider jotting down the feels and functions you want to remember to think about in this space and also the aesthetic you're going for in this room.
2. Do your research.
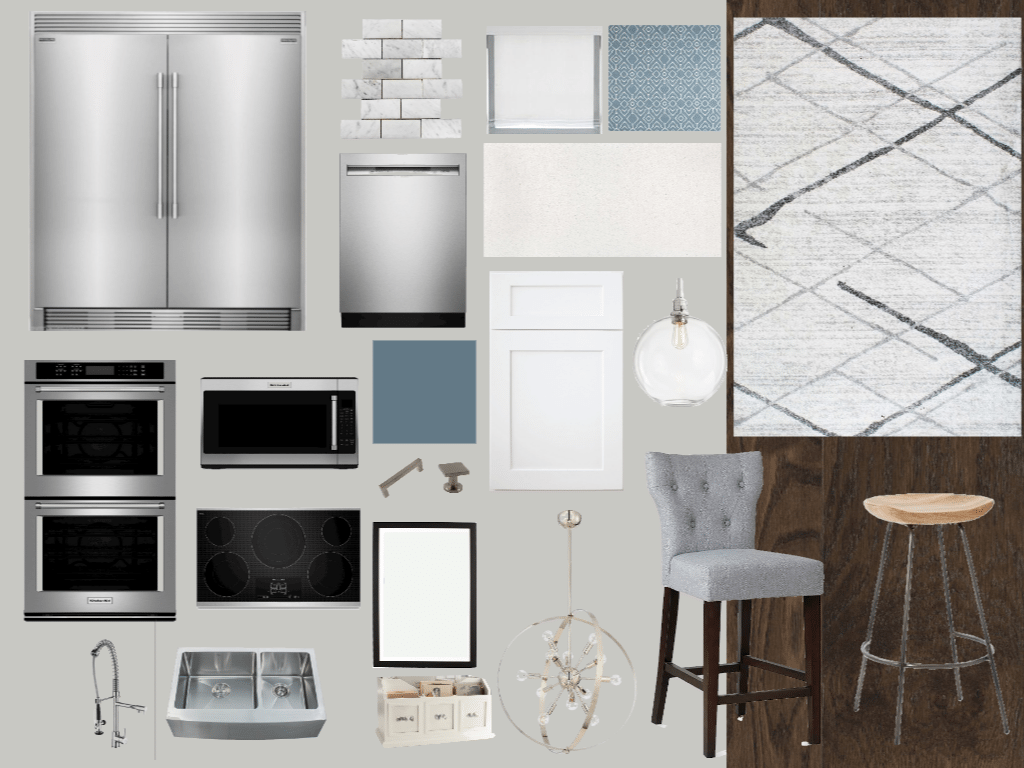
Secondly, you'll want to take that source list and do your research.
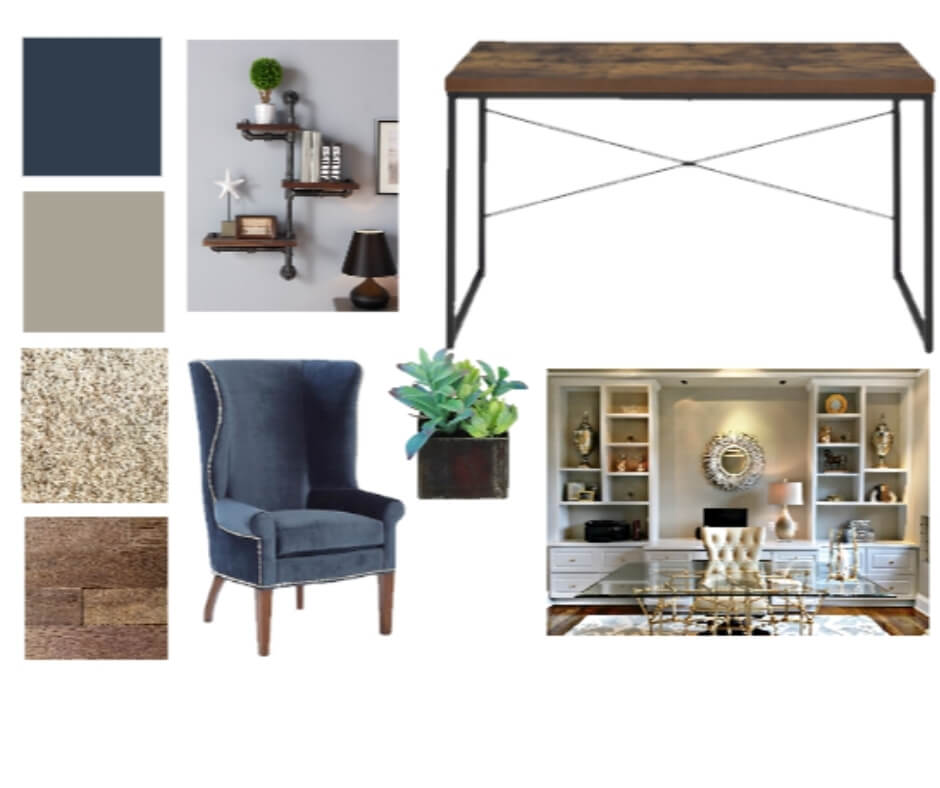
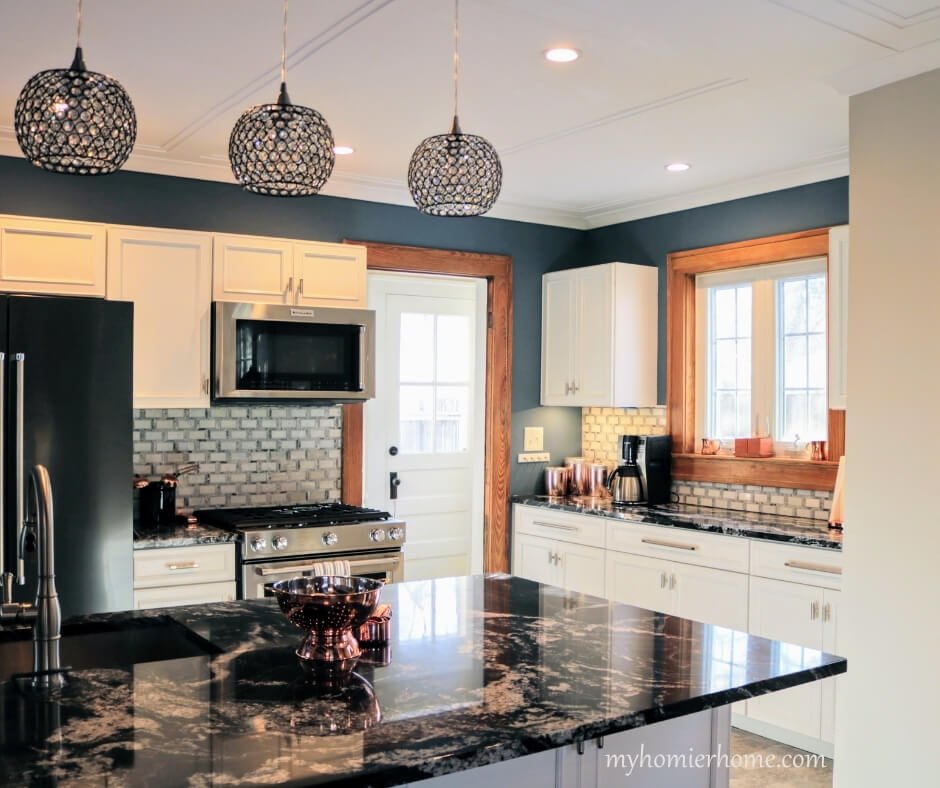
Above you can see all the items I sourced for a client for her kitchen makeover. You can arrange these however you want, but this was the general mood board.
The picture below shows how I took the mood board and created a design board for her kitchen.
The last tip in this phase is to save any links of items you find.
This is a very important piece because if you find something you really like, you'll want to know where to go to buy it.
My suggestions here are either to copy and paste them into a spreadsheet or bookmark them on your browser.
3. Copy and paste into Powerpoint [or Canva]
Open up the link of any of the items you sourced.
To copy and paste them into a new PowerPoint presentation…
- For PC, you have two options:
- Use print screen and then right click in PowerPoint and click paste. This will obviously print the whole screen, but you can crop it down to size once it is in PowerPoint.
- Right click and save the image to your desktop. Then, upload it to your PowerPoint document.
- For Mac, hold down control, command, shift, and 4 at the same time and a hashmark will come up for you to select exactly what you want. You'll hear a picture taking noise. Then, you can go to your slide and paste it (or click command V).
You can also watch the video tutorial for steps 3 through 5 below.
4. Remove background of image
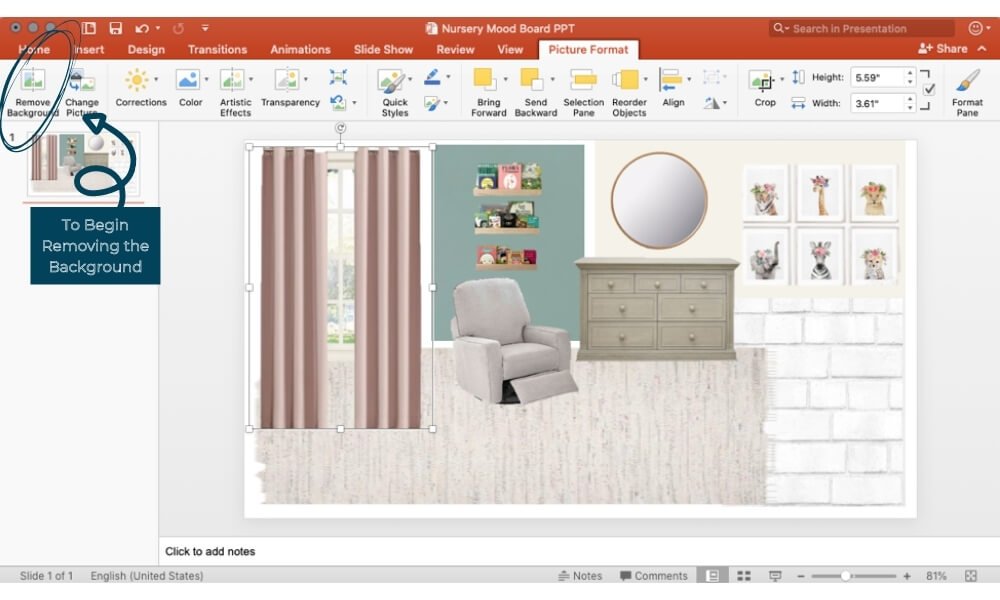
The coolest part about using PowerPoint when creating your mood board is it has the ability to remove the background in virtually one click.
I explain how to do this in the video with something simple and with something like the drapes that may take a few extra clicks.
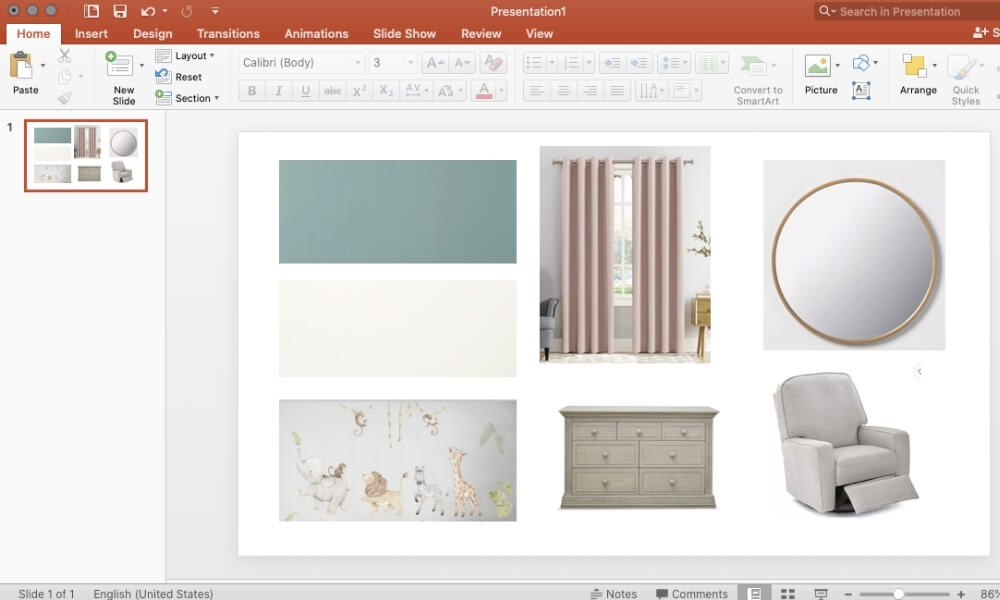
5. Arrange and finalize.

The last step is to use the “bring forward” and “send backward” buttons to arrange the items either in front of or behind one another.
Again you can find the video tutorial for how to do all of this in PowerPoint in the video below (and don't forget to subscribe to my channel while you're over there).
… Or I can do it for you!
What if you really want a more realistic, in your room, design board?
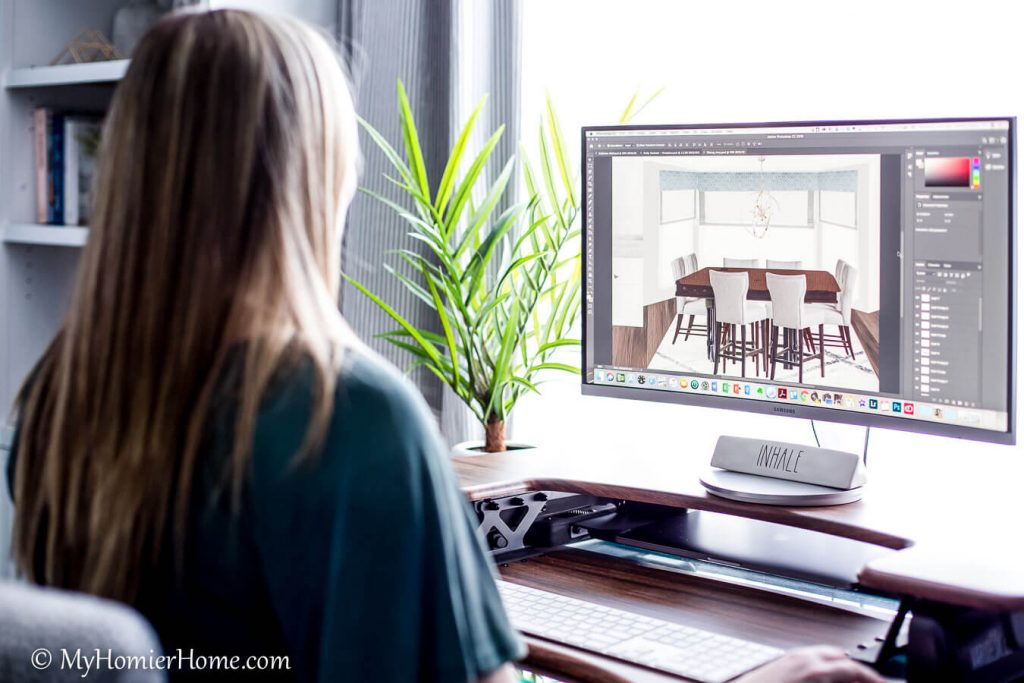
You could learn all the inner working of PhotoShop and do it yourself.
Or, you can capitalize on my skills and have me do it for you!
The best part is that it is a low entry cost, it's so easy to get started, and you get all the benefits of a seamless room makeover process.
You can learn all about my “Try It On” Design Board service here, including examples of clients I've worked with.
Your Homework
This wouldn't be a complete lesson without a little homework, right?
First things first, head over to our Decorating & DIY Cozy Corner Community on Facebook to gain access to a bunch of likeminded ladies ready to help you with your decorating decisions.
Second, get started with creating a mood board for your next room makeover – even if it is months away.
Then, I want you to bookmark the Try It On page for when you get stuck and need some help… cuz I'm hear for ya!
Frequently Asked Questions
Heck no! You can use all kinds of free tools, such as old school magazine clippings and poster board, free version of Canva, Pinterest, or PowerPoint. No need for any special software or skills.
Nah, girl! Literally any one can create a mood board with the most minimal of skills. And after reading this post, you'll be ahead of the game.
Hire me! I can use my curated PhotoShop skills to help you create an amazing, life-like view of your room with the new items you want to try on before you ever buy anything. Learn more at resources.myhomierhome.com/tryiton
It is literally life changing! Or rather room makeover design life changing. No more second-guessing or playing the buy-return game. Mood boards help you create a visual picture you can't create in your head.
If you don't have PowerPoint, you can use the paid version of Canva, which includes the background removal feature. You could also use Photoshop. My recommendation is to use PowerPoint because it is such a great way to do easily remove backgrounds from images and adjust. Or hire me to create a beautiful design board in Photoshop for you.


We just moved into a home that needs lots of room makeovers! Thank you for sharing this info! I’m definitely going to try this method before just jumping in!!!
For sure!! It’s so helpful!
I’ve never thought of using Powerpoint for a mood board! These are great directions!
WOW! This is so helpful! Design boards make me happy and you gave me some new ways to make them. Thank you for sharing.
Yay! I’m so glad you found it helpful! Can’t wait to see your next mood board!
This is all great information as usual Christin. I love your posts, they are also so informative. I did not know the difference between a mood board and a design board. Thanks for this.
I need to practice making mood boards more. I think Canva is such a great tool. I’ll need to refer back to your post when I try 🙂
I love moodboards! Such a great tutorial!
Such a helpful post! I would love to share this on my weekly roundup this week!
Totally! Thanks so much!